Shini R25 Installation and operation manual

R25 Maintenance Instructions Issue 4 20/07/2020
1
Operating & Maintenance Instructions
R25 Granulator
Table of Contents
1. Introduction ................................................................................................................................................... 3!
2. Unpacking and Positioning .............................................................................................................................. 3!
3. Installation ..................................................................................................................................................... 3!
4. Running the Machine ...................................................................................................................................... 4!
5. After Use ....................................................................................................................................................... 4!
6. Suitable Materials & Material Sorting ............................................................................................................... 4!
7. General Maintenance ...................................................................................................................................... 5!
8. Cleaning ......................................................................................................................................................... 7!
9. Connection Diagrams .................................................................................................................................... 12!

R25 Maintenance Instructions Issue 4 20/07/2020
2

R25 Maintenance Instructions Issue 4 20/07/2020
3
1. Introduction
The R25 is part of the C R Clarke Schred recycling system. Waste plastics are loaded into a hopper at the
top of the machine, and fall down into the cutting chamber. Here, static and rotating blades reduce the
material to fine chips. Once reduced to the required size, they fall through a mesh filter at the bottom of
the cutting chamber, and are collected in a collection bin. The granules can then be reprocessed in
different ways, for example using our R30 Sheet Press or 25 Injection Moulder.
The following instructions will guide you through installation and use, please read and implement them
carefully and if any further help or advice is required do not hesitate to refer back to our Technical Sales
Department for assistance. There is additional maintenance information in the Shini Operation Manual,
which is also included.
2. Unpacking and Positioning
Remove the machine from the packaging. If the machine has been delivered by a carrier, a ramp will be
included within the packing crate for safe removal of the machine. Follow the instructions in the crate to
fix the ramp to the edge of the pallet base and remove the machine.
The R25 is fitted with castors for ease of mobility. Position the machine in a suitable place. Note that
operators must wear hearing protection while the machine is running, and noise should be a consideration
when positioning the machine.
3. Installation
All 220-240V machines are fitted as standard with BS 1363A 13A moulded on plug tops, suitably fused.
Non UK customers will need to replace the plug supplied and fit one compatible with local requirements.
Electrical supply to the unit must be in accordance with the details shown on the rating label.
In the event of plug replacement, for whatever reason, connections must be in line with the following:-
!IMPORTANT!
The wires in this mains lead are coloured in accordance with the following code:
General USA
Green & Yellow Earth Green
Blue Neutral White
Brown Live(Hot) Black
General
The green and yellow wire must be connected to the terminal marked with the letter E, or the earth
symbol, or coloured green and yellow or green.
The blue wire must be connected to the terminal marked with the letter N, or coloured blue or white.
The brown wire must be connected to the terminal marked with the letter L, or coloured brown or red.

R25 Maintenance Instructions Issue 4 20/07/2020
4
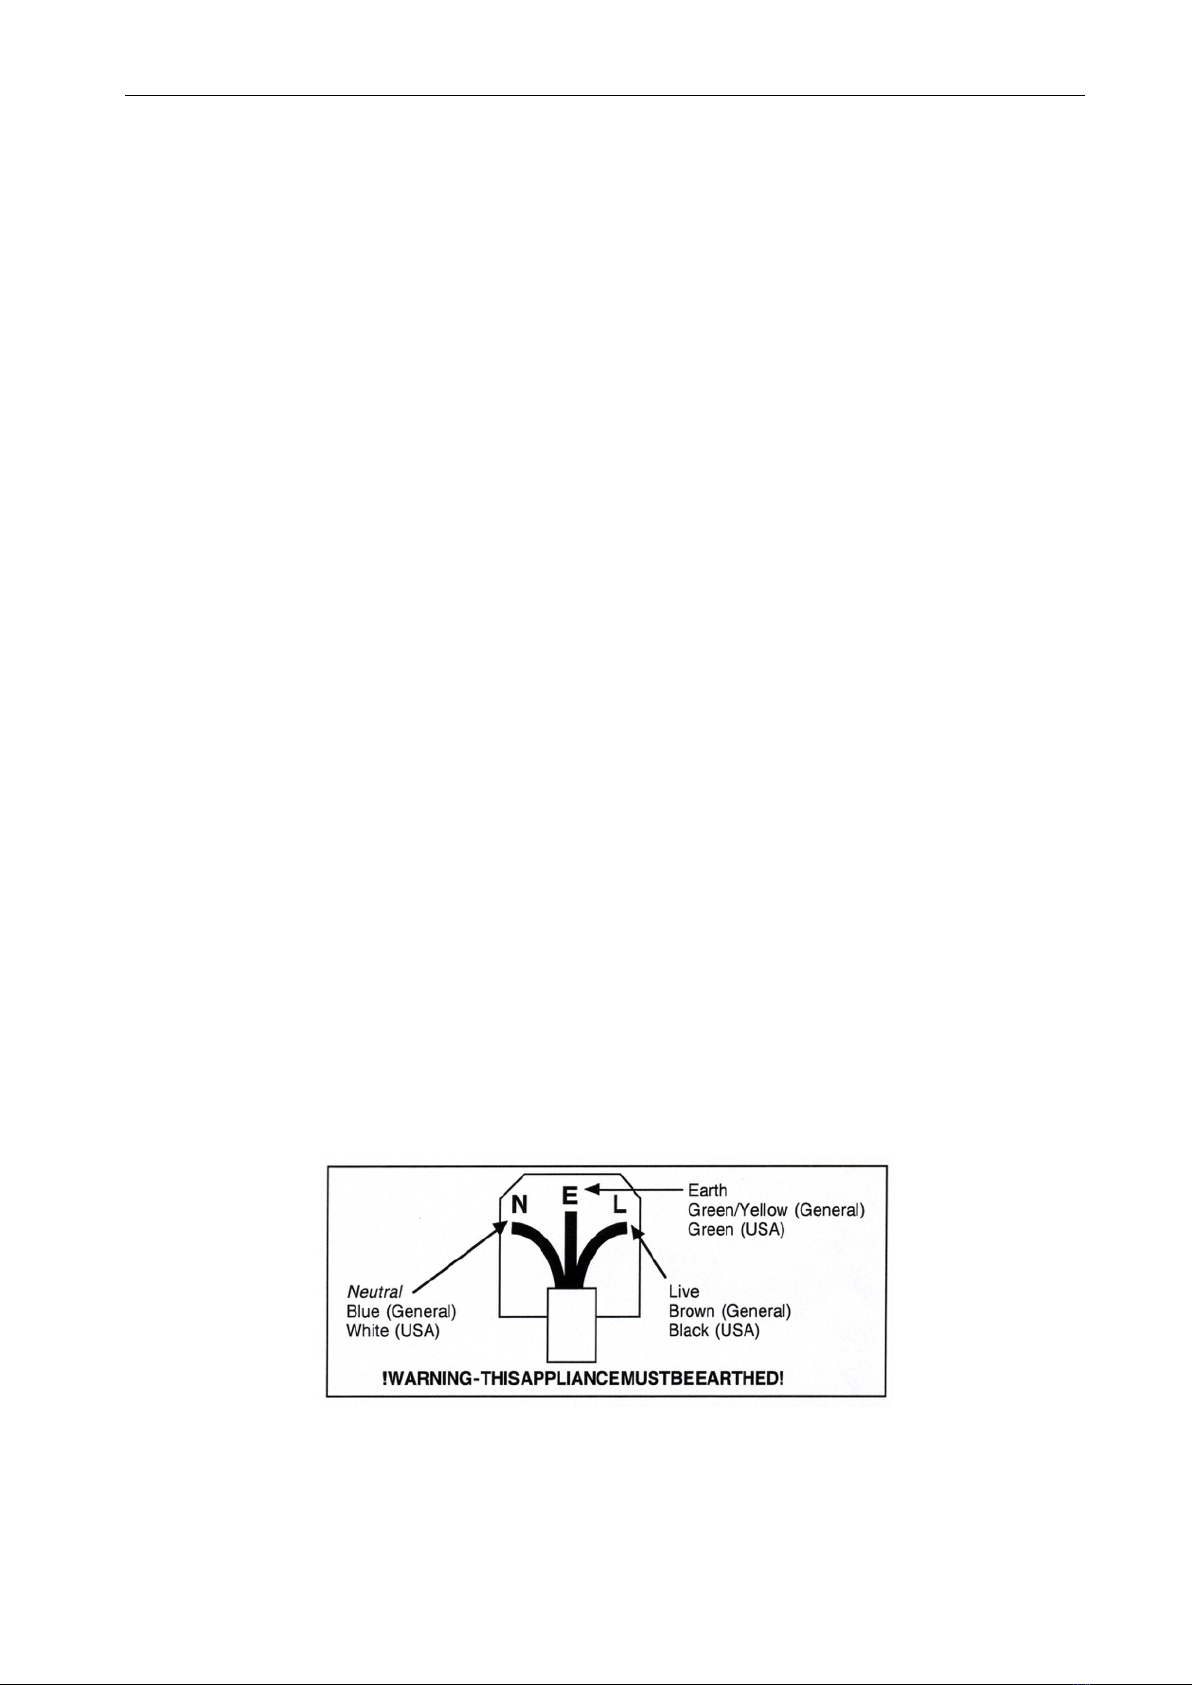
Warning - read instructions before installation and use.
If in doubt about electrical supply or connection refer to your supplier or consult a qualified electrician.
4. Running the Machine
Always wear hearing protection, eye protection and gloves when operating the R25.
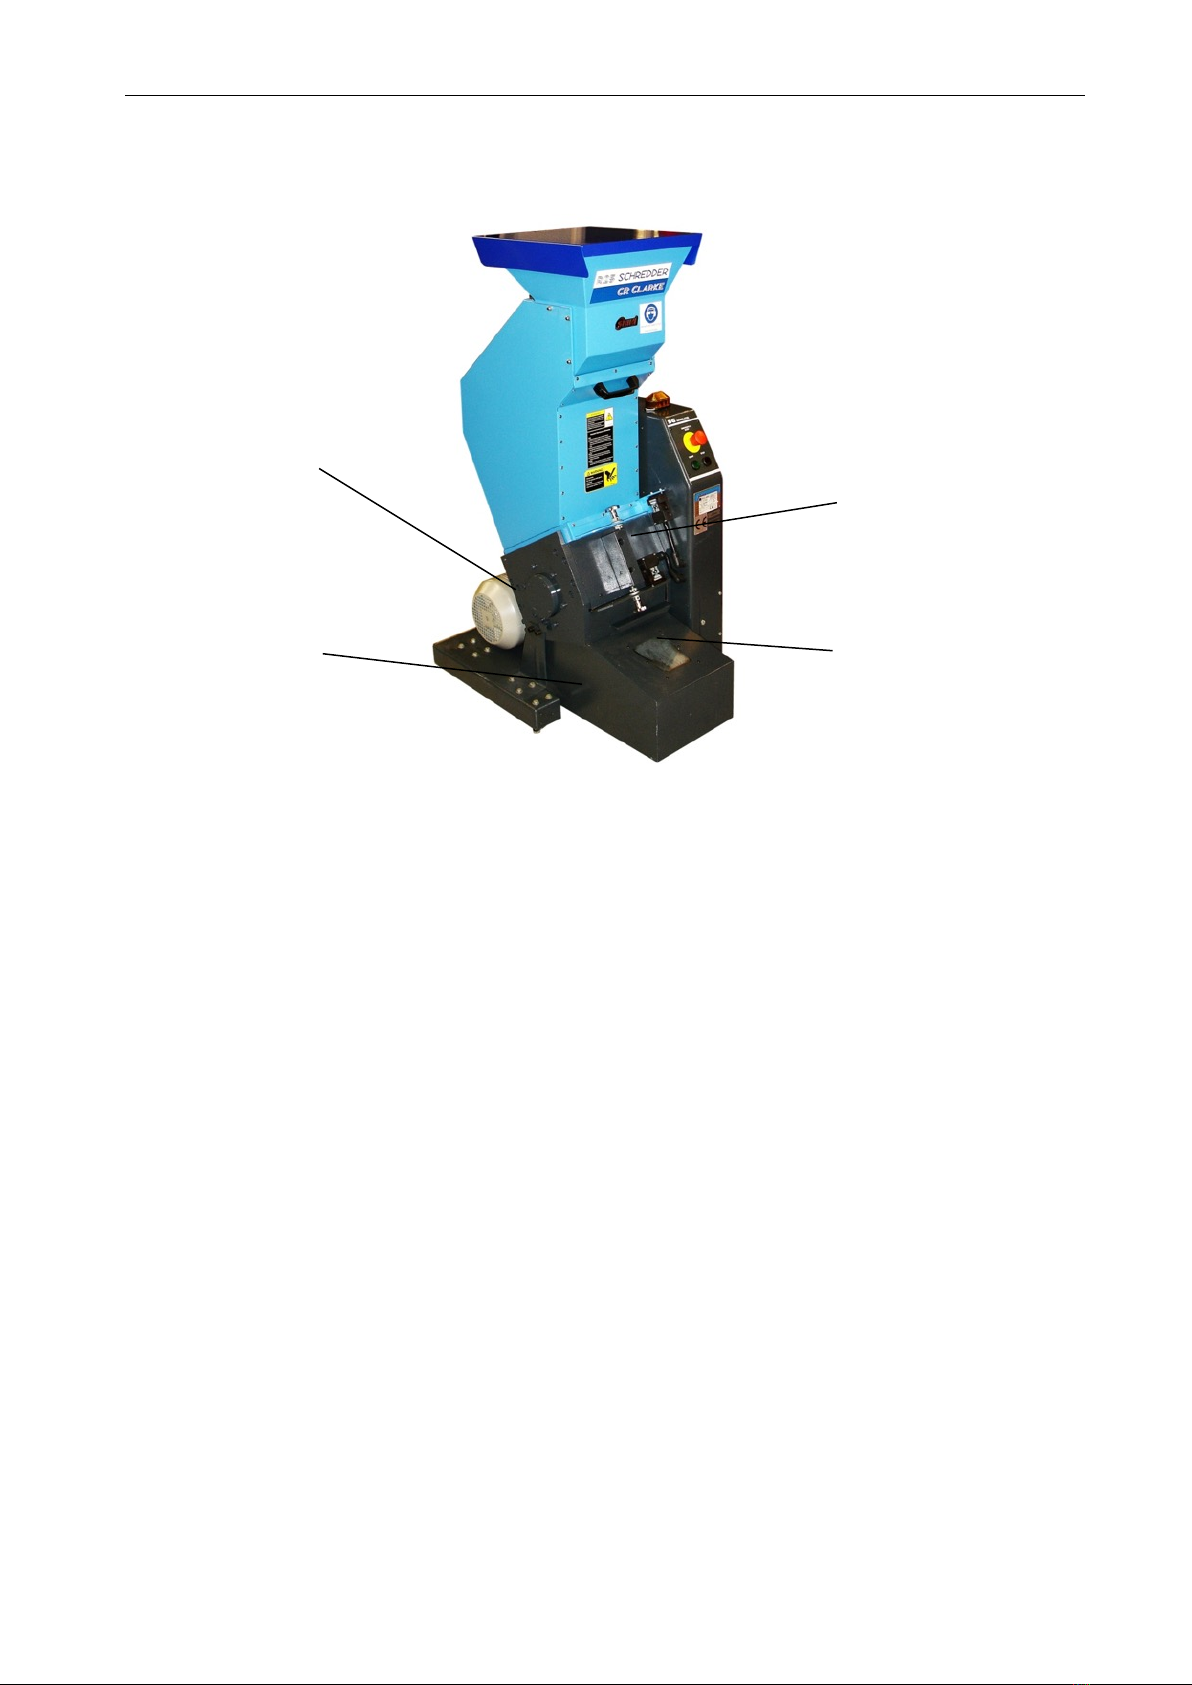
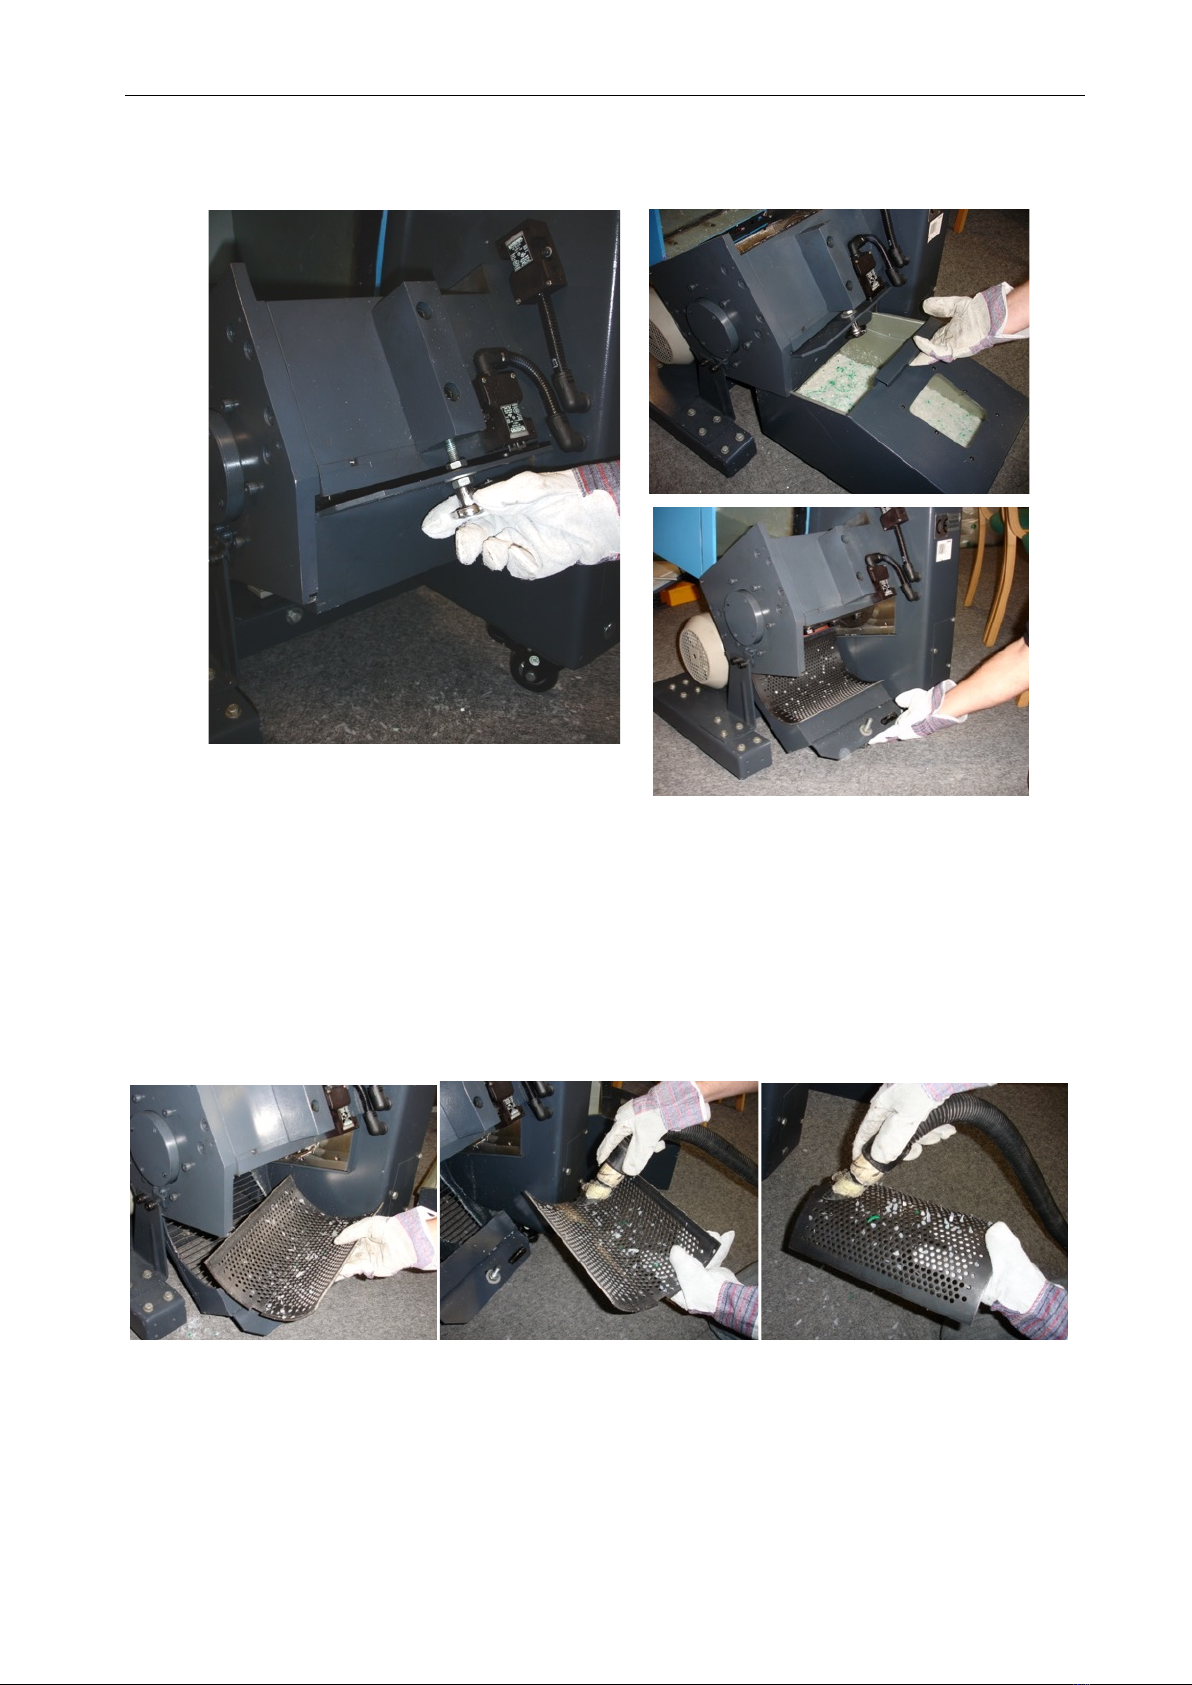
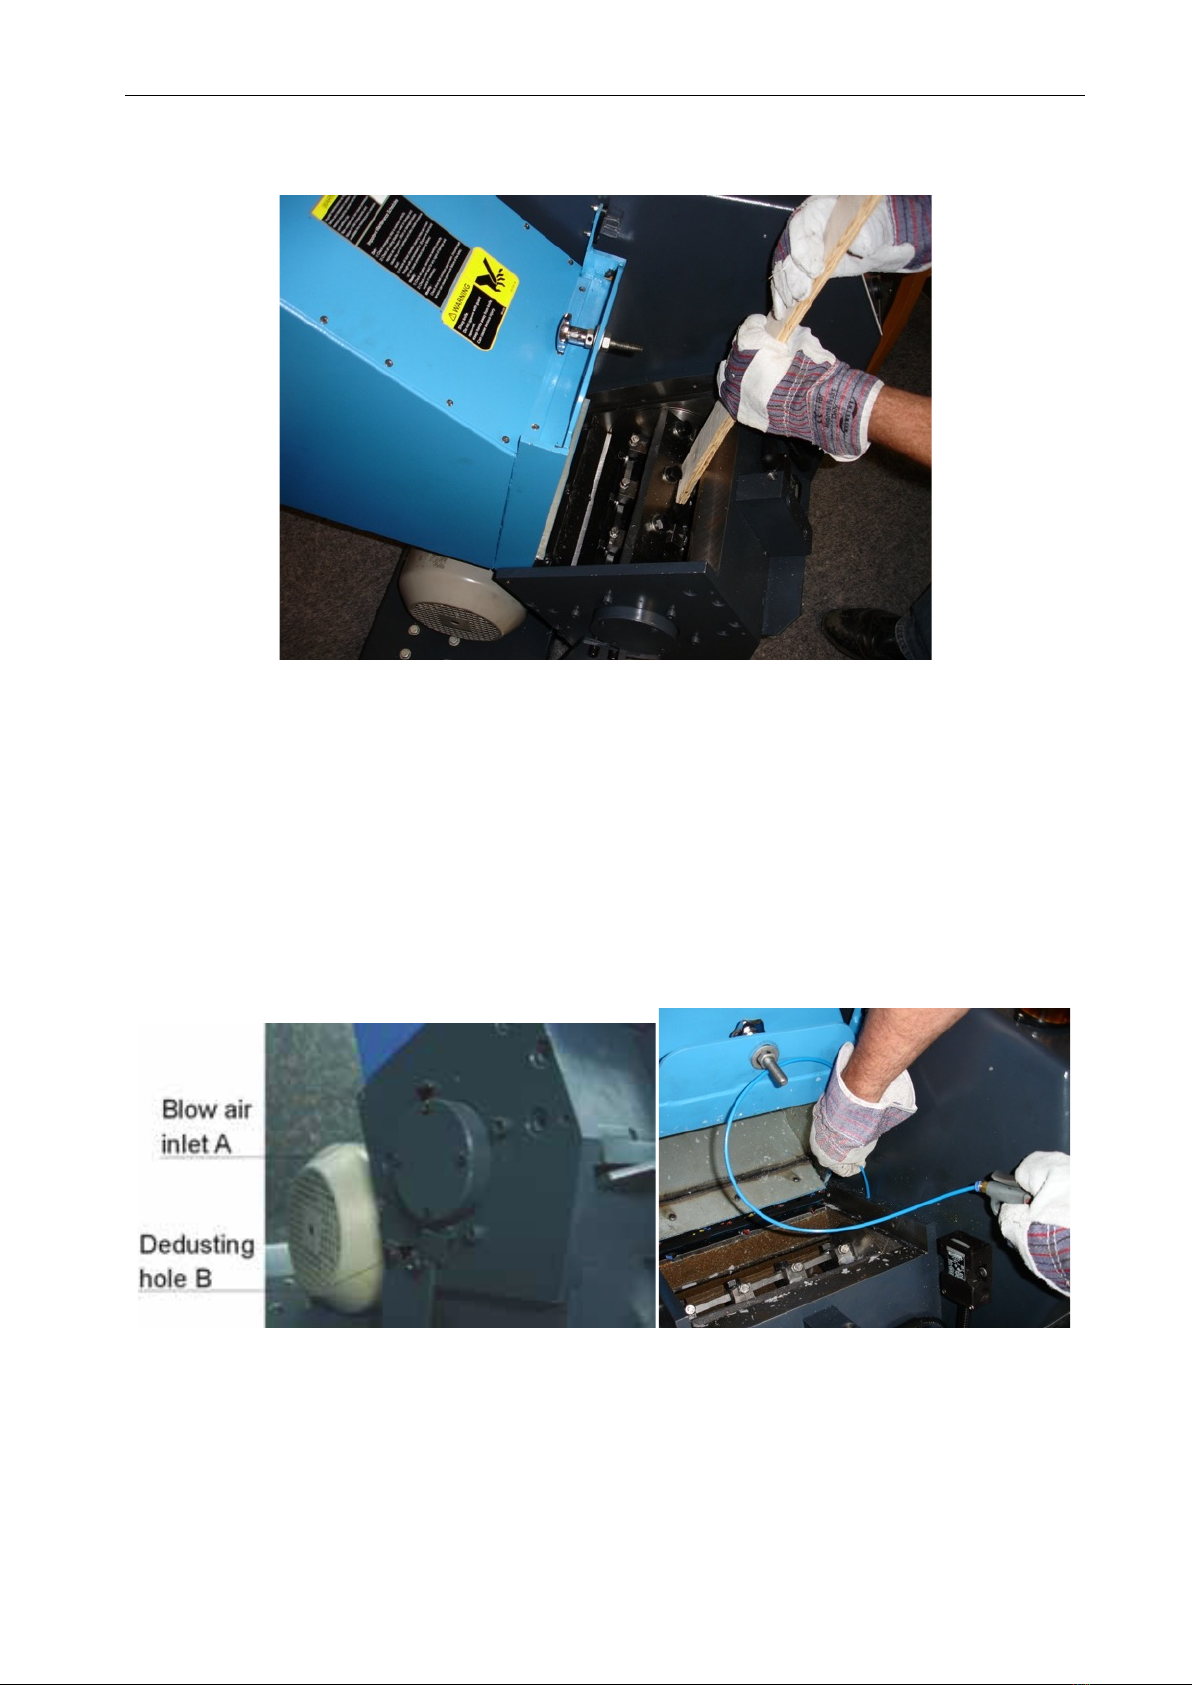
Always perform a visual inspection before running the machine, to ensure that guards are in place and
undamaged. Do not use the machine under any circumstances if there is any damage to guards or
electrics.
Plug the machine into a suitable mains socket, and switch on.
Switch the machine on at the main isolator, and ensure that the Emergency Stop button is released.
Remove the cover from the infeed hopper to allow access to load material.
Switch the machine on using the green Start button. Note that upon starting, the cutting blades turn
backwards for a couple of seconds to clear any residual plastic that may be lodged in them. They then
start turning forwards. Wait for the cutting blades to reach a steady speed before loading the first
material to be granulated.
Feed your waste plastics into the infeed hopper, and listen as they get granulated. Do not overload the
machine, once it has finished chopping one load of material (you will hear the noise level of the machine
reduce when this happens), feed another load into the machine.
When you have loaded the last batch of material into the infeed hopper, allow the machine to fully
granulate it and then leave it running for two minutes or so before switching off using the black button.
This extra time ensures that the cutting chamber has been fully cleared out, to avoid any problems
restarting the next time.
Replace the infeed hopper cover when the machine is not in use, to prevent stray/unwanted items being
placed into it. Holes in the infeed hopper and cover allow it to be locked using a padlock if required.
5. After Use
After use, the R25 can simply be switched off.
6. Suitable Materials & Material Sorting
The R25 is suitable for processing many of the common plastic materials that are found in the workshop,
for example HIPS, Polyropylene, Polyethylene, ABS etc. Acrylics and PET can be broken up in the R25,
however there is currently no way of re-processing the resulting material using the Schred system. Note
that the R25 is not suitable for non-plastic materials. Should there be any queries regarding the suitability
of the machine for a particular material, please refer to the manufacturer or local distributor prior to
processing.
Obviously different colours of material can be granulated together to form a mottled effect. However it
may be preferred to separate the colours. Also, it is normally wise to separate material types, as mixed
materials may not blend well when processing after granulating. To change colour/type, it is easiest to
leave the machine running when the old material has finished, and then feed some scraps of the new
material through to purge the cutting chamber. When the granules run true to the new material/colour,
the collection bin can be emptied so that all of the granules from that point are of the new
material/colour.

R25 Maintenance Instructions Issue 4 20/07/2020
5
7. General Maintenance
The R25 Granulator conforms to CE safety standards. However, it must be remembered that granulators,
when opened, contain moving parts and power connections. Therefore, danger is always present and the
CE mark must not be confused with “no danger”.
While in operation, physical guarding and interlocks protect the machine operators. However, when the
guards are to be opened for any reason, extreme care must be exercised, and the following points
adhered to strictly:
Only technically competent persons should attempt to perform maintenance operations on the R25
Granulator. Should there be any questions, please refer to the manufacturer or their local representative
before attempting to perform any work on the machine.
Disconnect the machine from the electrical supply, and ensure that the plug is positioned so that it cannot
be inadvertently re-connected.
Undo the safety interlocks to open the cutting chamber.
Only one operator must work in the cutting chamber at a time, to ensure that blades are not accidentally
rotated.
At all times when working in the cutting chamber, the operator must wear protective gauntlets. These
serve two purposes, firstly to protect hands from the cutting edges of the blades, and secondly to provide
cushioning to prevent cutting in the event that a hand is trapped between the static and moving blades.
The gauntlets supplied with the R30 Sheet Press are suitable for this operation.
At all times when an operator is working in the cutting chamber, a piece of wood or similar must be
inserted through the blades, to prevent accidental rotation. Should the cutting drum need to be turned,
the wood must be used for this. Under no circumstances should hands be used for turning the cutting
drum, as this could lead to injury.
Cutting Chamber
Cutting Screen
Infeed Hopper
Handwheel
Cutting Screen
Handwheel

R25 Maintenance Instructions Issue 4 20/07/2020
6
Additional gloves are available from the manufacturer or their local distributor if required.
A second operator must be present for safety and to help opening and closing the infeed hopper, and the
removal and refitting of the cutting screen, but must not assist when working in the cutting chamber.

R25 Maintenance Instructions Issue 4 20/07/2020
7
8. Cleaning
In normal use, the cutting chamber of the granulator will not need to be opened. Material can be
granulated, and the machine then switched off until it is needed again. Any residue in the cutting
chamber will be completed with the next run. Should the type of material be changed, refer to Section 6
(Suitable Materials & Material Sorting).
Should the granulator need to be cleaned at any time, proceed as follows:
Follow the General instructions in Section 7 at all times.
Open the infeed hopper by undoing the infeed hopper handwheel on the front of the machine and
pivoting it backwards.
WEAR GLOVES DURING MAINTENANCE

R25 Maintenance Instructions Issue 4 20/07/2020
8
Place a piece of wood into the blades as mentioned in Section 7.
In the first instance, use a vacuum cleaner to remove any debris from the cutting chamber. If this is not
sufficient, carefully remove any stray pieces of material by hand. Pay particular attention to the areas
around the hubs on either side of the cutting chamber, as material jammed here will tend to stop the
blades from rotating.

R25 Maintenance Instructions Issue 4 20/07/2020
9
If necessary, remove the collection bin, and lower the cutting screen, to access the cutting chamber from
below via cutting screen handwheel.
WEAR GLOVES DURING MAINTENANCE
Remove the screen and thoroughly clean with vacuum cleaner.
WEAR GLOVES DURING MAINTENANCE

R25 Maintenance Instructions Issue 4 20/07/2020
10
If the cutting blades need to be rotated, only do this using the piece of wood that has been inserted into
the blades. Do not attempt to turn the blades by hand, or using any other means.
Cleaning the dust collection chambers.
Identify the two air blow inlets (A) and the two de-dusting holes (B) located in the side plates of the
cutting chamber. Blow compressed air into the two air inlets (A). Any dust collected in the dust chambers
should come out of the two de-dusting holes (B). It is unlikely that there will be no dust in the chamber.
Should no dust come out of de-dusting hole (B), remove the de-dusting hole cover plate and ensure that
there is no blockage in the chamber or through the air inlet holes (A). Perform this operation four times,
with the blade rotated by 90° between each clean. Only rotate the blade using a piece of wood as
previously described.
WEAR GLOVES DURING MAINTENANCE

R25 Maintenance Instructions Issue 4 20/07/2020
11
WEAR GLOVES DURING MAINTENANCE
* ** If the cutting blades are jammed to the extent that the blades cannot be rotated using the piece of
wood, a service visit will be required, please contact the manufacturer or their local representative to
arrange this. ***
Once the cutting chamber has been cleared and the cutting blades are free to rotate, refit the cutting
screen and then reclose the infeed hopper.
This manual covers the routine operation and maintenance of the R25. For more detailed maintenance
information, there is a separate manual provided by the original machine manufacturer. This manual
should be kept in a safe place and referred to prior to any maintenance work beyond the scope of these
Instructions. Should you have any questions, please contact the supplier before attempting to perform
maintenance operations.

R25 Maintenance Instructions Issue 4 20/07/2020
12
9. Connection Diagrams
To make the R25 suitable for the UK market, some changes are made to the wiring, to fit a phase inverter
to the main motor. The following diagrams should be used instead of the ones in the Shini manual, as
these accurately represent the control wiring of the R25. Page numbers are shown on each diagram to
denote which ones they replace. For pages where diagrams are not included in this manual, the original
ones are still valid.

R25 Maintenance Instructions Issue 4 20/07/2020
13

R25 Maintenance Instructions Issue 4 20/07/2020
14

R25 Maintenance Instructions Issue 4 20/07/2020
15

R25 Maintenance Instructions Issue 4 20/07/2020
16

R25 Maintenance Instructions Issue 4 20/07/2020
17
1. Contactor, to connect and disconnect the motor.
2. Thermal overload, for motor protection.
3. Circuit Breaker, for motor protection.
4. Phase Inverter, for motor speed and direction control.
1.
2.
3.
4.
63 (98)
Table of contents
Other Shini Industrial Equipment manuals

Shini
Shini SG-24N User manual

Shini
Shini SG-36E Series User manual

Shini
Shini SDD-ES Series User manual

Shini
Shini SG-L User manual

Shini
Shini SAL-810 User manual

Shini
Shini SAL-330 User manual

Shini
Shini SG-16N Series User manual

Shini
Shini SAL-G Series User manual

Shini
Shini SAL-UG User manual

Shini
Shini SAL-U Series User manual

Shini
Shini SAL-910G User manual

Shini
Shini SAL-430 User manual

Shini
Shini Budget SG-24EB Series User manual

Shini
Shini SHD User manual

Shini
Shini SG-50 Series User manual

Shini
Shini SG-36 Series User manual

Shini
Shini SG-23 Series User manual

Shini
Shini SG-23 Series User manual

Shini
Shini SCM Series User manual

Shini
Shini SAL-UG User manual