- 5 -
• Close the water fill opening 2to the water tank 1.
Ensure that the lug on the water fill opening 2
sits in the indentation on the lid. Only in this way
is the water tank 1properly closed.
• Replace the water tank 1back onto the appliance.
The water tank 1must audibly engage with the
unlocking device for the water tank 4.
Attaching/detaching the brush
attachment
Attention!
NEVER attempt to attach or detach the brush attach-
ment wwhen the appliance is heated up. Risk of Burns!
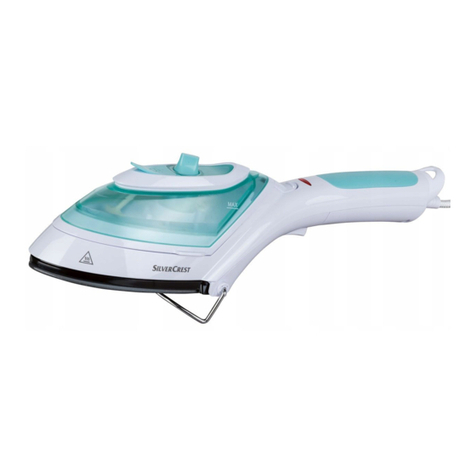
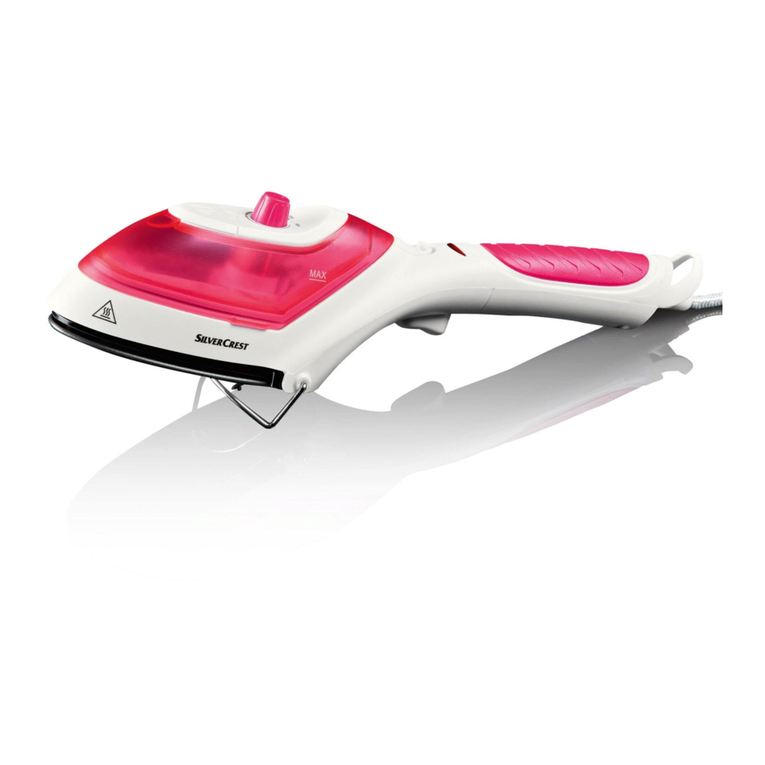
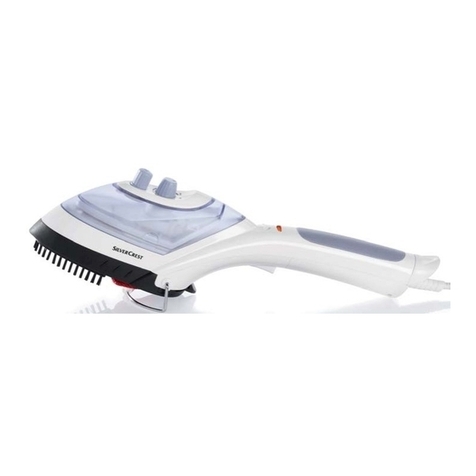
• To use the steam and brush function, place the
brush attachment wonto the steam brush.
• To do this, slide the brush attachment wall the
way along the guide to the end. The unlocking
device of the brush attachment qmust engage
audibly.
• To be able to use the ironing function, remove
the brush attachment wfrom the steam brush.
• To do this, press the unlocking device qdown-
wards and, at the same time, pull the brush attach-
ment waway to the front.
Steam brush function
• Place the brush attachment wonto the applian-
ce. This must engage audibly with the unlocking
device on the brush attachment q.
• Insert the power plug 7into a correctly installed
and earthed mains power socket.
• Position the temperature regulator 3 at •••.
The heating-up control lamp 5glows. As soon as
the set temperature has been reached, the hea-
ting-up control lamp 5goes out.
Information
When using the steam blast function, always place
the temperature regulator 3at the position ••• .
At lower settings the temperature is not sufficient to
generate a steam blast.
• By pressing the steam blast button 8you can
now produce jets of steam.
The appliance is now ready for use.
Notice:
To release the first steam blast after heating the
appliance up, it can happen that you may need
to press the steam blast button 8several times in
succession.
Attention!
The steam brush can be used with all clothing items.
Caution is to be exercised with heat-sensitive materials
such as synthetics, polyamides or artificial silk. With
these materials you should first check at a concealed
part (inside seam) that the hot steam will not cause
any damage to the garment. Do not touch these ma-
terials directly with the hot sole of the iron 0. Use
only the steam blast.
Clothing care
• Suspend the crumpled garment from a coat hanger.
• With one hand pull the garment flat, then steam it
from top to bottom. The combination of steam and
clothes brush r will gently remove all creases.
• Use light pressure with the clothes brush r and
guide the appliance from top to bottom over the
garment. You can thereby press the steam blast
button 8in short intervals.
Notice:
You can repeatedly press the steam blast button 8
until the heating-up control lamp 5glows or water
drips from the sole of the iron 0.
Then, wait until the heating-up control lamp 5extin-
guishes before activating a further blast of steam.
• Should the heating-up control lamp 5start to glow
during the process, release the steam blast button 8
and wait a few seconds until the heating-up control
lamp 5extinguishes.
