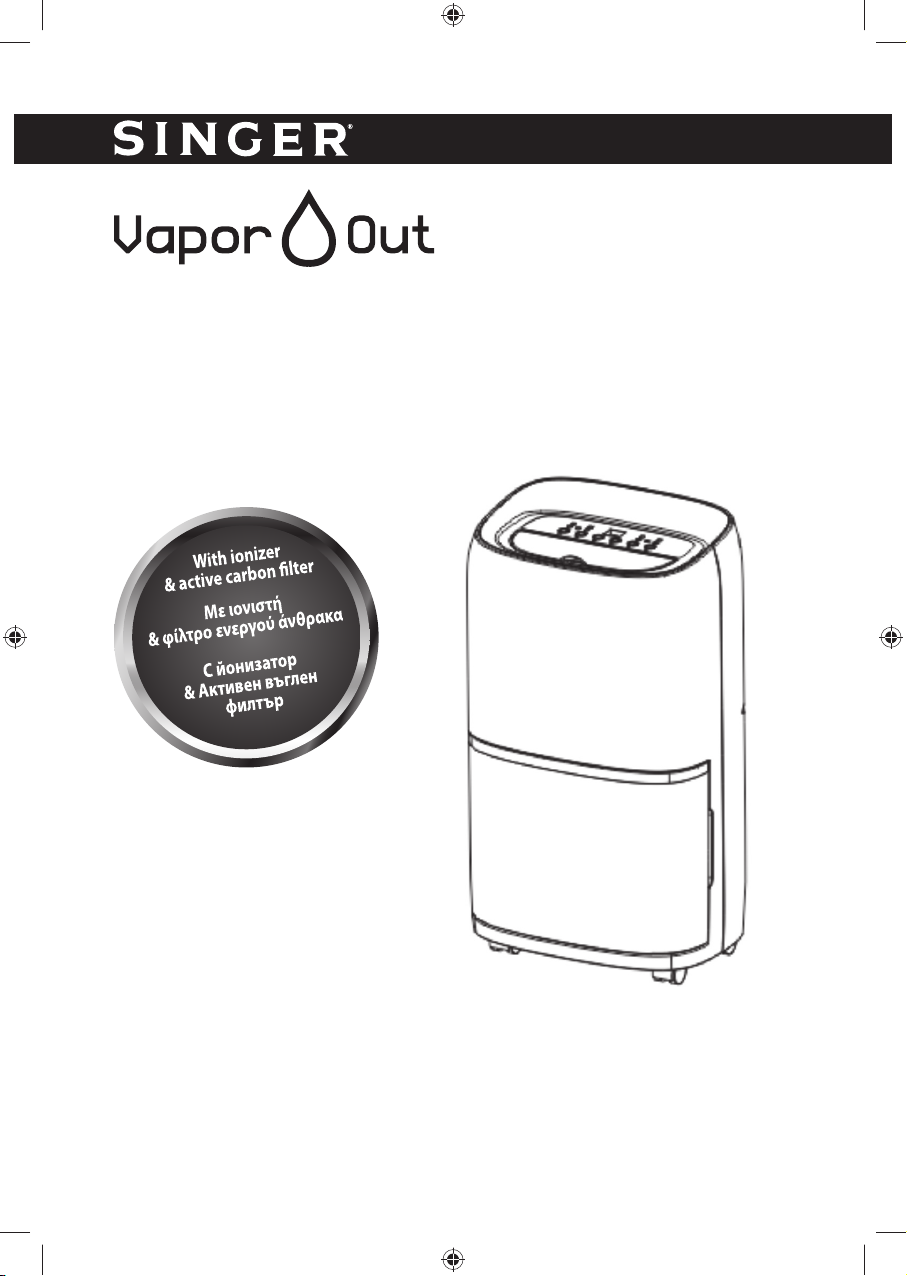
Singer SDHM-16L-55DIA User manual

GB
INSTRUCTION MANUAL
GR
ΒΙΒΛΙΟ ΟΔΗΓΙΩΝ
BG
ИНСТРУКЦИИ ЗА ЕКСПЛОАТАЦИЯ
Dehumidifier
Αφυγραντήρας
Влагоабсорбатор
SDHM-16L&20L-55DIA

GB
ENGLISH......................................................... 3
GR
EΛΛΗΝΙΚΑ .................................................... 16
BG
БЪЛГАРСКИ................................................. 32

3
ENGLISH
Please keep this manual for future reference
INTRODUCTION
• Before using your new dehumidifier for the first
time, please read carefully the following instruc-
tions.
• After removing the packaging, make sure that
the appliance is in good condition.
• Do not allow children to play with the packaging
materials as there is risk of suffocation.
The dehumidifier will remove excess moisture
from the air, creating a comfortable environment
for your home. Its compact design allows you to
easily move it to every room.
SAFETY INFORMATION
Please read the operating instructions care-
fully before using your dehumidifier for the
first time.
1.Install the unit on a stable flat surface to avoid loud
noises and vibrations.
2.Never immerse the unit in water or other liquids.
3.Never operate the unit if the cable or other connec-
tor is damaged. If something abnormal happens,
please call customer service for help.

4
ENGLISH
4.Disconnect the unit from power supply when it is not
in use or before relocating or cleaning it.
5.Operate the unit only at the specified voltage.
6.Do not put heavy objects on the appliance.
7.Do not tip the unit to any side as spilt water could
damage the appliance.
8.Never insert any other object into the unit body to
avoid any hazard or unit failure.
9.Do not put the unit close to heat-generating devices
or near flammable and dangerous materials.
10. This appliance is not intended for use by persons
(including children) with reduced physical, sen-
sory or lack of experience and knowledge, unless
they have been given supervision or instruction
concerning use of the appliance by a person re-
sponsible for their safety. Children should be su-
pervised to ensure that they do not play with the
appliance.
11. If the supply cord is damaged, it must be replaced
by a qualified person in order to avoid any hazard.
12. The appliance must be positioned so that the plug
is accessible.
13. The ambient temperature range for the appliance
is 5°-35°.
14. Use the appliance only in the household and only

5
ENGLISH
for the purpose it was developed for.
15. The appliance shall be installed in accordance
with national wiring regulations.
16. Do not hang curtains or wet clothes in front of the
air outlet, this will overload the device.
17. The drainage hose may not be installed outdoors
at low temperatures.
18. To prevent spillage, empty the water tank before
relocating the appliance.
19. If you smell smoke during start-up or if you can
see smoke, immediately disconnect the power
plug and contact your dealer.
20. The device may not be connected to a power strip
with other household appliances.
21. If the device is not used for a long time, please
use the function of the internal drying. This will
prevent formation of mildew and unpleasant smell
inside the unit.

6
ENGLISH
SERVICE & REPAIR
1. For service or repair under warranty, please contact the authorized service
company that is mentioned on the guarantee card that accompanies the
product.
2. Do not operate any product with a damaged cord or plug. If the supply cord
is damaged, return the appliance to a SINGER service center for examina-
tion repair or adjustment. Do not attempt to dismantle any part of the appli-
ance. This should only be done at an authorized SINGER service centre.
3. The partial or total non-respect of the safety instructions in the present in-
struction manual will automatically release Singer of any type of responsi-
bility in case of malfunction of the machine or injuries to persons or animals.
4. In case of manipulation, repairing or any modification of the machine made
by unqualified persons or in case of improper use, the guarantee will be
automatically cancelled.
INSTALLATION

7
ENGLISH
Install the unit in a stable & flat floor and keep the room ventilated.
Leave at least 20cm space around the unit (when the hose is not connected).
1. Push the rubber adaptor of the water pipe on the drainage port of the rear
panel.
2. Connect the water pipe to bathroom, outdoor or a container, such as a
bucket.
NOTE:
1. Do not block the drainage port or water pipe.
2. Do not fold the water pipe or extend it 1.5m higher than the bottom of unit.
3. Do not replace the rubber adaptor of the water pipe. It’s a special accessory
for the unit only; other adaptors may not fit the unit. If it’s damaged or lost,
please call the customer service for replacement.
PARTS
Front
Control Panel
Castors
Top Cap
Air Flow Cover
Front Panel
Water Tank

8
ENGLISH
Back
SPECIFICATIONS
MODEL No. SDHM-16L-55DIA SDHM-20L-55DIA
Dehumidify Capacity 16L/day (30℃,80%) 20L/day (30℃,80%)
Rated Voltage AC220-240V AC220-240V
Rated Frequency 50Hz 50Hz
Rated Power 340W (30℃,80%) 380W (30℃,80%)
Rated Current 2.0A (30℃,80%) 2.1A (30℃,80%)
Water Tank Capacity 5.5L 5.5L
Noise Level ≤45dB(A) ≤45dB(A)
Refrigerant Charge R134a/140g R134a/160g
Product Dimension 335 x 240 x 587mm 335 x 240 x 587mm
Net Weight 14,5kg 15kg
Suction Side Pressure 0.5MPa 0.5MPa
Discharge Side Pressure 1.5MPa 1.5MPa
Handle
Filter Grid
Drainage Hole
Back Panel

9
ENGLISH
OPERATIONS
Indication
1. Power indicator
The power indicator lights up with a blue color when the device is plugged in.
2. Water full indicator
When the water tank is full, the water tank indicator lights up with a red color,
the unit buzzes for 15 times and then stops. You must empty the water tank
and put it back to the correct position. If the water tank indicator is frequently
on, there might be some malfunction in the unit.
3. Timer indicator
The timer indicator lights up with a blue color while the timer is running.
4. Low fan speed indicator
The low fan speed indicator lights up with a blue color when the device is work-
ing in low fan speed.
5. High fan speed indicator
The high fan speed indicator lights up with a red color when the device is work-
ing in high fan speed.
6. Drying clothes indicator
This indicator lights up with a blue color when the drying clothes function is on.

10
ENGLISH
7. Ionizer indicator
The ionizer will work automatically when the device is plugged in. This indica-
tor will light up with a green color.
8. Filter change indicator
This indicator will light up with a red color when the accumulated running time
has reached 600 hours in order to remind the user to change the filter.
If you want to turn off this indicator, press the power button for 5 seconds and
after you hear a beep, the indicator light will turn off.
9. Display
This display shows the following 3 functions:
• The indoor humidity when the power is on.
• The selected humidity data when you adjust humidity.
• The timer data when you set the timer on/off.
Control Panel
1. Power
Press this button to turn on the device. The device will start to work in the
default mode (humidity setting is 60%RH and fan speed is high speed by de-
fault). The compressor will start to work after the fan has already worked for 2
seconds, the indicator will light up with a blue color and the ionizer (purify) will
start to work with the default setting.
If you want to turn off the device, press this button again. The display will show
the current humidity and the device will be in stand-by mode. The fan will turn
off after 10 seconds and the power indicator light and fan speed indicator light
will turn off.

11
ENGLISH
2. Timer button
Timer boot: press the Timer button to set up the auto-start time while the
device is on standby (you can choose between 1-24hours a cycle). The Timer
symbol will flash for 5 seconds. If no further operation is instructed, the device
will quit the setting mode automatically. LED will show the set time and the
countdown will start. The device will start dehumidification automatically when
the countdown will end. At that time, LED will show the humidity number in-
stead of the time.
Timer shutdown: Press the Timer button while the device is working to set
up the auto-stop time (you can choose between 1-24hours a cycle). LED will
show time and the Timer symbol will flash for 5 seconds. If no further opera-
tion is instructed, the device will quit the setting mode automatically. LED will
switch to humidity number. LED will show the set time and the countdown will
start. When the countdown ends, LED will show “--” and the machine will stop
without making any buzzing alert.
Note: the Timer does not have a memory function. Please set up the timer
manually every time.
3.
y
button
Press this button to adjust humidity as following (the initial humidity is 60%).
You can set the humidity as you want; 20%-25%-30%-35%-40%-45%-50%-
55%-60%-65%-70%-75%-80%. The machine will stop automatically when the
indoor humidity is lower than the set humidity.
4. button
Press this button to adjust humidity (the default humidity is 60%). You can
reduce the humidity as you want; 80%-75%-70%-65%-60%-55%-50%-45%-
40%-35%-30%-25%-20%. The machine will stop automatically when the in-
door humidity is lower than the set humidity.
Note: When the humidity setting terminates, the display screen will show am-
bient humidity after flashing for 3 seconds. While in default mode, press “+”
or “-” button to show the setting of humidity. Press these two buttons again to
set humidity according to your preference. If you press “+” button continuously,
you will see the current ambient temperature. After showing the ambient tem-

12
ENGLISH
perature for 5 seconds, it will be back to indicating current humidity automati-
cally. While in clothes dry mode, if you press “Dry” button you will cancel this
mode and the device will automatically switch to ordinary mode. Meanwhile
the display screen will show setting humidity (the default setting is 60%), it will
flash for 3 times and then it will get back to current humidity without needing
any adjustment from you. At this time, if the ambient humidity is ≥set humidity
+3%, the compressor will start working (for example, if the set humidity is 60%,
the compressor will start working when the ambient humidity reaches to 63%
or more). If the ambient humidity is < set humidity -3%, the compressor will
stop working at once and the fan will stop working 60 seconds later (for exam-
ple when the ambient drops to 57% or less, the compressor will stop working).
5. Fan speed button
The default fan speed is turbo when you turn on the device. Press the button
one time to choose the silent mode. After that, press again one time if you want
to turn back to turbo mode.
6. Clothes dry and Purify button
Press this button to start the clothes dry function, which is a continuous work-
ing function. During this function, the set humidity is 20% and the fan speed
is in turbo mode by default. You cannot make any changes in these settings.
Press this button again to exit clothes dry function and the device will return to
the default mode. If you press continuously this button for 5 seconds, the ion-
izer function will stop working.
WATER DRAINAGE
Water Tank
The water tank full indicator will light up with a red color when the water tank
is full. The warning will be given when the capacity of 5.5L has been reached.
Take out the water tank and empty the water. Put the water tank back into the
dehumidifier.

13
ENGLISH
How to empty the water tank
1. Pull out both sides of the water tank as below.
2. Empty the water tank.
CAUTION
• Do not remove the float from the water tank; otherwise, the device will not
stop working when the water tank is full. Then the water will be overflowed
and possibly damage your floor.
Push the water tank at the
back of the machine slight-
ly; the water tank will be
forced to move out.

14
ENGLISH
• Drain the water tank completely when the water tank is full and reset your
setting.
• If the water tank is dirty, clean with cool or warm water. Do not use cleaners,
steel wool, chemical rag dusters, gas oil, benzene, thinner or other solvent
to clean it because they will damage the water tank and lead to leakage.
• When you put the water tank back to the unit, please use two hands to push
the water tank into the device to the correct position. Otherwise the water
full indication will still show red and the device will not work.
Continuous drainage
1. Open the cover on the back of the dehumidifier.
2. Take out the water tank.
3. Insert a PVC pipe with inner diameter 9.5m and length 300mm (recom-
mended); put the other side of the pipe into a container, such as a bucket.
Steps:
14
1. Remove the plastic part
at this point of the device.

15
ENGLISH
Caution:
1. Never block the water outlet or the pipe.
2. Never bend the drainage pipe and always put it lower than the outlet.
3. Always close the cover when there is no need for continuous drainage.
MAINTENANCE
NOTE: TURN OFF THE UNIT AND UNPLUG IT BEFORE ANY MAINTE-
NANCE OR REPAIR TO AVOID ELECTRIC SHOCKS.
Cleaning
Unplug the unit before cleaning. Clean the housing with a soft moist cloth. Do
not use chemical solvents (such as benzene, alcohol, gasoline).
The surface may be damaged or even the whole case may be deformed.
Do not spray water directly on the unit.
2. Insert the pipe into the
hole of the water outlet
port.
3. Put the drain-pipe to this
specific location with the
other side of it into a con-
tainer.

16
ENGLISH
Air filter
The unit is equipped with washable air filter. Take out the washable air filter.
After you finished cleaning it, insert the filter back to its place. Clean the wash-
able filter every two weeks. If the filter is blocked with dust, the efficiency of it
will reduce. Wash the air filter by immersing it gently into warm water (about
40°C) with a neutral detergent, rinse it and dry it thoroughly in a shaded place.
• Take out the filter
• Clean the filter
• Assemble the filter
Insert the filter back to the device slowly after finish washing it.
Filter Frame
Common Filter Active Carbon Filter

17
ENGLISH
Active Carbon Filter
There is also an active carbon filter together with the unit. This active carbon
filter CANNOT be cleaned. When the filter gets very dirty, replace it with the
new filter.
Dehumidifier storage
If the dehumidifier will not be used for an extended period of time:
1. Drain the water tank completely and make sure there is no more water
stocked inside.
2. Unplug the unit and fold up the power supply cord.
3. Remove and clean the air filter, allow it to dry completely and reinstall it.
4. Store the dehumidifier in a cool, dry location, away from direct sunlight, ex-
treme temperature and excessive dust.
Filter Frame
Common Filter Active Carbon Filter

18
ENGLISH
TROUBLESHOOTING
Before contacting the service, review this list which includes common incidents
that are not result of a defect in the device.
Problem Possible Cause Solution
The unit doesn't oper-
ate
No power supply
Connect to a functioning
outlet and switch on the
device.
Water full indication
flashes
Drain water tank and
reset your setting or
replace the water tank
to the right place.
Room temperature is
under 5 degrees or
above 35 degrees
Self-Protection is
designed to protect the
unit. The device won’t
work under such tem-
perature.
Timer function is active. Deactivate Timer func-
tion.
The dehumidifying
function doesn’t work
or the unit turn on / off
frequently
Is the air filter clogged? Read the “Air filter” part
of the manual.
Is the door/window
opened?
Close the door / win-
dow.
Is the unit close to any
heat sources?
Remove the unit to a
cool place.
Is the intake duct or
discharge duct ob-
structed?
Remove the obstruction
from the discharge duct
or intake duct.
Operation is noisy
Is the unit tilted or
unsteady?
Place on a stable sur-
face (less vibration).
Is the air filter clogged? Read the “Air filter” part
of the manual.

19
ENGLISH
The screen shows E1 Humidifier sensor is
damaged
Change the humidity
sensor.
The screen shows CL Ambient Tempera-
ture<5℃Raise the temperature.
The screen shows CH Ambient Tempera-
ture>38℃Lower the temperature.
The screen shows LO Ambient Humidity<20% Stop the unit.
The screen shows HI Ambient Humidity>90% Keep it in clothes dry
mode.
Auto Defrost-Low temperature work
• 5℃≤temperature ≤10℃; the machine will defrost automatically every 30
minutes. The power indicator will flash continuously and the fan will keep
working at high speed.
• 11℃≤temperature ≤16℃; the machine will defrost automatically every 45
minutes. The power indicator will flash continuously and the fan will keep
working at high speed.
Caution: Switch off the unit and unplug it immediately if anything abnormal
happens. Then contact a qualified electrician.
Disposal of old Electrical & Electronic Equipment (Applicable in the Eu-
ropean Union and other European countries with separate col-
lection systems).
This symbol on the product or on its packaging indicates that this
product shall not be treated as household waste. Instead it shall
be handed over to the applicable collection point for the recycling
of electrical and electronic equipment. By ensuring this productis
disposed of correctly, you will help prevent potential negative con-
sequences for the environment and human health, which could otherwise
be caused by inappropriate waste handling of this product. The recycling of
materials will help to conserve natural resources. For more detailed informa-
tion about recycling of this product, please contact your local city office, your
household waste disposal service or the shop where you purchased the prod-
uct.

20
ΕΛΛΗΝΙΚΑ
Παρακαλούμε όπως φυλάξετε το παρόν βιβλίο
οδηγιών χρήσης για μελλοντική αναφορά.
ΕΙΣΑΓΩΓΗ
• Πριν από τη χρήση του νέου σας αφυγραντήρα,
παρακαλούμε όπως διαβάσετε προσεκτικά τις
ακόλουθες οδηγίες.
• Αφού αφαιρέσετε τη συσκευασία, βεβαιωθείτε
ότι ησυσκευή είναι σε καλή κατάσταση.
• Μην επιτρέπετε στα παιδιά να παίζουν με τα
υλικά συσκευασίας, καθώς υπάρχει κίνδυνος
ασφυξίας.
Οαφυγραντήρας θα απορροφήσει την περιττή
υγρασία του αέρα, δημιουργώντας έτσι ένα άνετο
περιβάλλον στο σπίτι σας. Οβολικός σχεδιασμός
του σας επιτρέπει να τον μεταφέρετε εύκολα σε
οποιοδήποτε δωμάτιο του σπιτιού.
ΣΗΜΑΝΤΙΚΕΣ ΟΔΗΓΙΕΣ ΑΣΦΑΛΕΙΑΣ
Διαβάστε προσεκτικά όλες τις οδηγίες
χρήσης πριν χρησιμοποιήσετε για πρώτη
φορά τον αφυγραντήρα.
1. Τοποθετήστε τη συσκευή σε μια σταθερή και
επίπεδη επιφάνεια για να αποφύγετε κραδα-
σμούς και θόρυβο.
Other manuals for SDHM-16L-55DIA
1
This manual suits for next models
1
Table of contents
Languages:
Other Singer Dehumidifier manuals

Singer
Singer SDHM-10L SMART ION User manual

Singer
Singer SDHM-16L PURE DRY ION User manual

Singer
Singer SDHM-10L SMART OUT User manual

Singer
Singer Supreme Dry SDHM-25L-25DIA User manual

Singer
Singer Smart Out SDHM-10-18DI User manual

Singer
Singer Supreme Dry SDHM-12L User manual

Singer
Singer Arido SDHM-10L User manual

Singer
Singer VAPOR OUT SDHM-16L User manual

Singer
Singer PrestoDry SDHM-10L-25DIA User manual

Singer
Singer SDHM-16L-55DIA User manual