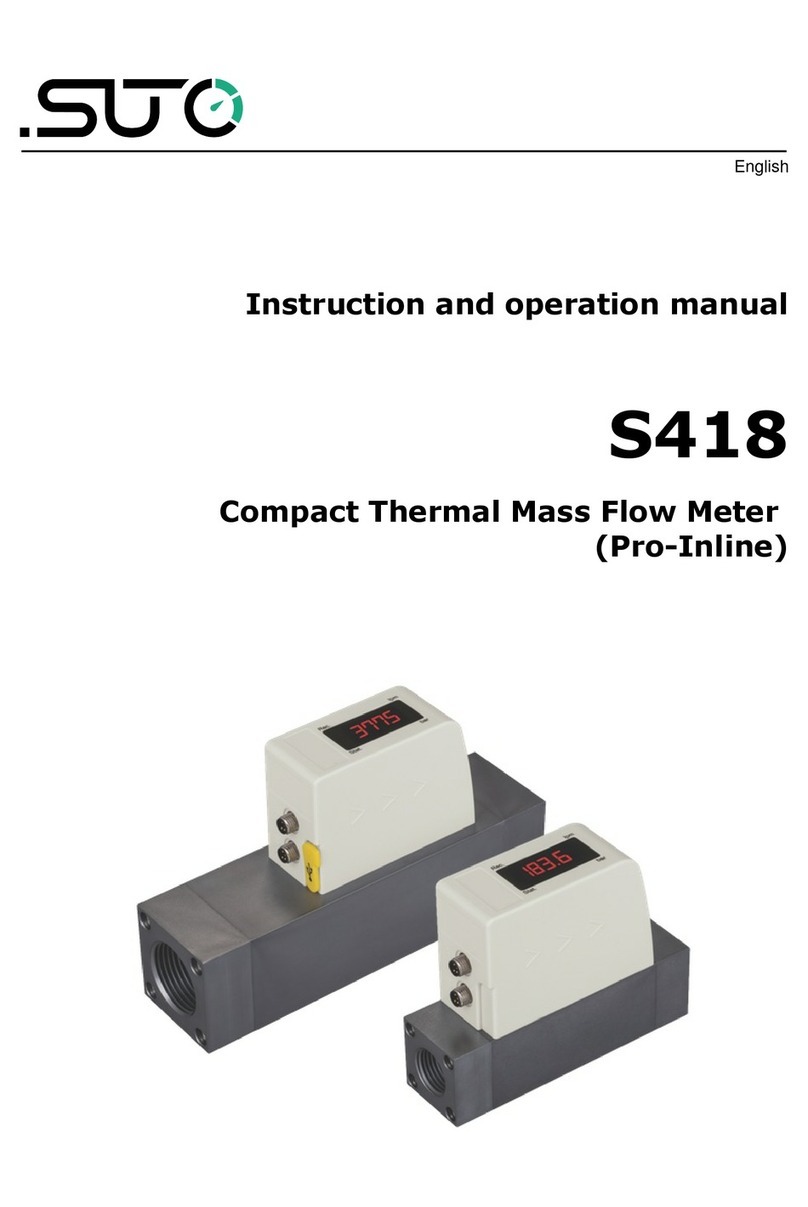
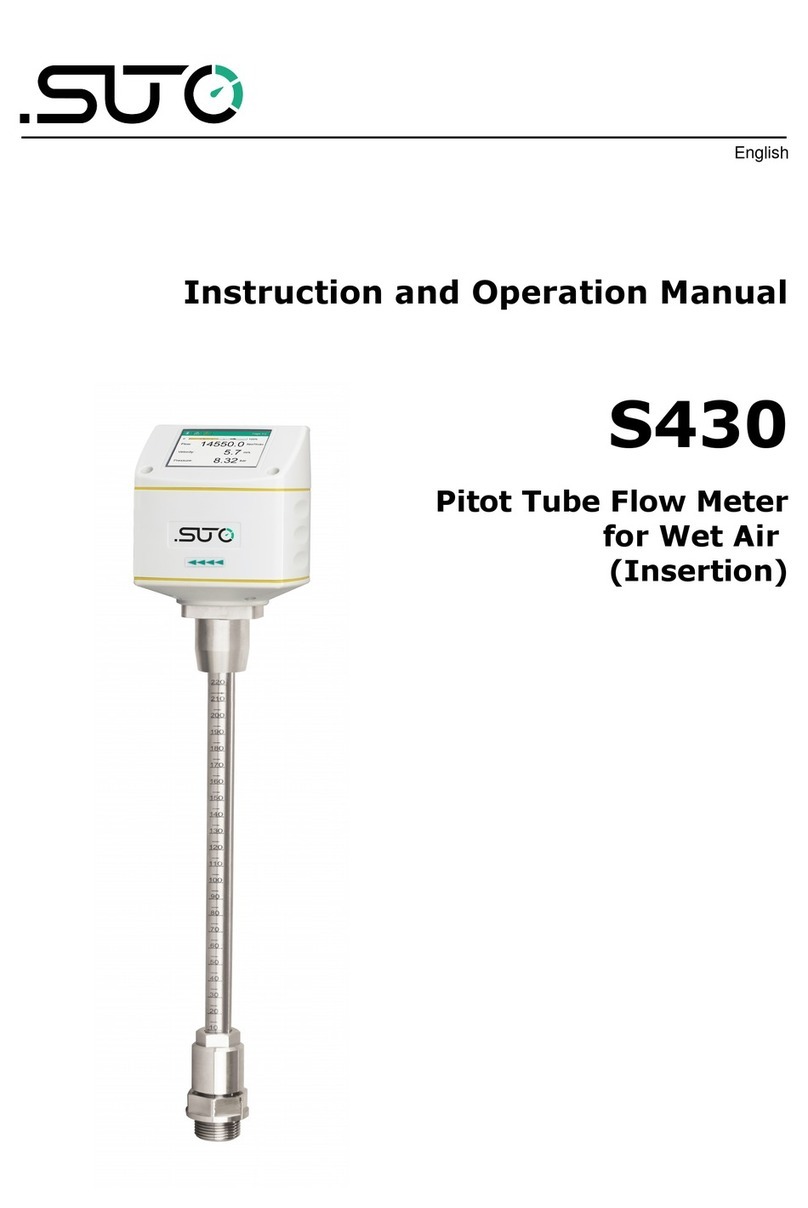
SUTO S431 OEM Manual

English
Instruction and Operation Manual
S431 OEM V2
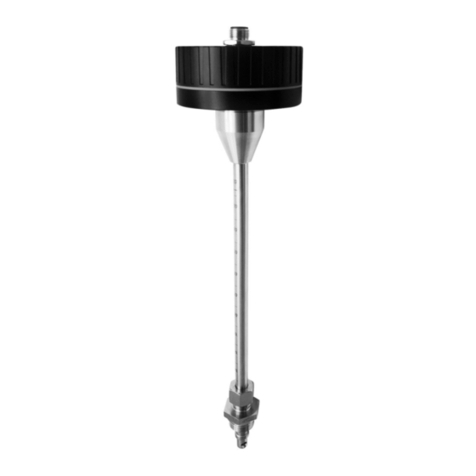
Pitot Tube Compressor Flow Meter Inline)

Dear Customer,
Thank you for choosing our product.
Before starting up the device please read this manual in full and
carefully observe the instructions stated. The manufacturer cannot be
held liable for any damage which occurs as a result of non-observance
or non-compliance with this manual.
Should the device be tampered with in any manner other than a
procedure which is described and specified in the manual, the warranty
is void and the manufacturer is e empt from liability.
The device is designed e clusively for the described application.
SUTO offers no guarantee for suitability for any other purpose. SUTO is
also not liable for consequential damage that results from the delivery,
capability, or use of this device.
2 S431 OEM V2

Table of contents
1 Safety Instructions......................................................................4
2 Registered Trademarks................................................................6
3 RF E posure Information and Statement........................................7
4 Application.................................................................................8
5 Features....................................................................................8
6 Technical Data............................................................................9
6.1 General Data........................................................................9
6.2 Signal / Interface and Supply................................................10
6.3 General Data......................................................................10
6.4 Flow Ranges.......................................................................11
7 Dimensional Drawing.................................................................12
8 Installation...............................................................................13
8.1 Installation Options..............................................................13
8.2 Inlet and Outlet Sections......................................................13
8.3 Welding Nipple and Welding Fi ture.......................................15
8.4 Remove Flow Meter .............................................................18
8.5 Electrical Connection............................................................19
9 Configuration............................................................................20
9.1 Register.............................................................................20
9.2 Use Service App S4C-FS.......................................................20
9.2.1 Flow Settings..............................................................21
9.2.2 Unit Settings...............................................................22
9.2.3 Perform the Zero Flow Calibration..................................23
9.2.4 Calibration inside Compressor.......................................24
9.2.5 Upload Settings...........................................................25
9.2.6 Download Settings.......................................................26
10 Signal Outputs........................................................................28
10.1 Analog Output...................................................................28
10.2 Pulse Output.....................................................................28
10.3 Modbus Interface ..............................................................30
10.4 Connection between S431 Outputs and Customer Equipment. .32
11 Maintenance...........................................................................33
12 Disposal or Waste....................................................................33
S431 OEM V2 3

1 Safety Instructions
Please check if this instruction manual matches the
product type.
Please observe all notes and instructions indicated in this
manual. It contains essential information that must be observed
before and during installation, operation, and maintenance.
Therefore this instruction manual must be read carefully by the
technician and by the responsible user / qualified personnel.
This instruction manual must be available at the operation site of the
flow meter at any time. In case of any obscurities or questions
regarding this manual or the product, please contact the manufacturer.
WARNING!
Compressed air!
Any contact with quickly escaping air or bursting
parts of the compressed air system can lead to
serious injuries or even death!
•Do not e ceed the ma imum permitted pressure range (see
sensors label).
•Only use pressure-tight installation material.
•Avoid that persons get hit by escaping air or bursting parts of the
instrument.
•The system must be pressureless during maintenance work.
WARNING!
Voltage used for supply!
Any contact with energized parts of the product
might lead to an electrical shock which can lead to
serious injuries or even death!
•Consider all regulations for electrical installations.
•The system must be disconnected from any power supply during
maintenance work.
•Any electrical work on the system is only allowed by authorized
qualified personal.
4 S431 OEM V2

1 Safety Instructions
ATTENTION!
Permitted operating parameters!
Observe the permitted operating parameters, any
operation exceeding this parameters can lead to
malfunctions and might lead to damage on the
instrument or the system.
•Do not e ceed the permitted operating parameters.
•Make sure that the product is operated in its permitted limitations.
•Do not e ceed or undercut the permitted storage and operating
temperature and pressure.
•The product should be maintained and calibrated frequently, at
least annually.
General safety instructions
•It is not allowed to use the product in e plosive areas.
•Please observe the national regulations before/during installation
and operation.
Remarks
•It is not allowed to disassemble the product.
•Always use a spanner to mount the product properly.
ATTENTION!
Measurement values can be affected by malfunction!
The product must be installed properly and
frequently maintained. Otherwise it might lead to
wrong measurement values, which can lead to
wrong results.
•Always observe the direction of the flow when installing the flow
meter. The flow direction is indicated on the housing.
•Do not e ceed the ma imum operating temperature at the sensor
tip.
•
S431 OEM V2 5

1 Safety Instructions
Storage and transportation
•Make sure that the transportation temperature of the flow meter is
between -30°C ... +70°C.
•For transportation it is recommended to use the packaging which
comes with the flow meter.
•Please make sure that the storage temperature of the flow meter
is between -30 ... +70°C.
•Avoid direct UV and solar radiation during storage.
•For the storage, the humidity must be <95% with no
condensation.
2 Registered Trademarks
Trademark Trademark owner
SUTO®SUTO iTEC
MODBUS®Modbus Organization, Hopkinton, USA
Android™,
Google Play Google LLC
6 S431 OEM V2

3 RF E posure Information and Statement
3 RF Exposure Information and Statement
This equipment complies with FCC RF radiation e posure limits set forth
for an uncontrolled environment. This equipment should be installed
and operated with minimum distance of 20 cm between the radiator and
your body.
This device complies with part 15 of the FCC rules. Operation is subject
to the following two conditions: (1) this device might not cause harmful
interference, and (2) this device must accept any interference received,
including interference that might cause undesired operation.
Remark: The manufacturer is not responsible for any radio or TV
interference caused by unauthorized modifications to this equipment.
Such modifications could void the user’s authority to operate the
equipment.
Remark: This equipment has been tested and found to comply with the
limits for a Class B digital device, pursuant to part 15 of the FCC Rules.
These limits are designed to provide reasonable protection against
harmful interference in a residential installation. This equipment
generates uses and can radiate radio frequency energy and, if not
installed and used in accordance with the instructions, might cause
harmful interference to radio communications. However, there is no
guarantee that interference will not occur in a particular installation. If
this equipment does cause harmful interference to radio or television
reception, which can be determined by turning the equipment off and
on, the user is encouraged to try to correct the interference by one or
more of the following measures:
•Reorient or relocate the receiving antenna.
•Increase the separation between the equipment and receiver.
•Connect the equipment into an outlet on a circuit different from
that to which the receiver is connected.
•Consult the dealer or an e perienced radio/TV technician for help。
•This device and its antenna(s) must not be co-located or operating
in conjunction with any other antenna or transmitter.
S431 OEM V2 7

4 Application
4 Application
The S431 OEM Pitot Tube Compressor Flow Meter (Inline) is designed to
measure the air delivery of a compressor. It can be installed at the
discharge side inside the compressor where wet and contaminated air
occurs.
The S431 can measure the following parameters for compressed air or
gases:
Parameter Default unit
Actual velocity m/s
Volumetric flow m3/h
Pressure bar
Total consumption m3
Temperature °C
5 Features
•Measurement of flow, pressure, and temperature at the
compressor outlet
•Measurement of wet air and air at high temperatures
•Calculation of total consumption
•No straight piping required, - if the S431 is calibrated on the
compressor test bench
•Easy to install on welding nipples
•Rugged design for harsh environment: ambient temperatures up
to 90°C, vibration proof
•No mechanical wear parts
•One flow meter for DN50 ... DN900
•User calibration through mobile App at the compressor test bench
•Analogue and pulse outputs or Modbus/RTU
8 S431 OEM V2

6 Technical Data
6 Technical Data
6.1 General Data
FCC ID:
Flow
Accuracy * 1.5% of reading ±0.3% FS
Selectable units
Volumetric Flow:
Mass Flow:
Actual Velocity:
m³/h, m³/min, l/min, l/s, cfm
kg/h, kg/min, kg/s, t/h, lb/h
m/s, ft/min
Measuring range See the table in section 6.4.
Repeatability 0.5 % of reading
Sensor Differential pressure sensor with pitot tube
Sampling rate 3/sec
Turndown ratio 10:1
Response time (t90) 2 sec
Consumption
Selectable units m³, ft3, t, lb, l, kg
Pressure
Accuracy 0.5 % FS
Selectable units bar, psi, kPa, MPa
Measuring range 0 ... 1.6 MPa(g)
Sensor Piezzo resistive sensor
Temperature
Accuracy 0.5°C
Selectable units °C, °F
Measuring range -40 ... +230 °C
Sensor Pt1000
Reference conditions
Selectable conditions 20°C 1000 mbar (ISO1217)
0°C 1013 mbar (DIN1343)
freely adjustable
S431 OEM V2 9

6 Technical Data
6.2 Signal / Interface and Supply
Analog output
Signal 4 ... 20 mA
Scaling 0 ... ma flow
Load 250R
Update rate 1/sec
Pulse output
Signal Ma 30 V, 200 mA
Scaling 1 pulse per consumption unit
Fieldbus
Protocol Modbus/RTU
Supply
Power supply 12 ... 36 VDC; 60 mA, 1.5 W
6.3 General Data
Configuration
Wireless S4C-FS App for mobile phones
Material
Housing PC + ABS
Wetted parts Stainless steel 1.4404 (SUS 316L)
Miscellaneous
Electrical connection 1 M12 (5-pole)
Protection class IP65
Approvals CE, RoHS, FCC
Process connection M32 1.5 mm welding nipple
Weight 1.7 kg
Operating conditions
Medium Wet/dry air, other gases
Medium quality Non corrosive
Medium temperature -20 ... +120 °C
Medium humidity No requirements
Operating pressure 0 ... 1.6 MPa(g)
Ambient temperature -20 ... +85°C
10 S431 OEM V2

6 Technical Data
Ambient humidity <95 % rH
Storage temperature -30 ... 70°C
Transport temperature -30 ... 70°C
Pipe sizes ≥DN50
* The specified accuracy is valid only within the minimum and ma imum flows
that are indicated in section 6.4.
6.4 Flow Ranges
The stated measuring ranges under following conditions:
•Standard flow in air
•Reference pressure: 1000 mbar
•Reference Temperature: +20°C
Tube Volumetric Flow
Inch mm
m³/h m³/min cfm
Min Max Min Max Min Max
2” 53.1 121 1,298 2.0 21.6 71 764
2½” 68.9 206 2,218 3.4 37 121 1,305
3” 80.9 287 3,084 4.8 51 169 1,815
4” 100 443 4,760 7.4 79 261 2,802
5” 125 697 7,500 11.6 125 410 4,414
6” 150 1,009 10,853 16.8 181 594 6,387
8” 200 1,812 19,482 30.2 325 1,066 11,465
10” 250 2,833 30,465 47.2 508 1,667 17,929
12” 300 4,079 43,870 68 731 2,401 25,818
Remark:
•The flow is calculated based on medium conditions of air at 6
bar(g), 70 °C, and 90% humidity.
•The flow measurement range is related to the actual inner
diameter of the installed pipe. Differences in the inner diameter
will result in different ma imum and minimum flow values. The
e act range can be calculated using Flow Range software, which
can be downloaded from www.suto-itec.com.
S431 OEM V2 11

8 Installation
8 Installation
Before you install the flow meter, make sure that all components listed
below are included in your package.
Qty Description Order No.
1 S431 OEM Pitot Tube
Compressor Flow Meter (Inline) S695 4312
1 Output option
Analog / Pulse
Modbus/RTU
A4314
A4315
1 O-ring NA
1 M12 cable 5 m with open ends A553 0104
1 Instruction manual NA
1 Calibration certificate NA
Remark: For the various installations welding nipples are available and
need to be ordered separately.
8.1 Installation Options
There are 2 installation options:
•Installation inside compressors
This installation requires a calibration of the S431 together with
the compressor in the test stand of compressor maker. For
information about how to calibrate, see the section 9.2.4
Calibration inside Compressor.
•Installation outside compressors
This installation requires a straight pipe of a certain length. For
information about the straight pipe requirements, see the section
8.2 Inlet and Outlet Sections.
8.2 Inlet and Outlet Sections
Unhindered flow characteristics are achieved if the section in front of the
flow meter (inlet) and behind the flow meter (outlet) are sufficiently
long, absolutely straight, and free of obstructions such as edges, seams,
curves, and so on.
Make sure that enough space e ists at your site for an adequate
installation as described in this manual.
S431 OEM V2 13

8 Installation
ATTENTION!
The wrong measurement might occur if the flow
meter is not installed correctly.
•Pay careful attention to the design of the inlet and outlet sections.
Obstructions can cause counter-flow turbulence as well as
turbulence in the direction of the flow.
•The flow meter is for indoor use only! At an outdoor installation,
the flow meter must be protected from solar radiation and rain.
Remark: If there is any combination of the following situations, the
longest straight inlet section must be maintained.
Expansion Reduction
90° Bend 2×90° Bend
14 S431 OEM V2

8 Installation
Three dimensional Bend T-piece
Shut-off valve Filter or similar unknown objects)
8.3 Welding Nipple and Welding Fixture
In order to install the flow meter, first a hole must be made as follows:
•The diameter of the hole is 18 mm for the installation in a
horizontal pipe.
•The diameter of the hole is 21 mm for the installation in a vertical
pipe.
Then a welding nipple will be welded onto the pipe. There are 4 types
available:
Order No. Description
A4310 Welding nipple DN50 ... DN80 for horizontal pipes installation
A4311 Welding nipple DN100 ... DN900 for horizontal pipes installation
A4312 Welding nipple DN50 ... DN80 for vertical pipes installation
A4313 Welding nipple DN100 ... DN900 for vertical pipes installation
S431 OEM V2 15

8 Installation
In addition, you also can use the customized welding fi ture for welding
processing to get the best positioning and welding quality, as shown
below.
Welding fi ture in a horizontal pipe Welding fi ture in a vertical pipe
The types of the welding fi tures and their order numbers are as
follows:
Order No. Description
A695 4310 Welding fi ture DN50 ... DN80 for horizontal pipe
installation
A695 4311 Welding fi ture DN100 ... DN900 for horizontal pipe
installation
A695 4312 Welding fi ture DN50 ... DN80 for vertical pipe installation
A695 4313 Welding fi ture DN100 ... DN900 for vertical pipe
installation
S431 OEM V2 17

8 Installation
8.4 Remove Flow Meter
WARNING!
Removing flow meter under pressure can be
dangerous! Be aware that the flow meter can be shot
out if you do not carefully follow the steps described
below!
For your information: Removal of the flow meter is only permitted in a
depressurized state!
Follow the steps below to remove the flow meter:
1. Hold the flow meter.
2. Release the connection nut at the connection thread.
3. Pull out the shaft slowly.
4. The measuring section can be closed with the optional closing cap
so that the system can operate normally during maintenance of
the flow meter.
Follow the steps below to re-install the flow meter after maintenance:
1. Place the O-ring into the recess of the connection nut.
2. Insert the flow meter back to the pipe.
3. Tighten the connection nut.
18 S431 OEM V2

8 Installation
8.5 Electrical Connection
The S431 has a 5-pole M12 connector for power supply and signal
output.
5-pole M12 cable with open ends included
Pin assignment connector plug M12 5-pole)
Output Pin 1 Pin 2 Pin 3 Pin 4 Pin 5
Analog/Pulse +I -VB+VBSW SW
Modbus GNDM-VB+VBD+ D-
Wire color Brown White Blue Black Grey
Legend for pin assignment
GNDMGround for Modbus/RTU
-VBNegative supply voltage
+VBPositive supply voltage
+I Positive 4 … 20 mA signal
SW Isolated pulse output (switch)
D+ Modbus/RTU data +
D- Modbus/RTU data -
N/A Not applicable
ATTENTION!
Do not screw the M12 connector using force.
Otherwise it might damage the connection pins.
S431 OEM V2 19

9 Configuration
9 Configuration
After installing the flow meter, you can change the sensor settings as
needed, using the Service App S4C-FS.
Search and installation of the S4C-FS are as follows:
1. On your smart phone, download the S4C-FS app from Google Play
Store or from the SUTO website.
2. Install S4C-FS.
9.1 Register
Before using the S4C-FS App, you must register. Only registered users
are able to modify settings. Please get in touch with SUTO service team
and provide the required registration information.
9.2 Use Service App S4C-FS
The S4C-FS is an Android and iOS App that enables you to view
measurement readings, change settings and perform calibrations on the
S431.
Preparation:
Power on the S431.
As a registered user you can
access the flow meter through a
wireless connection immediately. If
you are not a registered user you
need to scan the QR code on the
calibration certificate.
Scan QR Code:
In the System menu select Scan
QR Code.
After scanning the QR code signal
icon changes from Orange to
Green.
After finishing this step you can
return to the online screen and see
online values.
20 S431 OEM V2
Other manuals for S431 OEM
1
Table of contents
Other SUTO Measuring Instrument manuals