manuals.online logo
Brands
  1. Home
  2. •
  3. Brands
  4. •
  5. Target
  6. •
  7. Indoor Furnishing
  8. •
  9. Target hamilton User manual

Target hamilton User manual

© 2019 Target. The Bullseye Design is a trademark of Target Brands, Inc. All rights reserved.
>>
hamilton
desk
assembly instructions
style # DSHAMDSKBK (ebony)
dpci # 249-14-1416
tcin # 17315137
style # HTDESKXXWH (white)
dpci # 249-14-0251
tcin # 13906360
style # HTDESKXXBR (sienna)
dpci # 249-14-0187
tcin # 13821566
2
Congratulations on your latest Target purchase.
Now what? Don’t start sweating over this box of parts. This will be easy. We did the hard work for you.
All you need to do is follow our simple instructions and you’ll be on your way to transforming your
room in no time. Good luck—though we’re condent you won’t need it.
before you begin
1. Check for damaged or missing parts. Call 1-855-MYTGTHOME (855-698-4846) to order missing supplies.
2. Use the carton as a working surface to prevent product damage during assembly.
3. Read through and review assembly steps.
4. Gather all tools prior to assembly.
tools needed
3
table of contents
introduction 2
hardware 4
parts list 5
how to use the cam lock system 6
assembly 7-16
QUESTIONS? Just call 1-855-MYTGTHOME (855-698-4846) for parts and service. For faster service, have the style number and dpci number ready when calling.
4
hardware
(H1) x 30
wooden dowel
(H2) x 22
cam bolt
(H3) x 22
cam
(H4) x 8
at head screw
(H5) x 2
knob bolt
(H6) x 2
knob
(H7) x 2
small cam
(H8) x 2
small cam bolt
(H9) x 1
mini screwdriver
(H10) x 2
pan head screw
(H11) x 1
19mm pan head screw
(H12) x 1
wall strap
(H13) x 1
wall anchor
(H14) x 1
38mm wall screw
(H15) x 2
5/8” washer
5
exploded diagram
ITEM DESCRIPTION QUANTITY
A top panel 1
B left side frame 1
C right side frame 1
D left drawer side support 1
E right drawer side support 1
F front left panel 1
G front right panel 1
H back panel 1
I lower back rail 1
J drawer back 1
K left drawer side 1
L right drawer side 1
M drawer bottom 1
N drawer support 1
O drawer face 1
how to use the cam lock system
1.
Screw cam bolt into panel
2.
Align cam bolt(s) with cam(s)
and insert all the way into
cross-bored hole(s)
3.
Push cam into panel - arrow feature
on cam top points to panel edge
4.
Rotate cam(s) clockwise 180° to
lock panels together
5.
Panels should be tight against each
other and connection should be rigid
6
1. 2. 3.
4. 5.
7
step 1: attach front panels and drawer side supports to back panel
(H1) x 8
wooden dowel
(H2) x 4
cam bolt
(H3) x 4
cam
(H9) x 1
mini screwdriver
1.1. Carefully tap small wooden dowels into place. Leave 1/2” of the dowels sticking out.
1.2. Screw-In cam bolts must be screwed down ush.
1.3. Refer to page 6 for instructions on how to use the cam lock system.
1.4. Do not over tighten bolts.
8
step 2: attach top panel
(H1) x 2
wooden dowel
(H2) x 8
cam bolt
(H3) x 8
cam
(H9) x 1
mini screwdriver
2.1. Carefully tap small wooden dowels into place. Leave 1/2” of the dowels sticking out.
2.2. Screw-In cam bolts must be screwed down ush.
2.3. Refer to page 6 for instructions on how to use the cam lock system.
2.4. Do not over tighten bolts.
9
step 3: attach left side frame and lower back rail
(H1) x 8
wooden dowel
(H2) x 5
cam bolt
(H3) x 5
cam
(H9) x 1
mini screwdriver
3.1. Carefully tap small wooden dowels into place. Leave 1/2” of the dowels sticking out.
3.2. Screw-In cam bolts must be screwed down ush.
3.3. Refer to page 6 for instructions on how to use the cam lock system.
3.4. Do not over tighten bolts.
10
step 4: attach right side frame
(H1) x 8
wooden dowel
(H2) x 5
cam bolt
(H3) x 5
cam
(H9) x 1
mini screwdriver
(H10) x 2
pan head screw
4.1. Carefully tap small wooden dowels into place. Leave 1/2” of the dowels sticking out.
4.2. Screw-In cam bolts must be screwed down ush.
4.3. Refer to page 6 for instructions on how to use the cam lock system.
4.4. Do not over tighten bolts.
4.5. Do not over tighten screws.
11
step 5: attach left and right drawer sides to drawer face
(H4) x 4
at head screw
5.1. Align screws with pre-drilled holes.
5.2. Do not over tighten screws.
12
step 6: attach drawer support
(H1) x 2
wooden dowel
(H8) x 1
small cam bolt
(H7) x 1
small cam
(H9) x 1
mini screwdriver
6.1. Carefully tap small wooden dowels into place. Leave 1/2” of the dowels sticking out.
6.2. Screw-In cam bolts must be screwed down ush.
6.3. Refer to page 6 for instructions on how to use the cam lock system.
6.4. Do not over tighten bolts.
Carefully tap small wooden dowels into place. Leave 1/2” of the dowels sticking out.
step 7: attach drawer back
(H1) x 2
wooden dowel
(H8) x 1
small cam bolt
(H7) x 1
small cam
(H4) x 4
at head screw
(H9) x 1
mini screwdriver
7.1. Carefully tap small wooden dowels into place. Leave 1/2” of the dowels sticking out.
7.2. Screw-In cam bolts must be screwed down ush.
7.3. Refer to page 6 for instructions on how to use the cam lock system.
7.4. Align screws with pre-drilled holes.
7.5. Do not over tighten screws.
Carefully tap small wooden dowels into place. Leave 1/2” of the dowels sticking out.
14
step 8: attach knobs
(H5) x 2
knob bolt
(H6) x 2
knob
8.1. Align bolts with pre-drilled holes.
8.2. Do not over tighten bolts.
15
step 9: install drawer
step 10: install anti-tip kit
(H11) x 1
19mm pan head screw
(H12) x 1
wall strap
(H15) x 2
5/8” washer
(H13) x 1
wall anchor
(H14) x 1
38mm wall screw
Position against wall
Mark position of strap hole on
wall
Drill 1/4’’ hole
Tap in wall anchor
Fasten anti-tip strap
with at-head screw provided
16
(H12)
(H15)
(H11)
(H14) (H15)
(H13)
(H14) (H15)
(H13)
WARNING
Serious or fatal crushing injuries can occur
from furniture tip-over. To help prevent
tip-over:
• Install tip-over restraint provided.
• Place heaviest items
in
the lowest drawers.
• Do not set TV's or other heavy objects
on
top
of
this product, unless the product is
specifically designed to accommodate them.
• Never allow children to climb or hang
on
drawers,
doors, or shelves.
• Never open more than one drawer at a time.
(OR)
• Do not defeat or remove the drawer interlock
system .
Use of tip-over restraints may only reduce,
but not eliminate, the risk of tip-over.
This is a permanent label. Do not remove.
1. This unit has been designed for the weight shown. Exceeding this recommended weight could result in
excessive “sagging” of the top. Extreme overloading can cause failure of the top and possible injury.
2. Furniture Care Instructions: Dust with a clean, lint-free cloth. Use a spray furniture polish as needed.
17
100 lbs.
drawer weight limit 15 lbs.
QUESTIONS? Just call 1-855-MYTGTHOME (855-698-4846) for parts and service. For faster service, have the style number and DPCI number ready when calling.
© 2019 Target. The Bullseye Design is a trademark of Target Brands, Inc. All rights reserved.

This manual suits for next models

3

Other Target Indoor Furnishing manuals

Target Made By Design Horizontal Bookcase User manual

Target

Target Made By Design Horizontal Bookcase User manual

Target Mulberry FRS60721-2 User manual

Target

Target Mulberry FRS60721-2 User manual

Target 4PC GALENA COUNTER HEIGHT SET 64414WHT User manual

Target

Target 4PC GALENA COUNTER HEIGHT SET 64414WHT User manual

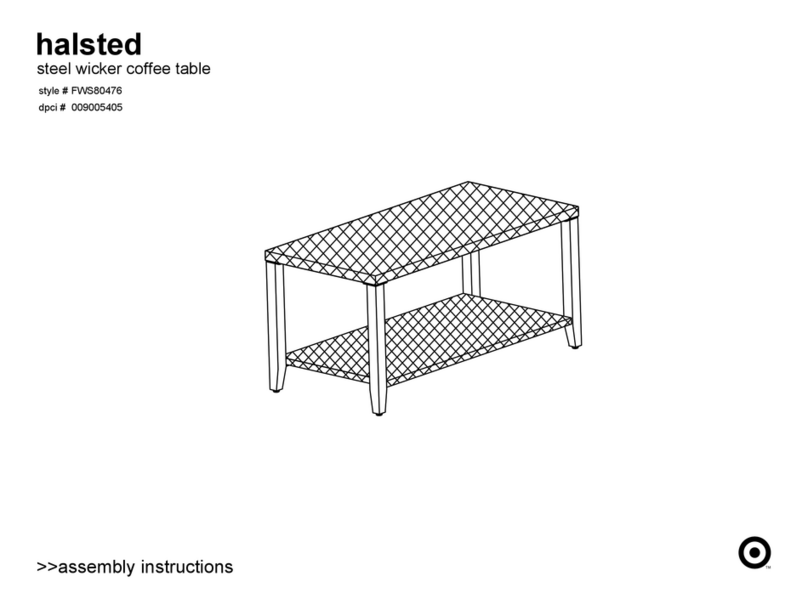
Target Halsted FWS80476 User manual

Target

Target Halsted FWS80476 User manual

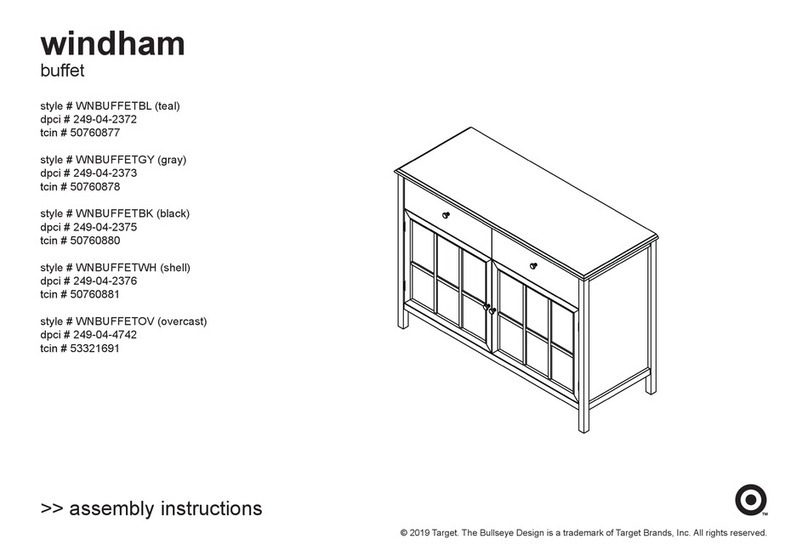
Target Windham User manual

Target

Target Windham User manual

Target 6-Cube User manual

Target

Target 6-Cube User manual

Target Halsted FRS80712GST3 User manual

Target

Target Halsted FRS80712GST3 User manual

Target CAPRI 1800 User manual

Target

Target CAPRI 1800 User manual

Target osa DA7874 User manual

Target

Target osa DA7874 User manual

Target Halsted FRS80712GST4 User manual

Target

Target Halsted FRS80712GST4 User manual

Target Warwick FKWWCB2DBR User manual

Target

Target Warwick FKWWCB2DBR User manual

Target 3-2-1 Cube User manual

Target

Target 3-2-1 Cube User manual

Target lemoor UPBRSOKD01 User manual

Target

Target lemoor UPBRSOKD01 User manual

Target Windham WNTLCBDWWH User manual

Target

Target Windham WNTLCBDWWH User manual

Target BALI SINGLE SEATER User manual

Target

Target BALI SINGLE SEATER User manual

Target dinsmoor UPVISDNC01 User manual

Target

Target dinsmoor UPVISDNC01 User manual

Target fairglen User manual

Target

Target fairglen User manual

Target Warwick side table FKWWSDTBBR User manual

Target

Target Warwick side table FKWWSDTBBR User manual

Target 32 ARCHES CABINET User manual

Target

Target 32 ARCHES CABINET User manual

Target warwick FKWWCNTBBR User manual

Target

Target warwick FKWWCNTBBR User manual

Target BK5SHLFXEB User manual

Target

Target BK5SHLFXEB User manual

Target Wiley TGZLCB2DWH User manual

Target

Target Wiley TGZLCB2DWH User manual

Target 249-14-0040 User manual

Target

Target 249-14-0040 User manual

Target AKIRA User manual

Target

Target AKIRA User manual

Popular Indoor Furnishing manuals by other brands

CAHABA JUNIPER 60 installation manual

CAHABA

CAHABA JUNIPER 60 installation manual

Superfront TOP BESTA Mounting instructions

Superfront

Superfront TOP BESTA Mounting instructions

EDN reale manual

EDN

EDN reale manual

Home affaire 791946 Assembly instructions

Home affaire

Home affaire 791946 Assembly instructions

Global Contract Compile installation manual

Global Contract

Global Contract Compile installation manual

Mocka Avoca manual

Mocka

Mocka Avoca manual

IKEA MALM manual

IKEA

IKEA MALM manual

Next Amberley Robe 873104 Assembly instructions

Next

Next Amberley Robe 873104 Assembly instructions

JR SWINGLINE PUMA installation guide

JR

JR SWINGLINE PUMA installation guide

LEMI JOLLY Assembling Instruction

LEMI

LEMI JOLLY Assembling Instruction

Eureka Ergonomic PYTHON II ERK-GC08-BU manual

Eureka Ergonomic

Eureka Ergonomic PYTHON II ERK-GC08-BU manual

Habitat Trio 908656 quick start guide

Habitat

Habitat Trio 908656 quick start guide

RTA TVM-060 Assembly instructions

RTA

RTA TVM-060 Assembly instructions

ROOMS TO GO SYNE K2111-73PHR-Air Assembly instructions

ROOMS TO GO

ROOMS TO GO SYNE K2111-73PHR-Air Assembly instructions

VITRA Airline Assembly instructions

VITRA

VITRA Airline Assembly instructions

Home Decorators Collection FRS50627F Use and care guide

Home Decorators Collection

Home Decorators Collection FRS50627F Use and care guide

aspenhome I224-307 Assembly instructions

aspenhome

aspenhome I224-307 Assembly instructions

Bouclair 9400421 Assembly instructions

Bouclair

Bouclair 9400421 Assembly instructions

manuals.online logo
manuals.online logoBrands
  • About & Mission
  • Contact us
  • Privacy Policy
  • Terms and Conditions

Copyright 2025 Manuals.Online. All Rights Reserved.