manuals.online logo
Brands
  1. Home
  2. •
  3. Brands
  4. •
  5. Teknion
  6. •
  7. Indoor Furnishing
  8. •
  9. Teknion INTERPRET WORK TABLE Operating and maintenance instructions

Teknion INTERPRET WORK TABLE Operating and maintenance instructions

Beginning Work Table (WWTWB) Part and Product Identification
Section:
Description: Page No:
Date:
Rev. No: 1
BEGINNING WORK TABLE AND FINISH WORK TABLE - CURVED LEG
TABLES
Jan 2018 1 of 14
INT_504b
interpret
Installation Guides
AK1 - Worksurface for Beginning
Table with Cut-out
(C05-7490) x 1
or
AK2 - Worksurface for Beginning
Table without Cut-out
(C05-7356) x 1
AC -Centre Spacer
(A16-1652) x1
AE -1/4-20x5/8
Mach. Screw
(E01-0098) x4
AD -Mid Gable
Center Spacer
(A16-1653) x1
AI -Flush Plate
(A15-6948) x 1
AJ -#10 x .875" LG.
Quad Pan Screw
(E07-0077) x4
AF3 -5/16-18 Hex
Nut 1/2 A/F
.265 Thick
(E01-0755) x16
AF1 -Transverse Beam
Sub-Assembly
(N02-1935) x2
AF2 -5/16-18x2.5 Soc
Head Cap Screw
(E01-0756) x16
AG -1/4-20 x 3 -1/2
Flat Hd, Mac Sc.
(E01-0771) x4
AH -Front Standoff
(B02-0381)
widths 48"-72" x2
widths 72"-96" x4
AB1 -Mid Gable
(N02-2053) x1
AB2 -Leveler Cover
(A23-3670) x2
AB3 -End Cap
(B02-0389) x2
or Curve Leg with
Wood Infill
(N02-2365) x1
AB2
AB1
AC
AA1
AI
AD
AH
AF1
AB3
AK1
Beginning Table - Curve Leg with
Glass infill shown.
Pre assembled
AA1 -Curve Leg with
Glass Infill
(N02-2349) x1
AA2 -Curve Leg
Add-on Puck
(A18-0242) x8
or Curve Leg
Open
(N02-2363) x1
or
AK3 - Worksurface for Beginning
Table with CALA Cut-out
(C07-2519) x 1
Finish Work Table (WWTWF) Part and Product Identification
Section:
Description: Page No:
Date:
Rev. No: 1
BEGINNING WORK TABLE AND FINISH WORK TABLE - CURVED LEG
TABLES
Jan 2018 2 of 14
INT_504b
interpret
Installation Guides
BB
BI1 -Worksurface for Final
Table with Cut-out
(C05-7740) x 1
or
BI2 -Worksurface for Final
Table without Cut-out
(C05-7739) x 1
BB -Center Spacer
(A16-1652) x1
BC -1/4-20x5/8
Mach. Screw
(E01-0098) x2
BD -Flush Plate
(A15-6948) x 1
BH- #10 x .875" LG.
Quad Pan Screw
(E07-0077) x4
BE3 -5/16-18 Hex
Nut 1/2 A/F
.265 Thick
(E01-0755) x16
BE1 -Transverse Beam
Sub-Assembly
(N02-1935) x2
BE2 -5/16-18x2.5 Soc
Head Cap Screw
(E01-0756) x16
BF -1/4-20 x 3 -1/2
Flat Hd, Mach Sc.
(E01-0771) x4
BG -Front Standoff
(B02-0381)
widths 48"-72" x2
widths 48"-96" x4
or Curve Leg with
Wood Infill
(N02-2365) x1
BA1 -Curve Leg with
Glass Infill
(N02-2349) x1
BA2 -Curve Leg
Add-on Puck
(A18-0242) x8
or Curve Leg Open
(N02-2363) x1
Pre assembled
BG
BE1
BA1
BI1
BD
or
BI3 -Worksurface for Final
Table with CALA Cut-out
(C07-2513) x 1
Section:
Description: Page No:
Date:
REMOVE MOUNTING NUTS AND SCREWS
Jan 2018 3 of 14
INT_504b
BEGINNING WORK TABLE AND FINISH WORK TABLE - CURVED LEG
TABLES
interpret
Installation Guides
STEP 1: Remove Nuts and Screws as shown on Illustration from Beginning Transverse Beams. Save Screws and Nuts for future installation.
Do Not
Remove
Do Not
Remove
AF3
AF2
AF1
AF1
AF2
AF3
End Gable Connection
Mid Gable Connection
AF1
Section:
Description: Page No:
Date:
DETAIL
Jan 2018 4 of 14
INT_504b
BEGINNING WORK TABLE AND FINISH WORK TABLE - CURVED LEG
TABLES
interpret
Installation Guides
End Gable Connection
For Work Table Beginning Transverse Beams
Mid Gable Connection
Section:
Description: Page No:
Date:
CONNECT CURVE LEG GABLE AND BEAMS SECURE WITH FASTENERS
INT_504b
5 of 14
Jan 2018
BEGINNING WORK TABLE AND FINISH WORK TABLE - CURVED LEG
TABLES
interpret
Installation Guides
STEP 2: Remove all Leveler Pucks from Curve Leg. Connect Curve Leg Gable and Mid Gable
with Transverse Beams. Line up the set of holes on the top of Mid Gables with Clamp Brackets
holes as shown.
AB1
AF1
AA1
AA1
AA2
STEP 3: Fasten together using Socket Cap Screw and Nuts. Level and square the whole
assembly. Tighten Screws and Nuts. Inset Standoffs and Mid Gable End Caps.
NOTE: Make sure the lids open to the sides.
AF2
AF3
AH
(Side View)
AF1
NOTE: Reverse
screws and nuts
when Curve Leg
does not has
infill.
AB3
AH
Section:
Description: Page No:
Date:
REMOVE MOUNTING NUTS AND SCREWS
Jan 2018 6 of 14
INT_504b
BEGINNING WORK TABLE AND FINISH WORK TABLE - CURVED LEG
TABLES
interpret
Installation Guides
STEP 4: Remove Nuts and Screws as shown on Illustration from Transverse Beams. Save Screws and Nuts for future installation.
Do Not
Remove
Do Not
Remove
BE3
BE2
BE1
BE1
BE2
Mid Gable Connection
End Gable Connection
CE1
Section:
Description: Page No:
Date:
DETAIL
Jan 2018 7 of 14
INT_504b
BEGINNING WORK TABLE AND FINISH WORK TABLE - CURVED LEG
TABLES
interpret
Installation Guides
End Gable Connection
Mid Gable Connection
Section:
Description: Page No:
Date:
CONNECT FINAL GABLE AND BEAMS
Jan 2018 8 of 14
INT_504b
BEGINNING WORK TABLE AND FINISH WORK TABLE - CURVED LEG
TABLES
interpret
Installation Guides
BE1
Finish Gable (CA1)
BA1
BA2
STEP 5: Remove Pucks from Curve Leg Gable. Then bring Curve Leg and Transverse Beams Assemblies to the Work Table Middle Frame. Line up the set of holes on the top of Gable Mid
Curve Leg Gable with Clamp Brackets holes.
End Gable
Connection
Beginning Work Table frame
Mid Gable
Connection
BA1
Section:
Description: Page No:
Date:
SECURE WITH FASTENERS
Jan 2018 9 of 14
INT_504b
BEGINNING WORK TABLE AND FINISH WORK TABLE - CURVED LEG
TABLES
interpret
Installation Guides
BG
STEP 6: Fasten together using Socket Cap Screw and Nuts.
NOTE: Reverse
screws and nuts
when Curve Leg
does not has
infill.
BE2
BE3
Section:
Description: Page No:
Date:
INSTALL PUCKS AND LEVELER COVERS, TIGHTEN SCREWS
Jan 2018 10 of 14
INT_504b
BEGINNING WORK TABLE AND FINISH WORK TABLE - CURVED LEG
TABLES
interpret
Installation Guides
STEP 7: Level and square the whole assembly. Tighten Screws and Nuts. Lock levelers. Carefully Lift the frame and install Leveler Covers and Pucks.
BA2
AB2
AA2
NOTE: Pucks have to be
FULLY ENGAGED and
there should be no space
between Pucks and the bottom
of the Curved Leg Frame
Use string to
align holes
Section:
Description: Page No:
Date:
INSTALL WORKSURFACE SPACERS
Jan 2018 11 of 14
INT_504b
BEGINNING WORK TABLE AND FINISH WORK TABLE - CURVED LEG
TABLES
interpret
Installation Guides
STEP 8: Install Spacers to underside of Worksurfaces for the Beginning and Finish Table as shown in illustration above. Use pilot holes for location.
BB
AK1
BI1
BC
AD
AE
Beginning Worksurface
Finish Worksurface
AC
AE
AK1
Section:
Description: Page No:
Date:
LOWER BEGINNING WORKSURFACE TO FRAME AND SECURE IN PLACE
Jan 2018 12 of 14
INT_504b
BEGINNING WORK TABLE AND FINISH WORK TABLE - CURVED LEG
TABLES
interpret
Installation Guides
AK1
AA1
AG
AG
AK1
STEP 9: Lower Worksurface for Beginning Table onto fBeginning Table rame. Make sure Spacers engage into rop of Curve Leg and Mid Gable. NOTE: Mid Gable Connections have the pilot holes located closer the
the work surface end. Secure the worksurface with appropriate screws.
AG
AK1
Underside View
Pilot hole to
be used for End
Gable Connection
Pilot hole to
be used for Mid
Gable Connection
Section:
Description: Page No:
Date:
LOWER WORKSURFACE TO FRAME AND SECURE
Jan 2018 13 of 14
INT_504b
BEGINNING WORK TABLE AND FINISH WORK TABLE - CURVED LEG
TABLES
interpret
Installation Guides
STEP 10: Lower Worksurface for Finish Table onto Finish Table frame. Make sure Spacer rests on Top of Curve Leg. NOTE: Mid Gable Connections have the pilot holes located closer the the work surface end.
Secure the worksurface with appropriate screws.
Underside View
BI1
BF
Pilot hole to
be used for Mid
Gable Connection
Pilot hole to
be used for Curve
Leg Connection
AE
Section:
Description: Page No:
Date:
INSTALL FLUSH PLATE
Jan 2018 14 of 14
INT_504b
BEGINNING WORK TABLE AND FINISH WORK TABLE - CURVED LEG
TABLES
interpret
Installation Guides
STEP 11: Install Flush Plate to underside of Worksurface and secure with appropriate screws.
Underside View
Finish Table
Beginning End Gable
BH
BD
AJ
AI
Beginning Table
AJ

Other Teknion Indoor Furnishing manuals

Teknion zones Operating and maintenance instructions
Teknion

Teknion zones Operating and maintenance instructions

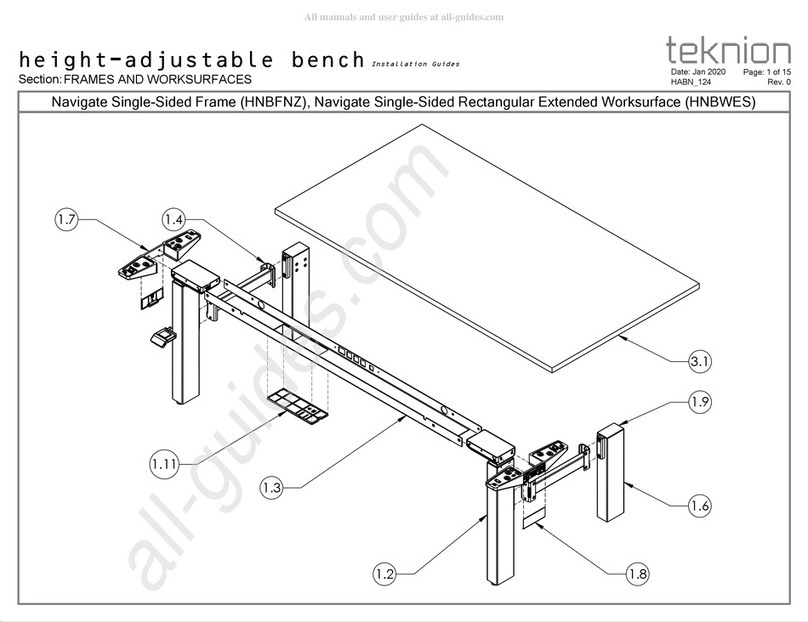
Teknion Navigate Single-Sided Frame HNBFNZ User manual

Teknion

Teknion Navigate Single-Sided Frame HNBFNZ User manual

Teknion Casegoods BC MHRB User manual

Teknion

Teknion Casegoods BC MHRB User manual
Teknion HTSFT User manual

Teknion

Teknion HTSFT User manual
Teknion expansion cityline hiSpace Quick Connect 120 HA Mechanism... User manual

Teknion

Teknion expansion cityline hiSpace Quick Connect 120 HA Mechanism... User manual
Teknion HWBEWT Operating and maintenance instructions
Teknion

Teknion HWBEWT Operating and maintenance instructions
Teknion UNSF User manual

Teknion

Teknion UNSF User manual

Teknion PUNT Stockholm Storage Operating and maintenance instructions

Teknion

Teknion PUNT Stockholm Storage Operating and maintenance instructions

Teknion B_MDWO Operating and maintenance instructions

Teknion

Teknion B_MDWO Operating and maintenance instructions
Teknion RMSRL Operating and maintenance instructions

Teknion

Teknion RMSRL Operating and maintenance instructions
Teknion HNBFNZ User manual

Teknion

Teknion HNBFNZ User manual

Teknion marketplace Series Operating and maintenance instructions
Teknion

Teknion marketplace Series Operating and maintenance instructions

Teknion COMPLEMENTS NAVIGATE TABLE - ELECTRIC Operating and maintenance instructions

Teknion

Teknion COMPLEMENTS NAVIGATE TABLE - ELECTRIC Operating and maintenance instructions
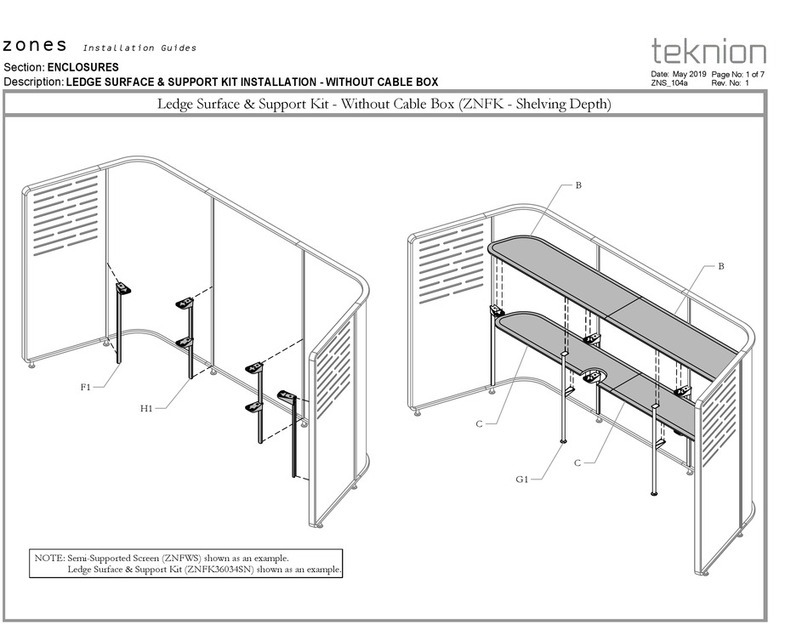
Teknion Ledge Surface & Support Kit - Without Cable... Operating and maintenance instructions

Teknion

Teknion Ledge Surface & Support Kit - Without Cable... Operating and maintenance instructions
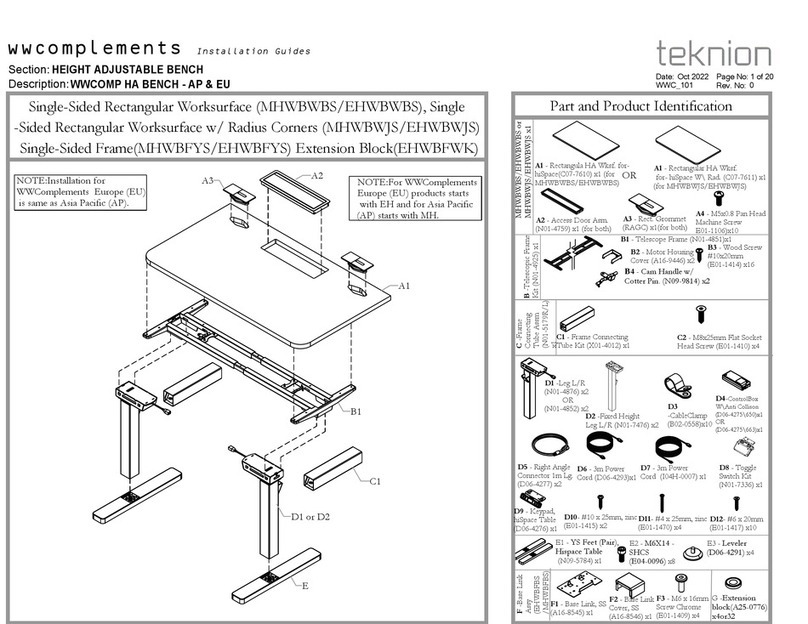
Teknion WWComplements WWCOMP HA Operating and maintenance instructions

Teknion

Teknion WWComplements WWCOMP HA Operating and maintenance instructions
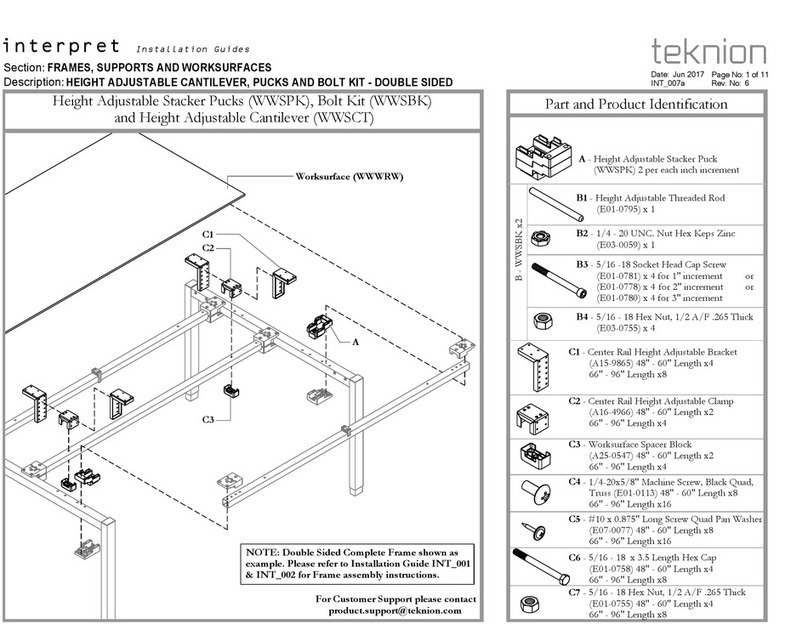
Teknion Interpret Operating and maintenance instructions

Teknion

Teknion Interpret Operating and maintenance instructions
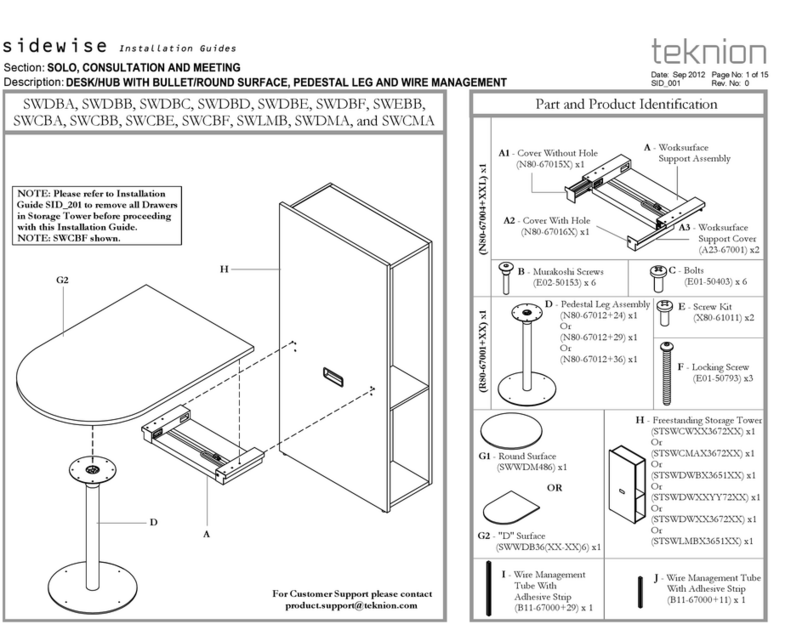
Teknion Sidewise SWDBA User manual

Teknion

Teknion Sidewise SWDBA User manual

Teknion t-3 Owner's manual

Teknion

Teknion t-3 Owner's manual
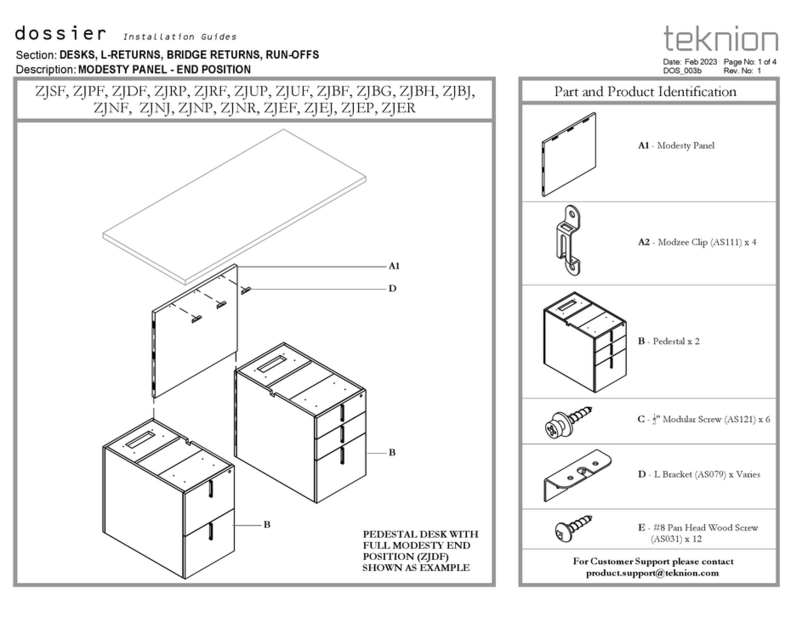
Teknion Dossier ZJSF Operating and maintenance instructions
Teknion

Teknion Dossier ZJSF Operating and maintenance instructions

Teknion Marini Owner's manual

Teknion

Teknion Marini Owner's manual

Teknion Leverage Operating and maintenance instructions

Teknion

Teknion Leverage Operating and maintenance instructions

Teknion BCGRLB User manual

Teknion

Teknion BCGRLB User manual

Teknion CJDG User manual

Teknion

Teknion CJDG User manual

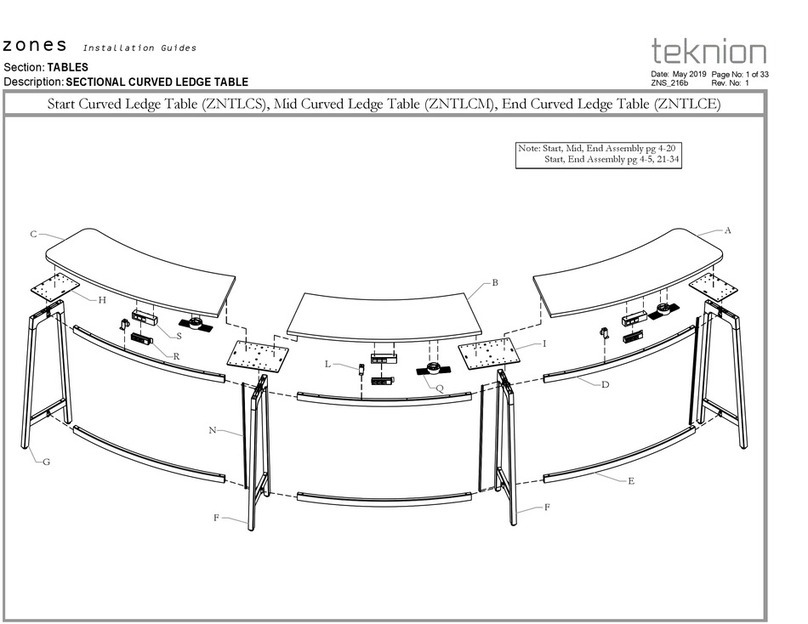
Teknion ZNTLCS Operating and maintenance instructions

Teknion

Teknion ZNTLCS Operating and maintenance instructions

Popular Indoor Furnishing manuals by other brands

Whalen SMXL-6 Assembly manual

Whalen

Whalen SMXL-6 Assembly manual

Argos 457/2156 Care & instruction manual

Argos

Argos 457/2156 Care & instruction manual

Camco 43421 installation instructions

Camco

Camco 43421 installation instructions

Belnick RATTAN TW-VN017-TAN-BK-GG Assembly instructions

Belnick

Belnick RATTAN TW-VN017-TAN-BK-GG Assembly instructions

Coaster 193372GRN Assembly instructions

Coaster

Coaster 193372GRN Assembly instructions

Sigel Sound Balance Mounting instructions and user guide

Sigel

Sigel Sound Balance Mounting instructions and user guide

SOHL FURNITURE RECTANGULAR STORAGE OTTOMAN manual
SOHL FURNITURE

SOHL FURNITURE RECTANGULAR STORAGE OTTOMAN manual

Saint Birch BX7000 Assembly instructions
Saint Birch

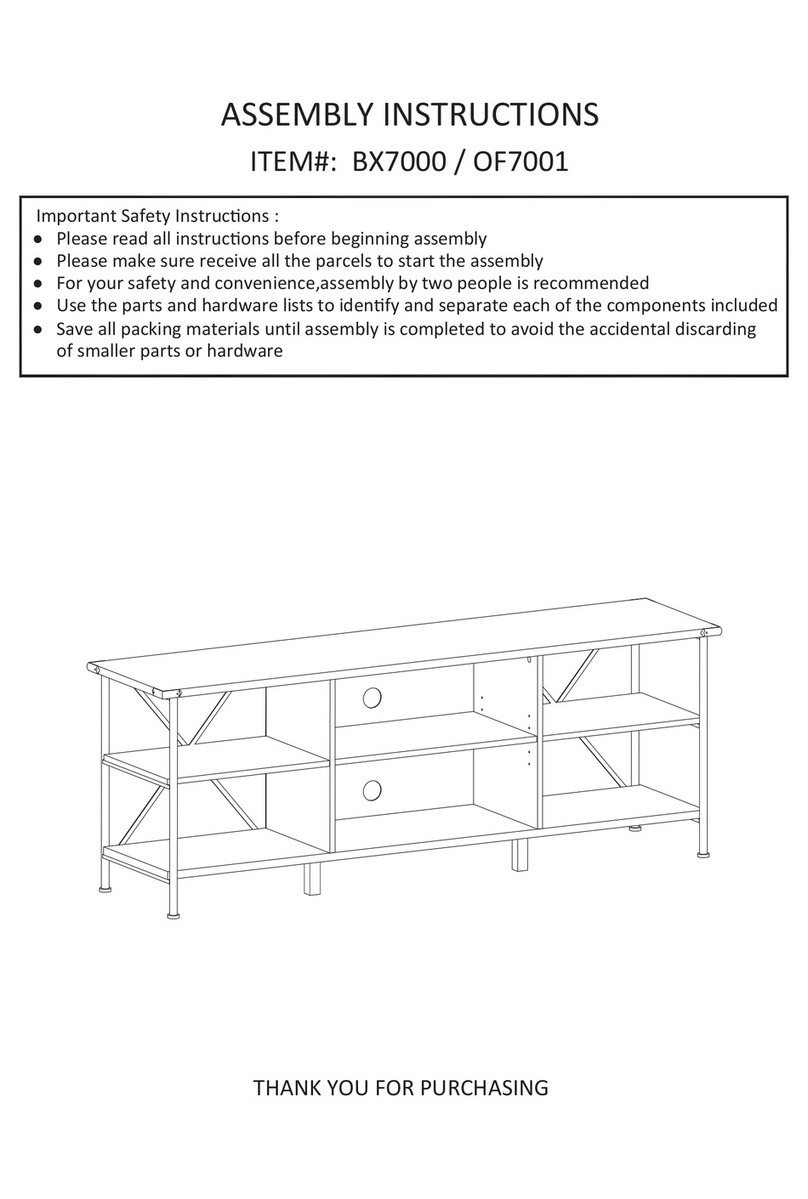
Saint Birch BX7000 Assembly instructions

BLACK RED WHITE LARGO PREG2D1K3S Assembly manual

BLACK RED WHITE

BLACK RED WHITE LARGO PREG2D1K3S Assembly manual

studioduc indi full Assembly instructions
studioduc

studioduc indi full Assembly instructions

Sauder Via Series 401446 manual

Sauder

Sauder Via Series 401446 manual

Kettler Ampelschirm 0306233-0400 operating instructions
Kettler

Kettler Ampelschirm 0306233-0400 operating instructions

Whittier Wood Furniture 2091AFGSPb Assembly instructions
Whittier Wood Furniture

Whittier Wood Furniture 2091AFGSPb Assembly instructions

Drive Deluxe Overbed table with Tilt-top 13008 Assembly & operating instructions

Drive

Drive Deluxe Overbed table with Tilt-top 13008 Assembly & operating instructions

Songmics VASAGLE HSR98 manual

Songmics

Songmics VASAGLE HSR98 manual
modway EEI-2870 manual

modway

modway EEI-2870 manual

Moon Valley M-1601 Assembly instructions

Moon Valley

Moon Valley M-1601 Assembly instructions

Crack MTL31 Assemble Instruction

Crack

Crack MTL31 Assemble Instruction

manuals.online logo
manuals.online logoBrands
  • About & Mission
  • Contact us
  • Privacy Policy
  • Terms and Conditions

Copyright 2025 Manuals.Online. All Rights Reserved.