manuals.online logo
Brands
  1. Home
  2. •
  3. Brands
  4. •
  5. TEMPLE & WEBSTER
  6. •
  7. Indoor Furnishing
  8. •
  9. TEMPLE & WEBSTER Dion User manual

TEMPLE & WEBSTER Dion User manual

ASSEMBLY INSTRUCTIONS
SBDISIBO
Dion Oak Veneer Parquet Buffet Sideboard
Two people required
TEMPLE
WEBSTER
www.templeandwebster.com.au
2021/6/26
Keep these instructions for future reference
Assemble the furniture on a soft level surface to avoid damaging the furniture or
your floor.
Parts of the assembly will be easier with 2 people.
We recommend furniture be assembled near where they will be placed, to avoid
moving the product unnecessarily once assembled.
If there is a need to move the furniture, please remove all loose items and have
extra hands to help lift the furniture to the desired location. Dragging the
furniture will damage both the furniture and the floor.
Regula
Warning: In order to prevent overturning, this product must be used with the wall
attachment device provided.
rly check and re-tighten (if necessary) all bolts on furniture that you have
assembled yourself.
2
Care and Maintenance of your Furniture
Wipe clean with a damp cloth. Use only water or a gentle detergent.
Wipe dry with a clean cloth.
3
Tools Required Time Required
60 min
DO NOT USE Mallet Cross Screwdriver
People Required
Parts List
Top Panel (P1);
Left Side (P2);
Right Side (P3);
Divider Panel (P4);
Base (P5);
Back Panel (P6);
Leg (P7)x4;
Left Door (P8);
Middle Door (P9);
Right Door (P10);
Big Shelf (P11);
Small Shelf (P12);
(P1)
(P6)
(P11)
(P2)
(P4)
(P12)
(P5)
(P3)
(P7)
(P7)
(P8)
(P9)
(P10)
Flat head Screwdriver
Hardware/Fittings
4
Wood Dowel x 12
(H1)
Connecting Bolt x 8
(H2)(H3)(H4)
Locking Nut x 8 Push-to-open Latch x 3
3.5x16mm Screw x 12
8x30mm
(H5)
3.5x16mm Screw x 42
(H6)
Door bumper x 3
(H7)
Hinge x 4
(H8)
Hinge x 2
(H9)
Spring Washer x 8
(H10)
16mm Washer x 8
(H11)
Bracket x 2
(H12)
M6x50mm Bolt x 8
(H13)
5mm Allen Key x 1
(H14)
M8x60mm Bolt x 8
(H15)
10x12mm Nut x 8
(H16)
Shelf Support x 8
(H17)
20mm Felt Pad x 4
(H18)
4mm Allen Key x 1
(H19)
6x44mm 15x12mm
5
1
2
Insert 12 x Wood Dowels into Left Side (P2), Right Side (P3) and Divider Panel (P4).
If necessary, gently tap the wood dowels with a mallet.
H1 x 12
H1
H1
H1
H1
H1
H1
H1
H1
H1
H1
H1
H1
P3
P2
P4
H15 x 8 H10 x 8 H11 x 8 H14 x 1
Attach 4 x Legs (P7) to Base (P5) using 8 x Bolts (H15), 8 x Spring Washers (H10) and 8 x Washers (H11).
Tighten the bolts with Allen Key (H14).
P5
P7
P7
P7
P7
H15
H14
H10
H11
P7
6
3
H13 x 8 H16 x 8 H19 x 1
Attach Left Side (P2), Right Side (P3) and Divider Panel (P4) to Base (P5) using 8 x Bolts (H13) and
8 x Nuts (H16). Tighten the bolts with Allen Key (H19).
H16
H16
H16
H16
H16
H16
H16
H16
H16
H13
H13
H13
H13
H13
H13
H19
P5
H13
H13
H13
P4
P2
P3
7
4
5
H4 x 3
H2 x 8
H6 x 16 H12 x 2
H2
H2 H2
H2
H2
H2
H2
H2
P1
Screw 8 x Bolts (H2) into Top Panel (P1).
Fix 2 x Brackets (H12) to Top Panel using 4 x Screws (H6).
Fix 3 x Push-to-open Latches (H4) to Top Panel using 12 x Screws (H6).
H6 H6
H12
H12
H6
P1
H6
H6
H6
H6
H4
H12
H6
8
6
7
H3 x 8
H6 x 26
Attach Top Panel (P1) to Left Side (P2), Right Side (P3) and Divider Panel (P4).
Using 8 x Locking Nuts (H3), Use a screwdriver to turn the nuts clockwise to lock.
Attach 4 x Felt Pads (H18) to the 4 x Legs (P7).
H3
(P1)
H3
H3
H3
H3
H3
H18 x 4
H3
H3
H3
H6
P6
AA
BB
H18 x 4
Place Back Panel (P6) onto the back as shown.
If necessary, adjust the assembly so that the diagonal measurements of the assembly are equal.
Fix the Back Panel (P6) to the Bottom, Left, Right Sides and Top Panel Using 26 x Screws (H6) as shown.
With help,carefully turn the sideboard over.
9
I. With help, move the buffet into position. Mark drilling points on the wall.
II. If necessary, remove the buffet and drill holes with sizes suitable for your wall fixings.
III. Install wall fixings in the holes.
IV. Fix the wall brackets to the wall with appropriate wall fixing screws.
V. Fasten the wall brackets to the underside of the top panel.
8
10
9H17 x8
P11
P12
H17
H17
H17
Insert 8 x Shelf Supports (H17) into desired locations on the Side and Divider panels.
Gently place the Big Shelf (P11) and Small Shelf (P12) as shown.
10
11
H5 x 8
H5 x 4
H7 x 2 H8 x 4
H7 x 1 H9 x 2
Fix 4 x Hinges (H8) to Left Door (P8) and Right Door (P10) using 8 x Screws (H5).
Fix 2 x Door bumpers (H7) to Left Door (P8) and Right Door (P10).
Fix 2 x Hinges (H9) to Middle Door (P9) using 4 x Screws (H5).
Fix 1 x Door bumper (H7) to Middle Door (P9).
11
H9
H9 H7
P9
H9
H5
H5
H8
H5 H7
P8
P10
H7
H8
H8
H8
H8
12
12
Attach the doors on the cabinet as shown.
(P8)
P9
P10
13
To adjust the push-to-open latches, please follow the steps below:
Push and release the piston once to allow the piston to extend.
Turn the piston clockwise or anti-clockwise to adjust the position of the piston.
Push the piston once to retract the piston.
13
If adjustment is necessary, please follow
the steps below:
To move doors up or down: loosen the
screws on the hinge plate and move the
doors to suit. Once doors are aligned,
re-tighten the screws.
To move doors in or out: loosen or
tighten the screws on the hinge plate, as
shown.
To move doors left or right: loosen or
tighten the screws to suit, as shown.
14
14
Assembly is complete.
Please dispose of all
packaging thoughtfully.

Other TEMPLE & WEBSTER Indoor Furnishing manuals

TEMPLE & WEBSTER SBMETVWH User manual

TEMPLE & WEBSTER

TEMPLE & WEBSTER SBMETVWH User manual
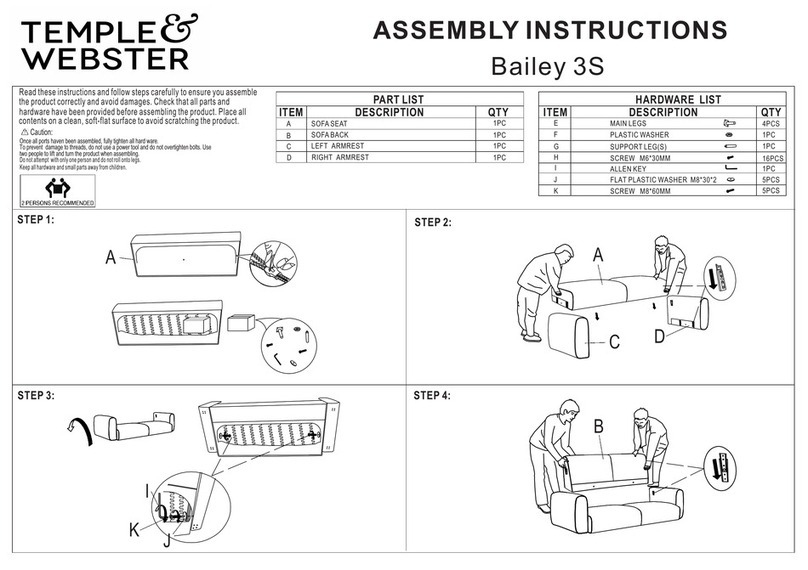
TEMPLE & WEBSTER Bailey 3S User manual
TEMPLE & WEBSTER

TEMPLE & WEBSTER Bailey 3S User manual

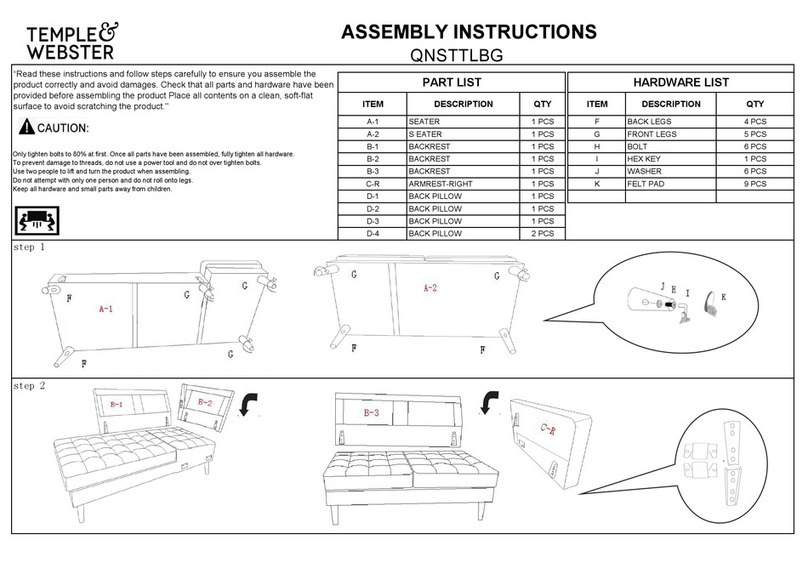
TEMPLE & WEBSTER QNSTTLBG User manual

TEMPLE & WEBSTER

TEMPLE & WEBSTER QNSTTLBG User manual
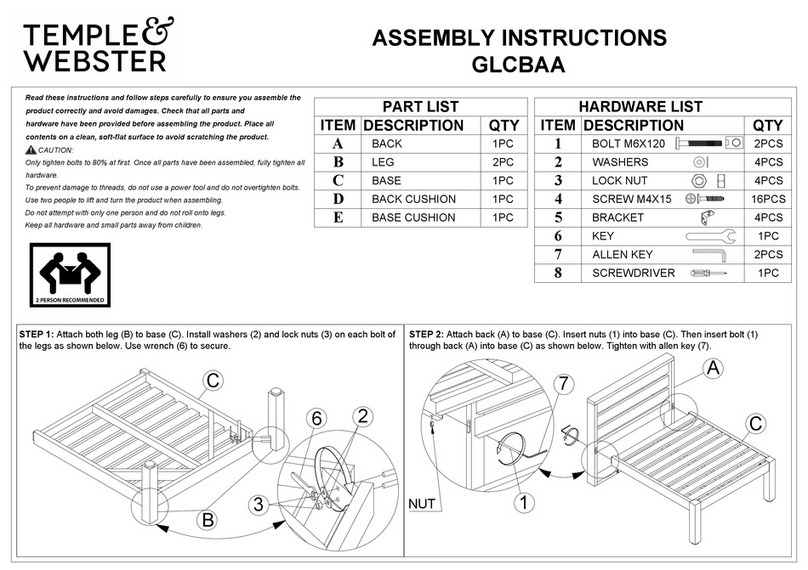
TEMPLE & WEBSTER GLCBAA User manual

TEMPLE & WEBSTER

TEMPLE & WEBSTER GLCBAA User manual
TEMPLE & WEBSTER SBSKBTNB User manual

TEMPLE & WEBSTER

TEMPLE & WEBSTER SBSKBTNB User manual
TEMPLE & WEBSTER Melis SBEMSIOA User manual
TEMPLE & WEBSTER

TEMPLE & WEBSTER Melis SBEMSIOA User manual

TEMPLE & WEBSTER SBMECTOK User manual

TEMPLE & WEBSTER

TEMPLE & WEBSTER SBMECTOK User manual

TEMPLE & WEBSTER SBVIBTNB User manual

TEMPLE & WEBSTER

TEMPLE & WEBSTER SBVIBTNB User manual
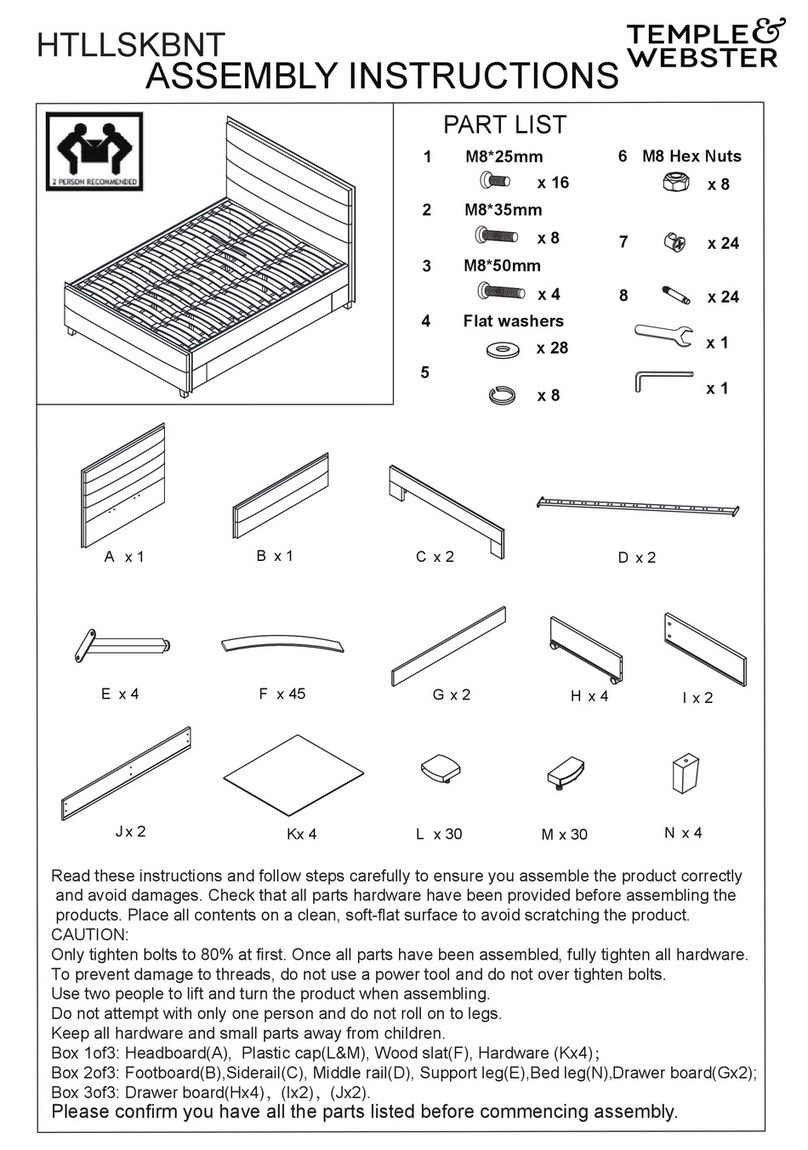
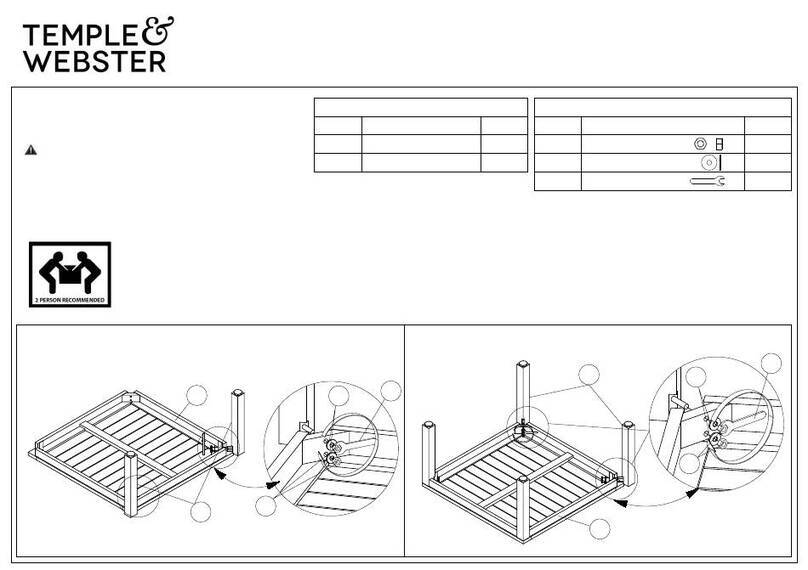
TEMPLE & WEBSTER HTLLSKBNT User manual
TEMPLE & WEBSTER

TEMPLE & WEBSTER HTLLSKBNT User manual

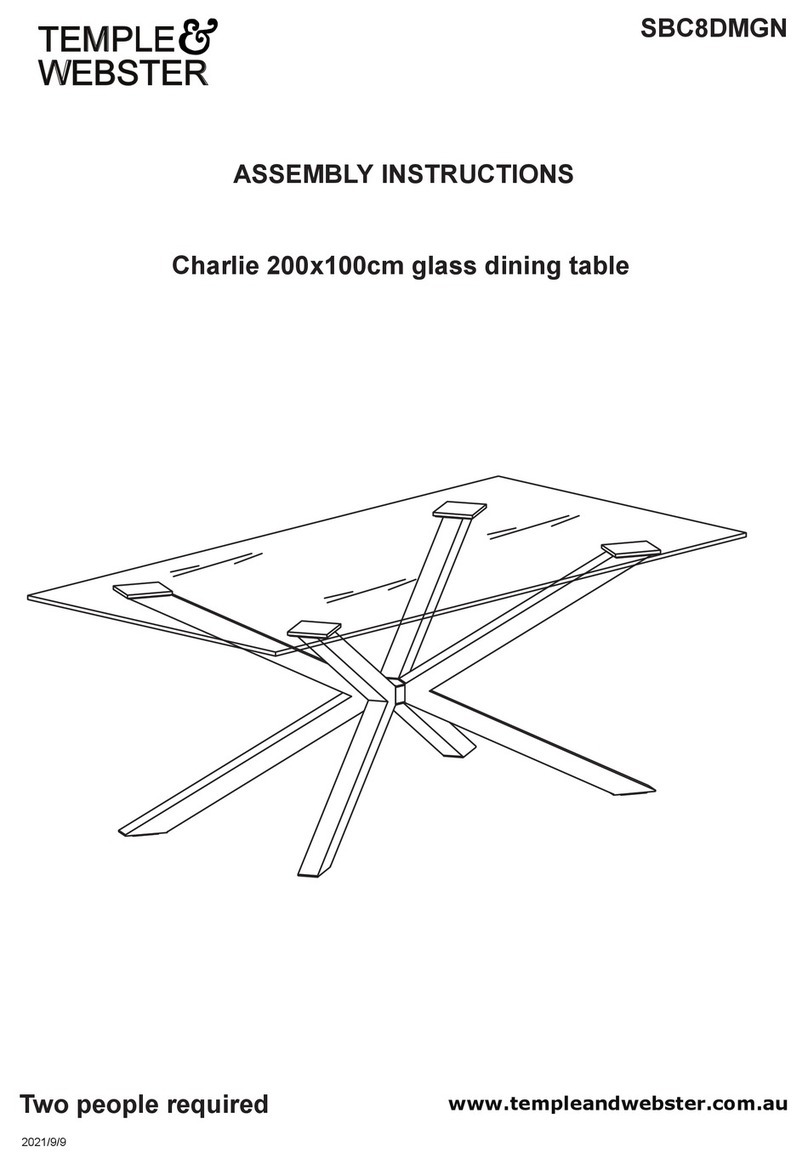
TEMPLE & WEBSTER Charlie SBC8DMGN User manual
TEMPLE & WEBSTER

TEMPLE & WEBSTER Charlie SBC8DMGN User manual

TEMPLE & WEBSTER GLCBCT80 User manual

TEMPLE & WEBSTER

TEMPLE & WEBSTER GLCBCT80 User manual
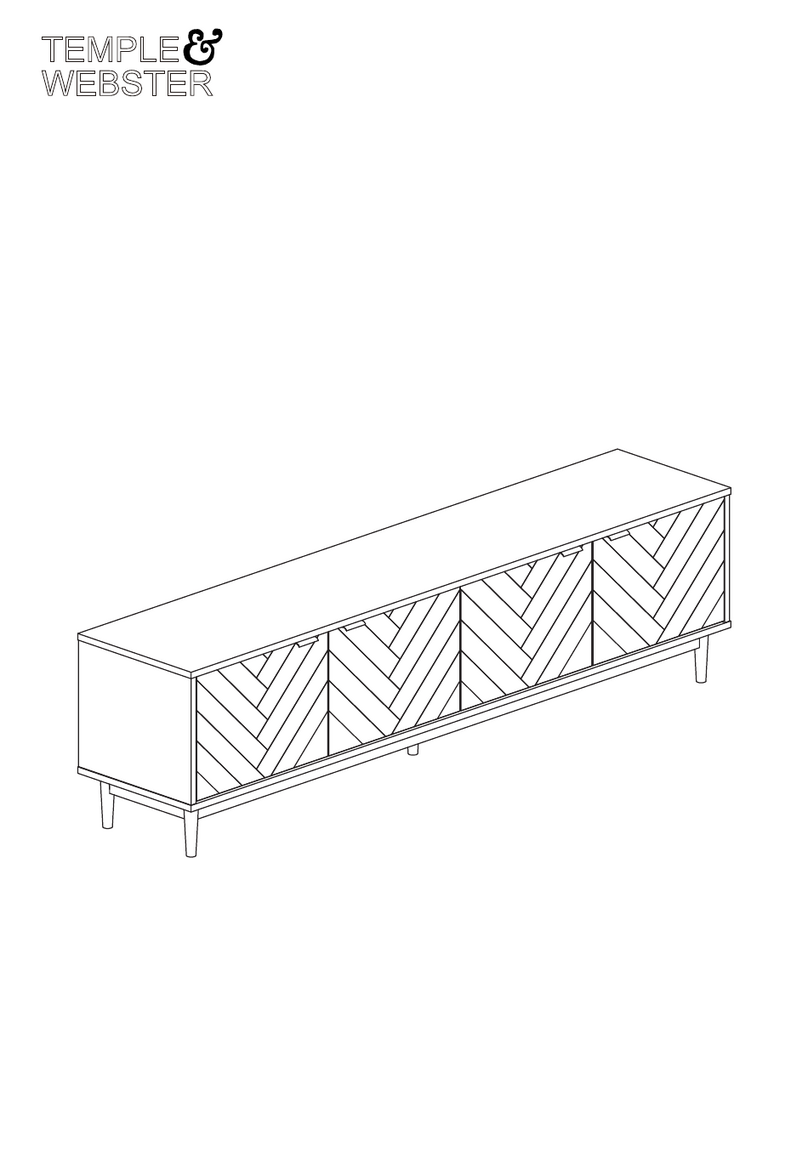
TEMPLE & WEBSTER Dion Herringbone SBDPTVOAK User manual
TEMPLE & WEBSTER

TEMPLE & WEBSTER Dion Herringbone SBDPTVOAK User manual

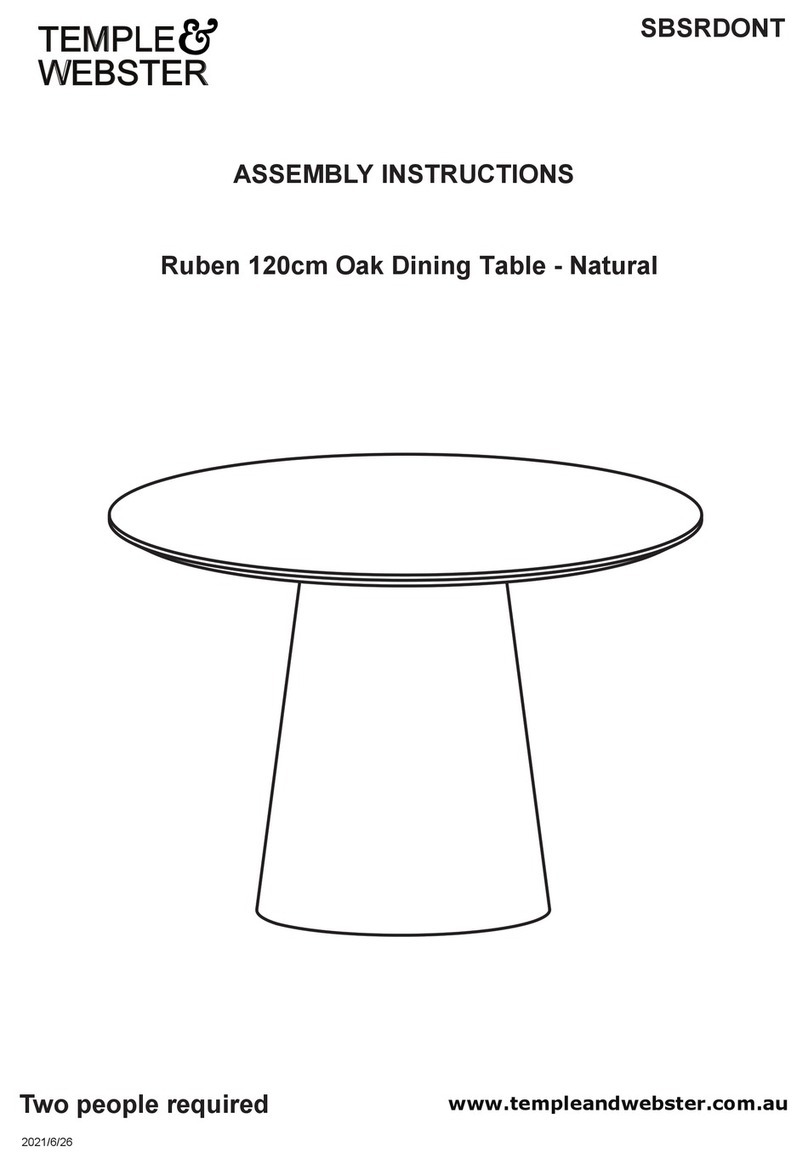
TEMPLE & WEBSTER Ruben SBSRDONT User manual
TEMPLE & WEBSTER

TEMPLE & WEBSTER Ruben SBSRDONT User manual

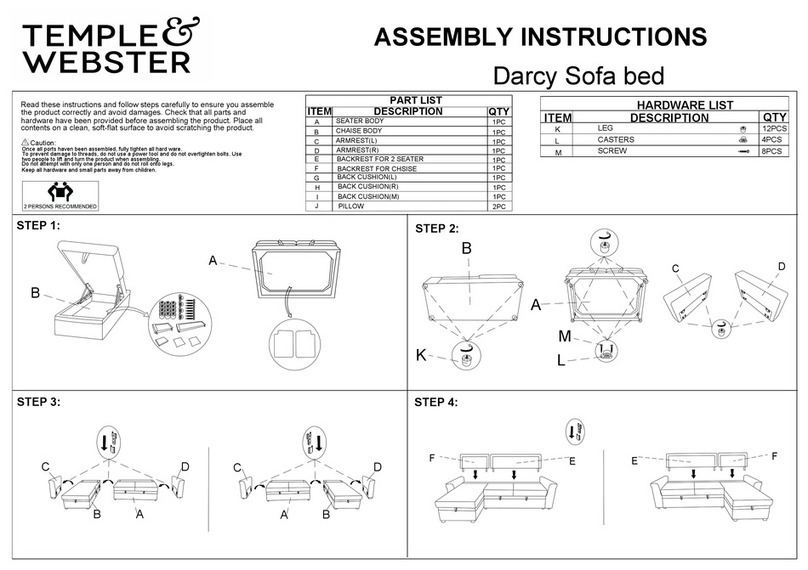
TEMPLE & WEBSTER Darcy User manual

TEMPLE & WEBSTER

TEMPLE & WEBSTER Darcy User manual
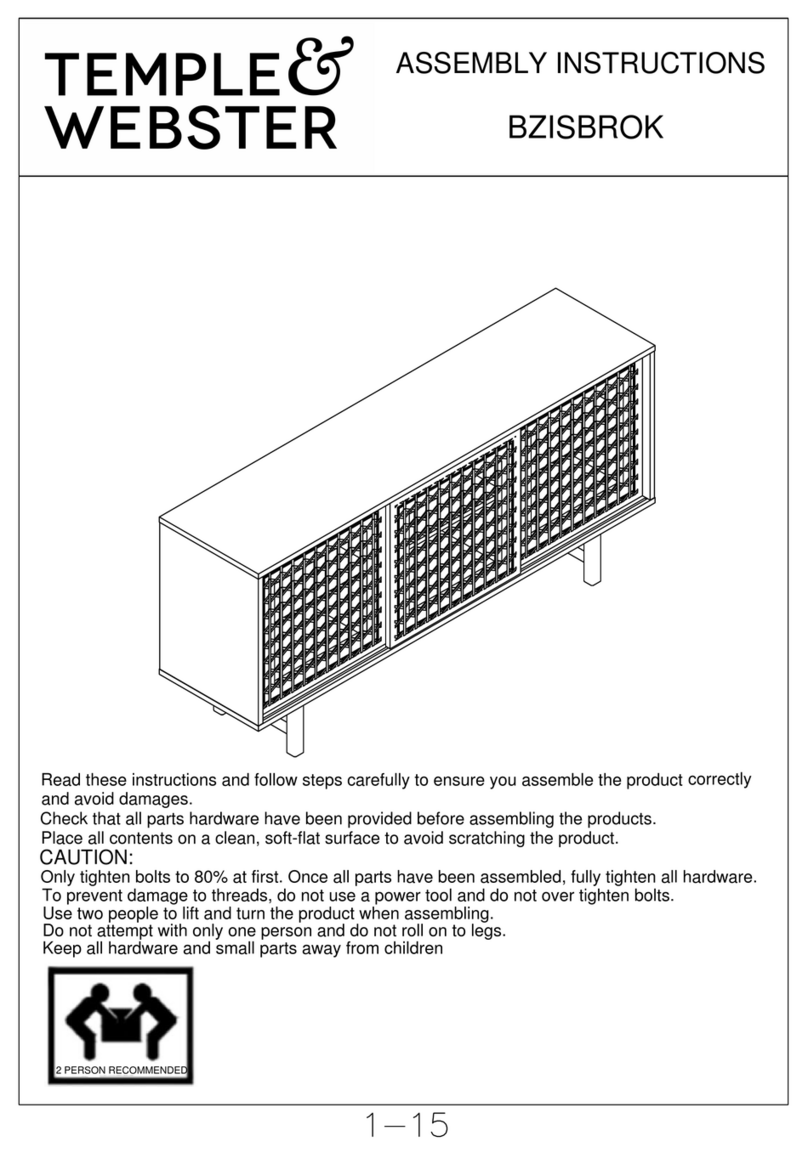
TEMPLE & WEBSTER BZISBROK User manual

TEMPLE & WEBSTER

TEMPLE & WEBSTER BZISBROK User manual
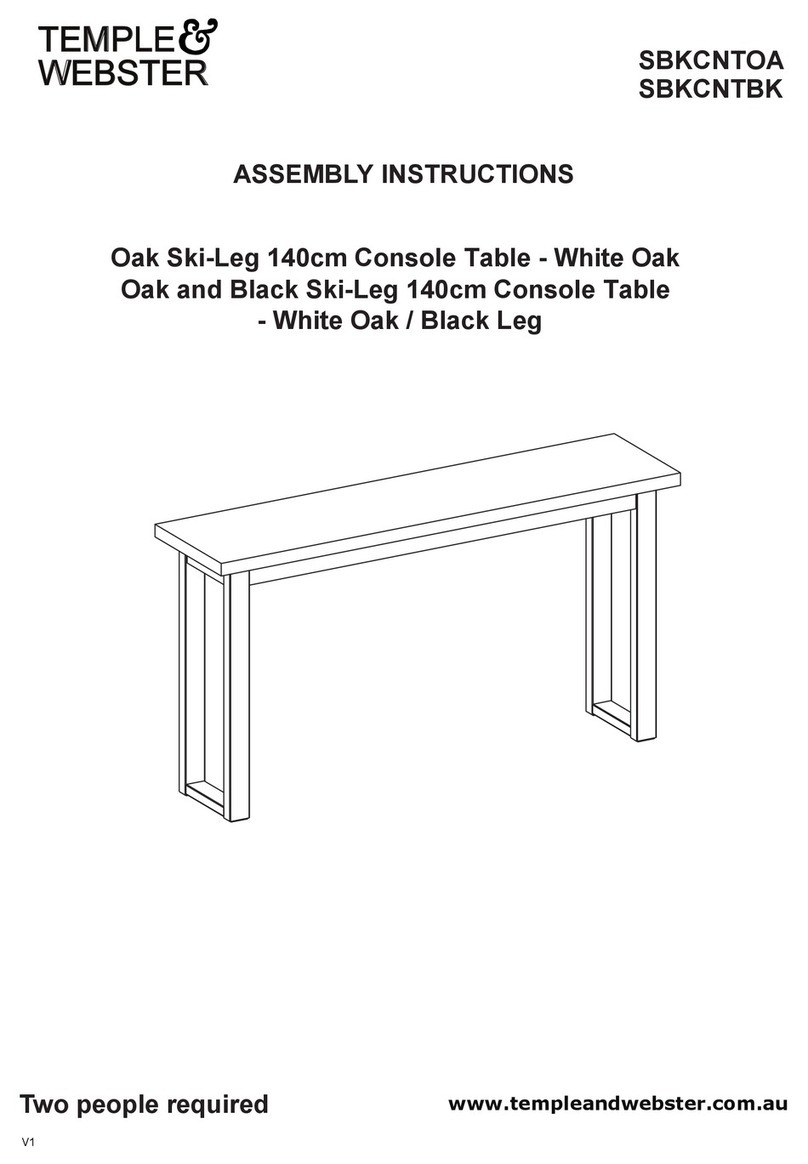
TEMPLE & WEBSTER SBKCNTOA User manual

TEMPLE & WEBSTER

TEMPLE & WEBSTER SBKCNTOA User manual
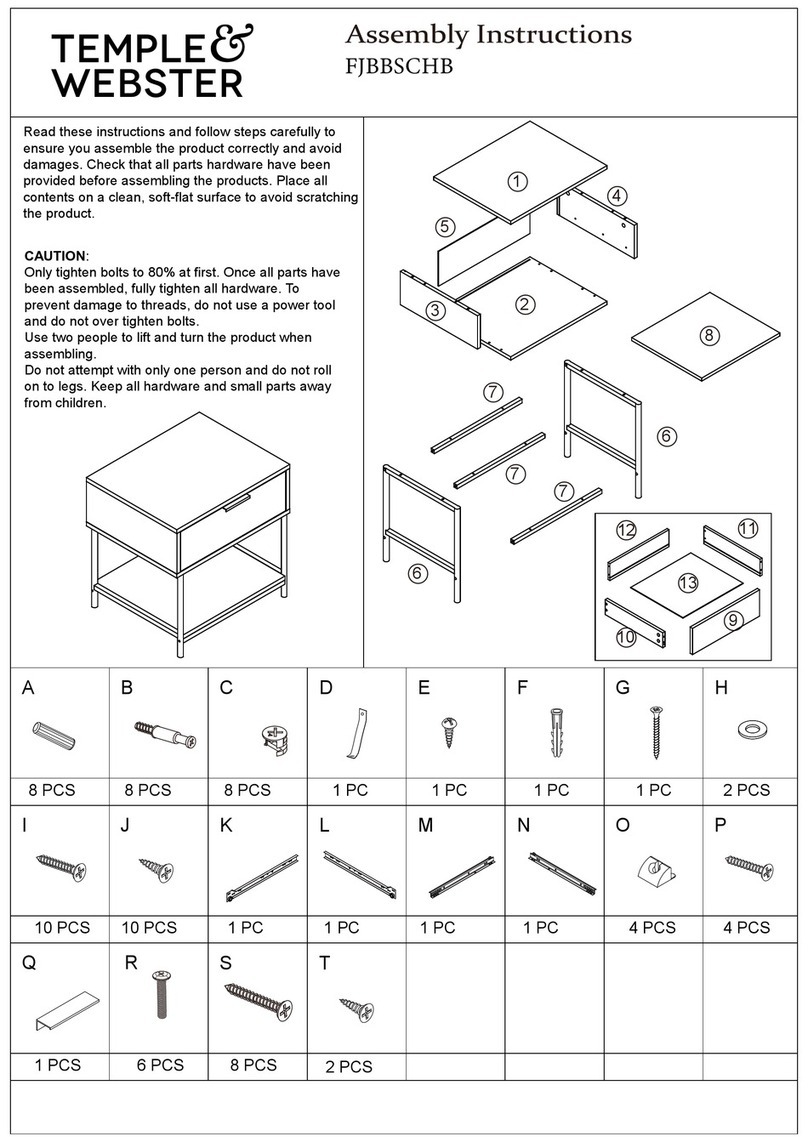
TEMPLE & WEBSTER Baxter FJBBSCHB User manual

TEMPLE & WEBSTER

TEMPLE & WEBSTER Baxter FJBBSCHB User manual

TEMPLE & WEBSTER GLDRCWNT User manual

TEMPLE & WEBSTER

TEMPLE & WEBSTER GLDRCWNT User manual
TEMPLE & WEBSTER FJNODKWH User manual

TEMPLE & WEBSTER

TEMPLE & WEBSTER FJNODKWH User manual

Popular Indoor Furnishing manuals by other brands
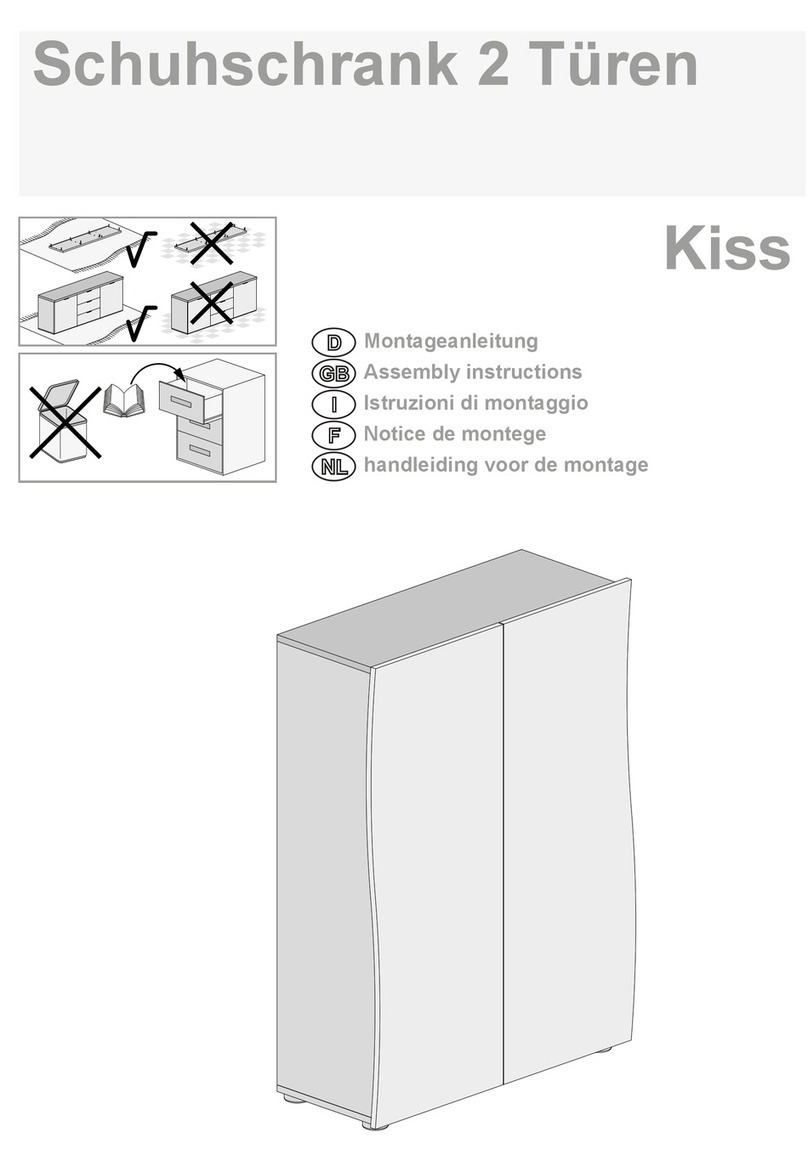
KITALY Kiss Assembly instructions

KITALY

KITALY Kiss Assembly instructions

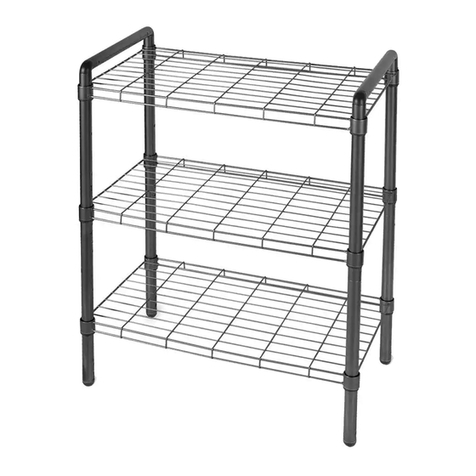
Crack Sammy 89520 Assembly instructions

Crack

Crack Sammy 89520 Assembly instructions

Delta Design WS1003 Assembly Diagram

Delta Design

Delta Design WS1003 Assembly Diagram

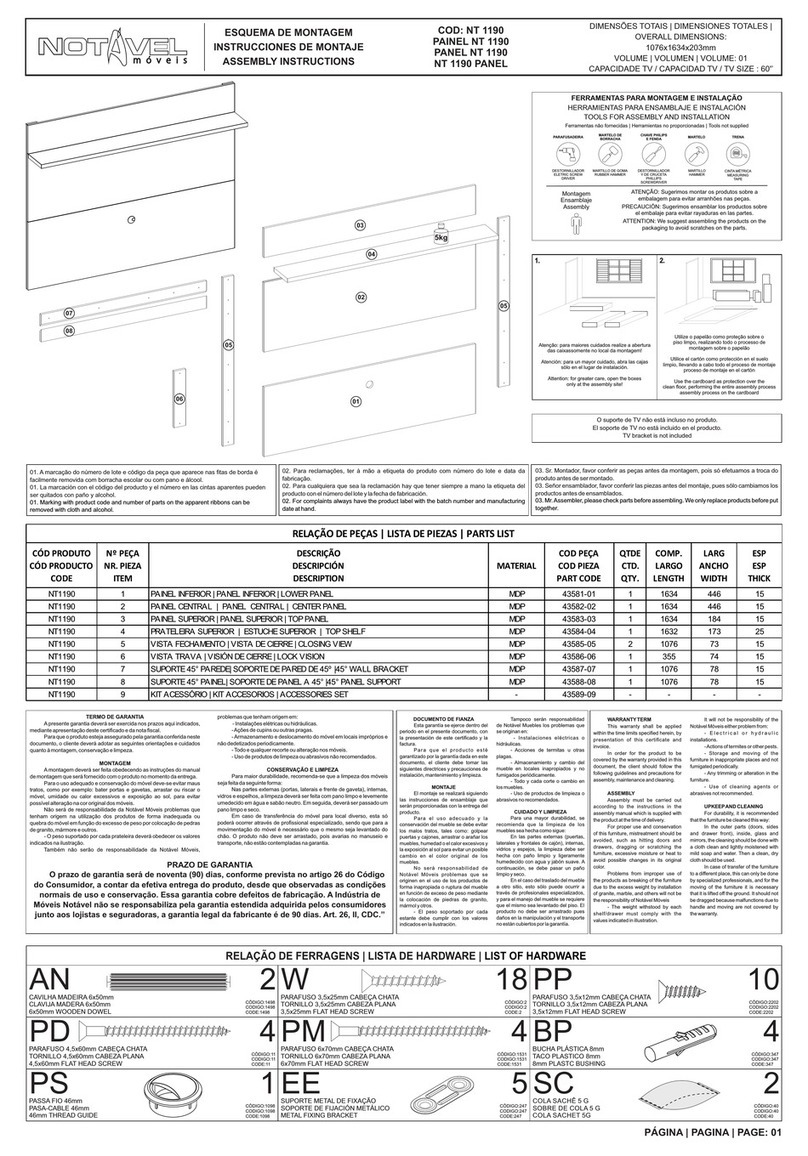
Notável Móveis NT 1190 Assembly instructions

Notável Móveis

Notável Móveis NT 1190 Assembly instructions

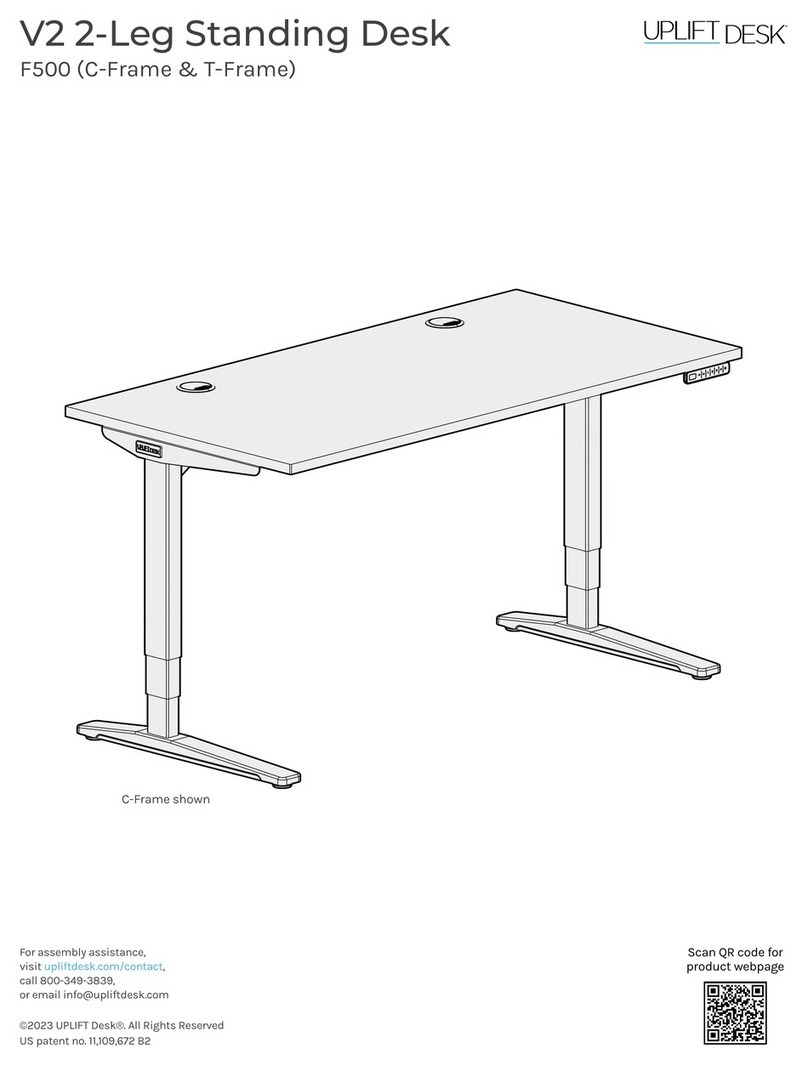
Uplift Desk V2 F500 C-Frame manual

Uplift Desk

Uplift Desk V2 F500 C-Frame manual

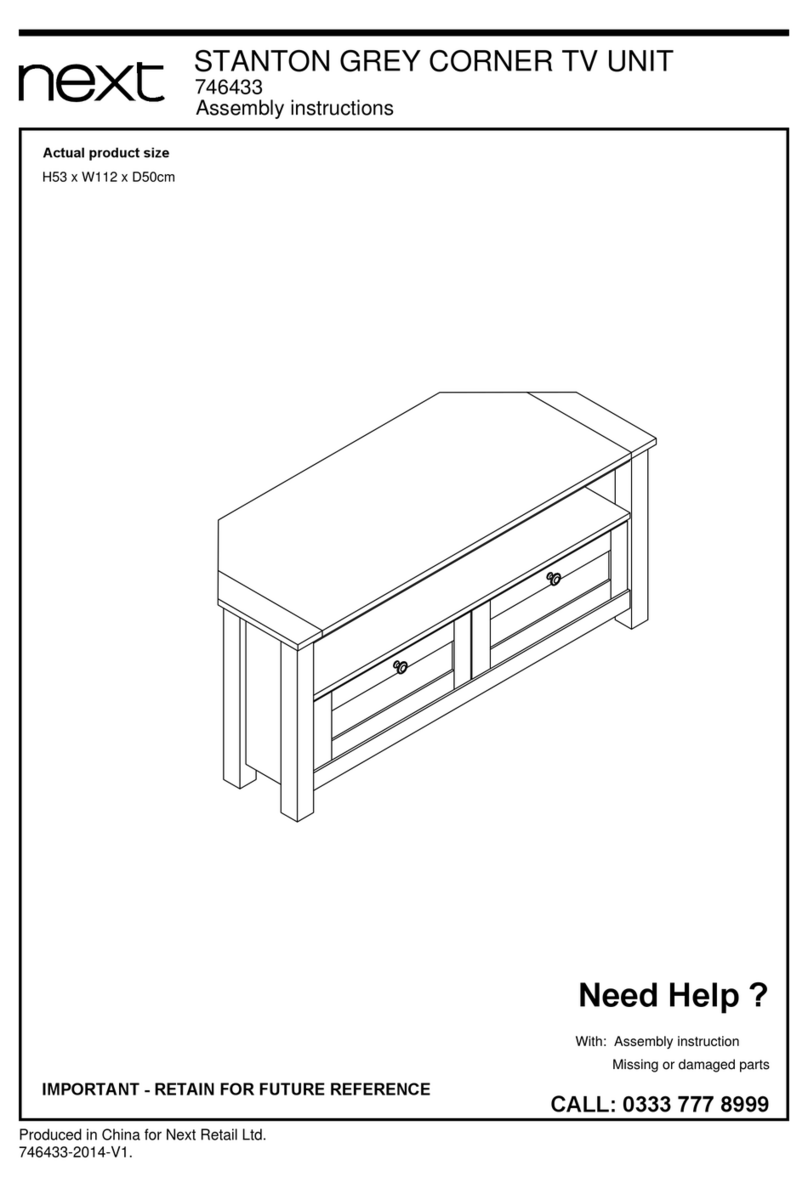
Next 746433 Assembly instructions

Next

Next 746433 Assembly instructions

Probuilder 52461 instruction manual

Probuilder

Probuilder 52461 instruction manual
Better Homes and Gardens Pine Cove 5pc table Use and care guide
Better Homes and Gardens

Better Homes and Gardens Pine Cove 5pc table Use and care guide

Mocka Jesse Assembly instructions

Mocka

Mocka Jesse Assembly instructions
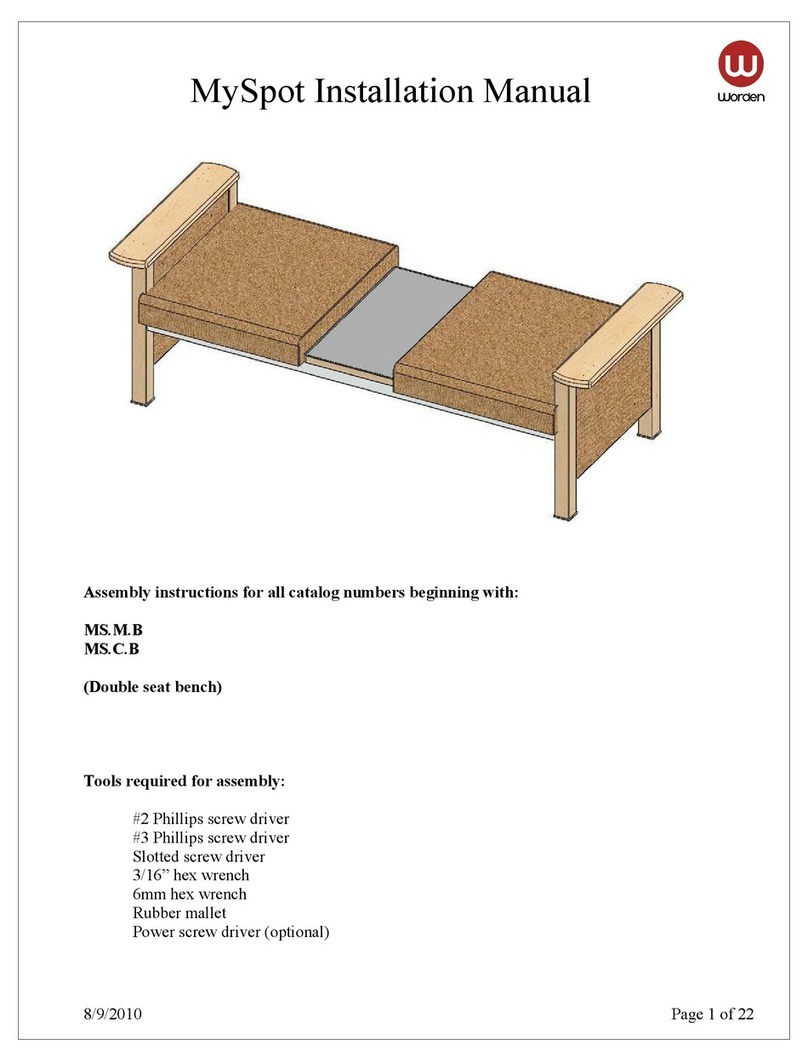
Worden MS.C.B series installation manual

Worden

Worden MS.C.B series installation manual

Eurooffice Mex 998ET119EW installation guide
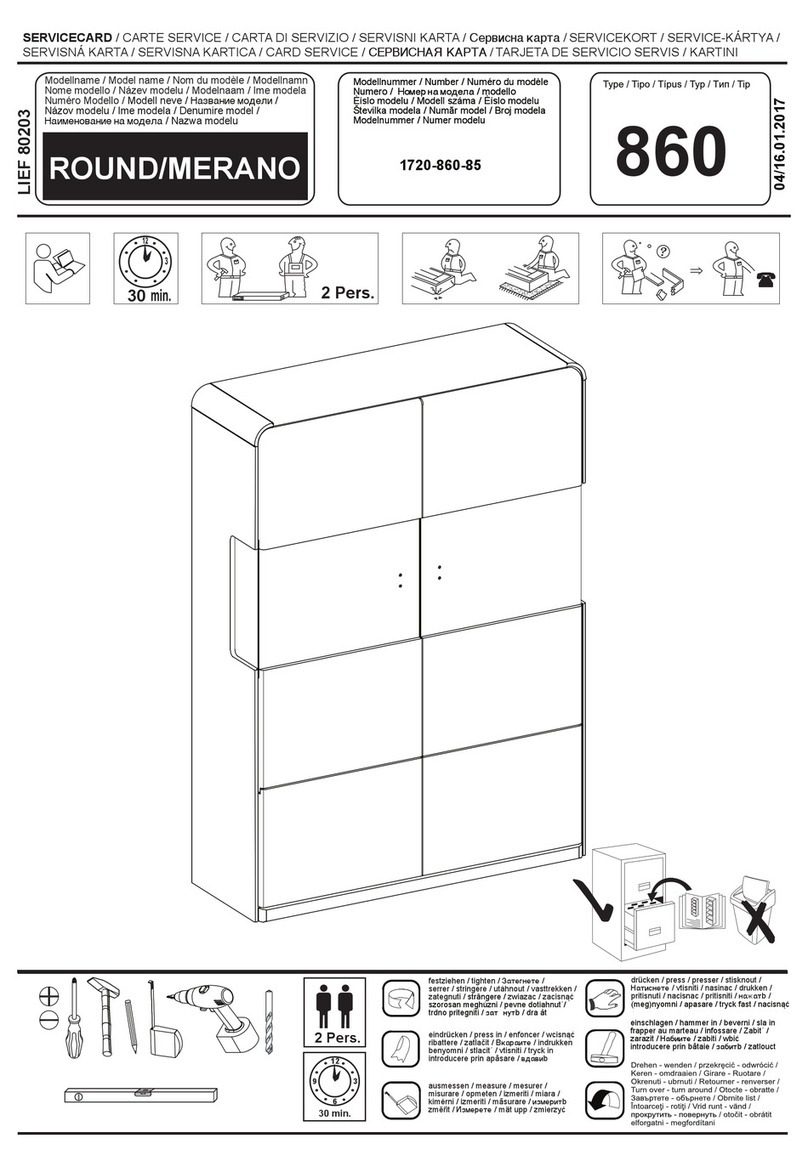
Eurooffice Mex

Eurooffice Mex 998ET119EW installation guide

Inter-Furn ROUND manual

Inter-Furn

Inter-Furn ROUND manual

DITALIA CM-08 Assembling instructions

DITALIA

DITALIA CM-08 Assembling instructions
Cooper Lighting LINEA LV211 installation instructions
Cooper Lighting

Cooper Lighting LINEA LV211 installation instructions

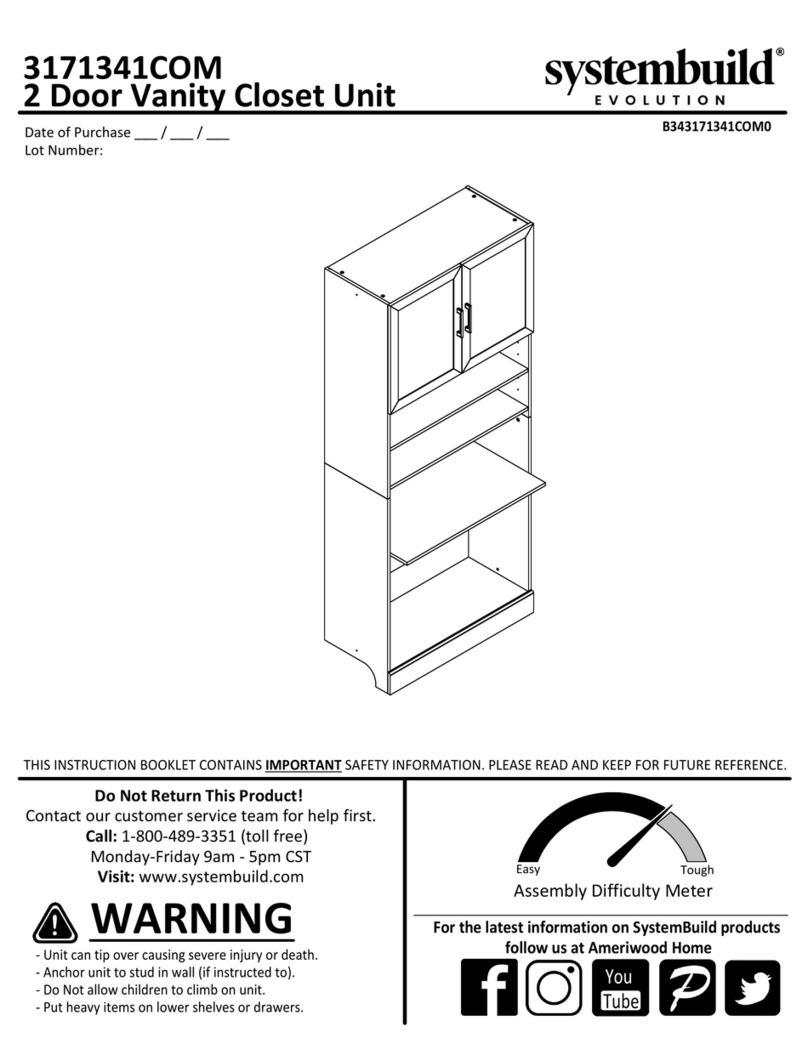
Systembuild Evolution 3171341COM Instruction booklet
Systembuild Evolution

Systembuild Evolution 3171341COM Instruction booklet

UNIPRODO UNI-PPG01 user manual

UNIPRODO

UNIPRODO UNI-PPG01 user manual
VonHaus 2500516 manual

VonHaus

VonHaus 2500516 manual
Seconique ATHENS ROUND 3PC NEST OF TABLES Assembly instructions

Seconique

Seconique ATHENS ROUND 3PC NEST OF TABLES Assembly instructions

manuals.online logo
manuals.online logoBrands
  • About & Mission
  • Contact us
  • Privacy Policy
  • Terms and Conditions

Copyright 2025 Manuals.Online. All Rights Reserved.