TESTO 270 User manual

testo 270 · Deep-frying Oil Tester
Instruction manual
www. .com information@itm.com1.800.561.8187

2
www. .com information@itm.com1.800.561.8187

1 Contents
3
Practical tips before commissioning your new testo 270
Dear customer,
Congratulations on your purchase of the new testo 270 deep-frying oil tester.
All of our measuring instruments are checked by us in the factory before the
delivery and adjusted to their specific accuracy. To ensure that the accuracy
remains at the same high level, we recommend checking the instruments
regularly.
With the testo 270 deep-frying oil tester, you have the following options:
1 testo factory calibration according to ISO (accuracy +/- 2 % TPM1):
With the order number 0520 0028 you can order an ISO calibration from
Testo's calibration subsidiary, Testo Industrial Services in Kirchzarten. In the
process, your testo 270 is calibrated at two points (at approx. 3 % and at
approx. 24 % TPM) under precise laboratory conditions.
Furthermore, you have the following options for checking your testo 270 yourself
at any time:
2 with testo reference oil (accuracy +/- 2.5 % TPM1):
With the included testo reference oil (article no. 0554 2650), you can check
the measuring instrument precisely and readjust it, if necessary (please
observe the description in the instruction manual for this).
3 with the simple function test in deep-frying oil (accuracy +/- 3 % TPM1):
For a simple function test without adjustment, we recommend a
measurement during the commissioning of your new instrument in unused
deep-frying oil at 150 to 180 °C.
You should ideally perform this measurement repeatedly in succession and
note the respective readings. The average of these readings is your specific
reference value for subsequent instrument testing. To use the determined
reference value as a comparative reading for a check, always perform the
measurement for instrument testing in unused deep-frying oil at 150 to
180 °C.
Please note that when changing the type of oil or the oil supplier, the
reference value must be determined anew.
Your specific reference value:
___________________________
1typical, referred to testo internal reference, at an ambient temperature of 25 °C
www. .com information@itm.com1.800.561.8187

1 Contents
4
1Contents
1Contents .................................................................................................. 4
2Safety and the environment ................................................................... 5
2.1. About this document ....................................................................... 5
2.2. Ensure safety .................................................................................. 6
2.3. Protecting the environment ............................................................. 6
3Specifications.......................................................................................... 7
3.1. Use ................................................................................................. 7
3.2. Technical data................................................................................. 8
4Product description ................................................................................ 9
4.1. Overview......................................................................................... 9
4.2. Basic properties ............................................................................ 11
5First steps.............................................................................................. 12
5.1. Commissioning ............................................................................. 12
5.2. Getting to know the product .......................................................... 13
5.2.1. Switching the instrument on/off...................................................................... 13
5.2.2. Alarm LED ..................................................................................................... 14
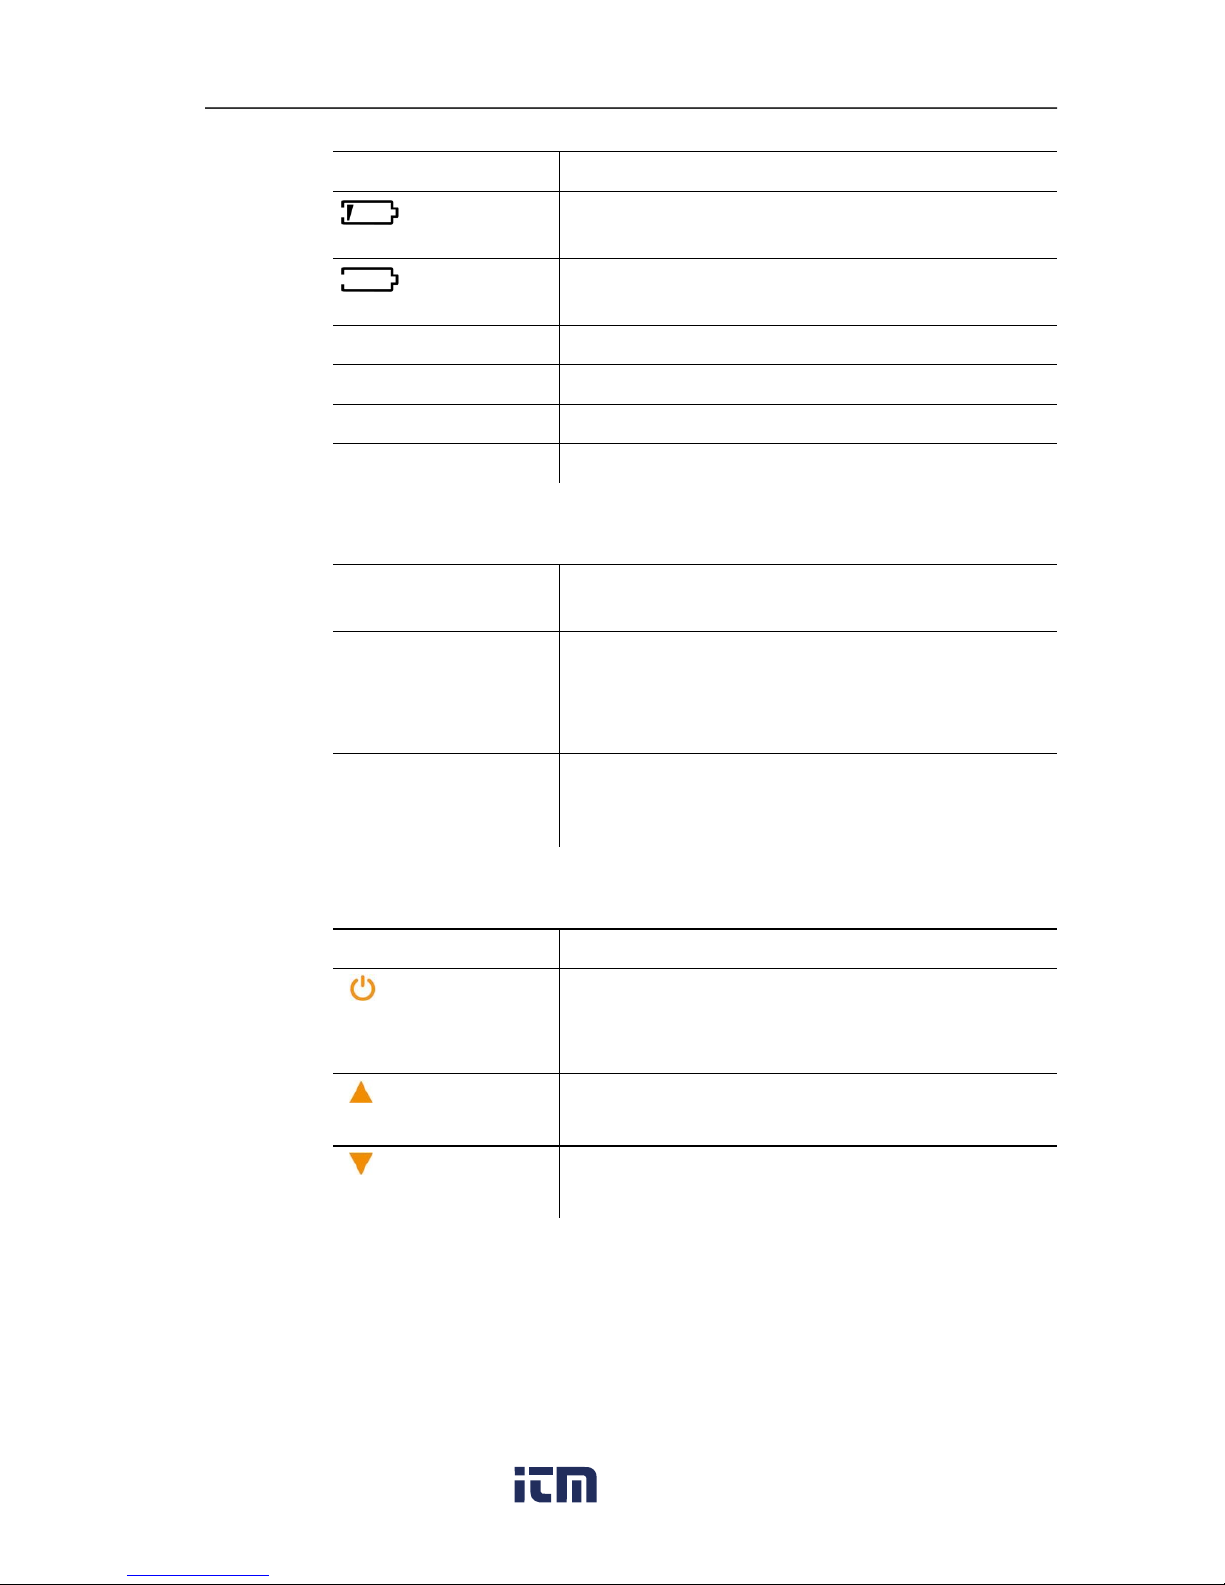
5.2.3. Battery capacity ............................................................................................. 14
5.2.4. Hold function.................................................................................................. 14
5.2.5. Auto Hold function ......................................................................................... 15
5.2.6. Auto off function............................................................................................. 15
5.2.7. Setting the TPM limit values .......................................................................... 15
5.2.8. Locking/unlocking the TPM limit values ......................................................... 16
5.2.9. Configuring the instrument............................................................................. 16
5.2.10. Locking/unlocking the configurations ............................................................. 18
6Using the product ................................................................................. 19
6.1. General measuring notes.............................................................. 19
6.2. Performing measurements............................................................ 20
6.3. Function test ................................................................................. 22
7Maintaining the product ....................................................................... 23
7.1. Changing the batteries.................................................................. 23
7.2. Cleaning the sensor ...................................................................... 23
7.3. Cleaning the housing/TopSafe/wrist strap .................................... 24
7.4. Calibrating/adjusting the instrument.............................................. 25
8Tips and assistance .............................................................................. 28
8.1. Questions and answers ................................................................ 28
8.2. Accessories and spare parts......................................................... 29
www. .com information@itm.com1.800.561.8187

2 Safety and the environment
5
2Safety and the environment
2.1. About this document
Use
> Please read this documentation through carefully and
familiarize yourself with the product before putting it to use. Pay
particular attention to the safety instructions and warning advice
in order to prevent injuries and damage to the products.
> Keep this document to hand so that you can refer to it when
necessary.
> Hand this documentation on to any subsequent users of the
product.
Warnings
Always pay attention to information that is marked by the following
warnings with warning pictograms. Implement the specified
precautionary measures.
Representation Explanation
WARNING Indicates potential serious injuries
NOTICE indicates circumstances that may lead to
damage to the products
Symbols and writing standards
Represen-
tation
Explanation
Note: Basic or further information.
1. ...
2. ...
Action: more steps, the sequence must be followed.
> ... Action: a step or an optional step.
- ... Result of an action.
Menu Elements of the instrument, the instrument displays
or the program interface.
www. .com information@itm.com1.800.561.8187

2 Safety and the environment
6
[OK] Control keys of the instrument or buttons of the
program interface.
... | ... Functions/paths within a menu.
“...” Example entries
2.2. Ensure safety
> Only operate the product properly, for its intended purpose and
within the parameters specified in the technical data. Do not
use any force.
> Do not operate the instrument if there are signs of damage at
the housing, mains unit or feed lines.
> The objects to be measured or the measurement environment
may also pose risks: Note the safety regulations valid in your
area when performing the measurements.
> Temperatures given on probes/sensors relate only to the
measuring range of the sensors. Do not expose handles and
feed lines to any temperatures in excess of 70 °C unless they
are expressly permitted for higher temperatures.
> Do not perform contact measurements on non-insulated, live
parts.
> Transport and store the instrument exclusively in the aluminium
case provided in order to avoid damage to the sensor.
> Do not store the product together with solvents. Do not use any
desiccants.
> Carry out only the maintenance and repair work on this
instrument that is described in the documentation. Follow the
prescribed steps exactly. Use only original spare parts from
Testo.
2.3. Protecting the environment
> Dispose of faulty rechargeable batteries/spent batteries in
accordance with the valid legal specifications.
> At the end of its useful life, send the product to the separate
collection for electric and electronic devices (observe local
regulations) or return the product to Testo for disposal.
www. .com information@itm.com1.800.561.8187

3 Specifications
7
3Specifications
3.1. Use
The testo 270 is a handy measuring instrument for the fast
inspection of deep-frying oils and is designed in equal measure for
left and right handers.
The TPM value (total polar materials) enables a statement on the
ageing of deep-frying oils due to the effects of heat.
The following measuring tasks can be performed with the testo
270:
•Display temperature of the deep-frying oil:
Indicator for correct setting of the deep-fryer, inspection of
integrated temperature displays.
•Display TPM value:
Indicator for the ageing of the deep-frying oil.
The sensor works on a capacitive basis and determines the total
amount of polar materials in % as the reading.
The free fatty acids that are determined above all for the evaluation
of unloaded oils (rancidity) cannot be detected with the testo 270.
The temperature of the deep-frying oil to be measured must
be at least 40 °C. The maximum operating temperature is
190 °C, for brief periods 200 °C.
The following components of the product are designed
according to Regulation (EC) 1935/2004 for long-term
contact with foodstuffs:
The sensor and the probe tube are designed to come into
contact with oil used in deep fat fryers for the typical
duration of a spot check measurement. The materials used
in these components meet the relevant requirements in the
Regulation (EC)1975/2004.
www. .com information@itm.com1.800.561.8187

3 Specifications
8
3.2. Technical data
Characteristic Values
Measuring range Temperature: 40.0 to 200.0 °C
TPM: 0.5 to
Accuracy Temperature: ± 1.5 °C
TPM2: ±2 % (40.0 to 190.0 °C)
Resolution Temperature: 0.5 °C
TPM: 0.5 %
Power supply Batteries: 2x Micro (type AAA)
Battery life at 20 °C approx. 25 h of continuous operation
(corresponds to 500 measurements)
Temperature
sensor
PTC
TPM sensor Capacitive sensor (testo)
Operating
temperature
0 to 50 °C
Storage/transport
temperature
-20 to 70 °C
Display LCD, 2-line, display light
Weight incl.
TopSafe and wrist
strap
164 g
Housing material PA66 Glass fibre 30%
Dimensions of
instrument incl.
TopSafe
approx. 354 mm x 50 mm x 30 mm
TPM response
time3
< 30 s
Protection class with TopSafe: IP65
Warranty 24 months
EC Directive 2004/108/EC
2typical, referred to testo internal reference, at an ambient temperature of
25 °C
3Requirement: Reading within the accuracy limits
www. .com information@itm.com1.800.561.8187

4 Product description
9
4Product description
4.1. Overview
Alarm LED
Display
Control keys
Battery compartment (on rear)
Probe shaft
Max. immersion depth
Min. immersion depth
Oil quality (% TPM) and
temperature sensor
Indications in the display
Displays Function/property
Temperature measuring range exceeded
Temperature measuring range undershot
Alarm LED activated
Acoustic alarm activated
Configuration mode or TPM limit values
locked
www. .com information@itm.com1.800.561.8187

4 Product description
10
Displays Function/property
Battery capacity low (approx. 3 h remaining
life)
Battery capacity empty (approx. 1.5 h
remaining life)
Alarm Upper TPM limit value exceeded
Hold Readings held (manual)
Auto Hold Readings held (automatic)
°C/°F Temperature in °C or °F
Important display messages
Indications in the
display
Explanation
000 lights up when
Alarm LED is
activated: Alarm
LED lights up green
Instrument is ready to measure, sensor is not
in the oil
Reading >190
flashes
The measured temperature is above 190 °C.
A double acoustic signal sounds if the
acoustic alarm is switched on
Control keys
Keys Function/property
[/Hold] •Switching the instrument on/off
•Manually holding readings
•Configuring the instrument
[ ] •Setting the upper TPM limit value
•Configuring the instrument
[ ] •Setting the lower TPM limit value
•Configuring the instrument
www. .com information@itm.com1.800.561.8187

4 Product description
11
Battery compartment on back of instrument
Batteries (Type AAA)
Switch for locking/unlocking the TPM limit
values see page 16 and the configurations
see page 18.
4.2. Basic properties
Power supply
The power is supplied to the instrument via two micro batteries
(type AAA). The batteries are included in the delivery.
www. .com information@itm.com1.800.561.8187

5 First steps
12
5First steps
5.1. Commissioning
Inserting batteries
CAUTION
Incorrectly inserted batteries may damage the instrument!
> Note the polarity when inserting the batteries.
1. Remove TopSafe from the instrument (see
picture).
2. Open the battery compartment on the rear of the
instrument.
3. Insert batteries.
- Instrument turns on automatically.
- A display test is performed: all segments
light up.
- Firmware version is displayed.
- Instrument changes to Measuring Mode.
- 000 lights up in the display, alarm LED lights
up green, the instrument is ready for
operation.
4. Close the battery compartment.
5. Attach TopSafe to the instrument.
6. Switch the instrument off, if necessary.
Fastening wrist strap
•For measurement with the instrument
✓TopSafe is on the instrument.
1. Carefully pull the opening of the wrist strap over the
probe shaft.
2. Fasten the flap of the wrist strap onto the pin of the
TopSafe such that the hand can easily be slipped
through.
www. .com information@itm.com1.800.561.8187

5 First steps
13
•For storage of the instrument
✓TopSafe is on the instrument.
1. Fasten the flap at the pin of the TopSafe.
2. Fasten the opening of the wrist strap to a suitable
hook.
5.2. Getting to know the product
5.2.1. Switching the instrument on/off
To switch on
> Press [/Hold] (< 1 sec).
- A display test is performed: all segments light up.
- Firmware version is displayed.
- Instrument changes to Measuring Mode and is ready for
operation.
To switch off
> Press and hold [/Hold] for approx. 3 sec.
- Display goes out, instrument switches off.
www. .com information@itm.com1.800.561.8187

5 First steps
14
5.2.2. Alarm LED
The Alarm LED shows in which range the measured TPM value is
located:
green TPM value is below the lower limit value
orange TPM value is between the lower and upper limit value
red TPM value is above the upper limit value
The Alarm LED is switched on in the condition upon delivery. The
TPM limit values are set as follows:
Lower limit value 20 %
Upper limit value 24 %
To activate/deactivate the Alarm LED: See Configuring the
instrument page 16.
To set the TPM limit values: See Setting the TPM limit values page
15.
5.2.3. Battery capacity
With decreasing battery capacity, a symbol lights up in the display (
). The remaining capacity is then only approx. 3 h (approx. 60
measurements). If the empty battery symbol ( ) lights up in the
display, the remaining capacity is only approx. 1.5 h (approx. 30
measurements).
If the battery voltage is too low, the instrument automatically
switches off.
> Change batteries, see Changing the batteries page 23.
5.2.4. Hold function
The measured values can be held manually.
Requirement: The sensor is in oil.
1. Briefly press [/Hold] (< 1 s).
- Hold is shown on the display.
- Readings are held.
2. To change to Measuring Mode: Briefly press [/Hold]
(< 1 s).
- Hold function is deactivated.
- Current readings are displayed.
www. .com information@itm.com1.800.561.8187

5 First steps
15
5.2.5. Auto Hold function
With the Auto Hold function activated, the measured values are
automatically held by the instrument after the equalization period.
To activate/deactivate the Auto Hold function: See Configuring the
instrument page 16.
5.2.6. Auto off function
With the Auto off function activated, the instrument automatically
switches off after a certain time.
•If the instrument is in Measuring Mode: automatic switch-off
after 2 min.
•If the instrument is in hold, configuration or alarm setting mode:
automatic switch-off after 10 min.
To activate/deactivate the Auto off function: See Configuring the
instrument page 16.
5.2.7. Setting the TPM limit values
The TPM limit values can be between 4 and 40 %. The
upper limit value (High Alarm) must be at least 1 % higher
than the lower limit value (Low Alarm).
Set the upper TPM limit value
Requirement: Instrument is in Measuring Mode.
1. Hold [ ] for approx. 2 s.
- High Alarm and the set upper limit value appear in the display.
- If the Alarm LED is activated: Alarm LED lights up red.
2. Using [ ] or [ ] set the upper limit value (to fast-forward: hold
down key).
3. Confirm with [/Hold].
- The new upper limit value is applied.
- Instrument changes to Measuring Mode and is ready for
operation.
www. .com information@itm.com1.800.561.8187

5 First steps
16
Set the lower TPM limit value
Requirement: Instrument is in Measuring Mode.
1. Hold [ ] for approx. 2 s.
- Low Alarm and the set lower limit value appear in the display.
- If the Alarm LED is activated: Alarm LED lights up orange.
2. Using [ ] or [ ] set the lower limit value (to fast-forward: hold
down key).
3. Confirm with [/Hold].
- The new lower limit value is applied.
- Instrument changes to Measuring Mode and is ready for
operation.
5.2.8. Locking/unlocking the TPM limit values
You can lock/unlock the set TPM limit values. The instrument is
delivered with the TPM limit values unlocked (switch 1 at ON
position).
Requirements: TopSafe is not on the instrument. The instrument is
in Measuring Mode or is switched off.
1. Open the battery compartment on the rear of the instrument.
2. Turn over switch 1 using a sharp object.
- TPM limit values are locked (pos. 1)/unlocked (pos. ON).
3. Close the battery compartment.
5.2.9. Configuring the instrument
Setting options in the configuration mode
Configurations Setting options
Set temperature unit °C or °F
Set Alarm LED on: Alarm LED activated
off: Alarm LED deactivated
Set acoustic Alarm on: Acoustic alarm activated
off: Acoustic alarm deactivated
Automatically hold readings
(Auto Hold)
on: Readings are automatically
held by the instrument
off: Readings are not
automatically held
Set display light on: Display light on
off: Display light off
www. .com information@itm.com1.800.561.8187

5 First steps
17
Configurations Setting options
Automatically switch off
instrument (Auto off)
on: Instrument switches off
automatically after a certain
period
off: No automatic switching off
Perform calibration (CAL) on: Perform calibration
off: Do not perform calibration
Perform reset (rSt) on: Reset adjustment value to
factory setting
off: Do not reset adjustment
value to factory settings
Cancel configuration
You can cancel the configuration mode early. Exception: During the
adjustment/calibration process, the configuration mode cannot be
cancelled.
> Press and hold [/Hold] for approx. 1 s.
- Configuration mode is cancelled.
- Instrument changes to Measuring Mode.
- Previously set values are applied.
Perform configuration
Requirement: Instrument is switched off.
1. Switch on the instrument and during the display test,
simultaneously hold down [/Hold] and [ ] for approx. 3 s.
- °C or Flights up in the display.
2. Using [ ] or [ ] set temperature unit (°C/°F).
3. Confirm requested temperature unit with [/Hold].
- Alarm and on or off light up in the display.
4. Using[ ] or [ ] switch Alarm LED on (on) or off (off).
5. Confirm with [/Hold].
- Alarm and on or off light up in the display.
6. Using [ ] or [ ] switch the acoustic alarm on or off.
7. Confirm with [/Hold].
- Auto Hold and on or off light up in the display.
8. Using [ ] or [ ] switch Auto Hold on or off.
9. Confirm with [/Hold].
- and on or off light up in the display (display light).
10. Using [ ] or [ ] switch the display light on or off.
www. .com information@itm.com1.800.561.8187

5 First steps
18
11. Confirm with [/Hold].
- Auto off and on or off light up in the display.
12. Using [ ] or [ ] switch Auto off on or off.
13. Confirm with [/Hold].
- CAL and on or off light up in the display.
If you wish to perform a calibration/adjustment: Continue
with chapter Calibrating/adjusting the instrument page 25.
If you do not wish to perform a calibration/adjustment:
Continue with step 14.
14. Using [ ] or [ ] deactivate the calibration/adjustment function
(off).
15. Confirm with [/Hold].
- rSt and on or off light up.
16. Using [ ] or [ ] select on (= delete adjustment value: factory
setting) or off (= no reset).
17. Confirm with [/Hold].
- All set values are applied.
- Instrument changes to Measuring Mode.
5.2.10. Locking/unlocking the configurations
You can lock/unlock the set values from the configuration mode.
The instrument is delivered with the configuration mode unlocked
(switch 2 at ON position).
Requirements: TopSafe is not on the instrument. Instrument is
switched off.
1. Open the battery compartment on the rear of the instrument.
2. Turn over switch 2 using a sharp object.
- Configuration mode is locked (pos. 2)/unlocked (pos. ON).
3. Close the battery compartment.
www. .com information@itm.com1.800.561.8187

6 Using the product
19
6Using the product
6.1. General measuring notes
With the testo 270, several measurement can be performed
immediately after each other and without waiting times.
Which oils/deep-frying fats can be measured?
In principle, all oils and fats intended for deep frying can be
measured.
This includes, for example, rapeseed, soya bean, sesame, palm,
olive, cotton seed or groundnut oil. Fats from animal sources can
also be measured. The TPM value in % can vary by several %
TPM with fresh deep-frying oils, depending on the type.
The maximum duration of usage for the deep-frying oil cannot be
derived from this.
Example: Fresh palm oil has a higher % TPM value than other
deep-frying oils, but ages considerably slower.
Use of additives
The testo 270 is designed for the use of pure fats/oils. With the use
of additives, deviations may occur.
Comparison of laboratory methods/testo 270
Deep-frying oil is a mixture of substances with different polarities.
While ageing, the amount of the highly polar components
increases. The chromatography separates the fat into a polar and a
non-polar group. The proportion of the polar group compared to the
total amount of deep-frying oil inspected is identified as the % TPM
value (total polar materials).
The % TPM value of the column chromatography may vary slightly
depending on the setting of the border between the polar and the
non-polar group.
Depending on the type of fat, slight variations of the polarity in both
groups (polar/non-polar) may occur which are not recogonized by
the chromatography.
The testo 270, on the other hand, records the entire polarity of the
deep-frying oil and thereby the actual polarity of both groups
(polar/non-polar). The reading of the testo 270 may therefore be
higher or lower than that of the column chromatography in
individual cases.
An example of this is coconut oil, for which the testo 270 shows a
higher TPM value than the chromatography. This fat is unsuitable
for deep frying, however, and is therefore primarily used for pan
frying.
www. .com information@itm.com1.800.561.8187

6 Using the product
20
Free fatty acids
The testo 270 measures the entire amount of polar materials in the
deep-frying fat (% TPM) with which an evaluation of the charge of
the oil due to deep frying is highly possible. For the evaluation of
the age of the fat during storage, the free fatty acids (FFA) are
used. FFA are not suitable for identifying the thermal charges of the
oil. FFA cannot be measured with the testo 270.
Polymeric triglycerides (PTG)
The polymeric triglycerides are being used for the evaluation of
deep-frying oils with increasing frequency. The results of this
method are in most cases comparable with the % TPM value.
PTG ≈% TPM/2
6.2. Performing measurements
WARNING
Risk of burns due to hot instrument parts (sensor and probe
shaft)!
> Do not touch hot instrument parts with your hands.
> In the event of burns, immediately cool corresponding spot with
cold water and see a doctor if necessary.
Observe the following notes in order to obtain correct
measurement results:
•Switch off induction deep fat fryers during the
measurement or remove a deep-frying oil sample as the
electromagnetic field can lead to incorrect readings.
•Remove the product being deep fried from the oil and
wait 5 min before measuring.
•Clean the sensor before every measurement or when
changing from one deep-frying tank into the next, see
Cleaning the sensor, page 23 .
•Keep the sensor away from metallic parts (e.g. deep-
frying basket, walls of tank) as these may affect the
measurement result. Minimum distance from metal
parts: 1 cm per side.
•"Temperature skeining" in the oil may lead to measuring
errors. Move instrument in the deep fryer.
•If measuring errors are suspected due to contained
water: Repeat the measurement after 5 min (do not
deep fry in this period, keep oil/fat at high temperature).
If the new reading is lower, perform another
www. .com information@itm.com1.800.561.8187
Other manuals for 270
4
Table of contents
Other TESTO Test Equipment manuals
Popular Test Equipment manuals by other brands

Fiber Instruments Sales
Fiber Instruments Sales Optical Talk Set user manual

SIGLENT TECHNOLOGIES
SIGLENT TECHNOLOGIES SDS3000X HD Series quick start

sauter
sauter SAUTER HMO instruction manual

Zodiac
Zodiac PH Expert Instructions for installation and use

Tektronix
Tektronix 2335 instruction manual

Draper
Draper 82384 user manual