3
TEXI Twin MS operation manual
CAUTION
Installation
Sewing
Cleaning
Maintenance and inspection
Machine installation should only be carried our by
a qualified technician.
Contact your dealer or a qualified electrician for any
electrical work that may need to de done.
The sewing machine weights more than 65 kg.
The installation should be carried out by two or more
people.
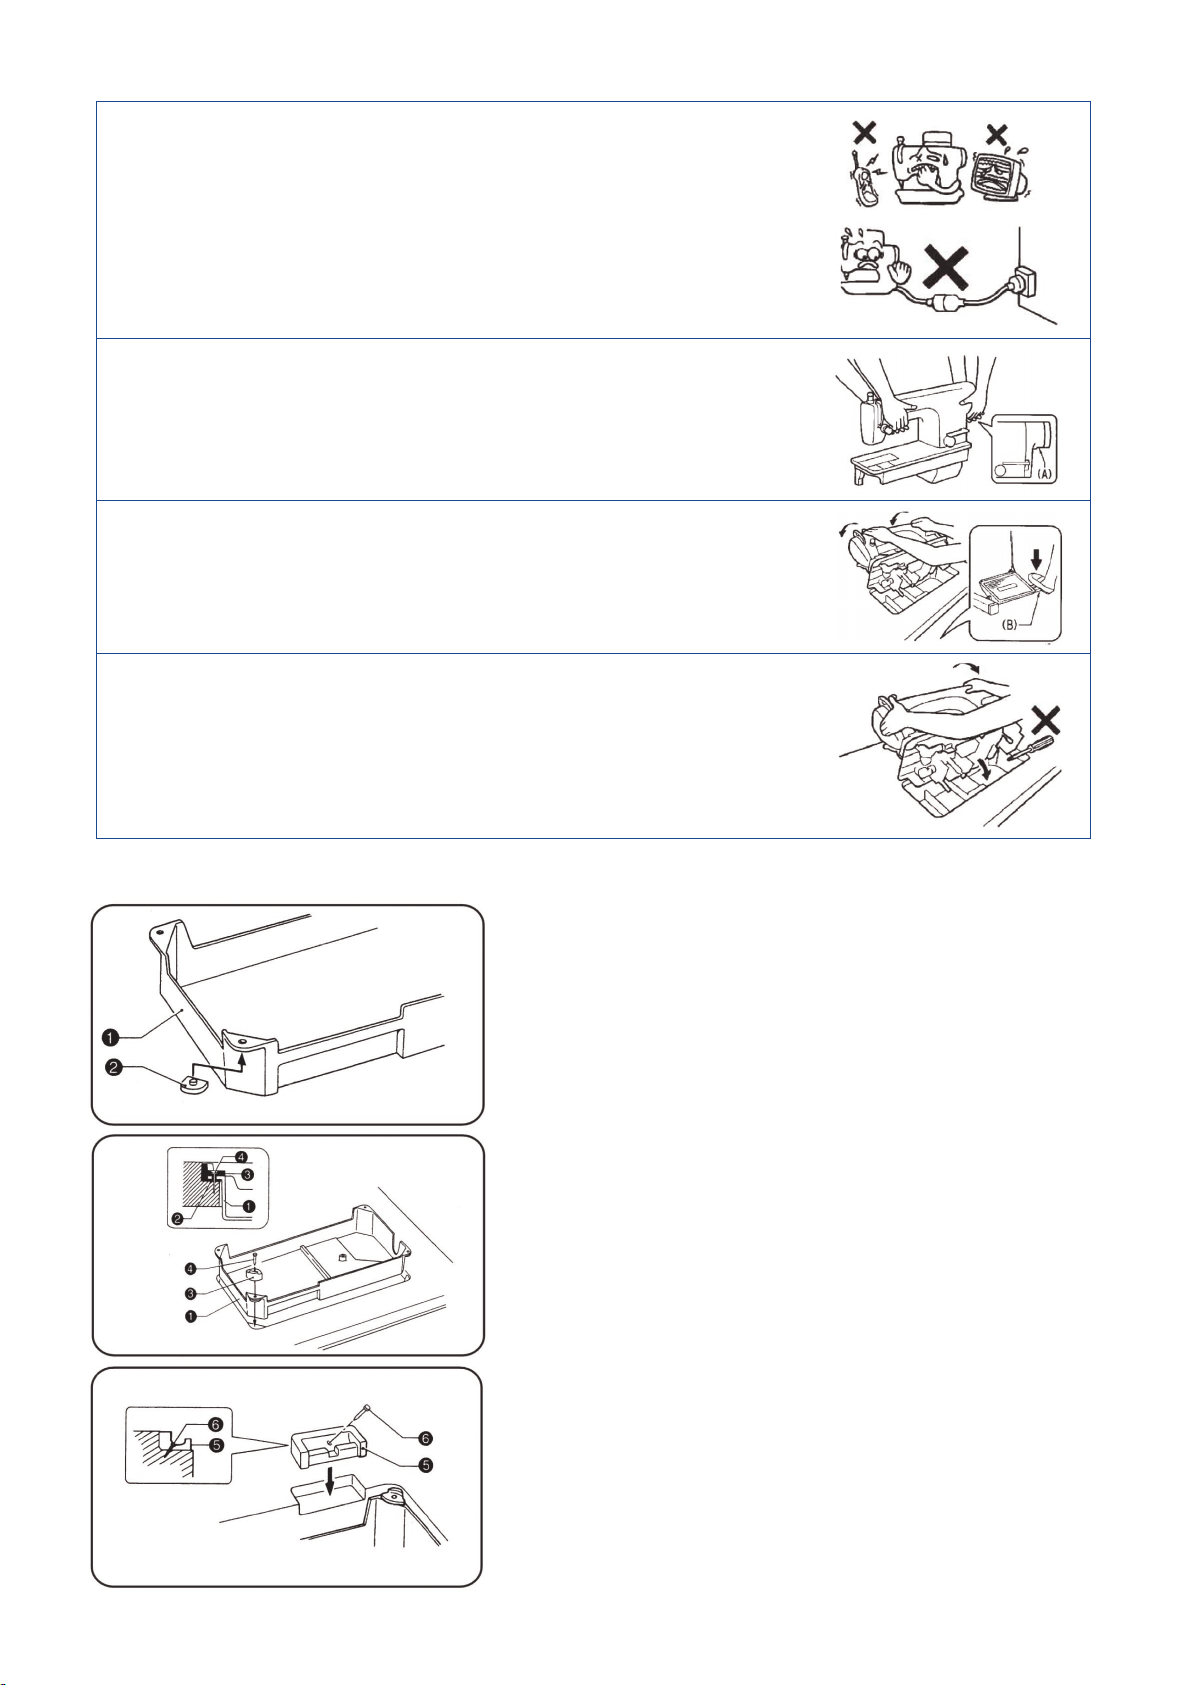
Do not connect the power cord until installation is
complete. Otherwise the machine may operate if
the treadle is pressed by mistake, which could result
injury.
Be sure to connect the ground. If the ground
connection is not secure, you run the risk of receiving
a serious electric shock.
All cords should be secured at least 25 mm away
from any moving parts. Furthermore do not
excessively bend the cords or secure too firmly with
staples, otherwise shocks could occur.
Be sure to wear protective goggles and gloves when
handling the lubricating oil, so that no oil gets into
your eyes or onto your skin, otherwise inflammation
can result.
Furthermore do not drink the oil under any
circumstances as it can cause vomiting and
diarrhoea. Keep the oil out of the reach of children.
The sewing machine should only be used by
operators who have received the necessary training
in safe use beforehand.
The sewing machine should not be used for any
applications other than sewing.
Turn off the power switch at the following. The motor
will keep turning even after the power is switched off
as a result of the motor’s inertia. Wait until the motor
stops fully before starting work.
- When threading the needle
- When replacing the needle and bobbin
- When not using the machine and when leaving the
machine unattended.
Turn off the power switch before carrying out
cleaning. The motor will keep turning even after
the power is switched off as a result of the motor’s
inertia. Wait until the motor stops fully before starting
work. The machine may operate if the treadle is
pressed by mistake
Attach all safety devices before using the sewing
machine. If the machine is used without these
devices attached, injury may result.
Do not touch any of the moving parts or press any
objects against the machine while sewing as this may
result in personal injury or damage of the machine.
In an error occurs in machine or if abnormal noises
or smells are noticed mmediatelly turn off the power
switch. Then contact your nearest sealer or
a qualified technicain.
If the machine develops a problem contact your
nearest dealer or qualified technician.
Be sure to wear protective goggles and gloves when
handling the lubricating oil so that no oil gets into
your eyes or onto your skin. Otherwise inflammation
can result. Furthermore do not drink oil under any
sircumstances as it can cause vomiting and
diarrhoea. Keep the oil of hte reach of children.
Maintenance and inspection of machine should only
be carried out by a qualified technician.
Ask your dealer or a qualified electrician to carry any
maintenance and inspection o felectrical system.
Turn off the power switch and disconnect the power
cord from the wall outlet at the following times.
Otherwise the machine may operate if the threadle is
pressed by mistake. The motor will keep turning after
the power is switched off as a result of motor’s iner-
tia. Wait until motor stops fully before starting work.
When checking the rotary hook lubrication do not
touch moving parts such as the rotary hook, needle
and needle bar with your finger or paper. Otherwise
injury or damage of machine may result.
In any safety devices have been removed be absolu-
tely sure to re-install them to their original positions
and check if they operate correctly.
Any problems in machine operation which result from
unauthorized modifications to the machine will not be
covered by the warranty.