manuals.online logo
Brands
  1. Home
  2. •
  3. Brands
  4. •
  5. TriangleTube
  6. •
  7. Boiler Supplies
  8. •
  9. TriangleTube PSRKIT53 User manual

TriangleTube PSRKIT53 User manual

Prestige SOLO 399 Boiler
Propane to Natural Instructions
Kit Part Number: PSRKIT53
Kit Includes:
- Rating Label
- Conversion Label
- (1) Natural Gas Orifice
-T-25 Torx Wrench
- T-40 Torx Wrench
Recommended Tools
- Adjustable Wrenches
- Phillips-head Screwdriver
- Flat-blade Screwdriver
- Calibrated Combustion Analyzer
Indicates a potentially hazardous situation
which, if ignored, can result in serious
injury or substantial property damage.
Indicates special instructions on installa-
tion, operation or maintenance, which are
important to equipment but not related to
personal injuryhazards.
NOTICEWARNING
Failure to follow instructions below can result in
severe personal injury or damage if ignored:
- Instructions are for a qualified installer /
service technician
- Read all instructions before proceeding
- Follow instructions in the proper order.
For your safety,turn offelectrical power
supply at service panel and allow unit to cool
before proceeding. Failure to do so can cause
severe personal injury or death.
Upon completion of the conversion from
Natural to Propane, affix the new rating
label included in the kit to the unit adjacent
to the existing rating label. DO NOT affix
the new label over the existing rating label.
Add propane conversion labeling to the gas
valve.
NOTICE
WARNING
WARNING
1
Prestige SOLO 399 Boiler
Propane to Natural Instructions
2
Installation of the Natural Gas Orifice
1. Turn off the electrical power supply to the boiler.
2. Close the external manual gas shut off valve to
the unit.
3. Remove the front panel of the Prestige by
removing the thumb screw along the upper edge
of the unit. Lift the panel up and pull forward
to remove the front panel from the unit.
4. Remove the Phillips head retaining screw at the
bottom of the control panel assembly. Swing
open the control panel assembly.
5. Remove the air inlet elbow from the venturi
using a twist motion.
6. Disconnect the gas supply piping inside the
Prestige at the union located below the gas
valve. See Fig. 1.
7. Disconnect the wiring from the gas valve.
8. Remove the six T-40 Torx screws securing the
venturi to the blower. See Fig. 2.
9. Remove the gas valve/venturi assembly from the
unit.
10. Remove the (4) T-25 Torx screws securing the gas
valve extension pipe to the venturi. See Figs. 1 & 2.
11. Remove the existing propane gas orifice from
between the gas valve extension pipe and venturi.
There are O-ring gaskets between the venturi
and blower housing and also between the venturi
and gas valve extension pipe. These O-Rings
must be reinstalled with the gas valve/venturi
assembly. Use care not to damage these gaskets.
12. Install the brass natural gas orifice and o-ring gas-
kets between the gas valve extension pipe and the
venturi. Ensure that the orifice and gaskets are
inside the retaining ring cast into the venturi.
WARNING
(4) T-25
Torx Screws
Venturi O-Ring
O-Rings
Brass Gas Orifice
(6) T-40
Torx Screws
Air inlet
Elbow O-Ring(s)
Venturi Air
Intake
Fig. 2: Venturi/Gas Orifice Assembly
1
3
4
5
2
1. Blower
2. Venturi Assembly
3. Gas Valve Extension Pipe
4. Gas Valve
5. Union
Fig. 1: Prestige 399 Burner Assembly
Failure to retain the O-ring gaskets between ven-
turi and gas valve extension pipe will cause an
improper seal resulting in a potential risk of a
gas leak. Any potential gas leakage may result in
death, serious injury or substantial property
damage.
13. Reassemble the gas valve extension pipe onto the
venturi using the four T-25 Torx head screws.
Ensure that the gas valve extension pipe is prop-
erly oriented with the venturi.
Thereis a gasket between the venturi and the
blower housing. This gasket must be reinstalled
with the gas valve/venturi assembly. Use care
not to damage the gasket.
14. With the venturi / blower O-ring in place,
reassemble the venturi / gas valve assembly to
the blower housing using the six T-40 Torx
screws.
For the reassembly process do not use adhesive
on the venturi / blower gasket.
Use care in the reassembly of the venturi / gas
valve to the blower housing not to cross thread
the mounting screws. Support the weight of the
venturi / gas valve assembly when threading the
mounting screws.
15. Reconnect the wiring to the gas valve as shown
in Fig. 3.
16. Reconnect and tighten the internal gas supply
union using two wrenches and open the exter-
nal manual gas shut off valve. Before placing
the Prestige boiler back into operation check
and test all gas connections for leaks. Repair
leaks if found.
Do not check for gas leaks with an open flame.
Use a bubble test. Failure to check for gas leaks
can cause severepersonal injury, death or sub-
stantial property damage.
WARNING
NOTICE
NOTICE
WARNING
WARNING
Prestige SOLO 399 Boiler
Propane to Natural Instructions
3
Model Orifice Size
Solo 399 0.339" (8.6 mm)
Table 1: Natural Gas Orifice
Throttle
Screw
Brown Wire
Offset Screw
Brown Wire
Ground “Open”
Blue Wire
Blue Wire
Fig. 3: Prestige 399 Gas Valve
Prestige SOLO 399 Boiler
Propane to Natural Instructions
4
There are O-ring gaskets between the air intake
elbow and the venturi air intake. This gasket
must be reinstalled with the air intake elbow.
Use care not to damage the gasket.
17. With the air intake elbow O-rings in place,
reassemble the air inlet elbow to the venturi.
18. Reposition the control panel and reattach the
retaining screw.
19. Replace the front jacket panel and secure with
the thumb screw along the upper edge.
20. Turn on the electrical power supply to the
Prestige boiler and return the unit back to ser-
vice.
Combustion Test and Adjustments
1. The installer MUST perform a complete com-
bustion check to ensure the following combus-
tion levels are met at high and low input firing
rates and the burner is operating at optimum
conditions for natural gas.
The combustion testing and adjustments must be
performed by a qualified installer, service agency
or the gas supplier.All combustion measure-
ments must be performed with calibrated equip-
ment to ensure proper readings and accuracy.
Failure to perform a complete combustion test at
both high and low input rates may result in
incomplete combustion and the production of car-
bon monoxide, which can cause severe personal
injury, death or substantial property damage.
2. Manually place the boiler into HIGH fire mode
by pressing the “MODE” and “+” buttons
simultaneously on the control panel display
while in the STANDBY (STBY) mode.
The control panel will display a H followed by
the current boiler temperaturewhen placed into
high fire test mode.
NOTICE
WARNING
WARNING
WARNING
02 Min. - 2.3% C02 Min. - 8.8%
02 Max. - 5.3% C02 Max. - 10.5%
C0 Max. - 100ppm
Prestige SOLO 399 Boiler
Propane to Natural Instructions
52008-11 Prestige 399 Propane to Natural Inst.Date 04/ 08
3. If the combustion levels during high fire are out-
side the recommended combustion settings
adjust the THROTTLE SCREW (see Fig. 3)
using a flat-blade screwdriver.
The throttle screw is highly sensitive and
requires the use of a combustion analyzer for
adjustment. An adjustment as small as an 1/8 of
aturn can produce a large change in combustion
levels.
4. Once the combustion level is set at high fire,
manually place the boiler into LOW fire mode
by pressing the “MODE” and “-” buttons simul-
taneously on the control display while in the
STANDBY (STBY) mode.
The control panel will display a L followed by the
current boiler temperature when placed into low
fire test mode.
5. If the combustion level during low fire is not
within +/-0.4% of the combustion level mea-
sured at high fire, adjust the offset screw below
the cap on the gas valve.
Counter-clockwise adjustment of the Offset
Screw at High Fire:
O2 increases and CO2 decreases
Clockwise adjustment of the Offset Screw at
High Fire:
O2 decreases and CO2 increases
NOTICE
WARNING

Other TriangleTube Boiler Supplies manuals
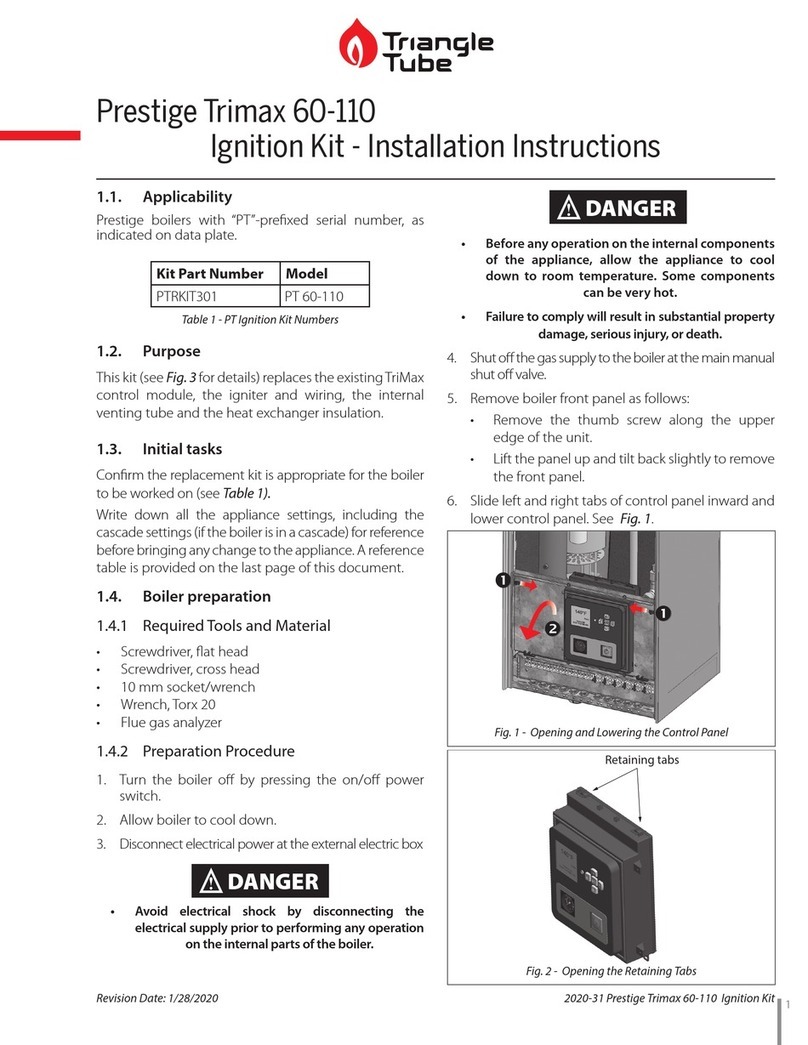
TriangleTube PTRKIT301 User manual

TriangleTube

TriangleTube PTRKIT301 User manual

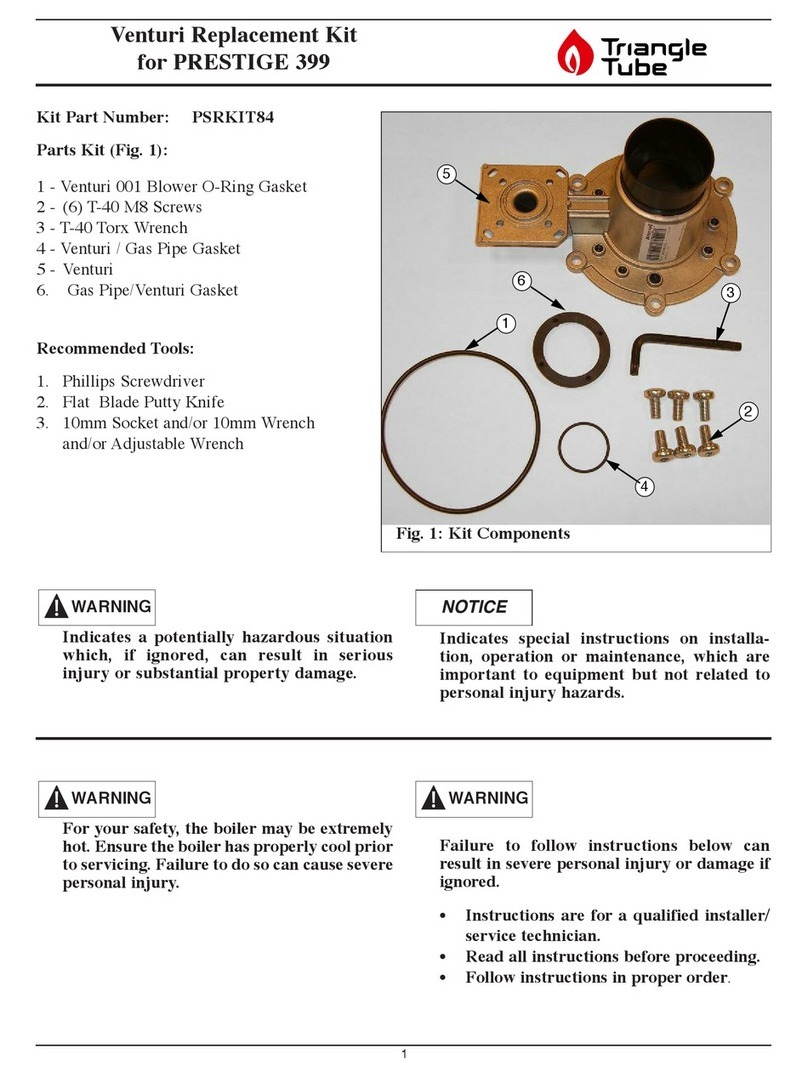
TriangleTube PSRKIT84 User manual

TriangleTube

TriangleTube PSRKIT84 User manual

TriangleTube Instinct SOLO 155-199 User manual

TriangleTube

TriangleTube Instinct SOLO 155-199 User manual

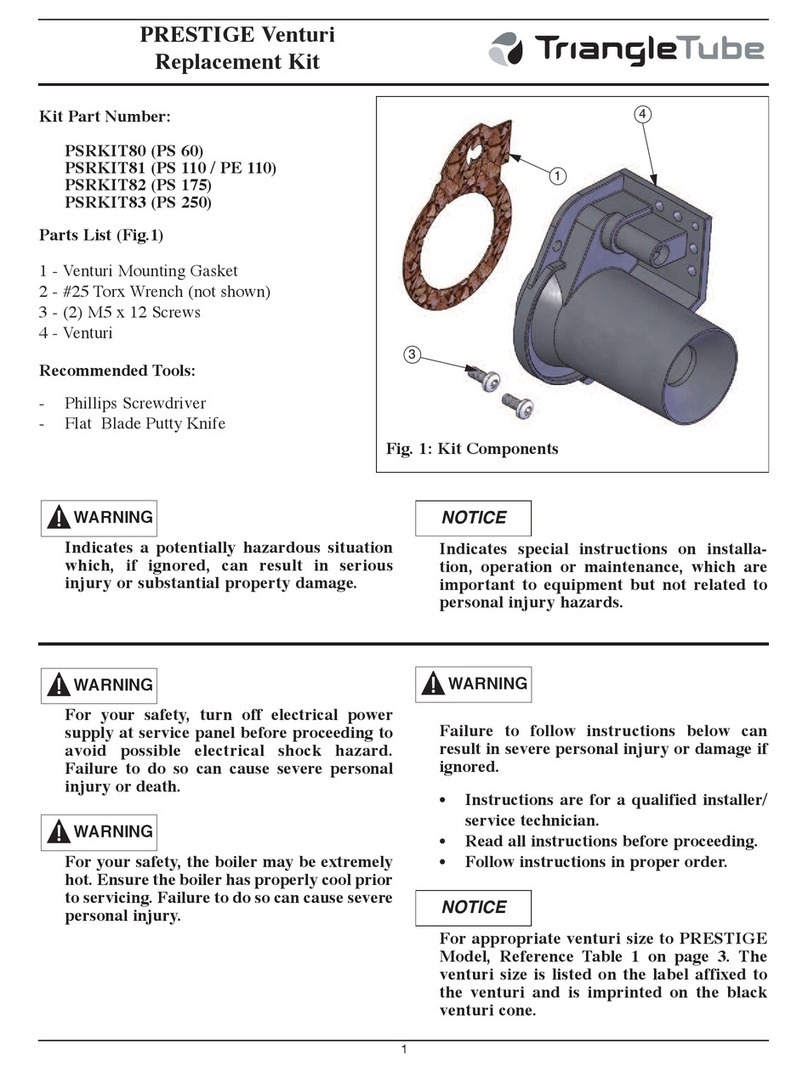
TriangleTube PSRKIT80 User manual

TriangleTube

TriangleTube PSRKIT80 User manual

TriangleTube PSRKIT19 User manual

TriangleTube

TriangleTube PSRKIT19 User manual

TriangleTube PSRKIT36 User manual

TriangleTube

TriangleTube PSRKIT36 User manual

TriangleTube PSRKIT44 User manual

TriangleTube

TriangleTube PSRKIT44 User manual

TriangleTube PGRKIT25 User manual

TriangleTube

TriangleTube PGRKIT25 User manual

TriangleTube PARKIT131 Use and care manual

TriangleTube

TriangleTube PARKIT131 Use and care manual

TriangleTube PTRKIT305 User manual

TriangleTube

TriangleTube PTRKIT305 User manual

TriangleTube PTRKIT304 User manual

TriangleTube

TriangleTube PTRKIT304 User manual

TriangleTube Instinct INSRKIT134 Use and care manual
TriangleTube

TriangleTube Instinct INSRKIT134 Use and care manual

TriangleTube PSSTND02 User manual

TriangleTube

TriangleTube PSSTND02 User manual

TriangleTube PSRKIT51 User manual

TriangleTube

TriangleTube PSRKIT51 User manual

TriangleTube PGRKIT30 User manual

TriangleTube

TriangleTube PGRKIT30 User manual

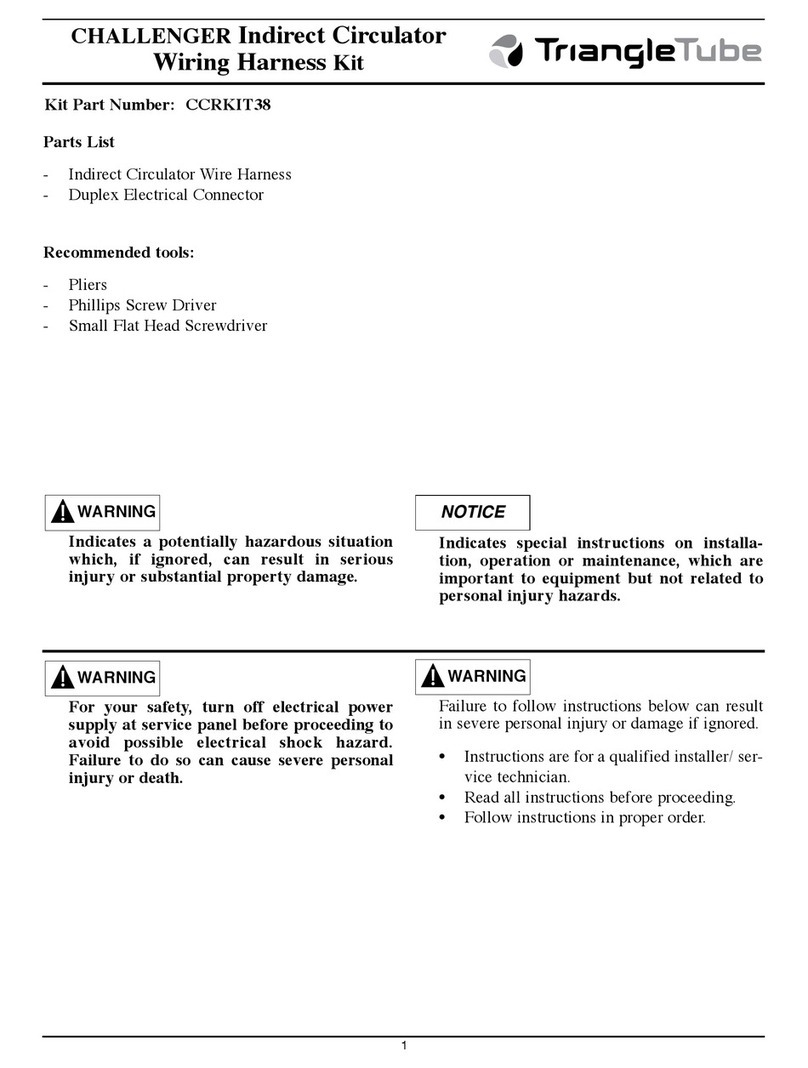
TriangleTube CHALLENGER CCRKIT38 User manual

TriangleTube

TriangleTube CHALLENGER CCRKIT38 User manual

TriangleTube PSRKIT41 User manual

TriangleTube

TriangleTube PSRKIT41 User manual

TriangleTube CCRKIT32 User manual

TriangleTube

TriangleTube CCRKIT32 User manual
Popular Boiler Supplies manuals by other brands
Buderus Logamax plus GB142-24 instructions

Buderus

Buderus Logamax plus GB142-24 instructions

Exodraft ES12 manual

Exodraft

Exodraft ES12 manual

TiEmme 5535PF Instruction leaflet

TiEmme

TiEmme 5535PF Instruction leaflet

Nibe UKV 100 installation instructions

Nibe

Nibe UKV 100 installation instructions

Detandt-Simon 200 Instructions for use and maintenance

Detandt-Simon

Detandt-Simon 200 Instructions for use and maintenance

Vaillant sensoNET VR 921 installation instructions

Vaillant

Vaillant sensoNET VR 921 installation instructions

Viessmann GENO-Neutra V N-70 Installation and service instructions

Viessmann

Viessmann GENO-Neutra V N-70 Installation and service instructions

Viessmann ESS VITOBLOC 200 Installation & Operating Instructions For Contractors

Viessmann

Viessmann ESS VITOBLOC 200 Installation & Operating Instructions For Contractors

IBC P-153B Replacement instructions

IBC

IBC P-153B Replacement instructions

Bosch TSS manual

Bosch

Bosch TSS manual

IBC SL 80-399 instruction manual

IBC

IBC SL 80-399 instruction manual

PAW HeatBloC K36 Installation and operation instructions

PAW

PAW HeatBloC K36 Installation and operation instructions

manuals.online logo
manuals.online logoBrands
  • About & Mission
  • Contact us
  • Privacy Policy
  • Terms and Conditions

Copyright 2025 Manuals.Online. All Rights Reserved.