manuals.online logo
Brands
  1. Home
  2. •
  3. Brands
  4. •
  5. U-Line
  6. •
  7. Dispenser
  8. •
  9. U-Line TORK H-7177 User manual

U-Line TORK H-7177 User manual

Other manuals for TORK H-7177

1

Other U-Line Dispenser manuals

U-Line H-2624 User manual

U-Line

U-Line H-2624 User manual

U-Line H-28 User manual

U-Line

U-Line H-28 User manual

U-Line HDE215 User manual

U-Line

U-Line HDE215 User manual
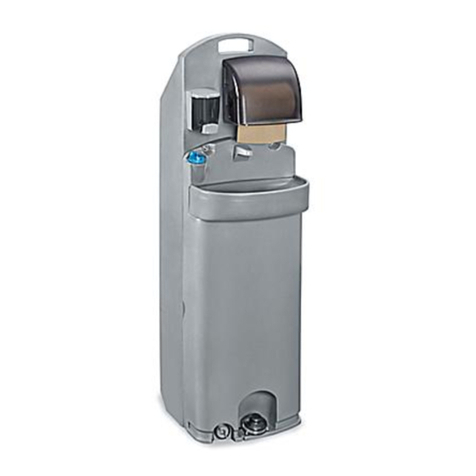
U-Line UCDE215 Installation manual

U-Line

U-Line UCDE215 Installation manual

U-Line H-878 User manual

U-Line

U-Line H-878 User manual

U-Line TORK XPRESS H-4450 User manual

U-Line

U-Line TORK XPRESS H-4450 User manual
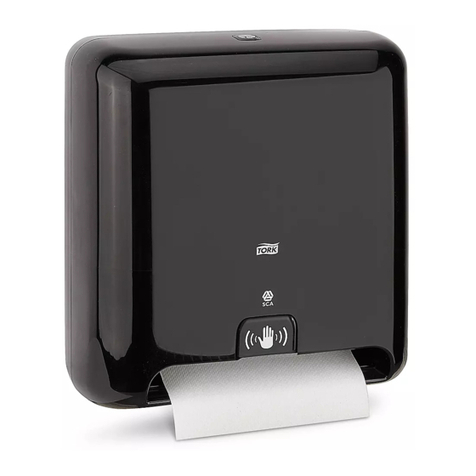
U-Line H-35 User manual

U-Line

U-Line H-35 User manual

U-Line Rubbermaid H-7682 User manual

U-Line

U-Line Rubbermaid H-7682 User manual

U-Line Boraxo H-3884 User manual

U-Line

U-Line Boraxo H-3884 User manual

U-Line H-1585 User manual

U-Line

U-Line H-1585 User manual

U-Line H-3620 User manual

U-Line

U-Line H-3620 User manual

U-Line H-2243 Parts list manual

U-Line

U-Line H-2243 Parts list manual

U-Line H-1130 User manual

U-Line

U-Line H-1130 User manual

U-Line UHDE215 Installation manual

U-Line

U-Line UHDE215 Installation manual

U-Line Tork Xpressnap H-5858 User manual

U-Line

U-Line Tork Xpressnap H-5858 User manual

U-Line H-9953 User manual

U-Line

U-Line H-9953 User manual
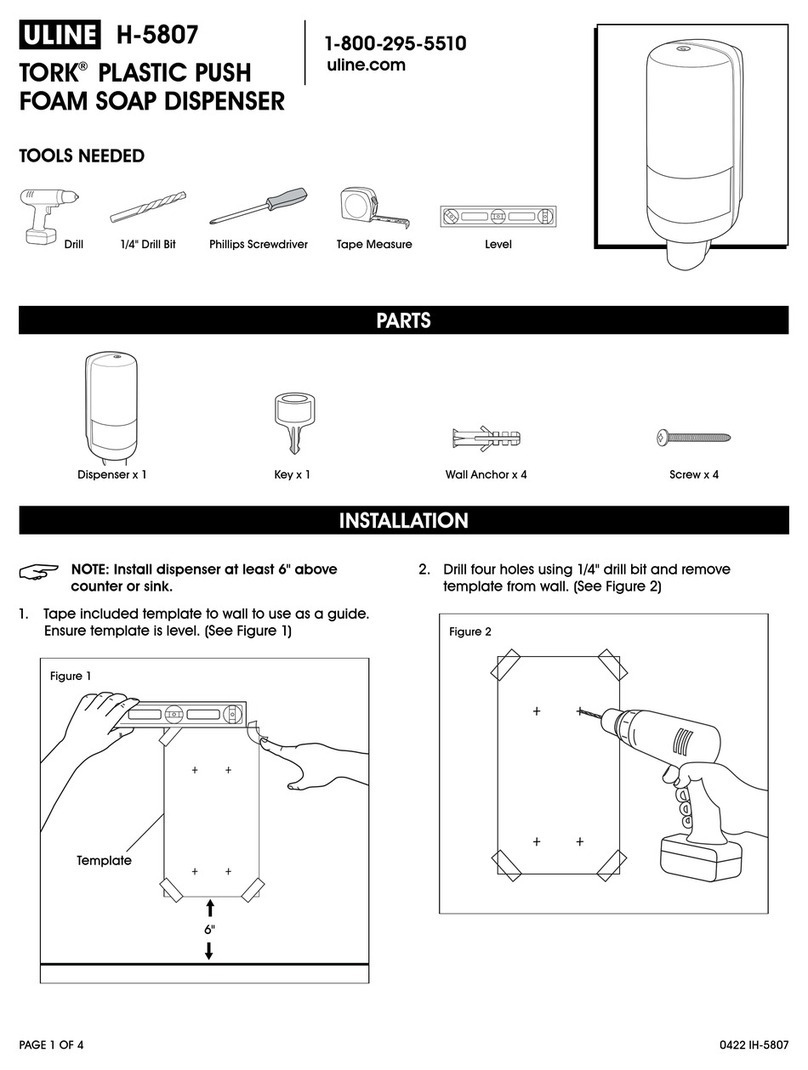
U-Line H-7983 User manual

U-Line

U-Line H-7983 User manual

U-Line CDE215H User manual

U-Line

U-Line CDE215H User manual

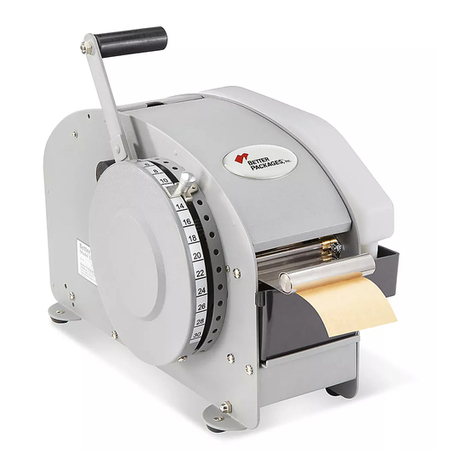
U-Line Better Pack 555eS User manual

U-Line

U-Line Better Pack 555eS User manual

U-Line H-878 User manual

U-Line

U-Line H-878 User manual

U-Line H-1585 User manual

U-Line

U-Line H-1585 User manual

U-Line H-1036 User manual

U-Line

U-Line H-1036 User manual

U-Line H-1019 User manual

U-Line

U-Line H-1019 User manual

U-Line Tork Xpressnap H-4580 User manual

U-Line

U-Line Tork Xpressnap H-4580 User manual

Popular Dispenser manuals by other brands

BOWMAN CL003-0111 manual

BOWMAN

BOWMAN CL003-0111 manual

SIKA Power Cure operating instructions

SIKA

SIKA Power Cure operating instructions

Silver King Majestic SK12MAJ Technical manual and replacement parts list

Silver King

Silver King Majestic SK12MAJ Technical manual and replacement parts list

Franke F3Dn Twin Service manual

Franke

Franke F3Dn Twin Service manual

HURAKAN HKN-MT1 manual

HURAKAN

HURAKAN HKN-MT1 manual

STIEBEL ELTRON UltraHot Plus Operation and installation instructions

STIEBEL ELTRON

STIEBEL ELTRON UltraHot Plus Operation and installation instructions

Bobrick B-828 troubleshooting guide

Bobrick

Bobrick B-828 troubleshooting guide

DAN DRYER 282 installation guide

DAN DRYER

DAN DRYER 282 installation guide

Essity Tork 473208 manual

Essity

Essity Tork 473208 manual

CBS SD300BU-88 COMPONENT MAINTENANCE MANUAL WITH ILLUSTRATED PARTS LIST
CBS

CBS SD300BU-88 COMPONENT MAINTENANCE MANUAL WITH ILLUSTRATED PARTS LIST
Sealey MK77 manual

Sealey

Sealey MK77 manual

Fluid Management Accutinter 1600 End user guide

Fluid Management

Fluid Management Accutinter 1600 End user guide

Franke DVS SD99-010 Installation and operating instructions

Franke

Franke DVS SD99-010 Installation and operating instructions

Graco Dispensit 1053-10C operation & maintenance

Graco

Graco Dispensit 1053-10C operation & maintenance

DPR SED02 user manual

DPR

DPR SED02 user manual

ITALTINTO i50 user manual

ITALTINTO

ITALTINTO i50 user manual

Coca-Cola FREESTYLE 9000 user guide

Coca-Cola

Coca-Cola FREESTYLE 9000 user guide

Hewi 805.06.150 Mounting instructions

Hewi

Hewi 805.06.150 Mounting instructions

manuals.online logo
manuals.online logoBrands
  • About & Mission
  • Contact us
  • Privacy Policy
  • Terms and Conditions

Copyright 2025 Manuals.Online. All Rights Reserved.

PAGE 1 OF 4 0420 IH-7177
πH-7177
TORK®MINI JUMBO
BATH TISSUE DISPENSER
1-800-295-5510
uline.com
USING THE KEY
1. To open dispenser while keeping it locked, insert key
at position A. (See Figure 1)
2. Turn and hold key clockwise to open dispenser.
(See Figure 2)
NOTE: Release key back to position A after
closing to lock dispenser.
USING PUSH BUTTON MODE
1. Insert key at position A. (See Figure 1)
2. Turn counterclockwise to position B. (See Figure 3)
3. Remove key and push in lock to open dispenser.
(See Figure 4)
Figure 1
Figure 2
Figure 3
Figure 4
USING THE KEY AND OPTIONAL PUSH BUTTON MODE
PARTS
Dispenser x 1 Wall Anchor x 4 Screw x 4Dispenser Key x 1
TOOLS NEEDED
LevelTape
Measure
6 mm Drill BitElectric
Drill
Phillips
Screwdriver
PAGE 2 OF 4 0420 IH-7177
NOTE: Recommended mounting height is 35"
from floor to the top marking on the mounting
template. (See Figure 5)
NOTE: Ensure that proper mounting hardware
is used for appropriate wall composition, as
enclosed hardware may not be compatible
with wall surface.
1. Tape mounting template to wall at desired height
and ensure that template is level. (See Figure 5)
2. Using a 6 mm drill bit, drill into wall about 1½" at
each marked screw location on template.
(See Figure 6)
3. Remove template from wall. Insert wall anchors
(if necessary) into four previously drilled holes. Hold
dispenser up to wall so holes in wall and dispenser
match up. Insert the upper right screw and tighten
completely. (See Figure 7)
4. Ensure the dispenser is level by looking at the level
bar on the inside of the dispenser. If level, screw in last
three screws. (See Figure 8)
MOUNTING INSTRUCTIONS
Figure 7
Figure 8
Figure 5
35"
Figure 6
PAGE 3 OF 4 0420 IH-7177
1. With cover open, slide bottom door left using knob.
(See Figure 9)
2. Raise arm up on the upper left hand side and slide
a roll of toilet tissue onto the arm.
(See Figures 10 and 11)
3. Raise arm on upper right hand side and slide a
second roll of toilet tissue onto the arm, ensuring the
leading edge of the paper is on the left hand side.
(See Figures 12 and 13)
LOADING INSTRUCTIONS
Figure 10
Figure 9
Figu re 11
Figure 12
PAGE 4 OF 4 0420 IH-7177
πCHICAGO • ATLANTA • DALLAS • LOS ANGELES • MINNEAPOLIS • NYC/PHILA • SEATTLE • MEXICO • CANADA
1-800-295-5510
uline.com
LOADING INSTRUCTIONS CONTINUED
4. Close cover and begin dispensing. (See Figure 14)
Figure 13
Figure 14