manuals.online logo
Brands
  1. Home
  2. •
  3. Brands
  4. •
  5. U-Line
  6. •
  7. Safe
  8. •
  9. U-Line H-5663 User manual

U-Line H-5663 User manual

PAGE 1 OF 3 0716 IH-5663
πH-5663
DIGITAL SAFE
1-800-295-5510
uline.com
TOOLS NEEDED
HARDWARE INCLUDED
Drill
50mm Lag
Screw x 4
Washer x 4 40mm Plastic
Anchor x 4
3/8" Drill Bit 3/16" Drill BitFlathead Screwdriver 10mm Wrench
USAGE
GETTING STARTED
1. When you first receive your safe, you will need to
open the door with the key in order to install the
batteries. Batteries are included and are located
inside the safe.
2. To open the door with the key, first remove the
lock cover from the front of the faceplate using a
flathead screwdriver, as shown. Insert the key and
turn counterclockwise. Hold the key in the open
position and turn the knob to the right to open the
door.
NOTE: This key has also been provided in case
you lose or forget your security code or if the
batteries run low. If you lose the key, you'll
need to reference the serial number located
under the removable lock cover to get a
replacement.
3. Locate the batteries inside the safe. Open the
battery compartment on the back of the door by
pushing the tab in the direction of the arrow. Then,
install the batteries.
NOTE: The reset button located on the inside
of the door is covered with a removable cap.
When you use the reset button while setting
your own combination, remove the cap to
access the button. Use a pen tip to push the
reset button. Replace the cap securely over
the reset button after setting your combination.
Failure to do so will compromise the safety and
security of the safe.
ENTERING YOUR SECURITY CODE
To enter your own security code, you will need to follow
the steps listed below:
1. After installing the batteries, locate the reset button
on the back of the door.
2. Press the reset button with a pen tip and release it;
you will hear a beep. DO NOT SHUT THE DOOR UNTIL
YOU HAVE CONFIRMED THAT YOUR NEW SECURITY
CODE HAS BEEN ENTERED CORRECTLY.
3. With the door open, enter your own personal
security code, which can be 3-8 digits long, and
confirm your new code by pressing the key on
the electronic touch pad. You will have 3 seconds
to press the key, otherwise you will have to start
over from step one. There will be 2 beeps (if the
sound is turned on) and the green light will flash
twice if your code has been entered successfully.
Lock Cover
PAGE 2 OF 3 0716 IH-5663
USAGE CONTINUED
Before you close the door, enter the new security
code. Press the key to make sure the lock
releases the knob so that you can turn it and retract
the live-action locking bolts.
4. If the code fails, go through steps 1-3 again. If the
code works successfully, then you should lock the
safe.
5. When you open the safe in the future, enter the
security code you have set, followed by the key,
and turn the knob.
6. If an incorrect security code is entered 3 times, the
safe will beep 5 times (if the sound is turned on)
and the red light will flash 5 times resulting in the
safe being automatically locked out for 60 seconds
before you can try your code again. The safe will
beep one time (if the sound is turned on) and the
green light will flash once when the lockout period
is over.
7. If an incorrect security code is entered 1 additional
time the safe will beep 5 times (if the sound is turned
on) and the red light will flash 5 times, resulting in the
safe being automatically locked out for 5 minutes
before the code can be tried again. The safe will
beep one time (if the sound is turned on) and the
green light will flash once when the lockout period
is over.
8. Write down your new combination and keep this
information in a secure place, away from children,
not inside the safe.
LOCKING THE SAFE
To lock the safe, close the door and turn the knob to the
left to the 12:00 position.
NOTE: Because the locking mechanism is
deactivated for approximately 3 to 6 seconds
after the combination is entered, wait a
minimum of 6 seconds from the time the
combination is entered to lock the safe. Also,
when locking the safe, always make sure the
knob is turned completely left to the 12:00
position. If the knob is not turned to the 12:00
position during the locking process, the
mechanism will not lock.
BATTERY REPLACEMENT
NOTE: Do not mix old and new batteries. Do
not mix alkaline, standard or rechargeable
batteries.
This safe uses 4 AA batteries.
NOTE: If the batteries are low, the yellow light
will flash when you start to enter your code.
To replace the batteries, open the battery compartment
on the back of the door by pushing the tab in the
direction of the arrow and install all new batteries.
TURNING THE KEYPAD SOUND OFF/ON
Your safe comes with the beeping sound turned on.
You can turn off the beeping sound of the keypad by
pressing the key.
To turn the beeping sound on, press the key again.
SELECTING A LOCATION
The safe must be mounted to a wall stud and to a
permanent shelf or the floor. For optimal safety and
security, the safe should be installed in an isolated, dry
and secure area.
WARNING! The safe should always be kept out
of reach of children.
SECURING THE SAFE
NOTE: This safe must be mounted to a wall stud
and to a permanent shelf or the floor. Failure to
do so will compromise the safety and security
of the safe.
NOTE: The safe needs to be in an upright
position for the locking mechanism to function
properly. Failure to mount the safe in the
correct upright position will compromise the
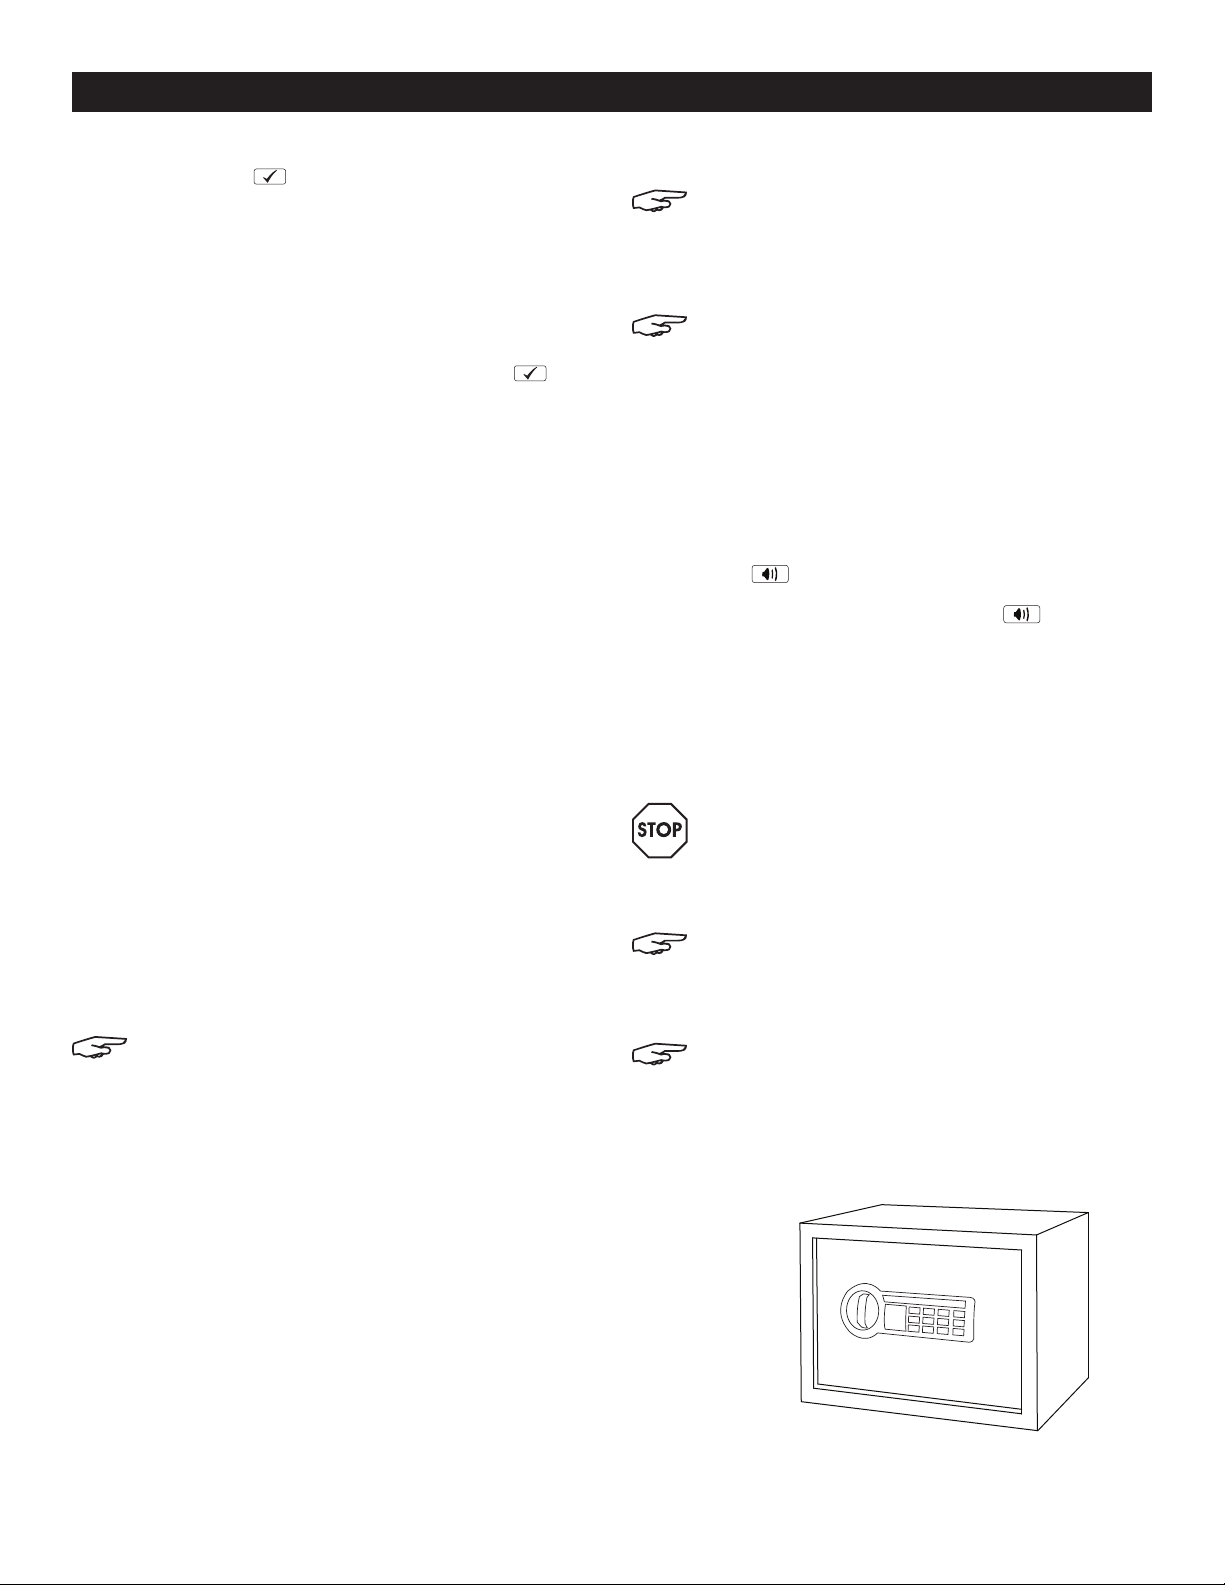
safety and security of the safe. (See Figure 1)
Figure 1
PAGE 3 OF 3 0716 IH-5663
USAGE CONTINUED
1. Secure the safe to a wall stud and to a permanent
shelf or floor using the predrilled mounting holes in
the safe.
NOTE: The safe must be secured to a wall stud
on one side of the safe in the top and bottom
holes in the back of the safe so that it is
anchored to the wall stud in two locations.
Wall anchors should be used on the other
side. The safe should also be mounted to
a permanent shelf or to the floor. Use the
hardware provided or consult Uline Customer
Service at 1-800-295-5510 for fastening
hardware for your particular mounting surfaces.
2. Mark the holes to be used. Drill the appropriate
diameter and depth of pilot holes depending on
the type of hardware being used and the mounting
surface. (See Figure 2)
3. Secure the safe with fasteners.
πCHICAGO • ATLANTA • DALLAS • LOS ANGELES • MINNEAPOLIS • NYC/PHILA • SEATTLE • MEXICO • CANADA
1-800-295-5510
uline.com
Figure 2

Other U-Line Safe manuals

U-Line H-6732 User manual

U-Line

U-Line H-6732 User manual

U-Line H-8937 User manual

U-Line

U-Line H-8937 User manual

U-Line H-8938 User manual

U-Line

U-Line H-8938 User manual

U-Line H-8940 User manual

U-Line

U-Line H-8940 User manual

U-Line H-5784 User manual

U-Line

U-Line H-5784 User manual

U-Line H-5784 User manual

U-Line

U-Line H-5784 User manual

U-Line H-7767 User manual

U-Line

U-Line H-7767 User manual

U-Line H-9880 User manual

U-Line

U-Line H-9880 User manual

U-Line H-6731 User manual

U-Line

U-Line H-6731 User manual

U-Line H-7587 User manual

U-Line

U-Line H-7587 User manual

U-Line H-5552 User manual

U-Line

U-Line H-5552 User manual

Popular Safe manuals by other brands

HMF 202507 instruction manual

HMF

HMF 202507 instruction manual

TDL Triton VersaSafe LT manual

TDL

TDL Triton VersaSafe LT manual

PrimeMatik BY035 instruction manual

PrimeMatik

PrimeMatik BY035 instruction manual

EVERSAFE Hard Case instruction manual

EVERSAFE

EVERSAFE Hard Case instruction manual

COMPX NARC Box quick start guide

COMPX

COMPX NARC Box quick start guide

Bulldog Security BD4055B instruction manual

Bulldog Security

Bulldog Security BD4055B instruction manual

Tidel TACC-VI Operator's manual

Tidel

Tidel TACC-VI Operator's manual

First Alert 2583DF Operations & installation guide

First Alert

First Alert 2583DF Operations & installation guide

BURG-WACHTER PointSafe user manual

BURG-WACHTER

BURG-WACHTER PointSafe user manual

Phoenix KS0030E Series operating instructions

Phoenix

Phoenix KS0030E Series operating instructions

Barska AX13308 user manual

Barska

Barska AX13308 user manual

SentrySafe EF4738E user manual

SentrySafe

SentrySafe EF4738E user manual

Bunker Hill Security Security 297081 user manual

Bunker Hill Security

Bunker Hill Security Security 297081 user manual

Arregui BASA 20000-S7 manual

Arregui

Arregui BASA 20000-S7 manual

Hornady SnapSafe 75430 owner's manual

Hornady

Hornady SnapSafe 75430 owner's manual

Costway EL10001 user manual

Costway

Costway EL10001 user manual

PROAIM CT-SLBD-01 Assembly manual

PROAIM

PROAIM CT-SLBD-01 Assembly manual

Arregui GRID instruction manual

Arregui

Arregui GRID instruction manual

manuals.online logo
manuals.online logoBrands
  • About & Mission
  • Contact us
  • Privacy Policy
  • Terms and Conditions

Copyright 2025 Manuals.Online. All Rights Reserved.