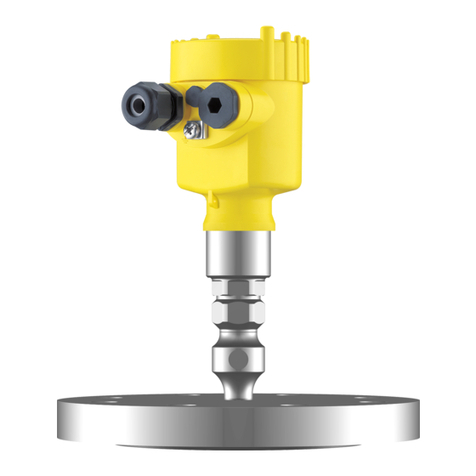
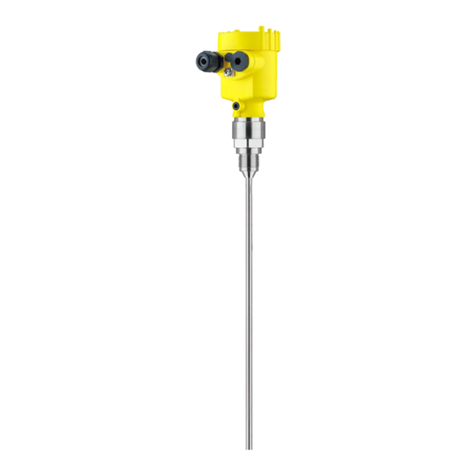
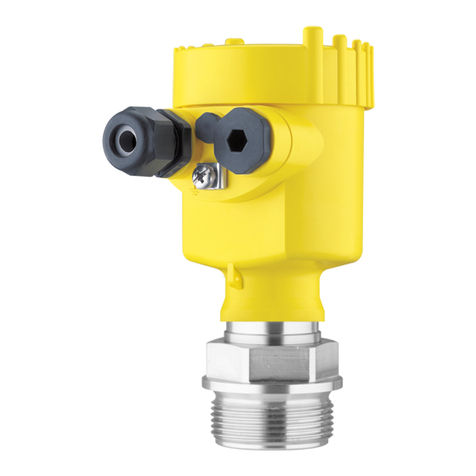
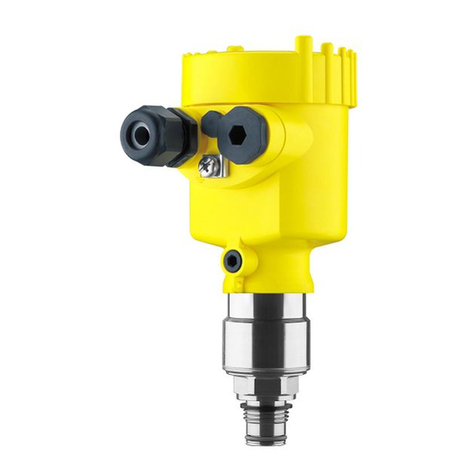
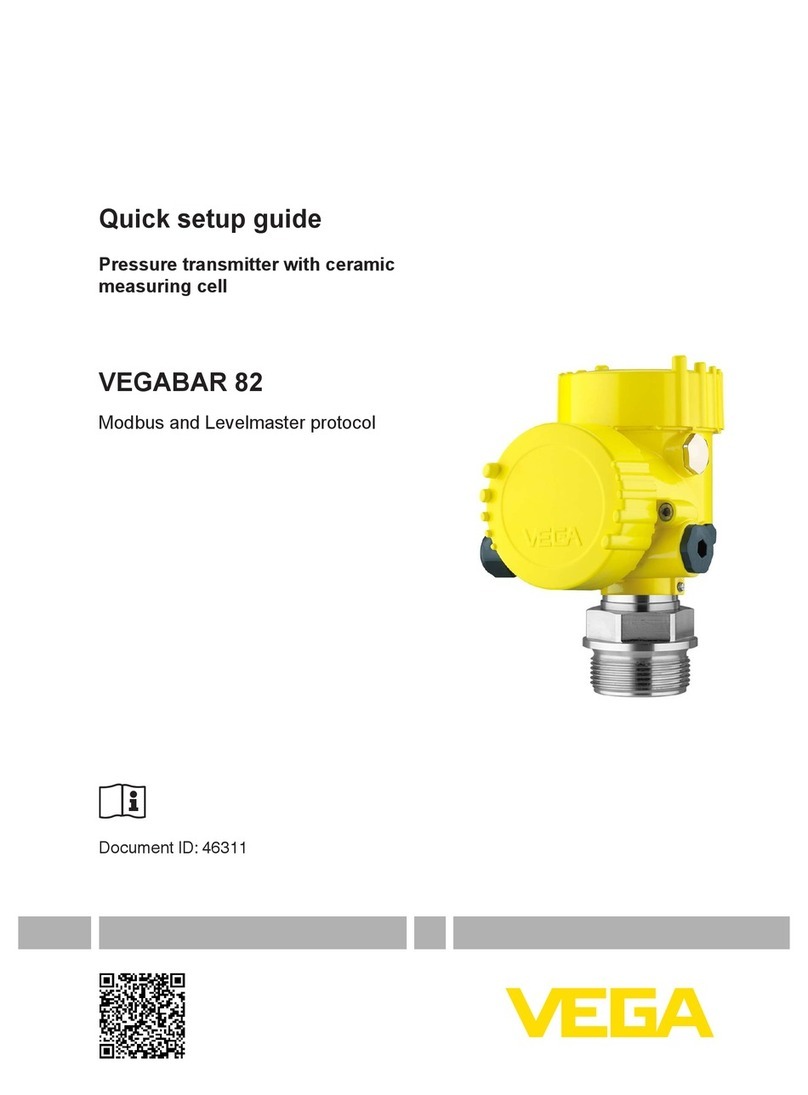
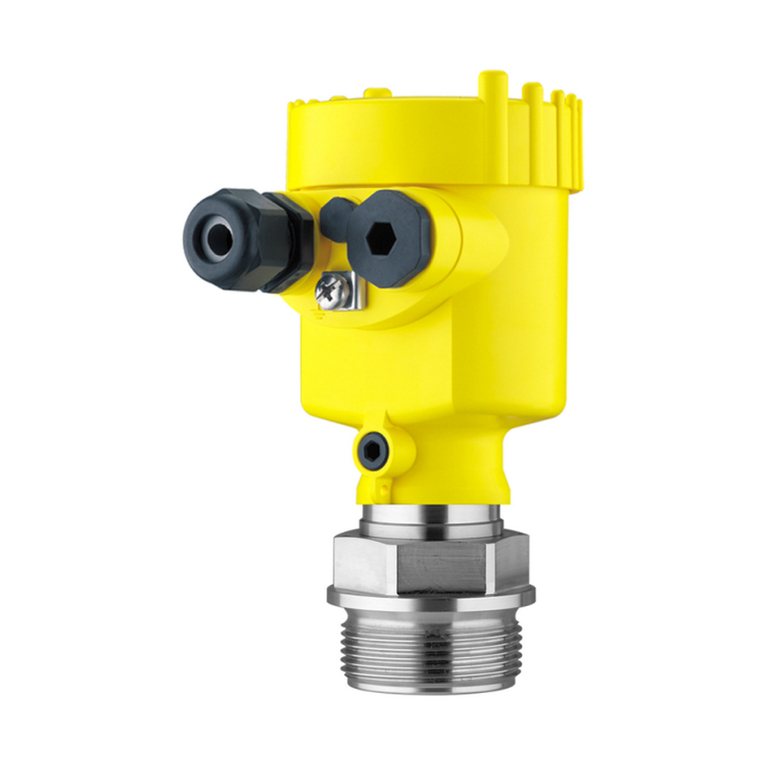
Vega VEGABAR 82 User manual

Quick setup guide
Pressure transmitter with ceramic
measuring cell
VEGABAR 82
HART and accumulator pack
Document ID: 46307

2
Contents
VEGABAR 82 • HART and accumulator pack
46307-EN-131125
Contents
1 For your safety
1.1 Authorised personnel ....................................................................................................... 3
1.2 Appropriate use................................................................................................................ 3
1.3 Warning about incorrect use............................................................................................. 3
1.4 General safety instructions............................................................................................... 3
1.5 CE conformity................................................................................................................... 3
1.6 Measuring range - permissible process pressure............................................................. 4
1.7 NAMUR recommendations .............................................................................................. 4
1.8 Environmental instructions ............................................................................................... 4
2 Product description
2.1 Conguration.................................................................................................................... 5
3 Mounting
3.1 General instructions for use of the instrument .................................................................. 7
3.2 Ventilation and pressure compensation............................................................................ 7
4 Connecting to power supply
4.1 Connection of the battery charger .................................................................................... 9
4.2 Wiring plan ....................................................................................................................... 9
5 Set up with the display and adjustment module
5.1 Insert display and adjustment module............................................................................ 11
5.2 Parameter adjustment - Quick setup .............................................................................. 12
5.3 Parameter adjustment - Extended adjustment................................................................ 13
6 Supplement
6.1 Technical data ................................................................................................................ 16
Information:
This quick setup guide enables a quick setup of your instrument.
Youcanndfurtherinformationinthecomprehensiveoperatingin-
structions listed below. This manual is available on the supplied DVD
or in the download area under "www.vega.com".
Operating instructions VEGABAR 82 - HART and power pack:
Document-ID 45029
Editing status of the quick setup guide: 2013-11-21

3
1 For your safety
VEGABAR 82 • HART and accumulator pack
46307-EN-131125
1 For your safety
1.1 Authorised personnel
All operations described in this operating instructions manual must
be carried out only by trained specialist personnel authorised by the
plant operator.
During work on and with the device the required personal protective
equipment must always be worn.
1.2 Appropriate use
The VEGABAR 82 is a pressure transmitter for process pressure and
hydrostatic level measurement. Due to the integrated accumulator the
instrument is particularly suitable as a portable measuring system or
test sensor for special applications.
Youcannddetailedinformationontheapplicationrangeinchapter
"Product description".
Operational reliability is ensured only if the instrument is properly
usedaccordingtothespecicationsintheoperatinginstructions
manual as well as possible supplementary instructions.
1.3 Warning about incorrect use
Inappropriate or incorrect use of the instrument can give rise to
application-specichazards,e.g.vesseloverllordamagetosystem
components through incorrect mounting or adjustment.
1.4 General safety instructions
This is a high-tech instrument requiring the strict observance of stand-
ard regulations and guidelines. The user must take note of the safety
instructionsinthisoperatinginstructionsmanual,thecountry-specic
installation standards as well as all prevailing safety regulations and
accident prevention rules.
Theinstrumentmustonlybeoperatedinatechnicallyawlessand
reliable condition.The operator is responsible for trouble-free opera-
tion of the instrument.
Duringtheentiredurationofuse,theuserisobligedtodeterminethe
compliance of the necessary occupational safety measures with the
current valid rules and regulations and also take note of new regula-
tions.
1.5 CE conformity
ThedevicefulllsthelegalrequirementsoftheapplicableECguide-
lines.ByaxingtheCEmarking,weconrmsuccessfultestingofthe
product.
YoucanndtheCECerticateofConformityinthedownloadsection
of our homepage.

4
1 For your safety
VEGABAR 82 • HART and accumulator pack
46307-EN-131125
Electromagnetic compatibility
Instruments with plastic housing as well as those in four-wire or Ex-d-
ia version are designed for use in an industrial environment. Never-
theless,electromagneticinterferencefromelectricalconductorsand
radiatedemissionsmustbetakenintoaccount,asisusualwithclass
A instruments according to EN 61326-1. If the instrument is used in
adierentenvironment,theelectromagneticcompatibilitytoother
instruments must be ensured by suitable measures.
1.6 Measuring range - permissible process
pressure
Thepermissibleprocesspressureisspeciedonthetypelabelwith
"Processpressure",seechapter"Conguration".Forsafetyreasons,
this range may not be exceeded. This applies even if a measuring cell
with a measuring range (order-related) higher than the permissible
pressurerangeoftheprocessttingisinstalled.
1.7 NAMUR recommendations
NAMUR is the automation technology user association in the process
industry in Germany.The published NAMUR recommendations are
acceptedasthestandardineldinstrumentation.
ThedevicefulllstherequirementsofthefollowingNAMURrecom-
mendations:
• NE 21 – Electromagnetic compatibility of equipment
• NE 43 – Signal level for malfunction information from measuring
transducers
• NE53–Compatibilityofelddevicesanddisplay/adjustment
components
• NE107–Self-monitoringanddiagnosisofelddevices
For further information see www.namur.de.
1.8 Environmental instructions
Protection of the environment is one of our most important duties.
That is why we have introduced an environment management system
with the goal of continuously improving company environmental pro-
tection.Theenvironmentmanagementsystemiscertiedaccording
to DIN EN ISO 14001.
Pleasehelpusfulllthisobligationbyobservingtheenvironmental
instructions in this manual:
• Chapter "Packaging, transport and storage"
• Chapter "Disposal"

5
2 Product description
VEGABAR 82 • HART and accumulator pack
46307-EN-131125
2 Product description
2.1 Conguration
Thenameplatecontainsthemostimportantdataforidenticationand
use of the instrument:
2
1
14
15
16
17
13
11
12
5
3
6
4
7
8
9
10
Fig. 1: Layout of the type label (example)
1 Instrument type
2 Product code
3 Field for approvals
4 Power supply and signal output, electronics
5 Protection rating
6 Measuring range
7 Permissible process pressure
8 Material, wetted parts
9 Hardware and software version
10 Order number
11 Serial number of the instrument
12 Data-Matrix-Code for Smartphone-App
13 Symbol of the device protection class
14 ID numbers, instrument documentation
15 Reminder to observe the instrument documentation
16 NotiedauthorityforCEmarking
17 Approval directive
The type label contains the serial number of the instrument. With it
youcanndthefollowingdataonourhomepage:
• Product code of the instrument (HTML)
• Delivery date (HTML)
• Order-specicinstrumentfeatures(HTML)
• Operating instructions at the time of shipment (PDF)
• Order-specicsensordataforanelectronicsexchange(XML)
• TestcerticatePressureTransmitters(PDF)
Go to www.vega.com,"VEGATools" and "Serial number search".
Alternatively,youcanaccessthedataviayoursmartphone:
• Download the smartphone app "VEGATools" from the "Apple App
Store" or the "GooglePlayStore"
• Scan the Data Matrix code on the type label of the instrument or
Type plate
Serial number

6
2 Product description
VEGABAR 82 • HART and accumulator pack
46307-EN-131125
• Enter the serial number manually in the app

7
3 Mounting
VEGABAR 82 • HART and accumulator pack
46307-EN-131125
3 Mounting
3.1 General instructions for use of the instrument
Protect your instrument against moisture penetration through the fol-
lowing measures:
• Use the recommended cable (see chapter "Connecting to power
supply")
• Tighten the cable gland
• Turn the housing in such a way that the cable gland points down-
ward
• Loop the connection cable downward in front of the cable gland
This applies particularly to:
• Outdoor mounting
• Installations in areas where high humidity is expected (e.g. through
cleaning processes)
• Installations on cooled or heated vessels
3.2 Ventilation and pressure compensation
Thelterelementismountedintotheelectronicshousing.Ithasthe
following functions:
• Ventilation of the electronics housing
• Atmospheric pressure compensation (with relative pressure meas-
uring ranges)
→ Turnthehousingsothatthelterelementpointsdownwardafter
the instrument is installed. This provides better protection against
buildup.
Protection against mois-
ture
Instruments in non-Ex,
Ex-ia and Ex-d-ia version

8
3 Mounting
VEGABAR 82 • HART and accumulator pack
46307-EN-131125
1 2 3
6
6
6 6
6
5
4
Fig.2:Positionofthelterelement-non-Ex,Ex-iaandEx-d-iaversion
1 Single chamber housing plastic, stainless steel (precision casting)
2 Single chamber housing Aluminium
3 Single chamber housing, stainless steel electropolished
4 Double chamber housing plastic
5 Double chamber housing Aluminium
6 Filter element
With the following instruments a blind plug is installed instead of the
lterelement:
• InstrumentsinprotectionIP66/IP68(1bar)-ventilationviacapil-
laries in non-detachable cable
• Instruments with absolute pressure

9
4 Connecting to power supply
VEGABAR 82 • HART and accumulator pack
46307-EN-131125
4 Connecting to power supply
4.1 Connection of the battery charger
We recommended charging the integrated accumulator completely
beforesettinguptheinstrument.Youcanndthechargingtimein
chapter "Technicaldata".
Thebatterychargerispluggedintoasocketinthesupplyroom,see
chapter "Wiring plan".
The LEDs in the supply room show the charging process and condi-
tionoftheaccumulator,seechapter"Wiring plan".
Ifscreenedcableisrequired,werecommendconnectingthecable
screenonbothendstogroundpotential.Inthesensor,thescreen
must be connected directly to the internal ground terminal.The
ground terminal on the outside of the housing must be connected to
the ground potential (low impedance).
WithExsystems,thegroundingiscarriedoutaccordingtotheinstal-
lation regulations.
4.2 Wiring plan
2
1
Fig. 3: Position of the power supply and electronics compartment
1 Supply room (accumulator)
2 Electronicscompartment
5678
4...20mA
2
12
+
( ) (-)
1
Fig.4:Electronicscompartment,doublechamberhousing
1 Internal connection to the connection compartment
2 Contact pins for the display and adjustment module
Cable screening and
grounding
Overview
Electronics compartment

10
4 Connecting to power supply
VEGABAR 82 • HART and accumulator pack
46307-EN-131125
2
4
3
5
0
5
1
6
2
7
3
8
4
9
modes
4 ON/OFF
3 ON/OFF 1h
1,2 OFF
Charge Accu
5..9 auto cycle
12
+
( ) (-)
1
Fig. 5: Supply room
1 Internal connection of the socket for the battery charger
2 Mode switch
3 LEDgreen,chargingprocess
4 LEDyellow,chargingstatus
5 Socket for the battery charger
The mode switch enables the selection of the following modes:
• 0=sensoro,LEDsshowtheaccumulatorstatus
• 1,2=sensoro,LEDso
• 3 = sensor on for 1 hour after pressing a key (delivery status)
• 4=sensorpermanentlyon,switchingon/oviabutton
• 5 = sensor is switched on every 30 min. for 3 min.
• 6 = sensor is switched on every hour for 3 min.
• 7 = sensor is switched on every 6 hours for 3 min.
• 8 = sensor is switched on every 12 hours for 3 min.
• 9 = sensor is switched on every 24 hours for 3 min.
ThegreenLEDcharacterizesthechargingprocess:
• LEDashes=Accumulatorischarging
• LEDlights=accumulatorisfull,batterychargershouldbe
unplugged (accumulator life time)
After pressing the key or changing the mode the yellow LED shows
the accumulator status for approximately 10 s as follows:
• LED lights = accumulator is full
• LEDashes=accumulatorshouldbecharged
• LEDo=accumulatorisempty
Supply room

11
5 Set up with the display and adjustment module
VEGABAR 82 • HART and accumulator pack
46307-EN-131125
5 Set up with the display and adjustment
module
5.1 Insert display and adjustment module
The display and adjustment module can be inserted into the sensor
and removed any time. Four positions displaced by 90° can be se-
lected. It is not necessary to interrupt the power supply.
Proceed as follows:
1. Unscrew the housing cover
2. Place the display and adjustment module in the requested posi-
tion onto the electronics and turn to the right until it snaps in
3. Screw housing cover with inspection window tightly back on
Removal is carried out in reverse order.
Thedisplayandadjustmentmoduleispoweredbythesensor,anad-
ditional connection is not necessary.
Fig. 6: Installing the display and adjustment module in the electronics compart-
ment of the single chamber housing

12
5 Set up with the display and adjustment module
VEGABAR 82 • HART and accumulator pack
46307-EN-131125
1 2
Fig. 7: Insertion of the display and adjustment module into the double chamber
housing
1 In the electronics compartment
2 Intheconnectioncompartment(withEx-d-iaversionnotpossible)
Note:
Ifyouintendtoretrottheinstrumentwithadisplayandadjustment
moduleforcontinuousmeasuredvalueindication,ahighercoverwith
an inspection glass is required.
5.2 Parameter adjustment - Quick setup
Toquicklyandeasilyadaptthesensortotheapplication,select
the menu item "Quick setup" in the start graphic on the display and
adjustment module.
Carry out the following steps in the below sequence.
Youcannd"Extendedadjustment" in the next sub-chapter.
1. Measurement loop name
Intherstmenuitemyouassignasuitablemeasurementloopname.
Permitted are names with max. 19 characters.
2. Application
Inthismenuitem,youactivate/deactivatetheslavefortheelectronic
dierentialpressureandselecttheapplication.Theapplicationcom-
prises process pressure and level measurement.
Presettings

13
5 Set up with the display and adjustment module
VEGABAR 82 • HART and accumulator pack
46307-EN-131125
3. Units
In this menu item you determine the adjustment and temperature
units of the instrument. Depending on the selected application in the
menu item "Application",dierentadjustmentunitsareavailable.
4. Position correction
Inthismenuitemyoucompensatetheinuenceoftheinstallation
positionoftheinstrument(oset)onthemeasuredvalue.
5. Zero adjustment
Inthismenuitemyoucarryoutthezeroadjustmentfortheprocesss
pressure.
Enter the respective pressure value for 0 %.
6. Span adjustment
In this menu item you carry out the span adjustment for the processs
pressure
Enter the respective pressure value for 100 %.
4. Position correction
Inthismenuitemyoucompensatetheinuenceoftheinstallation
positionoftheinstrument(oset)onthemeasuredvalue.
5. Max. adjustment
In this menu item you carry out the max. adjustment for level
Enter the percentage value and the corresponding value for the max.
level.
6. Min. adjustment
In this menu item you carry out the min. adjustment for level
Enter the percentage value and the corresponding value for the min.
level.
Thequicksetupisnished.
5.3 Parameter adjustment - Extended adjustment
Fortechnicallydemandingmeasuringpoints,youcancarryout
extended settings in "Extendedadjustment".
Quick setup - Process
pressure measurement
Quick setup - Level meas-
urement

14
5 Set up with the display and adjustment module
VEGABAR 82 • HART and accumulator pack
46307-EN-131125
Themainmenuisdividedintovesectionswiththefollowingfunc-
tions:
Setup:Settings,e.g.,formeasurementloopname,application,units,
positioncorrection,adjustment,signaloutput
Display:Settings,e.g.,forlanguage,measuredvaluedisplay,lighting
Diagnosis:Information,e.g.oninstrumentstatus,pointer,measure-
mentreliability,simulation
Additional adjustments:PIN,date/time,reset,copyfunction
Info:Instrumentname,hardwareandsoftwareversion,dateofmanu-
facture,sensorfeatures
Note:
Foroptimumadjustmentofthemeasuringpoint,theindividualsub-
menu items in the main menu item "Setup" should be selected one
aftertheotherandprovidedwiththecorrectparameters.Ifpossible,
go through the items in the given sequence.
The procedure is described below.
The following submenu points are available:
The submenu points described below.
Setup
Menu item
Measurement loop name
Application
Units Unit of measurement
Temperature unit
Position correction
Adjustment Min. adjustment
Max. adjustment
Damping Integration time
Linearization Linearizationtype
Scaling Scaling 1
Main menu

15
5 Set up with the display and adjustment module
VEGABAR 82 • HART and accumulator pack
46307-EN-131125
Menu item
Scaling 2
Characteristicvaluesofthedierential
pressure transmitter
Volume/Massow
Current output 1 and 2 Currentoutput-Size
Current output - adjustment
Current output - Mode
Currentoutput-Min./Max.
HART variables First HART variable (PV)
Second HART variable (SV)
Third HART variable (TV)
Fourth HART variable (QV)
Block adjustment
Display
Menu item
Language
Displayed value 1
Displayed value 2
Backlight
Diagnostics
Menu item
Sensor status Status signals - Function control
Statussignals-Outofspecication
Status signals - Maintenance
Status signals - Failure
Peak value indicator Pressure
Temperature
Simulation
Additional adjustments
Menu item
PIN
Date/Time
Copy instrument settings
Special parameters
HART mode

16
6 Supplement
VEGABAR 82 • HART and accumulator pack
46307-EN-131125
6 Supplement
6.1 Technical data
Electromechanical data - version IP 66/IP 67 and IP 66/IP 68; 0.2 bar
Options of the cable entry
ƲCable gland M20 x 1.5
ƲCable diameter (options) 5 … 9 mm (0.20 … 0.35 in)
6 … 12 mm (0.24 … 0.47 in)
10 … 14 mm (0.39 … 0.55 in)
ƲCable entry ½ NPT
ƲBlind plug M20 x 1.5; ½ NPT
ƲClosing cap M20 x 1.5; ½ NPT
Plug options
ƲSignal circuit PlugM12x1,accordingtoISO4400,HartingHAN,
7/8"FF
ƲIndication circuit M12 x 1 plug
Wire cross-section (spring-loaded terminals)
Ʋ Massivewire,cord 0.2 … 2.5 mm² (AWG 24 … 14)
ƲStranded wire with end sleeve 0.2 … 1.5 mm² (AWG 24 … 16)
External battery charger
Mains voltage 100 … 240 V AC
Output voltage 24 V DC
Output current (shortcircuit proof) max. 500 mA
Load current limitation 70 mA
DCplug(insideplus,outsideminus) 2.1 mm
Integrated accumulator
Type Lithium ions
Voltage 14.8 V
Accumulator capacity 4.7 Wh
Charging period from 0 % to 100 %
approx.
4 h
Operating time after 10 min. charging of
0 %
> 3 h
Operating time in mode 4 (sensor per-
manently on) with completely charged
accumulator
> 60 h
Temperature range
ƲCharge accumulator 0 … +45° C (+32 … +167 °F)
ƲAccumulator operation -20 … +60° C (-4 … +140 °F)
Temperature derating accumulator capacity
Ʋ+25° C (+77 °F) 100 %

17
6 Supplement
VEGABAR 82 • HART and accumulator pack
46307-EN-131125
Ʋ-10° C (+14 °F) 50 %

18
Notes
VEGABAR 82 • HART and accumulator pack
46307-EN-131125

19
Notes
VEGABAR 82 • HART and accumulator pack
46307-EN-131125

Printing date:
VEGA Grieshaber KG
Am Hohenstein 113
77761 Schiltach
Germany
46307-EN-131125
All statements concerning scope of delivery, application, practical use and operat-
ing conditions of the sensors and processing systems correspond to the information
available at the time of printing.
Subject to change without prior notice
© VEGA Grieshaber KG, Schiltach/Germany 2013
Phone +49 7836 50-0
Fax +49 7836 50-201
E-mail: [email protected]
www.vega.com
Other manuals for VEGABAR 82
22
Table of contents
Other Vega Transmitter manuals

Vega
Vega VEGAPULS 62 User manual

Vega
Vega VEGABAR 86 User manual

Vega
Vega VEGABAR 83 User manual

Vega
Vega RMT-10 User manual

Vega
Vega T-25 User manual
Vega
Vega T-677 Series User manual

Vega
Vega VEGADIF 65 User manual

Vega
Vega VEGABAR 19 User manual

Vega
Vega VEGABAR 86 User manual

Vega
Vega VEGABAR 87 User manual

Vega
Vega VEGADIF 65 User manual

Vega
Vega VEGABAR 80 Series Wiring diagram

Vega
Vega VEGABAR 81 User manual

Vega
Vega VEGABAR 81 User manual

Vega
Vega VEGABAR 82 User manual

Vega
Vega VEGABAR 82 User manual
Vega
Vega VEGABAR 87 User manual

Vega
Vega VEGABAR S 16 User manual

Vega
Vega VEGABAR 82 User manual

Vega
Vega VEGABAR 29 User manual