manuals.online logo
Brands
  1. Home
  2. •
  3. Brands
  4. •
  5. VeriFone
  6. •
  7. Payment Terminal
  8. •
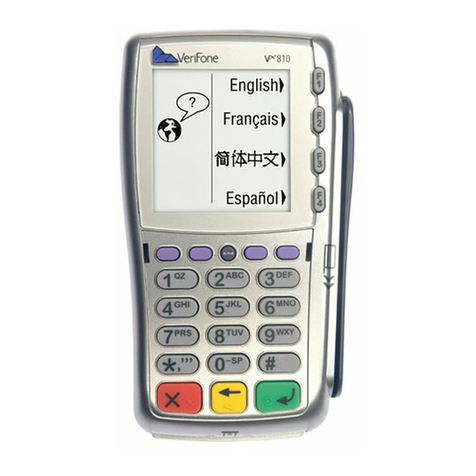
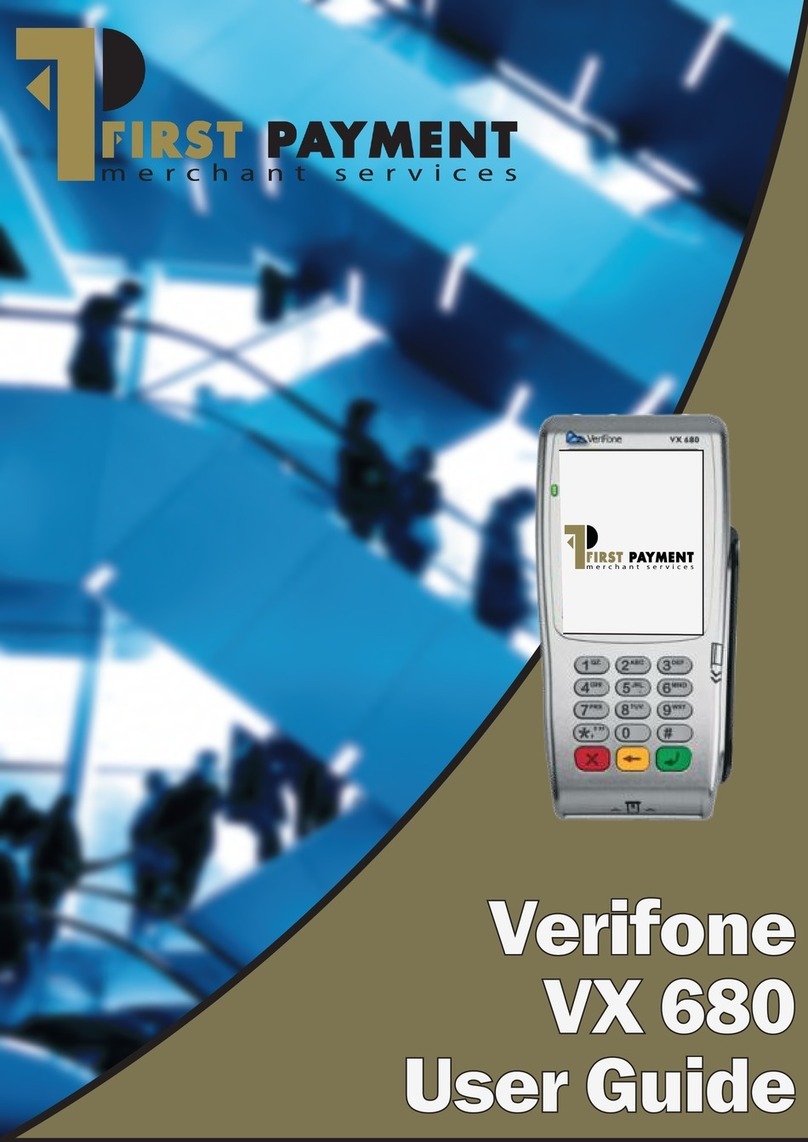
  9. VeriFone HICAPS VX680 User manual

VeriFone HICAPS VX680 User manual

RESTAURANT
Quick
Reference
Guide
RETAIL
Quick
Reference
Guide
TERMINAL MESSAGES
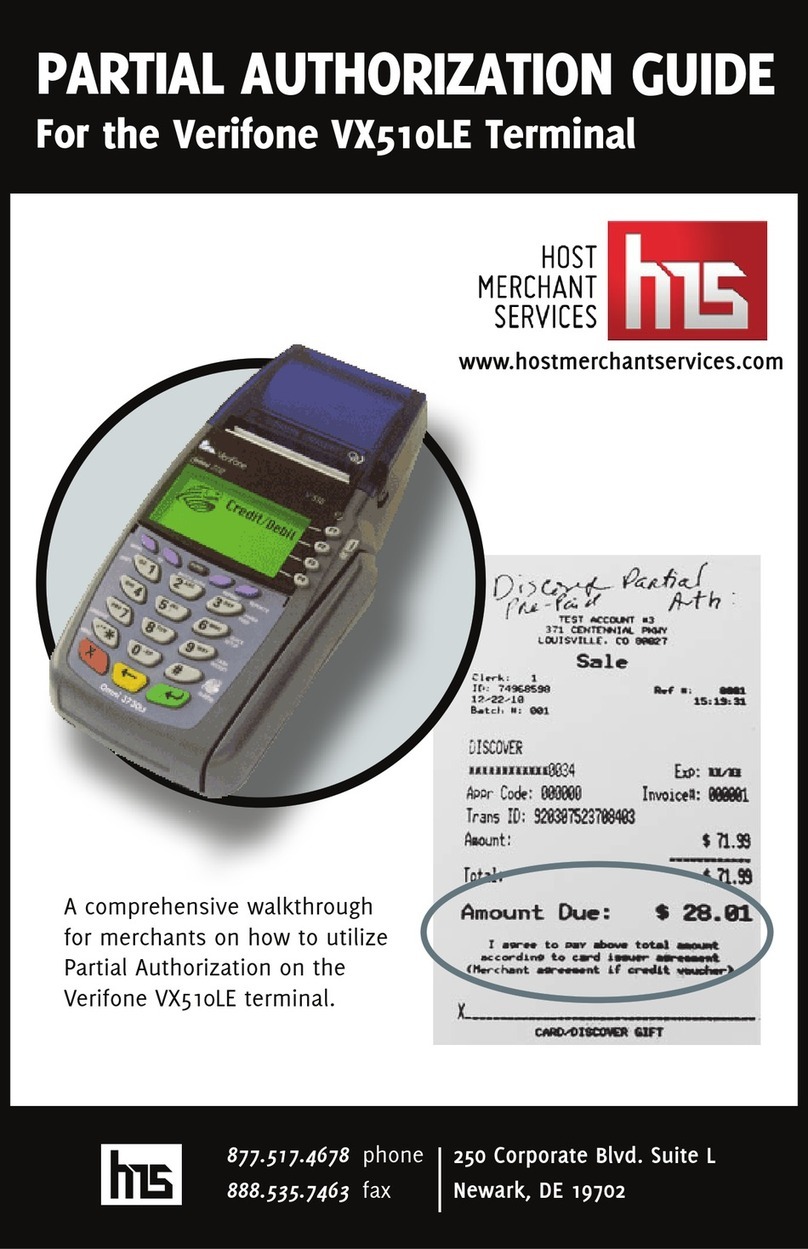
AMOUNT DUE/BALANCE DUE: A partial
authorization has occurred. Ask customer for
another form of payment for the remaining
balance of the sale. Press ENTER to print the
receipt. Pressing CANCEL will not void the
transaction.
AVS (ADDRESS VERIFICATION SER-
VICE): Checks if the street address and ZIP
code entered match the customer’s billing
address.
CALL: Call Voice Authorization Center. If ap-
proved, proceed with Offline Entry.
HOLD/CALL OR PICK UP CARD: Hold the
card. Use Code 10 procedure. Call the Voice
Authorization Center.
CARD SWIPE ERROR: Magnetic stripe did
not read. Swipe card again or manually key-in
account number.
COMM ERROR: A communication error has
occurred. Check line connections, call Help
Desk.
GB (NUMBER): Good batch. Batch transmis-
sion accepted.
MANUAL ENTRY NOT ALLOWED: Current
transaction will not allow manual entry. Debit
cards may not be manually keyed-in.
QD (NUMBER) OR RB (NUMBER): Quit
Duplicating or Rejected Batch. Call Help Desk.
RECORD NOT FOUND: Invoice number is
not found in terminal batch.
SETTLE FAILED, RETRY: Settlement failed,
call help desk.
V-CODE: Verification Code. A 3-4 digit non
embossed number found on card signature
panel or near embossed account number
on front. V-code may be prompted for on a
manually-entered transaction.
0300015
V050514
© 2014 Total System Services, Inc. All rights reserved worldwide. TSYS is a federally registered service mark of Total System Services, Inc. Other marks are trademarks or
registered trademarks of their respective owner.
www.tsysacquiring.com
Bank Name _____________________________
Bank Phone _____________________________
Help Desk Phone _________________________
V Number ______________________________
Voice Authorization Phone ___________________
Merchant Number ID ______________________
Other _________________________________
______________________________________
QUICK REFERENCE
VERIFONE® VX680
CREDIT SALE
• Select SALE
• Enter sale amount and press ENTER
– Enter tip amount and press ENTER, or
press ENTER to bypass.
• Select YES
• Swipe customer card or manually enter
account number and press ENTER
• Select CREDIT
– Enter expiration date (MMYY) and press
ENTER
– Card present? Select YES (if No, see Mail/
Phone section)
– Imprint the card and press ENTER
– Enter V-Code and press ENTER, or press
ENTER to bypass
– If bypassed, select V-Code option: NO (no
V-Code), XREAD (unreadable), or XPROV
(not provided)
– Enter Zip Code and press ENTER
• Terminal dials out, and receipt prints
MAIL/PHONE SALE
• Tap the SCROLL icon
• Select PHONE ORDER
• Enter sale amount and press ENTER
– Enter tip amount and press ENTER, or
press ENTER to bypass.
• Select YES
• Manually enter account number and press
ENTER
• Enter expiration date (MMYY) and press
ENTER
• Select option: PHONE or WEB
– If Web, encrypted? Select YES or NO
• Enter purchase order number, and press
ENTER
• Enter V-Code and press ENTER, or press
ENTER to bypass
– If bypassed, select V-Code option: NO (no
V-Code), XREAD (unreadable), or XPROV
(not provided)
• Enter street address number and press ENTER
• Enter Zip Code and press ENTER
• Terminal dials out, and receipt prints
DEBIT SALE
• Select SALE
• Enter sale amount and press ENTER
• Select YES
• Swipe customer card
• Select DEBIT
• Have customer enter PIN on PIN pad and
press ENTER
– Enter cash back amount and press ENTER
• Terminal dials out, and receipt prints
CREDIT REFUND
• Tap the SCROLL icon
• Select REFUND
• Enter refund amount and press ENTER
• Select YES
• Swipe customer card or manually enter
account number and press ENTER
• Select CREDIT
– Enter expiration date (MMYY) and press
ENTER
• Terminal dials out, and receipt prints
DEBIT REFUND
• Tap the SCROLL icon
• Select REFUND
• Enter refund amount and press ENTER
• Select YES
• Swipe customer card or manually enter
account number and press ENTER
• Select DEBIT
• Have customer enter PIN on PIN pad and
press ENTER
• Enter original transaction date (MMDDYY),
and press ENTER
• Enter original time (HHMMSS), and press
ENTER
• Terminal dials out, and receipt prints
REVERSAL (FULL/PARTIAL)
Reversals may only be processed on sales
within the current batch.
• Tap the SCROLL icon until Reversal displays
• Select REVERSAL
• Select FULL (full amount reversed) or PARTIAL
(partial amount reversed)
• Select retrieval method: INV# (invoice #) or
AMT (amount)
• Enter retrieval information, and press ENTER
• Transaction displays on screen; select YES
(reverses trans), NO (returns to last screen), or
NEXT (scrolls to next trans)
– If No or Next, follow prompts.
– If partial reversal, enter the dollar amount
to be reversed and press ENTER
• Terminal dials out, receipt prints
ICON
LEGEND
DEBIT RE-ENTER
• Tap the SCROLL icon until Offline displays
• Select OFFLINE
• Enter transaction amount and press ENTER
– Enter tip amount and press ENTER, or
press ENTER to bypass.
• Select YES
• Swipe customer card or manually enter
account number and press ENTER
• Select DEBIT
• Select type: SALE or REFUND
• Enter network ID (three digits), and press
ENTER
• Enter settlement date (MMDD), and press
ENTER
• Enter original transaction date (MMDDYY),
and press ENTER
• Enter original time (HHMMSS), and press
ENTER
• Enter original trace number (six digits), and
press ENTER
• Enter retrieval reference number (12 digits),
and press ENTER
• Enter approval code (six digits), and press
ENTER
– Enter cash back amount and press ENTER
• Receipt prints
CREDIT OFFLINE ENTRY
• Tap the SCROLL icon until Offline displays
• Select OFFLINE
• Enter sale amount and press ENTER
– Enter tip amount and press ENTER, or
press ENTER to bypass.
• Select YES
• Swipe customer card or manually enter
account number and press ENTER
• Select CREDIT
– Enter expiration date (MMYY) and press
ENTER
– Imprint the card and press ENTER
• Enter transaction ID (15 characters), and
press ENTER
• Enter approval code (six digits), and press
ENTER
• Receipt prints
AUTHORIZATION ONLY
• Tap the SCROLL icon
• Select AUTH ONLY
• Enter sale amount and press ENTER
• Select YES
• Swipe customer card or manually enter
account number and press ENTER
• Select CREDIT
– Enter expiration date (MMYY) and press
ENTER
– Imprint the card and press ENTER
• Terminal dials out, and receipt prints
TIP ADJUST
• Tap the TIP icon
• Select retrieval method: CLRK (clerk ID), AMT
(amount), ACCT (last 4 digits), or INV# (invoice
#)
• Enter retrieval information, and press ENTER
• Transaction displays, select option ADJ
(adjust tip), PREV (previous trans), NEXT (next
trans), or INV# (retrieve another invoice #)
• Enter the tip amount and press ENTER
• Terminal displays ‘Approved XXXXXX’, press
ENTER
• Select PREV, NEXT, or INV# to retrieve another
transaction
BALANCE INQUIRY
• Tap the TIP icon until Balance Inq. displays
• Select BALANCE INQ.
• Swipe customer card or manually enter
account number and press ENTER
• Choose card? Select CREDIT or EBT
– If Credit, enter expiration date (MMYY)
and press ENTER
– If EBT, select type: FOOD or CASH
– If EBT, have customer enter PIN on PIN
pad and press ENTER
• Terminal dials out, and customer receipt
prints
EBT SALE
(FOOD STAMPS/CASH BENEFITS)
• Select SALE
• Enter sale amount and press ENTER
• Select YES
• Swipe customer card or manually enter
account number and press ENTER
• Select EBT
• Select FOOD or CASH
– If Cash Benefits, enter cash back amount
and press ENTER
• Have customer enter PIN on PIN pad and
press ENTER
• Terminal dials out, and receipt prints
EBT SALE
(ELECTRONIC VOUCHER)
• Select SALE
• Enter sale amount and press ENTER
• Select YES
• Swipe customer card or manually enter
account number and press ENTER
• Select EBT
• Enter voucher approval code (six digits), and
press ENTER
• Enter voucher serial number (15 digits), and
press ENTER
• Terminal dials out, and receipt prints
EBT OFFLINE
(FOOD STAMPS/CASH BENEFITS)
• Tap the TIP icon until Offline displays
• Select OFFLINE
• Enter sale amount and press ENTER
• Select YES
• Swipe customer card or manually enter
account number and press ENTER
• Select EBT
• Select transaction type: FOOD or CASH
– If Food Stamps, select re-enter type: FSALE
(food sale) or FREFN (food refund)
• Enter network ID (three digits), and press
ENTER
• Enter settlement date (MMDD), and press
ENTER
• Enter original transaction date (MMDDYY),
and press ENTER
• Enter original time (HHMMSS), and press
ENTER
• Enter original trace number (six digits), and
press ENTER
• Enter retrieval reference number (12 digits),
and press ENTER
• Enter approval code (six digits), and press
ENTER
• Receipt prints
EBT OFFLINE
(ELECTRONIC VOUCHER)
• Tap the TIP icon until Offline displays
• Select OFFLINE
• Enter sale amount and press ENTER
• Select YES
• Swipe customer card or manually enter
account number and press ENTER
• Select EBT
• Select transaction type: VCHR
• Enter network ID (three digits), and press
ENTER
• Enter settlement date (MMDD), and press
ENTER
• Enter original transaction date (MMDDYY),
and press ENTER
• Enter original time (HHMMSS), and press
ENTER
• Enter original trace number (six digits), and
press ENTER
• Enter retrieval reference number (12 digits),
and press ENTER
• Enter approval code (six digits), and press
ENTER
• Enter voucher approval code (six digits), and
press ENTER
• Enter voucher serial number (15 digits), and
press ENTER
• Receipt prints
ADD CLERK
• Press ENTER
• Select SERVERS
• Select ADD SERVER
– Enter password and press ENTER
• Enter clerk ID (1-4 characters), and press
ENTER
• Enter clerk password (5-10 characters), and
press ENTER
• Re-enter the clerk password, and press ENTER
• Repeat steps to add another clerk
REPRINT A RECEIPT
• Tap the REPRINT icon
• Select reprint option: LAST RECEIPT (last
transaction in batch) or ANY RECEIPT (desired
transaction in batch)
– If Any Receipt , enter invoice number and
press ENTER
• Receipt prints
REPORTS
• Tap the REPORTS icon
• Choose report: TOTALS (total amounts), DETAIL
(each transaction), or CLERK/SERVER
(clerk totals/detail)
– If Clerk/Server, select option: TOTALS or
DETAIL
– If Clerk/Server Detail , select ONE (one
clerk) or ALL (all clerks)
– If One clerk, enter the Clerk ID, and press
ENTER
• Report prints
TRANSACTION REVIEW
• Tap the TIP icon until Batch Review displays
• Select BATCH REVIEW
• Select retrieval method: CLRK (clerk ID), AMT
(amount), ACCT (last 4 digits), or INV# (invoice
#)
• Enter retrieval information, and press ENTER
• Transaction displays, select PREV or NEXT to
scroll transactions
VIEW TOTALS
• Tap the SCROLL icon until Batch Totals
displays
• Select BATCH TOTALS
– Press PREV or NEXT to scroll hosts, then
press SLCT to select host
• Batch totals display, press ENTER to exit
BATCH SETTLEMENT
• Select SETTLEMENT
• Sale and refund totals display, press ENTER to
confirm
– Or key in the sale and refund totals and
press ENTER
• Terminal dials out, and displays GB XXXX
ACCEPTED
• Press ENTER
• Settlement report prints
FAILED SETTLEMENT
RB or QD response
• Terminal will display RB [NUMBER] or QD
[NUMBER]
• DO NOT delete batch or continue without
Help Desk verification
• Call Help Desk
AUTHENTICATE THE TERMINAL
• Press ENTER
• Select SETUP
– Enter password and press ENTER
• Select AUTHENTICATION
• Enter the Authentication Code and press
ENTER
• Enter your Zip Code and press ENTER
• Terminal dials out, then displays ACTIVATED
DEACTIVATE THE TERMINAL
• Press ENTER
• Select SETUP
– Enter password and press ENTER
• Select DEACTIVATION
• Terminal dials out, then displays
DEACTIVATED
• More merchants? Select NO
• The screen then displays Authentication
Code. The terminal must be authenticated
before transaction can be processed
ALPHA CHARACTERS
• Press key corresponding with desired letter
• Tap the ALPHA icon until desired letter
appears [Number + ALPHA = Letter]
CARD TYPES ACCEPTED
• Visa
• MasterCard
• Debit Cards
• American Express
• Discover
• PayPal
• Carte Blanche
• Diners Club
• JCB
• EBT
NOTE: Italicized steps are optional and may not be prompted for.
NOTE: Printing the customer copy is an option on all transactions.


Other manuals for HICAPS VX680

10

Other VeriFone Payment Terminal manuals

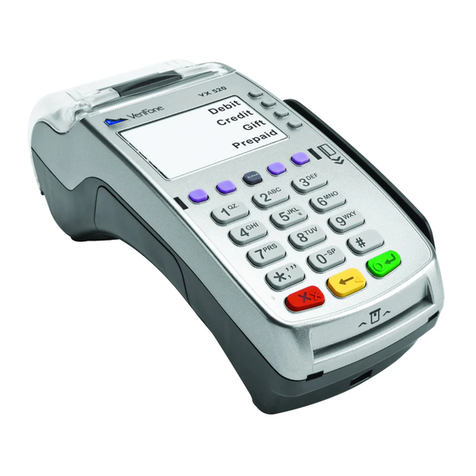
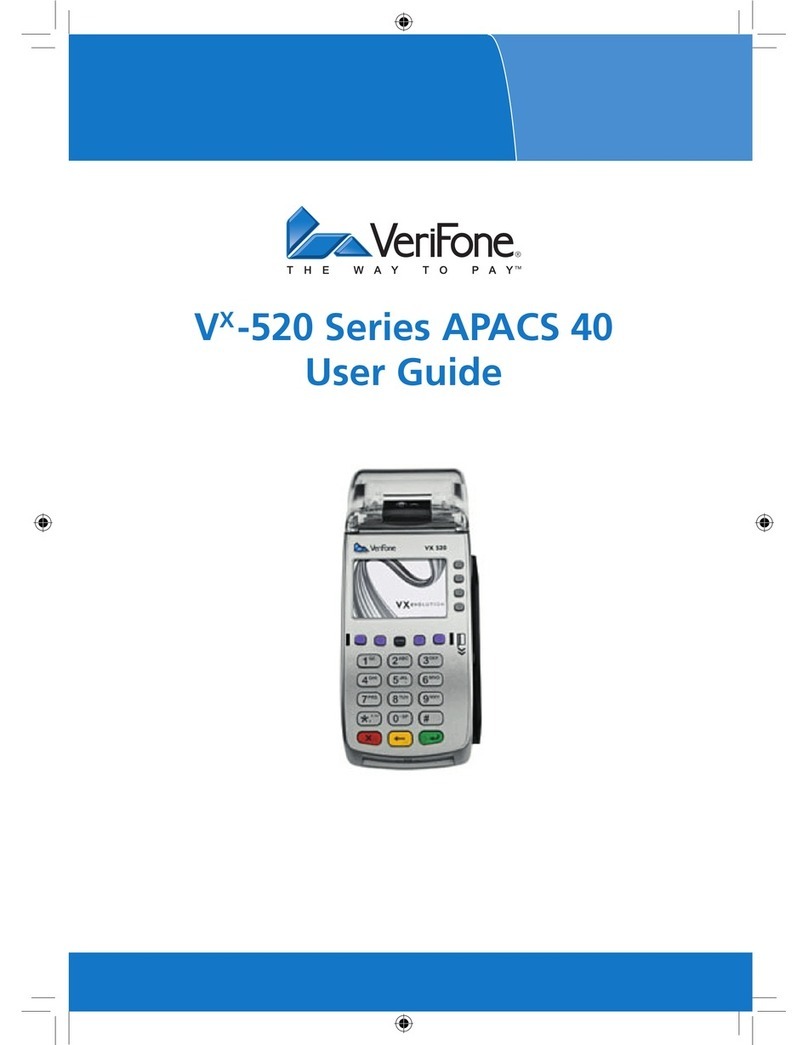
VeriFone Vx-520 Series APACS 40 User manual

VeriFone

VeriFone Vx-520 Series APACS 40 User manual

VeriFone VX 675 Series User manual

VeriFone

VeriFone VX 675 Series User manual

VeriFone P400 PLUS User manual

VeriFone

VeriFone P400 PLUS User manual

VeriFone VX805 CTLS Quick setup guide

VeriFone

VeriFone VX805 CTLS Quick setup guide

VeriFone Presto Smart e355 Instructions for use

VeriFone

VeriFone Presto Smart e355 Instructions for use

VeriFone DUET Vx810 User manual

VeriFone

VeriFone DUET Vx810 User manual

VeriFone VX 520 Series User manual

VeriFone

VeriFone VX 520 Series User manual

VeriFone VX820 Pin Pad User manual

VeriFone

VeriFone VX820 Pin Pad User manual

VeriFone V400c User instructions

VeriFone

VeriFone V400c User instructions

VeriFone HPV-20 User manual

VeriFone

VeriFone HPV-20 User manual

VeriFone Omni 3200M User manual

VeriFone

VeriFone Omni 3200M User manual

VeriFone DUET Vx810 User manual

VeriFone

VeriFone DUET Vx810 User manual

VeriFone P400 User manual

VeriFone

VeriFone P400 User manual

VeriFone VX 690 Instruction manual

VeriFone

VeriFone VX 690 Instruction manual

VeriFone Vx510 User manual

VeriFone

VeriFone Vx510 User manual

VeriFone C680 3G-BT-WiFi User manual

VeriFone

VeriFone C680 3G-BT-WiFi User manual

VeriFone TRANZ 380 User manual

VeriFone

VeriFone TRANZ 380 User manual

VeriFone Vx510 User manual

VeriFone

VeriFone Vx510 User manual

VeriFone V660p User manual

VeriFone

VeriFone V660p User manual

VeriFone HICAPS VX820 User manual

VeriFone

VeriFone HICAPS VX820 User manual

VeriFone VX 520 Series User manual

VeriFone

VeriFone VX 520 Series User manual

VeriFone Vx-520 Series APACS 40 User manual

VeriFone

VeriFone Vx-520 Series APACS 40 User manual

VeriFone M425 User manual

VeriFone

VeriFone M425 User manual

VeriFone Vx Series User manual

VeriFone

VeriFone Vx Series User manual

Popular Payment Terminal manuals by other brands

New Pos Technology NEW 8210 product manual

New Pos Technology

New Pos Technology NEW 8210 product manual

Moneris hispeed 6200 user manual

Moneris

Moneris hispeed 6200 user manual

FirstData iWL252 Quick setup guide

FirstData

FirstData iWL252 Quick setup guide

POSIFLEX HS-6510W user manual

POSIFLEX

POSIFLEX HS-6510W user manual

PAX A920 Installation and user guide

PAX

PAX A920 Installation and user guide

PayFacto PAX A35 Installation and configuration guide

PayFacto

PayFacto PAX A35 Installation and configuration guide

Moneris vx810 duet Quick reference guide

Moneris

Moneris vx810 duet Quick reference guide

XAC xCL_AT-150 Series installation guide

XAC

XAC xCL_AT-150 Series installation guide

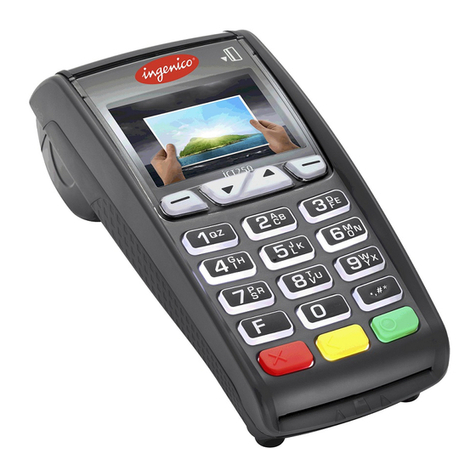
Ingenico iCT220, iCT250 user guide

Ingenico

Ingenico iCT220, iCT250 user guide

Ingenico PAYZONE iCT250 Quick reference guide

Ingenico

Ingenico PAYZONE iCT250 Quick reference guide

CIMB iTerminal user guide

CIMB

CIMB iTerminal user guide

Innovative Control Systems Auto Sentry Petro installation guide

Innovative Control Systems

Innovative Control Systems Auto Sentry Petro installation guide

wallee PAX A920Pro user manual

wallee

wallee PAX A920Pro user manual

Gantner GAT Vending 6100 BA Installation, configuration & operation

Gantner

Gantner GAT Vending 6100 BA Installation, configuration & operation

Moneris PAYD PRO using manual

Moneris

Moneris PAYD PRO using manual

Ingenico group EVO Move 3500 Wi-Fi Setup guide

Ingenico group

Ingenico group EVO Move 3500 Wi-Fi Setup guide

Sammi Paytech Sammi Paytech SmartPay Plus Quick reference guide

Sammi Paytech

Sammi Paytech Sammi Paytech SmartPay Plus Quick reference guide

CardConnect BOLT P2PE Getting started

CardConnect

CardConnect BOLT P2PE Getting started

manuals.online logo
manuals.online logoBrands
  • About & Mission
  • Contact us
  • Privacy Policy
  • Terms and Conditions

Copyright 2025 Manuals.Online. All Rights Reserved.