2 3
ASSEMBLY STEPS
STEP 1
OPTION A: Wood Ceiling
Using ceiling template (C), mark exact location of
(W-A), leaving
Slide mount forward, then secure using additional
screws (W-A) with washers (W-C)
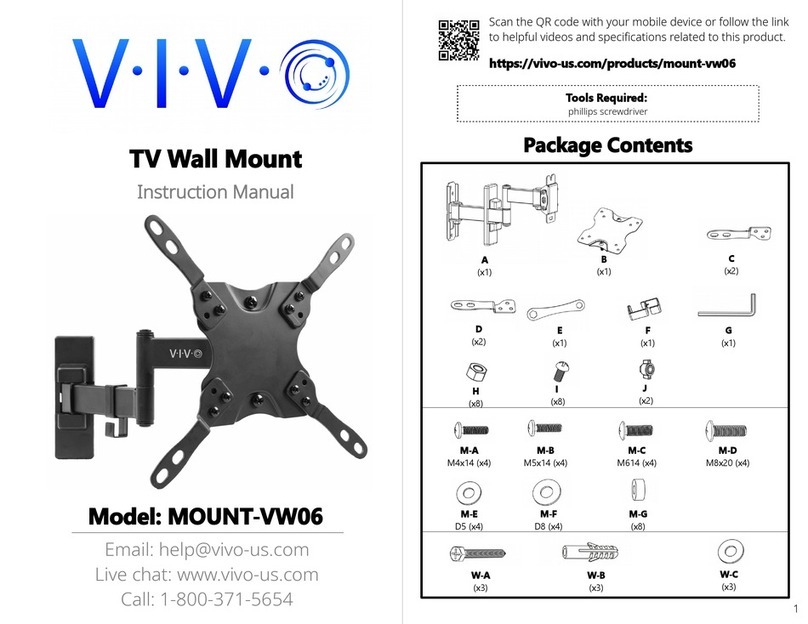
PACKAGE CONTENTS
WARNING!
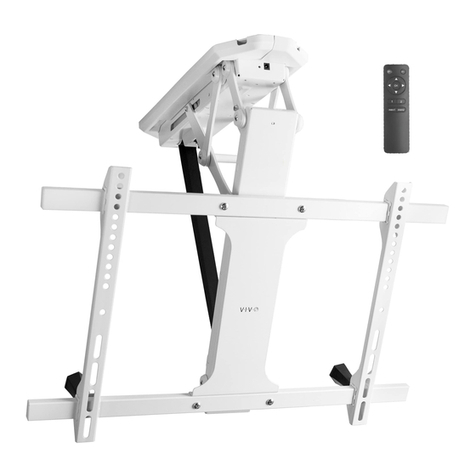
A (x1)
Mount
B(x1)
VESA Plate
C(x1)
Ceiling
Template
M-F (x4)
D5 Washer
M-G x8)
D8 Washer
M-H (x8)
Small
Spacer
W-A (x6)
Bolt
M-E (x4)
M8x50
M-A (x4)
M5x14
M-B (x4)
M6x14
M-C (x4)
M6x30
M-D (x4)
M8x30
If you do not understand these directions, or if you have any doubts about the safety of the
NOTE:
W-C (x6)
Washer
W-B (x6)
Anchor
OPTION B: Concrete Ceiling
Using ceiling template (C), mark exact location of
(W-B),
then tighten two screws (W-A), leaving a 5mm gap
forward, then secure using additional screws (W-
A) with washers (W-C).
CAUTION!
D(x1)
Decorative Cover
E
VESA Adapter
F
VESA Adapter
G(x1)
IR Receiver
H(x1)
Remote
Control
I(x1)
Power Supply
J(x4)
Cable Tie
M-I (x8)
Big
Spacer
66lbs
(29.94g)
DO NOT EXCEED WEIGHT CAPACITY.
TOOLS NEEDED
Phillips
Screwdriver
Drill Pencil

