manuals.online logo
Brands
  1. Home
  2. •
  3. Brands
  4. •
  5. WATSON
  6. •
  7. Indoor Furnishing
  8. •
  9. WATSON 360.394.1300 User manual

WATSON 360.394.1300 User manual

ASSEMBLY
360.394.1300 watsonfurniture.com
V.21.2 1/2022
Haven Recharge Bench
2 HAVEN RECHARGE BENCH ASSEMBLY INSTRUCTIONS
Recharge Bench Components
Seat Cushions
Support Rail
Bridge Legs
Planter Tray Accessory Oblong Surface Accessory Round Surface Accessory
Neighborhood Light Accessory
3 HAVEN RECHARGE BENCH ASSEMBLY INSTRUCTIONS
Hardware
M6-1.0 X 12mm
(125285)
1/4 - 20 X 7/8”
Button Head Screw
(0000750)
#6 X 3/4” Pan Head
Screw (122500)
M8 Nylock Nut
(0001248)
M8 Washer, 23mm
OD (0001567)
M8 1” Spacer
(0002196)
M8 Plastic Washer
(0002165)
#10 X 5/8 Pan
Head Screw
(0002148)
Main Bench Hardware
Planter Tray Accessory Hardware
Oblong Surface Accessory Hardware
Round Surface Accessory Hardware
Neighborhood Light Accessory Package
#10 X 5/8 Pan
Head Screw
(0002148)
M8 Nylock Nut
(0001248)
M8 Washer, 23mm
OD (0001567)
M8 Nylock Nut
(0001248)
M8 Washer, 23mm
OD (0001567)
Mounting Washer Locking Washer Mounting Nut Thread Cutting
Screw
M4 X 12mm
Spacer (used
only for the
bench assembly)
Connector
Housing
Light Rod 60mm
(used for bench and
table surface only)
Light Rod 100mm
(used for rail assembly
only)
10 X 3/4” Pan
Head Screw
(122875)
4 HAVEN RECHARGE BENCH ASSEMBLY INSTRUCTIONS
Tools
Electric Drill T25 Torx Bit 4mm Hex Bit Phillips Bit
13mm WrenchAdjustable Wrench
5 HAVEN RECHARGE BENCH ASSEMBLY INSTRUCTIONS
Assemble Bench Base
Place the support rail on a soft surface with the large slots facing up. Slide each
bridge leg into the ends of the support rail and secure with (4) screws each.
1.
M6-1.0 X 12mm
(125285)
6 HAVEN RECHARGE BENCH ASSEMBLY INSTRUCTIONS
Attach Seat Cushions to Base
Place the cushions under the base. For each cushion, align the three holes in the
base with the appropriate pilot holes in the cushion. Drive (3) screws per side.
2.
1/4 - 20 X 7/8”
Button Head Screw
(0000750)
7 HAVEN RECHARGE BENCH ASSEMBLY INSTRUCTIONS
Optional Power Unit
The optional power unit can be mounted on either side of the bench. Locate the four pilot holes on the underside of the
seat cushion that the power unit will mount to. Slide the power unit into the bracket so the four holes line up. Align the
assembly with the pilot holes in the cushion, and secure the power unit with (4) screws. Run the power cord through the
nearest oblong cutout in the support tube, and out the end of the side closest to a wall outlet. Plug the power cord in.
3.
#6 X 3/4” Pan Head
Screw (122500)
8 HAVEN RECHARGE BENCH ASSEMBLY INSTRUCTIONS
Optional Planter Tray
Place the Planter Tray stem through the center hole in the support rail of the bench. From the underside of the
support Rail, slide the spacer (0002196) and washer (0001567) onto the stem of the Planter Tray, and spin the
nut (0001248) onto the stem by hand. Use a wrench or socket to fully tighten the nut and secure the Planter Tray.
4.
M8 Nylock Nut
(0001248)
M8 Washer, 23mm
OD (0001567)
M8 1” Spacer
(0002196)
9 HAVEN RECHARGE BENCH ASSEMBLY INSTRUCTIONS
a.
b.
Optional Oblong Surface
Place the Oblong Surface upside down on a soft surface. Attach the mounting plate and stem by aligning the plate
with the pilot holes, making sure the table stem is justied to the outside of the table. Secure the plate with (6) screws
(0002148) (a.). Place the table assembly through the center hole in the support rail of the bench. From the underside of
the support rail, slide the plastic washer over the table stem (0002165), the the metal washer (0001567), and spin the
nut (0001248) onto the stem by hand. Use a socket to fully tighten the nut and fully secure the Oblong Surface (b.).
5.
M8 Plastic Washer
(0002165)
#10 X 5/8 Pan Head
Screw (0002148)
M8 Nylock Nut
(0001248)
M8 Washer, 23mm
OD (0001567)
10 HAVEN RECHARGE BENCH ASSEMBLY INSTRUCTIONS
a.
b.
Optional Round Surface
Place the Round Surface upside down on a soft surface. Attach the mounting plate and stem by aligning the plate with
the pilot holes. Secure the plate with (6) screws (0002148) (a.). Place the table assembly through the center hole in
the support rail of the bench. From the underside of the support rail, slide the washer (0001567) onto the stem of
the table and spin the nut (0001248) onto the stem by hand. Use a socket to fully tighten the nut and fully secure the
Round Surface (b.).
6.
#10 X 5/8 Pan Head
Screw (0002148)
M8 Nylock Nut
(0001248)
M8 Washer, 23mm
OD (0001567)
11 HAVEN RECHARGE BENCH ASSEMBLY INSTRUCTIONS
a.
b.
Optional Neighborhood Light: Attach Light Rod
Pass the small connector cables in the light stem through the light rod (a.) and slide the light rod over the cable and up
to the light stem (b.). Screw the light rod into the threaded plate in the light stem, and use the at sections on the end
of the light rod to tighten fully into the bottom of the lamp (c.).
7.
Light Rod 60mm
c.
12 HAVEN RECHARGE BENCH ASSEMBLY INSTRUCTIONS
Optional Neighborhood Light: Position Light Stem
Pass the cables through the hole in the bench and insert the
light rod into the mounting hole. Position the light stem so
the alignment pins go through the alignment holes in
the bench frame.
8.
13 HAVEN RECHARGE BENCH ASSEMBLY INSTRUCTIONS
Optional Neighborhood Light: Secure Light Stem
Pass the cables through the mounting washer, spacer, lock washer, and mounting nut and secure the stem to the bench
frame by tightening the mounting nut.
9.
Mounting Washer Locking Washer Mounting Nut Spacer (used
only for the
bench assembly)
14 HAVEN RECHARGE BENCH ASSEMBLY INSTRUCTIONS
Optional Neighborhood Light: Attach Connector Housing
Once you have secured the lamp stem, attach the connector housings onto the ends of the cables. Once inserted, gently
pull on the wire to ensure a strong connection.
10.
Connector
Housing
15 HAVEN RECHARGE BENCH ASSEMBLY INSTRUCTIONS
Optional Neighborhood Light: Attach Light Disc
Plug the connector from the light disc into the connector from
the stem (a.) and feed the excess cable down into the stem.
Secure the light disc to the stem using (3) at head screws (b.).
11.
Thread Cutting
Screw
M4 X 12mm
a.
b.
16 HAVEN RECHARGE BENCH ASSEMBLY INSTRUCTIONS
Optional Neighborhood Light: Secure Power Supply
Secure the power supply to the bench using (2) screws and the power supply mounting bracket.
12.
10 X 3/4” Pan
Head Screw
(122875)
17 HAVEN RECHARGE BENCH ASSEMBLY INSTRUCTIONS
Optional Neighborhood Light: Connect Power
Connect the plugs from the power supply to the connectors on the light, making sure to connect red to red and black to
black. Tuck any excess cable into the bench frame tube to keep it out of the way. Plug into power source and test.
13.
18 HAVEN RECHARGE BENCH ASSEMBLY INSTRUCTIONS
Optional Neighborhood Light: Attach Light Shade
Press the shade onto the light disc, applying even pressure around the perimeter until a snug and level t.
14.

Other manuals for 360.394.1300

2

Other WATSON Indoor Furnishing manuals
WATSON Haven User manual

WATSON

WATSON Haven User manual

WATSON Haven HighLow Float Tables User manual
WATSON

WATSON Haven HighLow Float Tables User manual

WATSON Edison Rail Accessories User manual
WATSON

WATSON Edison Rail Accessories User manual

WATSON Bahn User manual

WATSON

WATSON Bahn User manual
WATSON Verve User manual

WATSON

WATSON Verve User manual
WATSON C9 Cart & Garage User manual

WATSON

WATSON C9 Cart & Garage User manual
WATSON C9 Height Adjustable Desk User manual
WATSON

WATSON C9 Height Adjustable Desk User manual

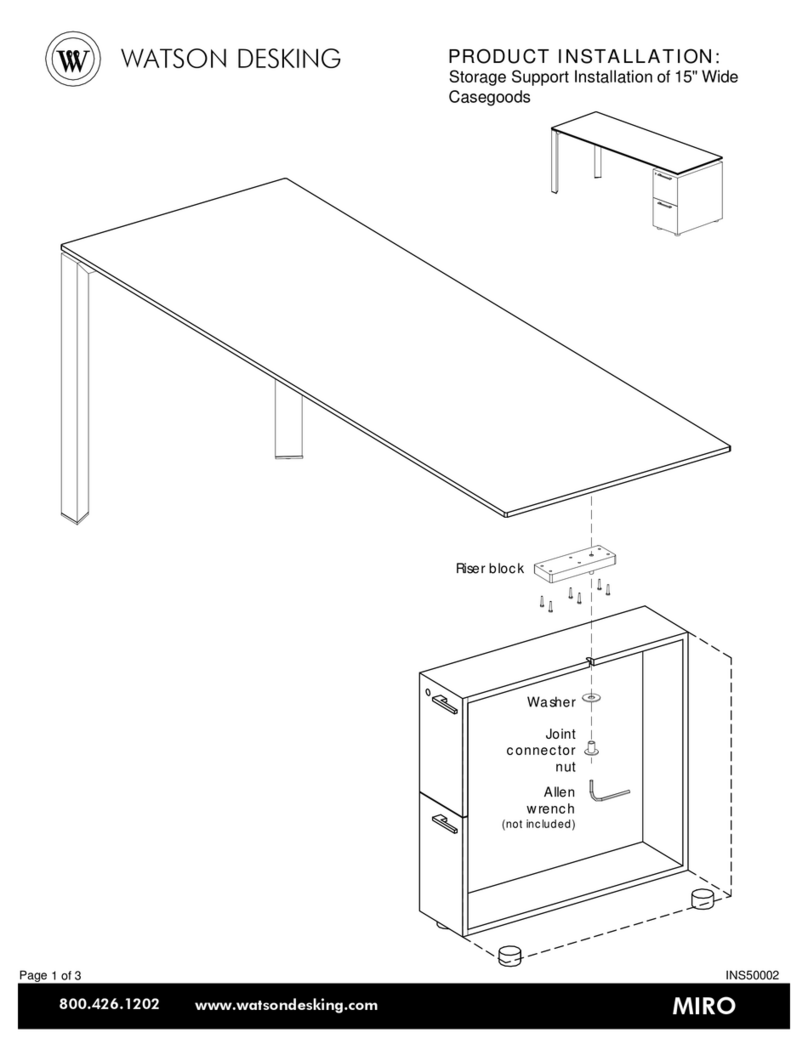
WATSON MIRO Storage Support User manual

WATSON

WATSON MIRO Storage Support User manual

WATSON Haven User manual

WATSON

WATSON Haven User manual
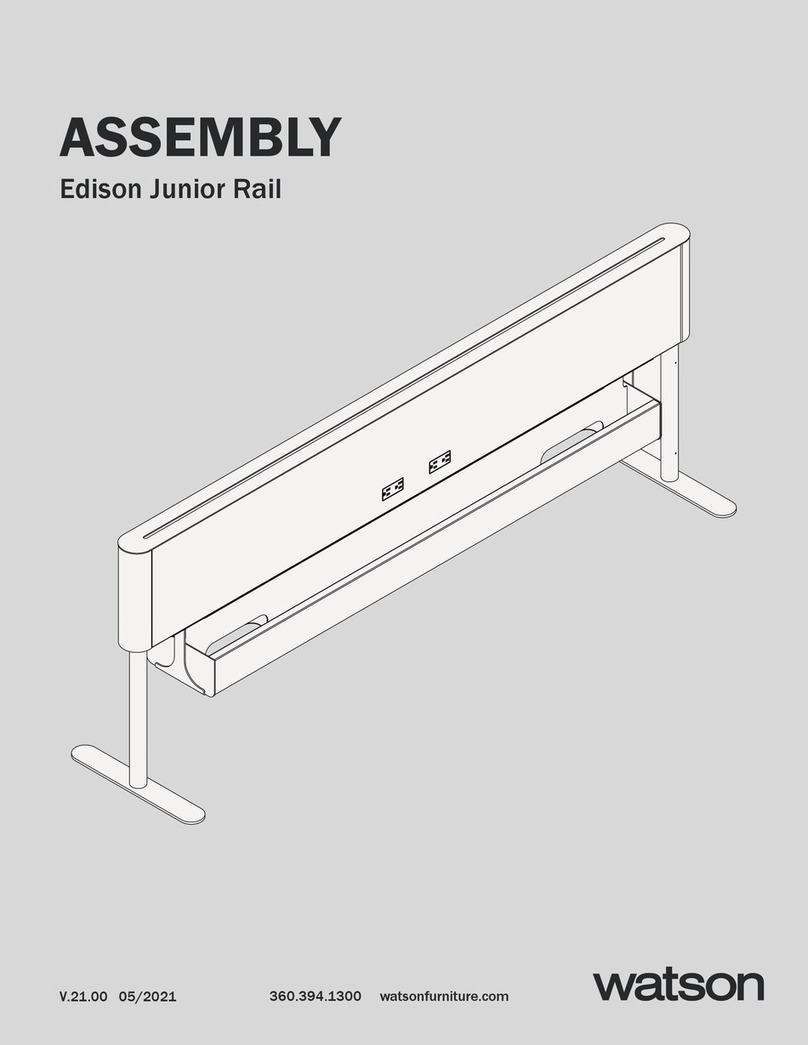
WATSON Edison Junior Rail User manual

WATSON

WATSON Edison Junior Rail User manual

WATSON SEVEN User manual

WATSON

WATSON SEVEN User manual
WATSON C9 Height Adjustable Desk User manual
WATSON

WATSON C9 Height Adjustable Desk User manual

WATSON C9 Rail User manual

WATSON

WATSON C9 Rail User manual
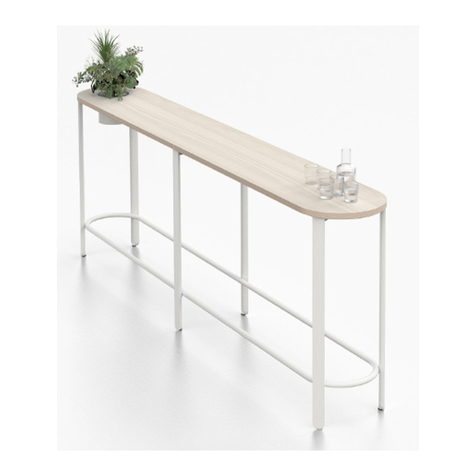
WATSON Haven Perch User manual

WATSON

WATSON Haven Perch User manual

WATSON 360.394.1300 User manual

WATSON

WATSON 360.394.1300 User manual
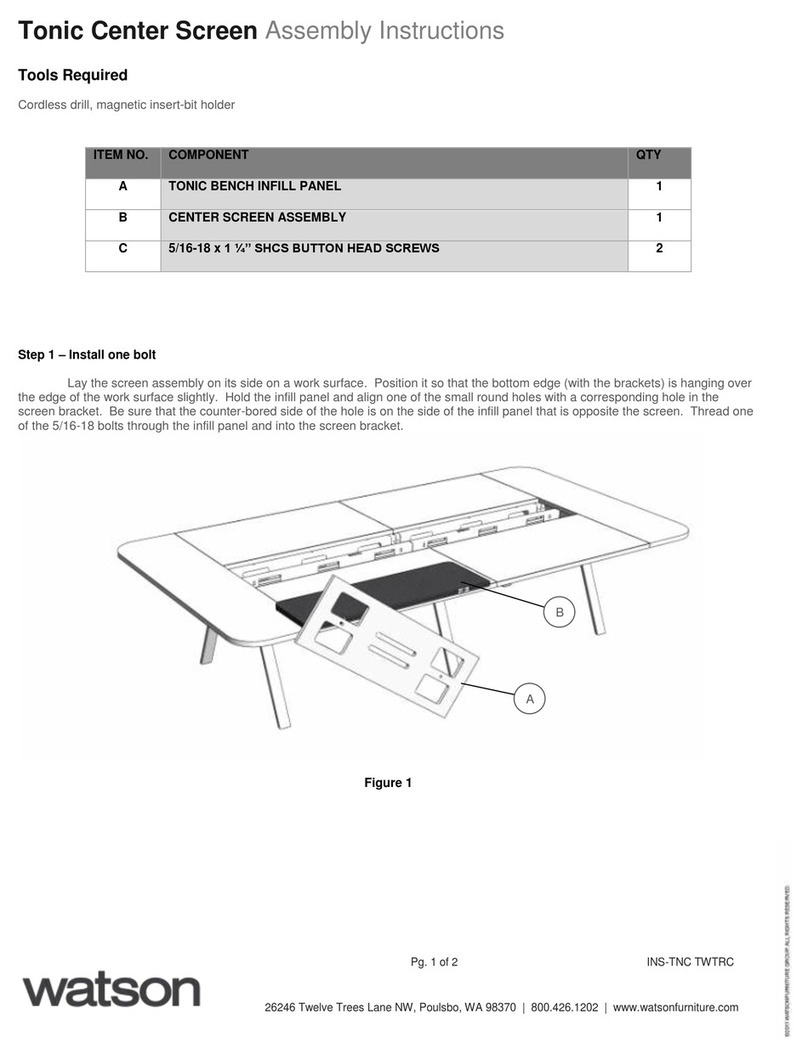
WATSON Tonic Center Screen User manual
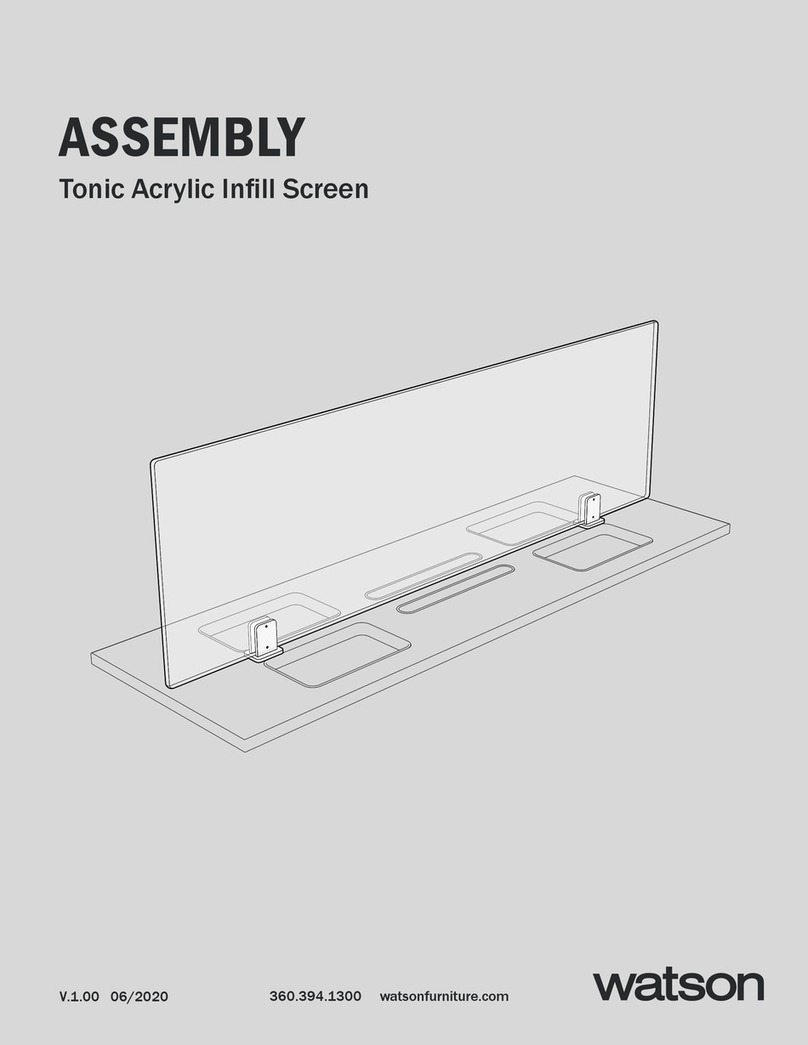
WATSON

WATSON Tonic Center Screen User manual

WATSON 360.394.1300 User manual

WATSON

WATSON 360.394.1300 User manual
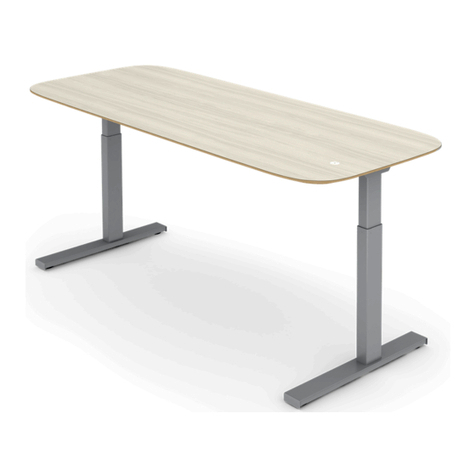
WATSON SEVEN User manual

WATSON

WATSON SEVEN User manual

WATSON Watson Pin & Tak Deskmount Acrylic Screen User manual
WATSON

WATSON Watson Pin & Tak Deskmount Acrylic Screen User manual

WATSON D9 User manual

WATSON

WATSON D9 User manual

WATSON Edison Senior Rail User manual

WATSON

WATSON Edison Senior Rail User manual

WATSON C9 Height Adjustable Desk User manual

WATSON

WATSON C9 Height Adjustable Desk User manual

WATSON Bahn User manual

WATSON

WATSON Bahn User manual

WATSON Haven Social Tables User manual

WATSON

WATSON Haven Social Tables User manual

Popular Indoor Furnishing manuals by other brands

Regency LWMS3015 Assembly instructions

Regency

Regency LWMS3015 Assembly instructions

Furniture of America CM7751C Assembly instructions

Furniture of America

Furniture of America CM7751C Assembly instructions

Safavieh Furniture Estella CNS5731 manual

Safavieh Furniture

Safavieh Furniture Estella CNS5731 manual

PLACES OF STYLE Ovalfuss Assembly instruction

PLACES OF STYLE

PLACES OF STYLE Ovalfuss Assembly instruction

Trasman 1138 Bo1 Assembly manual

Trasman

Trasman 1138 Bo1 Assembly manual

Costway JV10856 manual

Costway

Costway JV10856 manual

moss DESIGN Caisson Credenza Assembly instructions

moss DESIGN

moss DESIGN Caisson Credenza Assembly instructions

Aquaglide FULL DECK 15.0 owner's manual

Aquaglide

Aquaglide FULL DECK 15.0 owner's manual

AREBOS AR-HE-SW30 user manual

AREBOS

AREBOS AR-HE-SW30 user manual

Till-Hilft Fulda 87005.330 Assembly instructions

Till-Hilft

Till-Hilft Fulda 87005.330 Assembly instructions

Twoey Outside 2010 quick start guide

Twoey Outside

Twoey Outside 2010 quick start guide

Hettich Easys 200 operating instructions

Hettich

Hettich Easys 200 operating instructions

The bedboss RELAX 404 Series owner's manual

The bedboss

The bedboss RELAX 404 Series owner's manual

Oeseder Möbelindustrie Bern 991 720 Assembly instructions

Oeseder Möbelindustrie

Oeseder Möbelindustrie Bern 991 720 Assembly instructions

Costway HW68469 user manual

Costway

Costway HW68469 user manual

Next ALIX A27743 Assembly instructions

Next

Next ALIX A27743 Assembly instructions

BROSA Hans Assembly guide

BROSA

BROSA Hans Assembly guide

Prodigg MINIKA PBA015T-FUR installation manual

Prodigg

Prodigg MINIKA PBA015T-FUR installation manual

manuals.online logo
manuals.online logoBrands
  • About & Mission
  • Contact us
  • Privacy Policy
  • Terms and Conditions

Copyright 2025 Manuals.Online. All Rights Reserved.