manuals.online logo
Brands
  1. Home
  2. •
  3. Brands
  4. •
  5. WB Mfg
  6. •
  7. Indoor Furnishing
  8. •
  9. WB Mfg EJA User manual

WB Mfg EJA User manual

wibenchmfg.com 507 E. Grant St. Thorp, WI 54771 • P - 800.242.2303
Specifications are subject to change. Product
images are for illustrative purposes only and may
differ from the actual product.
1
Elevate Student Desk
Assembly Instructions
04068471: -EJA
04068604: -ADJ
V021022 Version subject to change
Tools Required
• Screw gun
• 4mm hex bit
• Phillips head
screwdriver
• Drill bit extension
Before you begin, please make sure all parts and proper
quantities are included. (See Part Identifier Key) Any parts
damaged during shipment must be reported within 24 hours of
receipt. To report information regarding damages or if you have
any questions, please call 800.242.2303.
Step 1:
• Take base out of box and place on a protected flat surface.
• Insert center post into the base.
Base
Center Post
NOTE: These Assembly Instructions are based on the
assembly of the Elevate Adapt XL (U.S. Patent D780487)
Student Desk with an adjustable height base. Type and
quantity of parts may vary depending on which desk or table
is ordered. These instructions comply with all
Elevate Student Desks.
wibenchmfg.com 507 E. Grant St. Thorp, WI 54771 • P - 800.242.2303
Specifications are subject to change. Product
images are for illustrative purposes only and may
differ from the actual product.
2
Elevate Student Desk
Assembly Instructions
04068471: -EJA
04068604: -ADJ
Step 2:
• Place and center attachment plate with countersinks facing up
on the top of the center post.
• Place (6) hex head machine screws through the innermost holes
in the attachment plate.
• Secure attachment plate to the center post by tightening the hex
head machine screws using the 5mm Allen wrench.
Attachment Plate
Center Post
Qty 6
⁄" x 12mm hex head machine screw
wibenchmfg.com 507 E. Grant St. Thorp, WI 54771 • P - 800.242.2303
Specifications are subject to change. Product
images are for illustrative purposes only and may
differ from the actual product.
3
Elevate Student Desk
Assembly Instructions
04068471: -EJA
04068604: -ADJ
Attachment Plate
Step 3:
• Place top on a protected flat furface so that threaded inserts are
facing up.
• Remove center post from the base and set the base to the side.
• Place the attachment plate on the bottom of the top, aligning the
holes in the attachment plate to the inserts in the bottom of the
top. See image below for the correct placement.
• Place joint connector bolts w/loctite through the outermost holes
in the attachment plate.
• Secure attachment plate to the top by tightening the joint
connector bolts using a 4mm Allen wrench or 4mm hex bit and
screw gun.
Qty 6
⁄"-20x19mm joint connector bolt w/ loctite
*Correct placement
of attachment plate/
pedestal: Cord for
plastic handle should
be turned to the BACK
side (side with shorter
distance to edge) of
the top.
Plastic handle
cord
wibenchmfg.com 507 E. Grant St. Thorp, WI 54771 • P - 800.242.2303
Specifications are subject to change. Product
images are for illustrative purposes only and may
differ from the actual product.
4
Elevate Student Desk
Assembly Instructions
04068471: -EJA
04068604: -ADJ
Qty 4
⁄" x 110mm flat head bolt w/loctite (-ADJ)
⁄" x 82mm flat head bolt w/loctite (-EJA)
Qty 4
16mm x 16ga washer
Step 4:
• With the top still on the ground, take the base you previously set
to the side and insert the square tube onto the center post. See
image below for the correct placement.
• Slide (1) washer onto each flat head bolt w/loctite. Place each of
them through the holes in the base.
• Secure base to the center tube by tightening the flat head bolts w/
loctite using a 4mm Allen wrench or 4mm hex bit and screw gun.
Center Post
Base
*Correct placement of
base: Longer edge of
base leg should line up
with the side of the top
with more overhang
from the front
wibenchmfg.com 507 E. Grant St. Thorp, WI 54771 • P - 800.242.2303
Specifications are subject to change. Product
images are for illustrative purposes only and may
differ from the actual product.
5
Elevate Student Desk
Assembly Instructions
04068471: -EJA
04068604: -ADJ
Qty 4 (-EJA)
Qty 8 (-ADJ)
⁄"-20x19mm joint connector bolt w/ loctite
Step 5:
• Place (2) joint connector bolts through the front side of the center
post, tighten bolts using a 4mm Allen wrench or 4mm hex bit and
screw gun.
• After tightening the joint connector bolts in the front side,
continue to the back side, and then to the right and left sides of
the center post.
• Please take note that images are for illustrative purposes only
and the frame may be different from the image shown in these
instructions.
Center Post
wibenchmfg.com 507 E. Grant St. Thorp, WI 54771 • P - 800.242.2303
Specifications are subject to change. Product
images are for illustrative purposes only and may
differ from the actual product.
6
Elevate Student Desk
Assembly Instructions
04068471: -EJA
04068604: -ADJ
Qty 4
Dual wheel soft tread locking caster
Qty 4
2.5" Grand Hank glides
Qty 1
14mm open-ended wrench
Step 6:
• Place stem of optional footing into the hole on the leg. Rotate
clockwise until fully inserted into leg.
• Casters are NOT to be used as a leveling device.
• Tighten with a 14mm open-ended wrench (only with the dual
wheel casters.)
• Repeat for each caster or glide.
Base
wibenchmfg.com 507 E. Grant St. Thorp, WI 54771 • P - 800.242.2303
Specifications are subject to change. Product
images are for illustrative purposes only and may
differ from the actual product.
7
Elevate Student Desk
Assembly Instructions
04068471: -EJA
04068604: -ADJ
Qty 4
4mm x 15mm Phillips head screw
Step 7:
• Place the plastic handle on the bottom of the top and align the
pre-drilled holes in the handle with the pre-drilled pilot holes in
the top.
• Secure the handle to the top with (4) Phillips head screws, using
a Phillips head screwdriver.
wibenchmfg.com 507 E. Grant St. Thorp, WI 54771 • P - 800.242.2303
Specifications are subject to change. Product
images are for illustrative purposes only and may
differ from the actual product.
8
Elevate Student Desk
Assembly Instructions
04068471: -EJA
04068604: -ADJ
Qty 2
4mm x 15mm Phillips head screw
Qty 4
Plastic wire holder
Step 8:
• Slide the cord through the (2) plastic wire holders.
• NOTE: There will not be any pre-drilled pilot holes for the plastic
wire holders. Place the wire holders near the locations shown in
the images on this page.
• Attach plastic wire holders using (2) Phillips head screws.
• The cord should be fluid without any kinks.
Step 10:
• With the help of another person, flip desk over to the upright position.
wibenchmfg.com 507 E. Grant St. Thorp, WI 54771 • P - 800.242.2303
Specifications are subject to change. Product
images are for illustrative purposes only and may
differ from the actual product.
9
Elevate Student Desk
Assembly Instructions
04068471: -EJA
04068604: -ADJ
Part Identifier Key
Step # Part
is Used In Part # Description Qty.
04068471-01
04068604-01
Base (-EJA)
Base (-ADJ) 1
04068471
04068604
Outer pedestal (-EJA)
Outer pedestal (-ADJ) 1
4mm Allen wrench
(Used to tighten joint connector bolts thoughout
assembly.)
1
Step 2 04068471-05
04068604-05
Attachment plate 10.630” x 5.906” x 7Ga. (-EJA) OR
Attachment plate 10.630” x 5.906” x 7Ga. (-ADJ)
1
1
Step 2 Hex head machine screw ⁄"x12mm 6
Step 2 5mm Allen wrench 1
Step 3 04088861 Joint connector bolt w/Loctite ⁄"-20x19mm 6
Step 4 Flat head bolt w/Loctite ⁄"-20x82mm (-EJA) or
Flat head bolt w/Loctite ⁄"-20x110mm (-ADJ)
4
4
Step 4 Washer dia. 16mmx14Ga. 4
Step 5 04088861
04088861
Joint connector bolt, ⁄"-20x19mm w/Loctite (-EJA) OR
Joint connector bolt, ⁄"-20x19mm w/Loctite (-ADJ)
4
8
Step 6 040164 2.5” Grand Hank nylon glide, ⁄"-16 x 1”
(Pre installed to the base by supplier) 4
Step 6 04067540 Dual Wheel Soft Tread locking casters 4
Step 6 14mm open-ended wrench 1
Step 7 Phillip screw, 4mmx15mm 4
Step 8 Plastic wire holder 2
Step 8 Phillip screw, 4mmx15mm 2

This manual suits for next models

3

Other WB Mfg Indoor Furnishing manuals

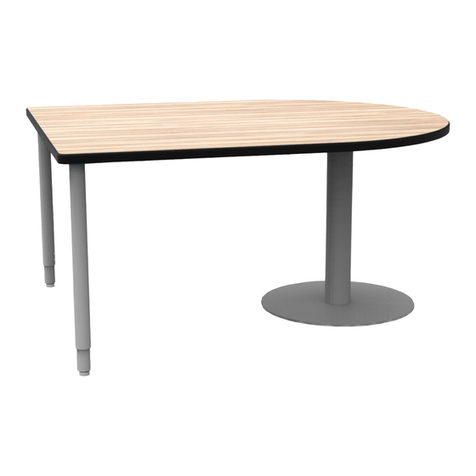
WB Mfg Flip Top User manual

WB Mfg

WB Mfg Flip Top User manual

WB Mfg Urban Edge User manual

WB Mfg

WB Mfg Urban Edge User manual

WB Mfg Tote Trays User manual

WB Mfg

WB Mfg Tote Trays User manual

WB Mfg ELO User manual

WB Mfg

WB Mfg ELO User manual

WB Mfg Universal Appleton Desk User manual

WB Mfg

WB Mfg Universal Appleton Desk User manual

WB Mfg 0600041 User manual

WB Mfg

WB Mfg 0600041 User manual

WB Mfg Quad XL User manual

WB Mfg

WB Mfg Quad XL User manual

WB Mfg LOBO Series User manual

WB Mfg

WB Mfg LOBO Series User manual

WB Mfg LOBO LOB3071-ADJ-RR6 User manual

WB Mfg

WB Mfg LOBO LOB3071-ADJ-RR6 User manual

WB Mfg Rhapsody Bass Racks User manual

WB Mfg

WB Mfg Rhapsody Bass Racks User manual

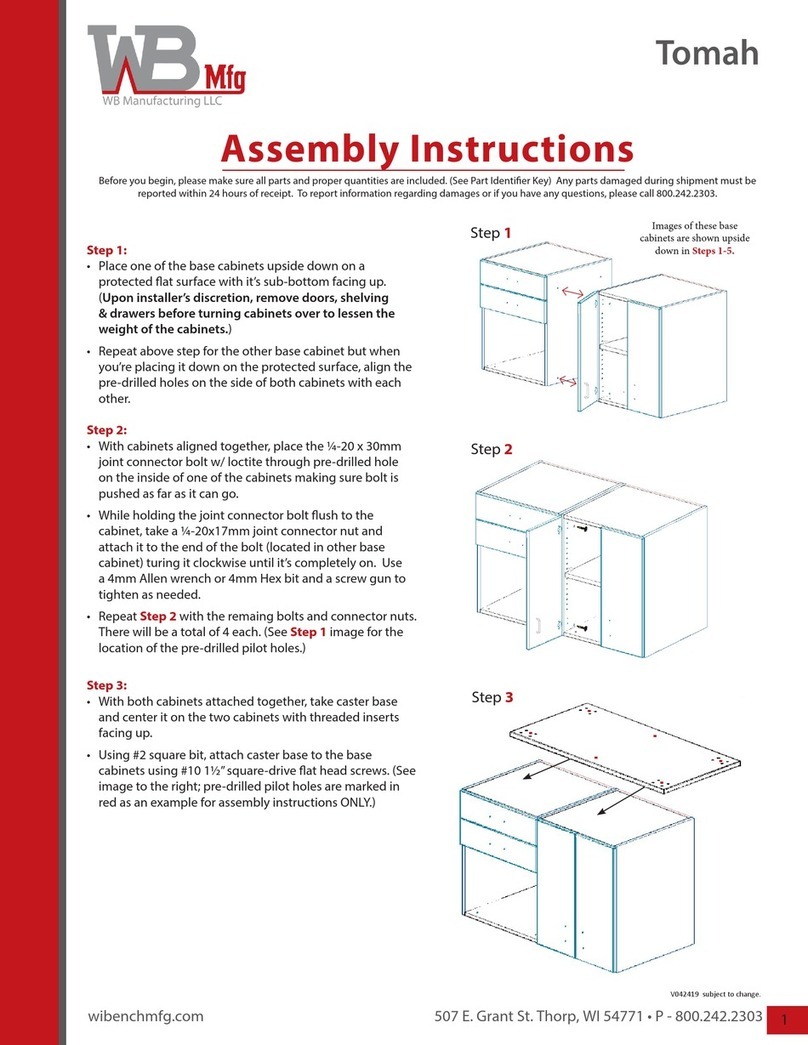
WB Mfg Tomah User manual

WB Mfg

WB Mfg Tomah User manual

WB Mfg ELO Court Team Table User manual

WB Mfg

WB Mfg ELO Court Team Table User manual

WB Mfg UNE-T User manual

WB Mfg

WB Mfg UNE-T User manual

WB Mfg DT-45A User manual

WB Mfg

WB Mfg DT-45A User manual

WB Mfg 800-242-2303 User manual

WB Mfg

WB Mfg 800-242-2303 User manual

WB Mfg iXchange User manual

WB Mfg

WB Mfg iXchange User manual

WB Mfg SSW100X User manual

WB Mfg

WB Mfg SSW100X User manual

WB Mfg iXchange SSW1001-AL User manual

WB Mfg

WB Mfg iXchange SSW1001-AL User manual

WB Mfg TORO User manual

WB Mfg

WB Mfg TORO User manual

WB Mfg Mini Nucleus User manual

WB Mfg

WB Mfg Mini Nucleus User manual
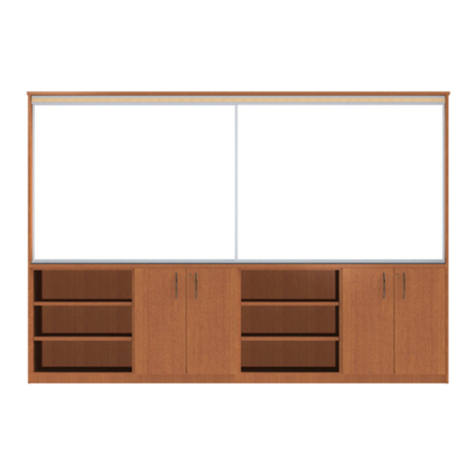
WB Mfg TORO Table Epoxy Top User manual

WB Mfg

WB Mfg TORO Table Epoxy Top User manual

WB Mfg EPIC EP3082-FXO-RR6 User manual

WB Mfg

WB Mfg EPIC EP3082-FXO-RR6 User manual

WB Mfg TORO User manual

WB Mfg

WB Mfg TORO User manual
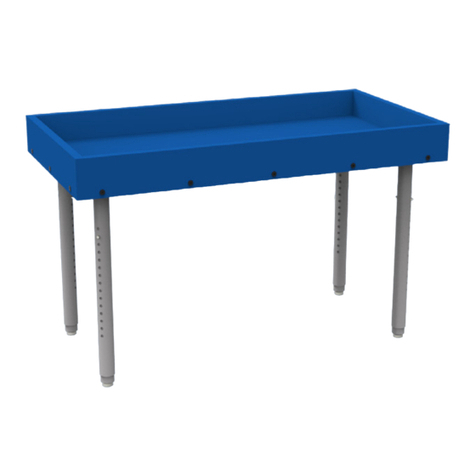
WB Mfg TORO User manual

WB Mfg

WB Mfg TORO User manual
Popular Indoor Furnishing manuals by other brands

Coaster 202701Q Assembly instructions

Coaster

Coaster 202701Q Assembly instructions

OSP Home Furnishings YORK YRK1229 manual

OSP Home Furnishings

OSP Home Furnishings YORK YRK1229 manual

Forte GRLV621 Assembling Instruction

Forte

Forte GRLV621 Assembling Instruction

Teknion Leverage installation guide

Teknion

Teknion Leverage installation guide

Teknion hiSpace User instructions

Teknion

Teknion hiSpace User instructions

Furinno 17017 Assembly instruction

Furinno

Furinno 17017 Assembly instruction

homechoice Takara tri bunk Assembly instructions

homechoice

homechoice Takara tri bunk Assembly instructions

Powerfix KH 2919 operating instructions

Powerfix

Powerfix KH 2919 operating instructions

Pronto wonen 0683/01-2Gl-A K Assembly instructions

Pronto wonen

Pronto wonen 0683/01-2Gl-A K Assembly instructions

The Land of Nod Oak Park Assembly instructions

The Land of Nod

The Land of Nod Oak Park Assembly instructions

RS Barcelona On the road bench user manual

RS Barcelona

RS Barcelona On the road bench user manual

aykah BRITTANY Assembly sheet

aykah

aykah BRITTANY Assembly sheet

Bolton Furniture ANNP2971 Assembly instructions

Bolton Furniture

Bolton Furniture ANNP2971 Assembly instructions

fantastic furniture KELLY Assembly instructions

fantastic furniture

fantastic furniture KELLY Assembly instructions

SNUGSQUARE JORN DESK manual

SNUGSQUARE

SNUGSQUARE JORN DESK manual

Baxton Studio 0004 Assembly instructions

Baxton Studio

Baxton Studio 0004 Assembly instructions

Lightolier Alter QVS2GSDOS232 specification

Lightolier

Lightolier Alter QVS2GSDOS232 specification

Costway HU10017 user manual

Costway

Costway HU10017 user manual

manuals.online logo
manuals.online logoBrands
  • About & Mission
  • Contact us
  • Privacy Policy
  • Terms and Conditions

Copyright 2025 Manuals.Online. All Rights Reserved.