WB Mfg Tomah User manual
Other WB Mfg Indoor Furnishing manuals

WB Mfg
WB Mfg Mini Nucleus User manual

WB Mfg
WB Mfg ELO Court Team Table User manual

WB Mfg
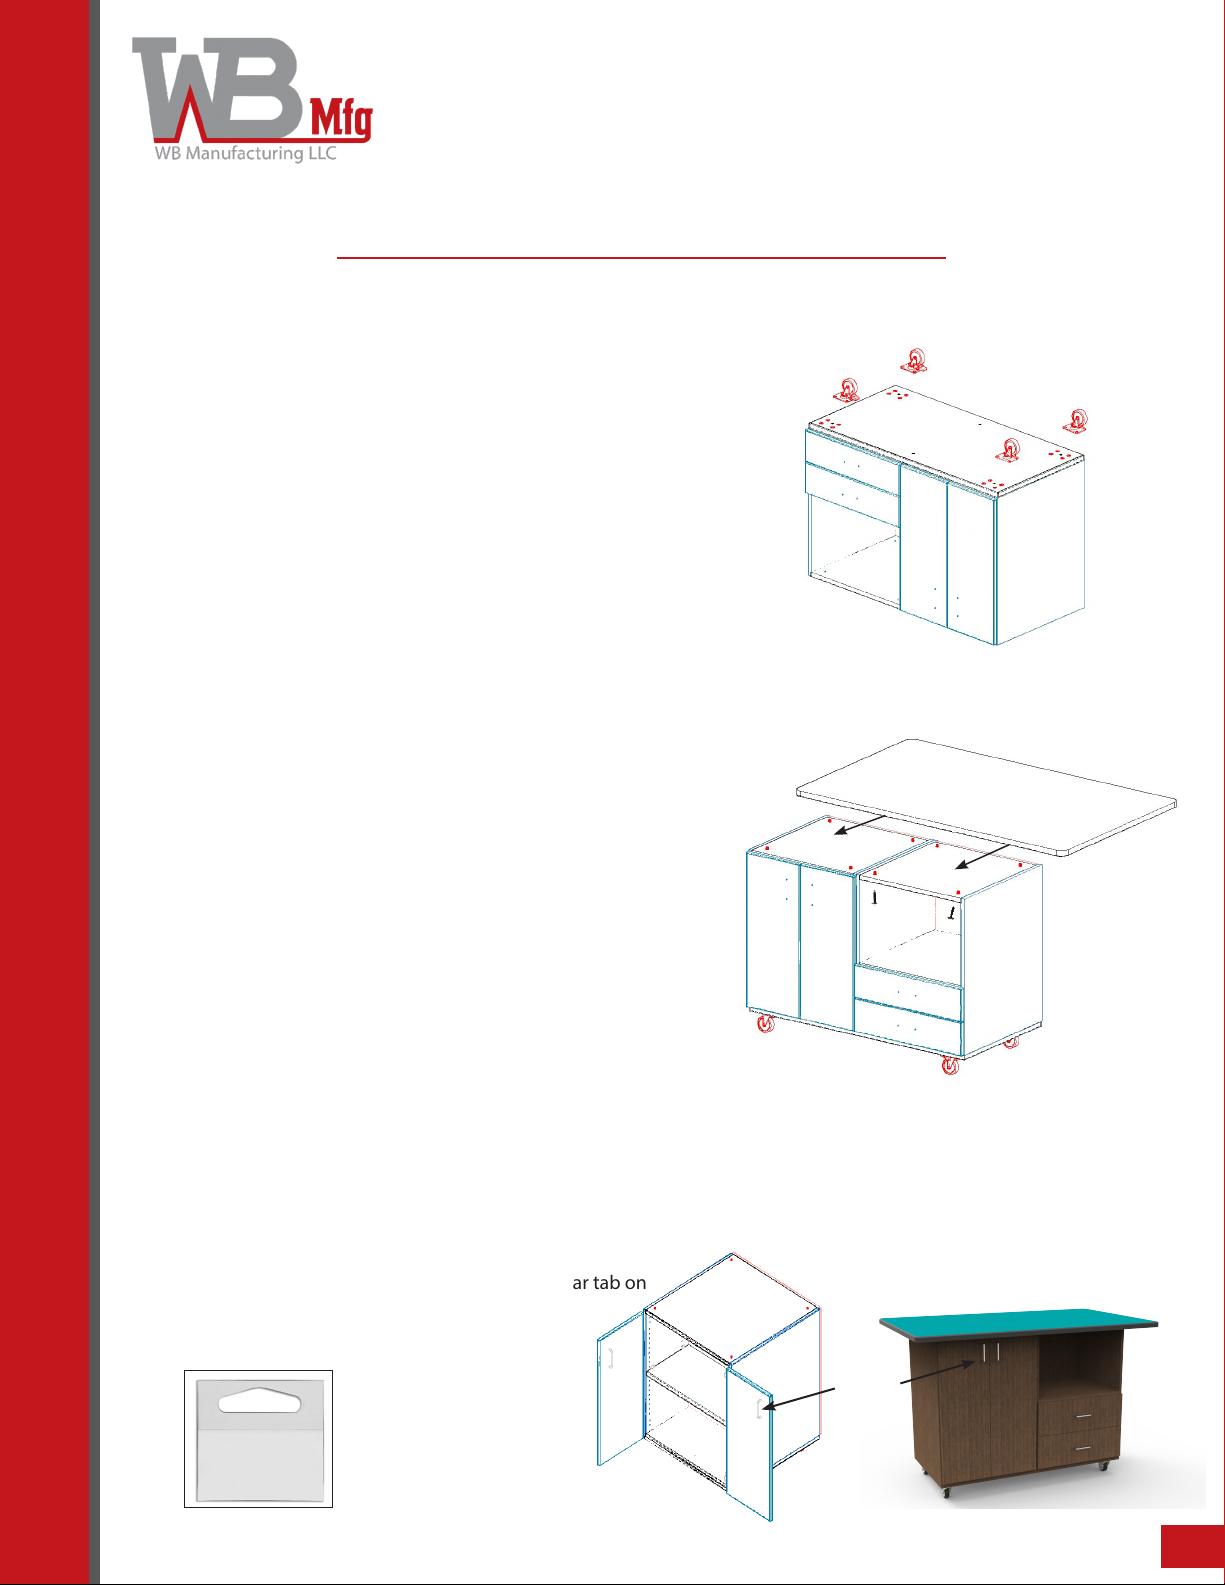
WB Mfg LOBO Series User manual

WB Mfg
WB Mfg TORO Table Epoxy Top User manual

WB Mfg
WB Mfg Universal Appleton Desk User manual

WB Mfg
WB Mfg EPIC EP3082-FXO-RR6 User manual

WB Mfg
WB Mfg iXchange User manual

WB Mfg
WB Mfg SSW100X User manual

WB Mfg
WB Mfg EJA User manual

WB Mfg
WB Mfg UNE-T User manual

WB Mfg
WB Mfg ELO Desk User manual

WB Mfg
WB Mfg Urban Edge User manual

WB Mfg
WB Mfg TORO User manual

WB Mfg
WB Mfg iXchange SSW1202-AL User manual

WB Mfg
WB Mfg LOBO LOB3071-ADJ-RR6 User manual

WB Mfg
WB Mfg Quad XL User manual

WB Mfg
WB Mfg 4-Legged Stool User manual

WB Mfg
WB Mfg Jackson Desk User manual

WB Mfg
WB Mfg Einstein Station User manual

WB Mfg
WB Mfg TORO User manual


Popular Indoor Furnishing manuals by other brands

Regency
Regency LWMS3015 Assembly instructions

Furniture of America
Furniture of America CM7751C Assembly instructions

Safavieh Furniture
Safavieh Furniture Estella CNS5731 manual

PLACES OF STYLE
PLACES OF STYLE Ovalfuss Assembly instruction

Trasman
Trasman 1138 Bo1 Assembly manual

Costway
Costway JV10856 manual