English
5
5300-2
WARNING
Follow these instructions to reduce the risk of serious
injury or death and to reduce risk of damaging the unit.
WHERE TO USE
Do not use around mist or fumes from
industrial oil or around large quantities of
metallic dust
Do not install in any sort of motor or
transport vehicle (trucks, boats, ships, etc.)
Do not place near any flammable materials
(aerosols, fuel, gases etc.)
Do not place below any electrical outlet
Do not place around heating elements
Do not place in an area with excessive
amounts of noxious gases
Do not have unit facing into wind or draft
Do not place in excessively humid areas
where unit may become wet
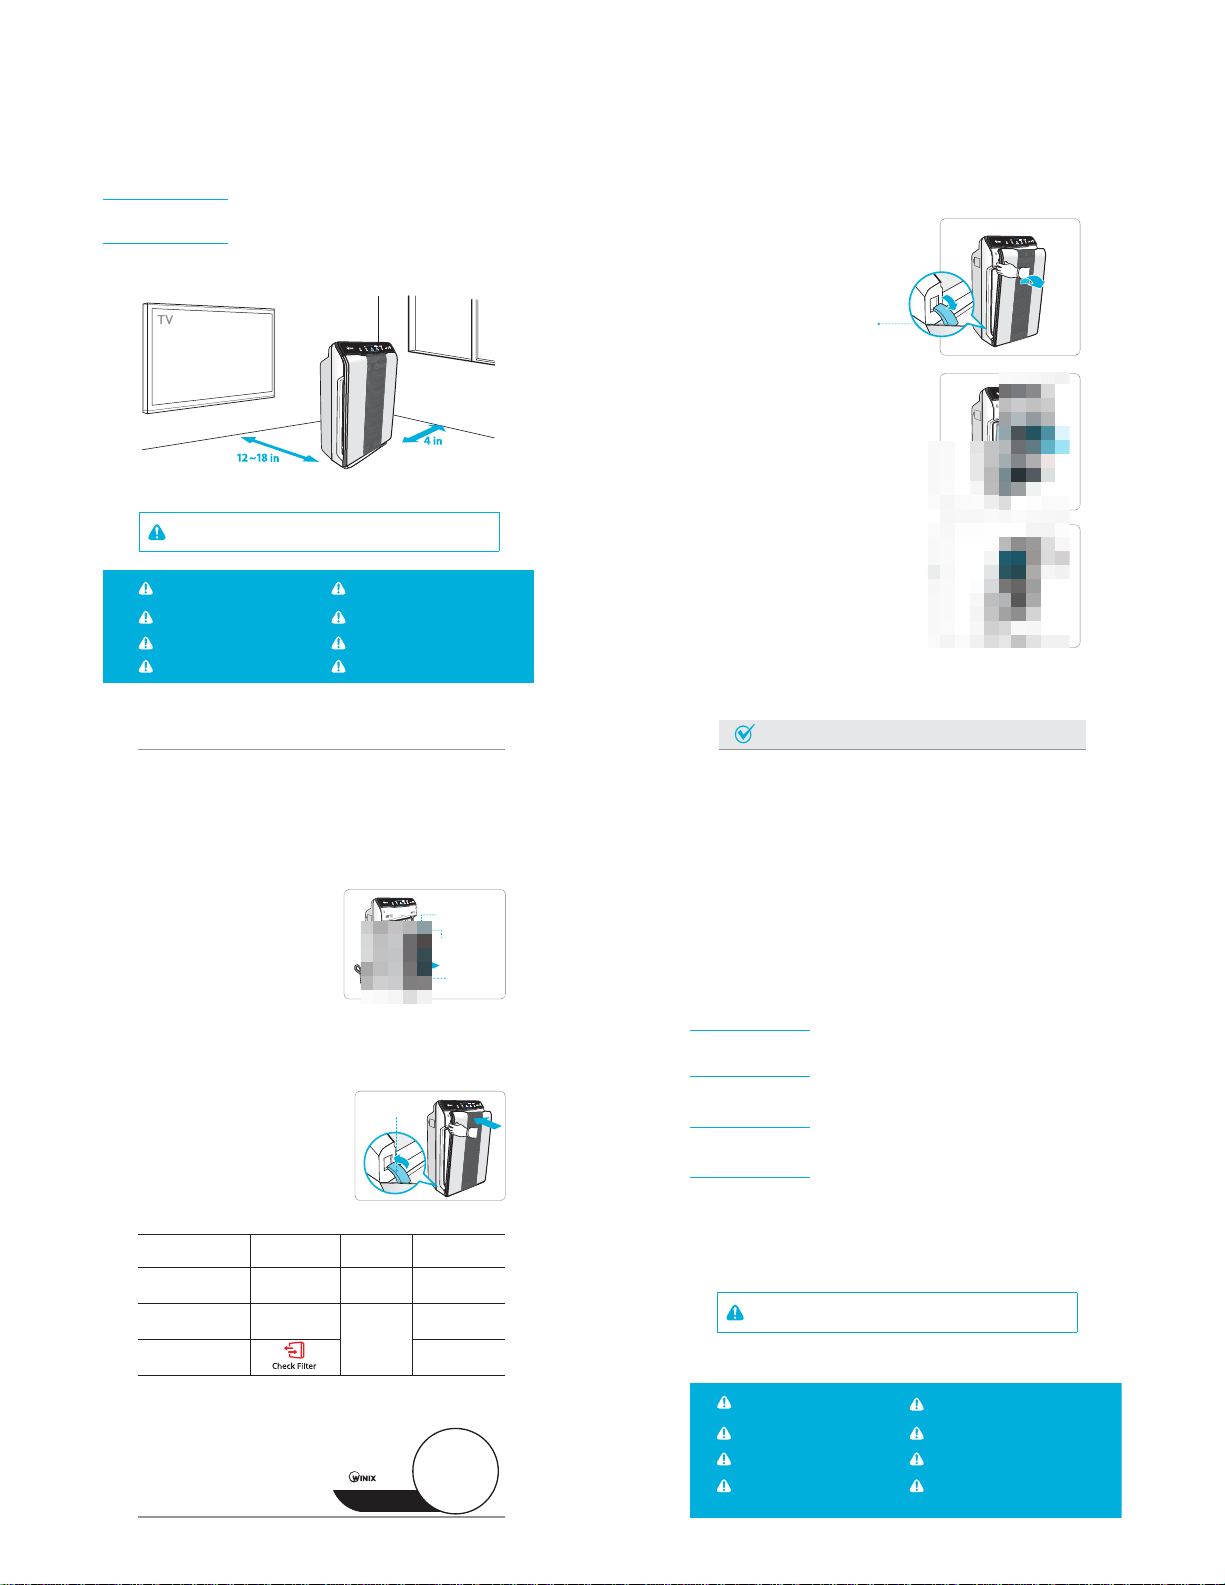
Allow 12 ~ 18 in. of space between TVs, radios, and other electronic products
electromagnetic interference from certain electronics may cause product malfunction.
Place indoors away from direct sun light
direct exposure may cause product malfunction or failure.
Only place on hard, flat surfaces
flimsy or slanted surfaces may result in abnormal noise and vibrations.
ÚThis unit is not intended to be used to preserve documents or in art conservation.
English
6
5300-2
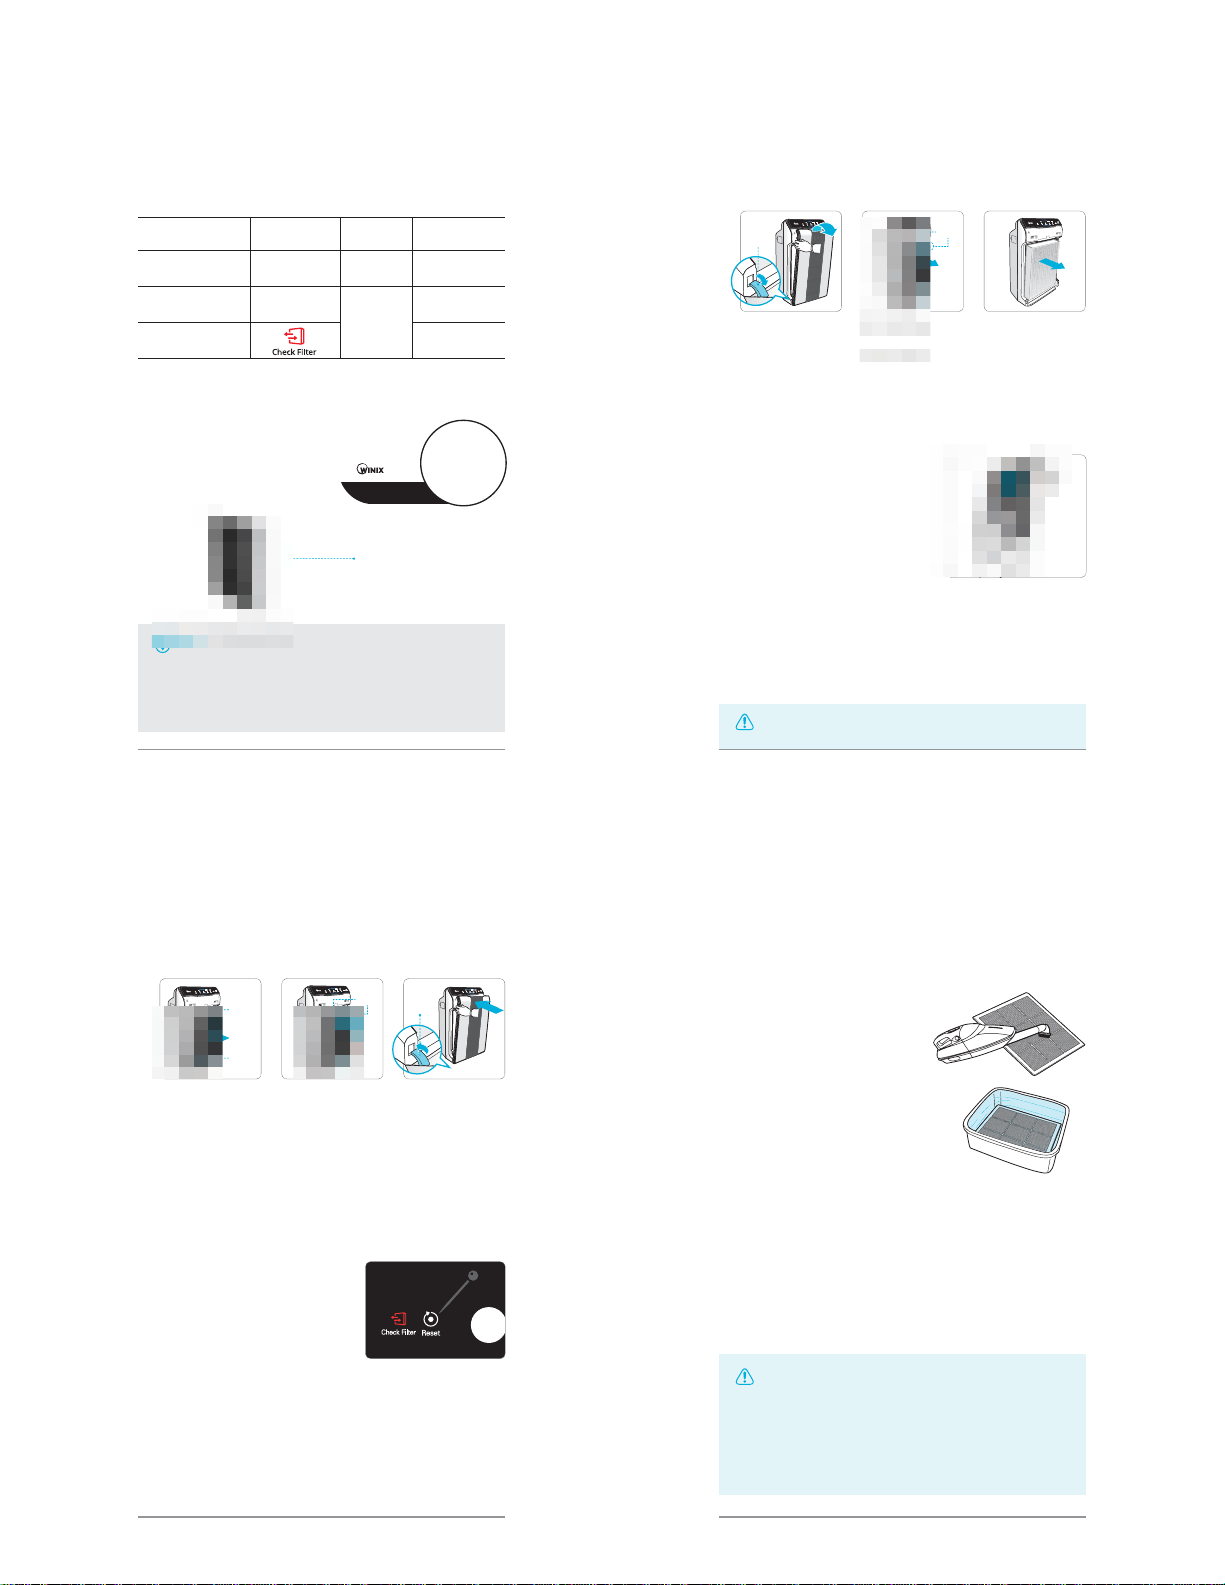
INSTALLING FILTERS
This product comes with all the required filters. The protective plastic
wrap must be removed from the filters before use
※ Operating the unit without removing the plastic wrap may result in
product failure.
※ Unplug and make sure the unit is turned off before installing filters.
③ Remove filters from protective plastic
wrap.
• Operating the unit without removing filters
from plastic wrap may cause abnormal
noise, deformation, or fire as a result of
overheating.
② Remove the filters from the unit, they
are protected inside a plastic wrap
① Remove the front panel by grasping
its upper edge and gently pulling
forward.
Latch
• Refer to pages 13 - 15 for details on how to replace filters.
Note
English
7
5300-2
※ Intervals between filter replacement may vary depending on environment.
※ For optimal use, Pre-filter can be cleaned once every 14 days which can extend
the life of other filters.
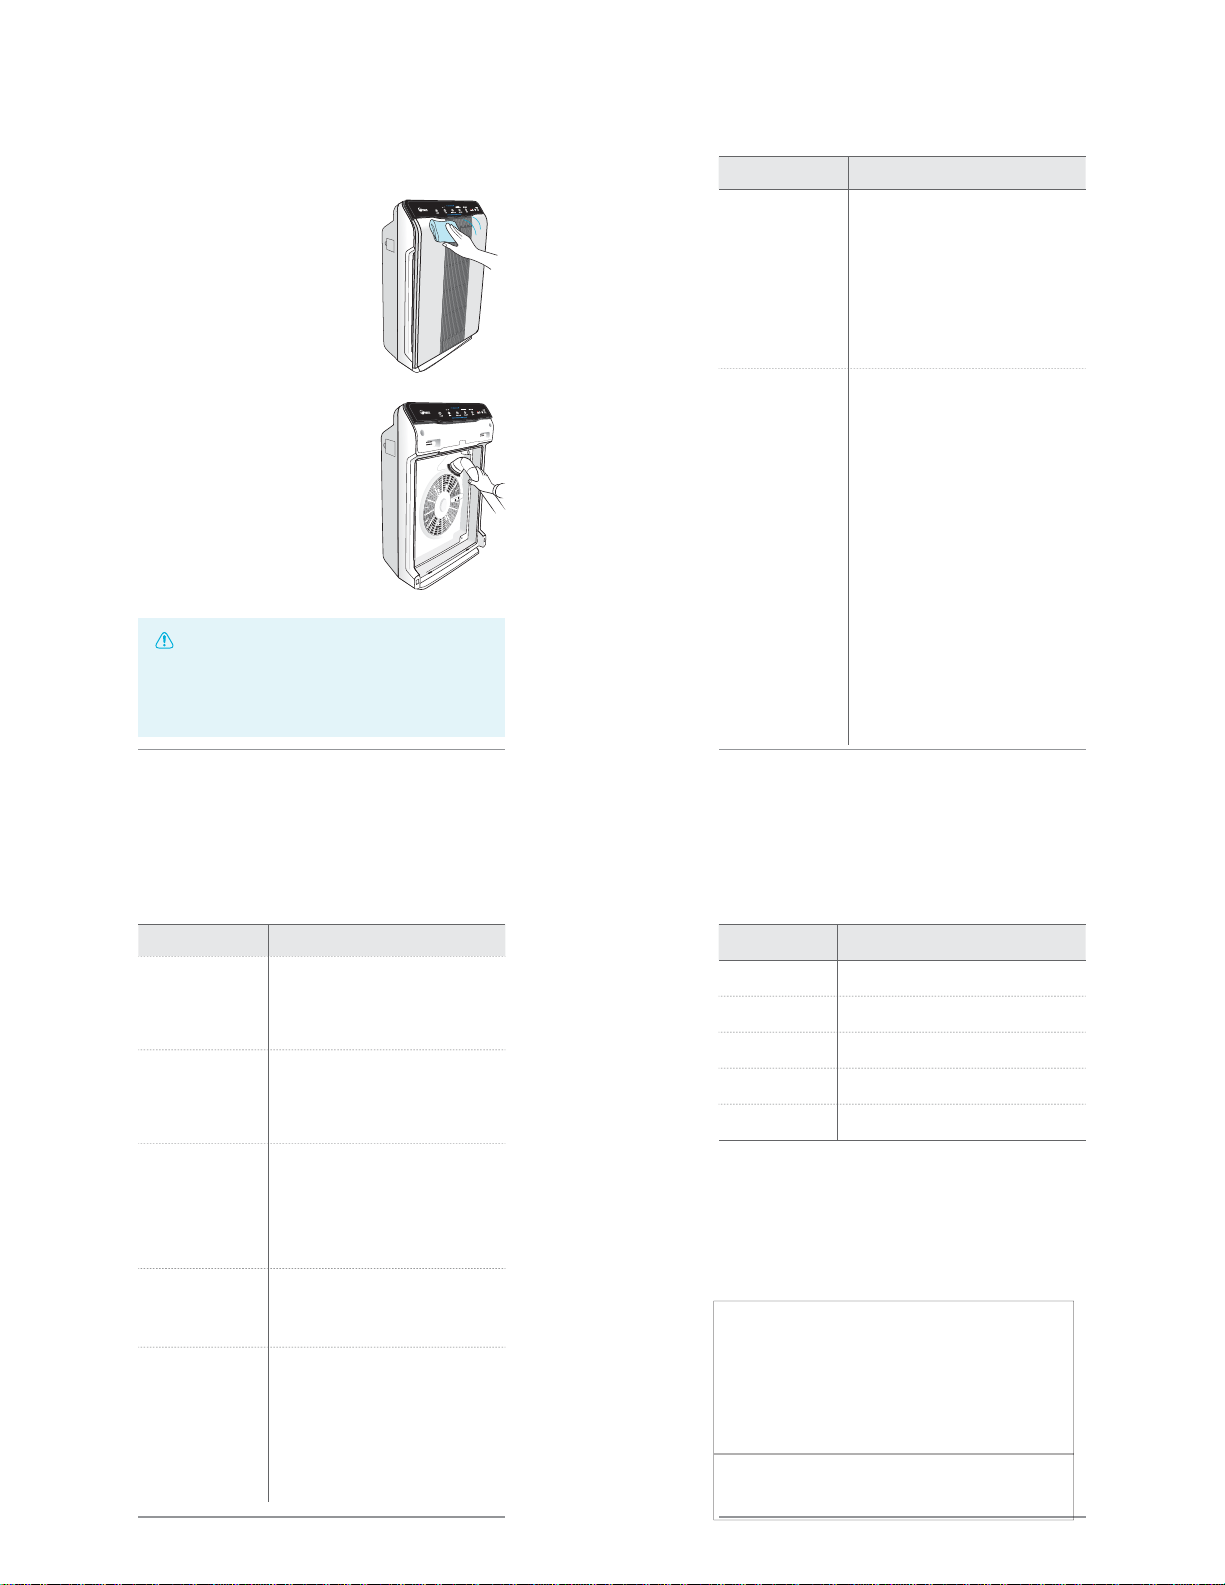
④ Install the filters until they fit
securely in place.
Filters must be installed in this order:
True HEPA filter (rear)
Carbon filter (middle)
Pre-filter (front)
•
To install the Pre-filter, insert bottom
tabs into the slots on either side of
the lower part of the unit, then rotate
upward to insert the upper tabs into
the slots at the top part of the unit until
sides audibly click into place.
⑤ Replace the front panel by first
inserting the latch at the bottom
edge into the base of the unit, then
rotate the panel upward toward the
top of the unit until the magnets
pull the lid closed.
⑥ When to service and replace filters:
True HEPA
filter
Carbon filter
Pre-filter
Latch
Filter Indicator Light When to
service
When to replace
Pre-filter none Clean once
every 14 days Permanent
Carbon filter none
Can NOT be
WASHED
Replace every 3
months
True HEPA filter Lasts up to
12 months
To purchase replacement
Winix filters:
(877)-699-4649
www.winixamerica.com
INSTALLING FILTERS
thisunit
iscompatible
withthis
filter
FILTER
A
item:115115
English
8
5300-2
SAFETY AND CAUTIONS
Before operating this equipment, carefully read and follow these safety
cautions
WARNING
Follow these instructions to reduce the risk of serious
injury or death and to reduce risk of damaging the unit.
Do not pull on the power cord when
unplugging the unit
Do not touch the plug with wet hands
Do not plug additional appliances into the
same outlet or power supply
Unplug unit when not in operation for
extended periods of time
Do not tie or knot power cord when unit
is in operation
Do not unplug or move the unit while in
operation
If the unit becomes submerged in water,
unplug it and contact customer service
Cord can become damaged by forcefully
bending, pulling, twisting, bundling,
pinching or placing heavy objects on it
Ensure filters are inserted before running unit
running unit without filters can shorten the units life and cause electric shock or injury.
Be sure foreign objects are NOT inserted into the vents on the unit
objects can include pins, rods, and coins.
Do not touch any part of the interior of the unit with wet hands
the high voltage may cause electric shock.
Ensure unit intake and outlet vents do not become blocked
blockage may lead to increased internal termperatures causing product failure and derformation.
Do not use the unit as a step stool or place heavy objects on it
personal injury may occur or product failure and deformation.