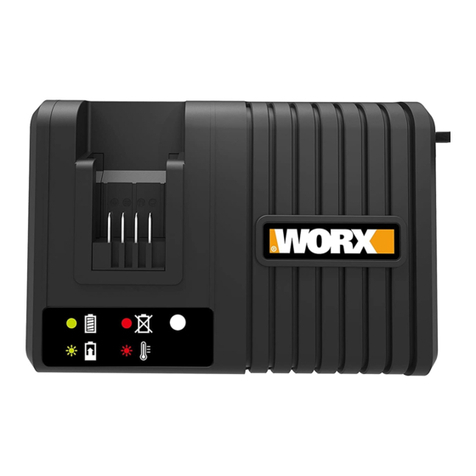
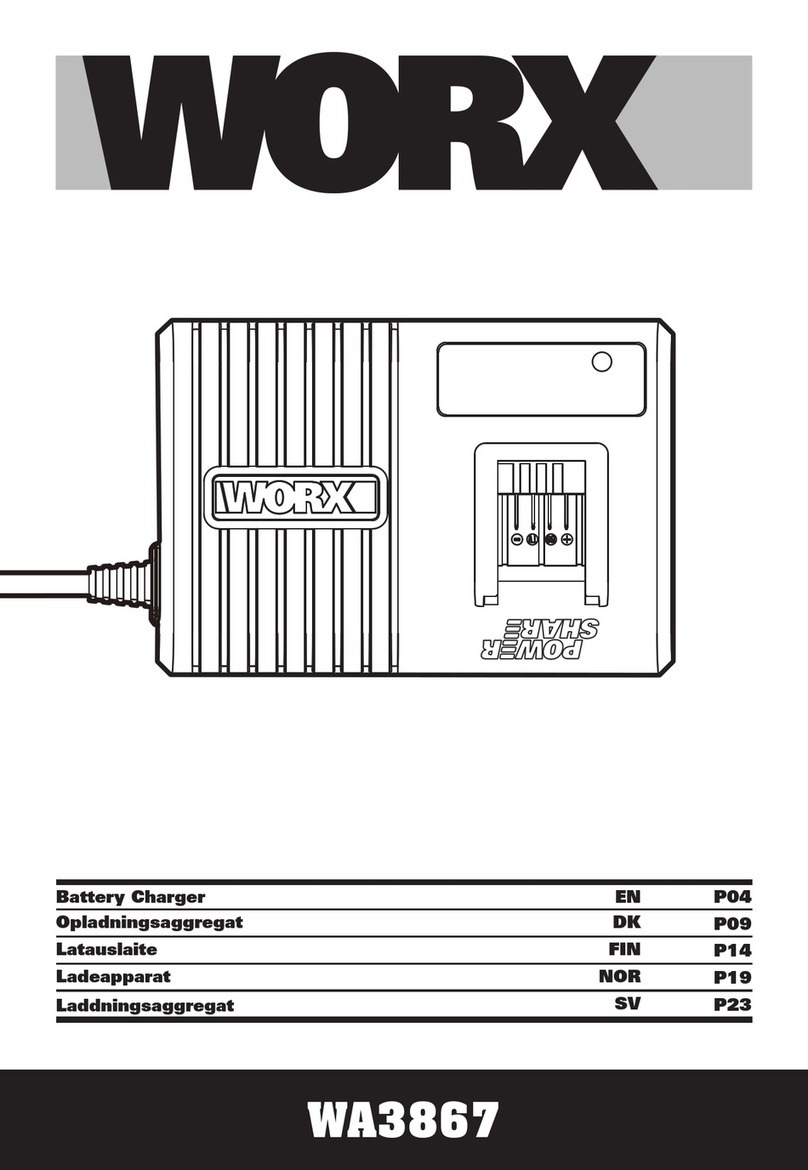
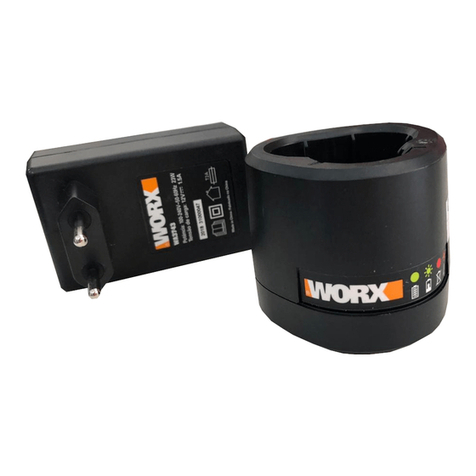
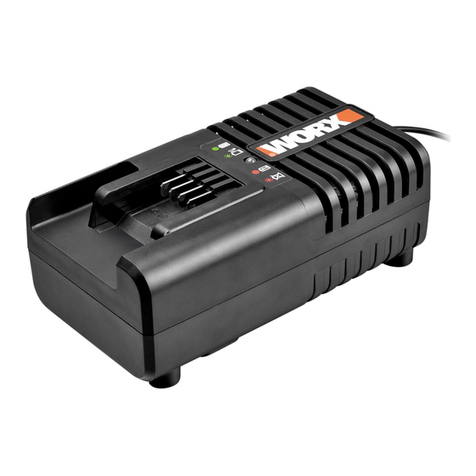
Worx WA3739 User manual

WA3739
Carregador de baterias PT P04
Battery Charger EN P09


3
2
1
5
4
2
2
1
1
2
A B

Carregador de baterias PT
4
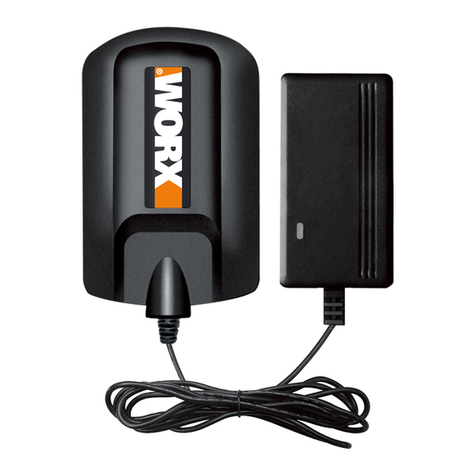
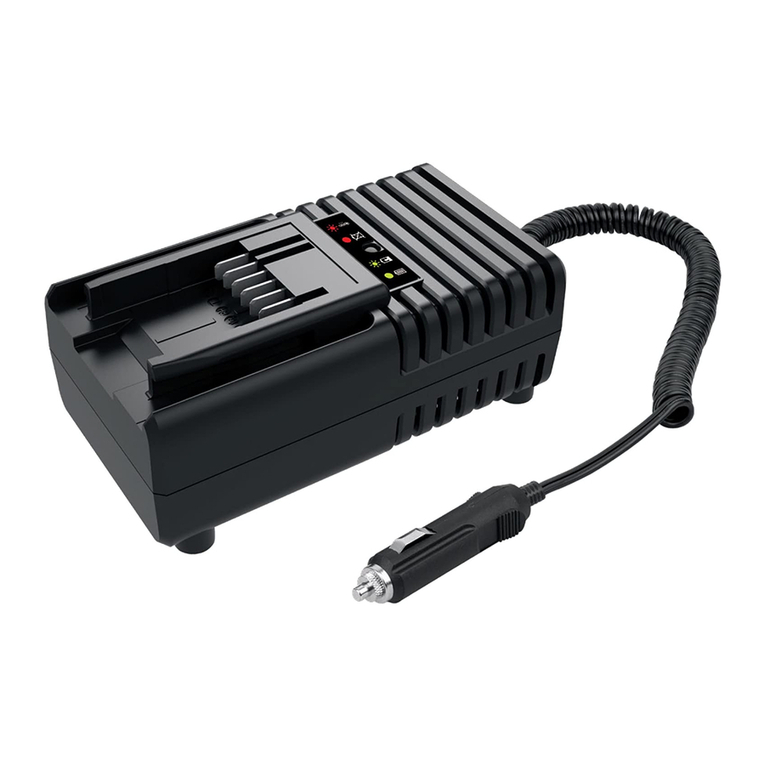
1. LED INDICADOR DE CARGA COMPLETA
2. CARREGADOR
3. BOTÃO DO CONJUNTO DE BATERIA
4. BATERIA
5. ADAPTADOR
Nem todos os acessórios ilustrados ou descritos são fornecidos em todas as
versões (consulte conteúdo informado na embalagem do produto).
Recomendamos que compre todos os acessórios no fornecedor onde tenha adquirido a
ferramenta. Utilize acessórios de boa qualidade e de marca conhecida. Escolha os acessórios de
acordo com o trabalho que tenciona executar. Para mais detalhes, consulte a embalagem deste.
DADOS TÉCNICOS
Voltagem calculada 100-240V~50/60Hz
Tensão de carga 20V
Corrente de carga 0.5A
Potência nominal 14W
Tempo de carregamento (aprox.) 3h
Conjunto de baterias Bateria de lítio
Peso de máquina 0.41 lbs

Carregador de baterias PT
5
INSTRUÇÕES DE
SEGURANÇA
ATENÇÃO! Leia atentamente as
seguintes instruções. A não observância
destas instruções pode causar choque elétrico,
incêndio e/ou lesões graves.
Guarde estas instruções para referência
futura.
- Este aparelho não se destina a ser
utilizado por pessoas (incluindo crianças)
com capacidades físicas, sensoriais ou
mentais limitadas, falta de experiência
ou conhecimento, a não ser que sejam
supervisionadas ou tenham sido instruídas
sobre o uso do aparelho por uma pessoa
responsável pela sua segurança.
- As crianças devem ser vigiadas para
garantir que não brincam com o aparelho.
Se o cabo de alimentação estiver danificado,
este deve ser substituído pelo fabricante,
seu agente autorizado ou pessoal técnico
qualificado para evitar qualquer situação de
perigo.
INSTRUÇÕES DE
SEGURANÇA ADICIONAIS
PARA O CARREGADOR
1. Leia estas instruções antes de proceder o
carregamento.
2. Após o carregamento, desligue o
carregador da tomada elétrica. A seguir,
desligue o carregador do chassis e da
bateria.
3. Não carregue uma bateria com fuga de
líquido (com vazamento).
4. Não utilize o carregador para qualquer
outro fim para além daquele para o qual o
mesmo foi concebido.
5. Ligue o carregador apenas a uma fonte de
alimentação a.c.
6. Apenas para utilização no interior, não
expor as baterias à chuva ou água.
7. O carregador deve ser protegido contra
qualquer contato com a humidade.
8. Não use o carregador em ambiente
externo.
9. Não provoque curto-circuito os contatos da
bateria ou do carregador.
10.Ao carregar a bateria tenha atenção aos
símbolos de polaridade “+/-“.
11. Não abra a unidade de bateria e
mantenha-a fora do alcance das crianças.
12.Não utilize este carregador para carregar
baterias de outros fabricantes.
13.Certifique-se de que a ligação entre o
carregador e a bateria foi feita de forma
correta não existindo qualquer obstrução
por parte de objetos estranhos.
14.Certifique-se de que as ranhuras do
carregador estão livres de objetos
estranhos e proteja-as contra qualquer
contato com sujeira ou humidade. Guarde
num local seco e sem gelo.
15.Ao carregar a bateria certifique-se de que
o carregador está num local bem ventilado
e longe de materiais inflamáveis. A bateria
pode aquecer durante o carregamento.
Não sobrecarregue a bateria.
Certifique-se de que durante o
carregamento a bateria e o carregador são
devidamente supervisionados.
16.Não tente carregar baterias que não são
recarregáveis uma vez que estas podem
sobreaquecer e avariar.
17. A vida útil da bateria e o desempenho
desta podem ser optimizados se a bateria
for carregada em temperaturas entre os
18oC e os 24oC. Não carregue a bateria em
temperaturas abaixo dos 4,5oC, ou acima
dos 40,5oC. Isto é importante pois evita
danos graves a bateria.
Carregador de baterias PT
6
SÍMBOLOS PROCEDIMENTO DE
CARREGAMENTO
NOTA: Antes de usar a ferramenta, leia
o livro de instruções cuidadosamente.
1. CARREGAMENTO DA BATERIA
AVISO: O carregador e o conjunto
de baterias são concebidos
especificamente para trabalhar em conjunto e,
por isso, não tente utilizar outros dispositivos.
A bateria de íons de lítio está protegida contra
um descarregamento total. Quando a bateria
fica sem carga, a ferramenta desliga-se graças
a um circuito de proteção. Desta forma, a
parafusadeira deixa de efetuar movimentos
de rotação.
AVISO: Quando a bateria fica sem
carga após uma utilização contínua ou
devido à exposição à luz solar direta ou a uma
qualquer fonte de calor, deixe a ferramenta
esfriar antes de proceder ao carregamento da
bateria.
2. ANTES DE UTILIZAR A FERRAMENTA
SEM FIO
O seu conjunto de baterias está
DESCARREGADO e é necessário carregar
uma vez antes o utilizar. Ao carregar uma
bateria nova ou uma que não tenha sido
utilizada por longos períodos de tempo, esta
apenas consegue atingir a carga completa
após vários ciclos de descarregamento e
carregamento mediante uma utilização normal.
3. COMO CARREGAR A BATERIA
(Ver A, B)
1 - Conecte o carregador de bateria à fonte de
alimentação e a luz (1) ficará verde.
2 - Posicione a bateria na base do carregador
(2) até ouvir um “clique”.
Luz vermelha: a bateria está carregando
Luz verde: a bateria está totalmente
carregada
3 - Quando a carga for concluída, desconecte
o carregador e remova a bateria..
NOTA: Este carregador foi concebido para
detectar problemas ao nível da bateria. (Ver
tabela seguinte.)
Leia o manual
Aviso
Apenas para utilização no interior
Classe de proteção
Fusível
T 2 A fusível de segurança com
corrente nominal de 2 A
Terminal positivo
Terminal negativo

Carregador de baterias PT
7
INDICADOR DE CARGA
Indicador
luminoso Indicação
Verde Continuo
Quando a bateria não
estiver no carregador
e o plugue estiver na
tomada e o carregador
está pronto para ser
utilizado.
A bateria está
completamente
carregada ou que a
temperatura da bateria é
superior à temperatura
de carga admissível.
Vermelho
Continuo
(Verde irá
transferir
imediatamente
para vermelho.)
carregando
IMPORTANTE:
1. O carregador não se desligará
automaticamente quando a bateria estiver
totalmente carregada. Não deixe a bateria
no carregador por longos períodos ou
constantemente. Isto poderá danificar a
bateria.
Nunca sobrecarregue nenhuma bateria
ATENÇÃO: Após utilizar a bateria
(ou o cortador) por longos períodos,
esta ficará quente. Quando isto acontecer,
deixe a bateria esfriar por um período
superior a 30 minutos antes de carregá-la.
2. Não carregue a bateria quando a
temperatura for superior a 40 graus C ou
inferior a 4OC.
3. Em ambientes quentes ou após uma
utilização intensa, a bateria pode ficar
muito quente o que não permite o seu
carregamento. Deixe a bateria esfriar
antes de a carregar.
Quando a bateria é carregada pela
primeira vez e após um armazenamento
prolongado, esta apenas pode ser
carregada em cerca de 60%. No
entanto, após vários carregamentos e
descarregamentos a bateria poderá ser
carregada a 100%.
4. Carregue a bateria por um período de 12
horas quando utilizada pela primeira vez!
5. O processo de recarregar a bateria leva
aproximadamente 3 horas. Quando o
processo de recarregar estiver completo,
retire o cabo elétrico da tomada.
ATENÇÃO: Perigo de choque elétrico.
Não deixe que nenhum tipo de líquido
entre em contato com o carregador ou a
bateria. Caso isto aconteça, há perigo de
choque elétrico.
PERIGO: Nunca tente abrir a bateria em
nenhuma circunstância por nenhum motivo.
Caso a carcaça plástica da bateria quebre ou
apresente qualquer tipo de avaria (rachadura)
não a utilize e encaminhe-a a um centro de
serviço autorizado WORX ou ligue para o
serviço de atendimento WORX.
RECOMENDAÇÕES PARA
ARMAZENAMENTO
1. O melhor local para armazenar a bateria
e o carregador é em um local seco, com
temperatura ambiente e sem incidência de
luz solar direta.
2. Caso a bateria não for utilizada por um
longo período, esta deverá ser guardada
em um local seguro e conforme acima.
Certifique se que a bateia tenha carga total
ou pelo menos 50% antes de guarda-la
por um longo período. A bateria deverá
ser guardada em local com temperatura
entre 18° e 24°C. A exposição da bateria
ao sol ou calor intenso causará danos
a mesma. Para preservar a bateria, esta
deverá ser carregada pelo menos uma vez
ao ano.

Carregador de baterias PT
8
MANUTENÇÃO
SOLUÇÃO DE PROBLEMAS
Sintoma Causa Solução
Verde Continuo,
Não está
carregando
A bateria não foi
(corretamente) colocado
Colocar a bateria corretamente no
carregador
Contatos do carregador ou
bateria sujos
Limpar os contatos, colocando
e retirando repetidamente o
acumulador, se necessário substituir o
acumulador
Bateria com defeito Substituir a bateria
A indicação de
carga da bateria
não se ilumina
O plugue do carregador
não está (corretamente)
introduzida
Introduzir o plugue (totalmente) na
tomada
Tomada, cabo de rede ou
carregador com defeito
Controlar a tensão de rede, se
necessário, permitir que o carregador
seja controlado por uma oficina de
serviço autorizada para ferramentas
elétricas Positec
1. NÃO SOU CAPAZ DE ENCAIXAR A BATERIA NO CARREGADOR PORQUÊ?
1) Verifique se o carregador e a bateria foram especificamente concebidos para funcionarem em
conjunto.
2. RAZÕES PARA TEMPOS DE CARGA DIFERENTES
O tempo de carga pode ser afetado por diversas razões, o que não significa qualquer deficiência
do equipamento.
1) Se o conjunto de baterias estiver descarregado apenas parcialmente, pode ser recarregado
em menos de 3 horas.
2) Se a bateria estiver fria e a temperatura ambiente for baixa, o carregamento pode demorar
horas.
3) Se o conjunto de baterias estiver muito quente não se inicia a recarga porque o dispositivo
de corte de segurança da temperatura interna assim o impede. Se o conjunto de baterias
estiver muito quente, deve removê-lo do carregador e deixá-lo esfriar primeiro à temperatura
ambiente e só depois pode iniciar o carregamento.
NOTA: Retire o cabo de alimentação da tomada antes de efetuar quaisquer ajustes, reparos ou
manutenção.
A sua ferramenta não requer qualquer lubrificação ou manutenção adicional. Nunca utilize água
ou produtos químicos para limpar a sua ferramenta. Limpe-a com um pano macio. Guarde
sempre a sua ferramenta num local seco.

Battery Charger EN
9
1. CHARGE INDICATOR LIGHT
2. CHARGER BASE
3. BATTERY PACK RELEASE BUTTON
4. BATTERY PACK
5. ADAPTER
Not all the accessories illustrated or described are included in standard delivery.
We recommend that you purchase your accessories from the same store that sold you the tool.
Use good quality accessories marked with a well-known brand name. Choose the type according
to the work you intend to undertake. Refer to the accessory packaging for further details. Store
personnel can assist you and offer advice.
TECHNICAL DATA
Charger voltage 100-240V~50/60Hz
Output 20V
Charging current 0.5A
Rated power 14W
Charging time (approx.) 3h
Battery type Lithium battery
Machine weight 0.41 lbs

Battery Charger EN
10
GENERAL SAFETY
WARNINGS
WARNING! Read all safety warnings
and all instructions. Failure to follow
the warnings and instructions may result in
electric shock, fire and/or serious injury.
Save all warnings and instructions for
future reference.
- This appliance is not intended for use by
persons (including children) with reduced
physical, sensory or mental capabilities,
or lack of experience and knowledge,
unless they have been given supervision
or instruction concerning use of the
appliance by a person responsible for
their safety.
- Children should be supervised to ensure
that they do not play with the appliance.
If the supply cord is damaged, it must be
replaced by the manufacturer, its service
agent or similarly qualified persons in order to
avoid a hazard.
ADDITIONAL SAFETY
INSTRUCTIONS FOR YOUR
BATTERY CHARGER
1. Before charging, read the instructions.
2. After charging, disconnect the battery
charger from the supply mains.Then
remove the chassis connection and then
the battery connection.
3. Do not charge a leaking battery.
4. Do not use chargers for works other than
those for which they are designed.
5. Before charging, ensure your charger is
matching the local AC supply.
6. For indoor use, or do not expose to rain.
7. The charging device must be protected
from moisture.
8. Do not use the charging device in the
open.
9. Do not short out the contacts of battery or
charger.
10. Respect the polarity “+/-“ when charging.
11. Do not open the unit and keep out of the
reach of children.
12. Do not charge the batteries of other
manufactures or ill-suited models.
13. Ensure that the connection between the
battery charger and battery is correctly
positioned and is not obstructed by
foreign bodies.
14. Keep battery charger’s slots are free of
foreign objects and protect against dirt
and humidity. Store in a dry and frost-free
place.
15. When charging batteries, ensure that the
battery charger is in a well-ventilated area
and away from inflammable materials.
Batteries can get hot during charging.
Do not overcharge any batteries. Ensure
that batteries and chargers are not left
unsupervised during charging.
16. Do not recharge non-rechargeable
batteries, as they can overheat and break.
17. Longer life and better performance can
be obtained if the battery pack is charged
when the air temperature is between 18oC
and 24oC. Do not charge the battery pack
in air temperatures below 4.5oC, or above
40.5oC.This is important as it can prevent
serious damage to the battery pack.

Battery Charger EN
11
SYMBOLS CHARGING PROCEDURE
NOTE: Before using the tool, read the
instruction book carefully.
1. CHARGING YOUR BATTERY PACK
WARNING: The charger and battery
pack are specifically designed to work
together so do not attempt to use any other
devices.
The Li-Ion battery is protected against deep
discharging. When the battery is empty,
the machine is switched off by means of a
protective circuit.
WARNING: When battery charge runs
out after continuously use or exposure
to direct sunlight or heat, allow time for
the tool to cool down before re-charging to
achieve the full charge.
2. BEFORE USING YOUR CORDLESS
TOOL
Your battery pack is UNCHARGED and you
must charge once before use. When you
charge the new battery or one which has not
been used for long periods of time, it may
not reach full charge until after you have
discharged it fully in use and recharge it
several times.
3. HOW TO CHARGE YOUR BATTERY
PACK (See Fig. A, B)
1 - Connect the battery charger to the power
supply and the light (1) will turn green.
2 - Push battery into charger base (2) until a
“click” sound is heard.
Red light: Battery is charging
Green light: Battery is fully charged
3 - When charging is completed, unplug the
charger and remove the battery pack.
NOTE: This charger is designed to detect
some problems that can arise with battery
pack.
Read the operator’s manual
Warning
For indoor use only
Double insulation
Fuse
T 2 A long time lag fuse with rated
current of 2 A
Positive terminal
Negative terminal

Battery Charger EN
12
CHARGE INDICATOR LIGHT GUIDE
Light Status
Green ON
Charger is plugged into
the socket without the
battery inserted.
Battery is either
fully charged or the
temperature of the
battery is too high or too
low and is not within the
permisable temperature
range (less than 0℃
or more than 45℃) for
charging to take place.
Red ON
(Green will
transfer to red
directly without
delay.)
Charging
NOTE:
1. The charger will not automatically switch
off when the battery is full charged. Do not
leave your battery on charge continuously.
This may damage the battery cells.
Do not overcharge any batteries.
WARNING: After long usage the
battery will become hot. Let the hot
battery cool down for at least 0.5 hour
before recharging.
2. Do not charge a battery when it too hot or
the air temperature is blew 4oC.
3. In a warm environment or after heavy use,
the battery pack may become too hot to
permit charging. Allow time for the battery
to cool down before recharging.
When the battery is charged for the first
time and after prolonged storage, the
battery will only accept approximately
60% charge. However, after several charge
and discharge cycles the battery will
accept a 100% charge.
4. It must be charged for 12 hours before
using the first time!
5. The normal charging time lasts about
3 hours. When charging is completed,
unplug the charging plug form the wall
socket.
WARNING: Shock hazard. Don’t allow
any liquid to get inside charger. Electric
shock may be the result.
CAUTION: Never attempt to open the battery
pack for any reason. If the plastic housing of
the battery pack breaks or cracks, return to a
service center for recycling.
STORAGE RECOMMENDATIONS
1. The best storage place is one that is cool
and dry away from direct sunlight and
excess heat or cold.
2. If the battery pack will not be used for
a long time, it is best to make sure it is
properly stored. Make sure it is half or
fully charged before storing.The battery
should be stored in an area that maintains
a temperature of approximately 65°F and
75°F (18°- 24°C). Long term exposures to
hot temperatures are hazardous to the
battery packs life. Additionally, the battery
pack should be charged at least once a
year.

Battery Charger EN
13
MAINTENANCE
TROUBLESHOOTING GUIDE – Problems and Solutions
Problem Possible Cause Solution
Green ON, but
battery does not
charge when
inserted into the
charger
Battery is not inserted into the
charger properly
Slide the battery into the charger
properly
Battery contacts are not
connecting properly
Remove any debris from the battery
contacts (try inserting and removing
the battery several times) or replace
the battery
Defective Battery Replace the battery
No light
(Neither the red
or green light
illuminates)
Battery charger plug is not
properly connected to power
supply
Insert the main plug of battery charger
fully into the electrical outlet
Electrical outlet, battery
charger cable, or battery
charger is defective
Check the voltage; have the battery
charger checked by our service agent
or a similarly qualified person
1. I CANNOT FIT THE BATTERY INTO THE BATTERY CHARGER. WHY?
1) Check if the charger and the battery pack are specifically designed for working together.
2. REASONS FOR DIFFERENT CHARGING TIMES
The charging time can be affected by many reasons which are not defects in your product.
1) If the battery pack is only partly discharged it may be re-charged in less than 3 hours.
2) If the battery pack and ambient temperature are very cold then re-charging may take more
hours.
3) If the battery pack is very hot you must remove your battery pack from the charger and allow
your battery pack to cool first to ambient temperature and then recharging can be started.
NOTE: The charging time can be affected by many reasons which do not indicate defects in your
product.
Remove the plug from the electrical socket before carrying out any adjustment, servicing or
maintenance.
Your tool requires no additional lubrication or maintenance. Never use water or chemical
cleaners to clean your tool. Wipe clean with a dry cloth. Always store your tool in a dry place.


Copyright © 2013, Positec. All Rights Reserved.
2CGT09APK11002A0
Table of contents
Languages:
Other Worx Batteries Charger manuals

Worx
Worx WA3770 User manual

Worx
Worx PowerShare WA3772 Installation manual

Worx
Worx PowerShare WA3772 User manual

Worx
Worx WA3867 User manual

Worx
Worx WA3765 Installation manual

Worx
Worx WA3867 Installation manual

Worx
Worx WA3845 User manual

Worx
Worx WA3877 User manual

Worx
Worx WA3859 User manual

Worx
Worx WA3744 User manual
Popular Batteries Charger manuals by other brands

Vetus
Vetus BC15 B Operation manual and installation instructions

Toro
Toro Flex-Force Power System 81802 Operator's manual

Festool
Festool MCU 15 Original operating manual/spare parts list

nedis
nedis FSCSPD100BK quick start guide

Sima
Sima UDC-1 user guide

Accelleron
Accelleron Turbocharger A131-R Assembly instructions