manuals.online logo
Brands
  1. Home
  2. •
  3. Brands
  4. •
  5. Yealink
  6. •
  7. IP Phone
  8. •
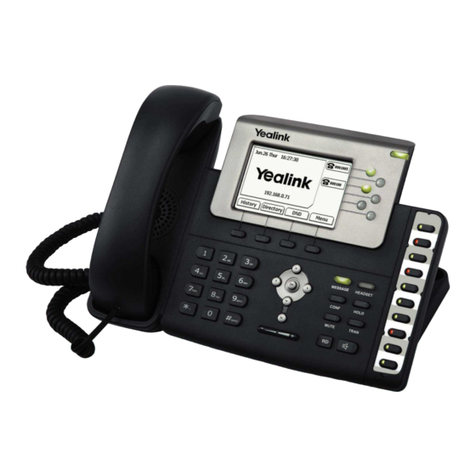
  9. Yealink Yealink SIP-T26P User manual

Yealink Yealink SIP-T26P User manual

Other manuals for Yealink SIP-T26P

16

Other Yealink IP Phone manuals

Yealink SIP-T33G Application guide

Yealink

Yealink SIP-T33G Application guide

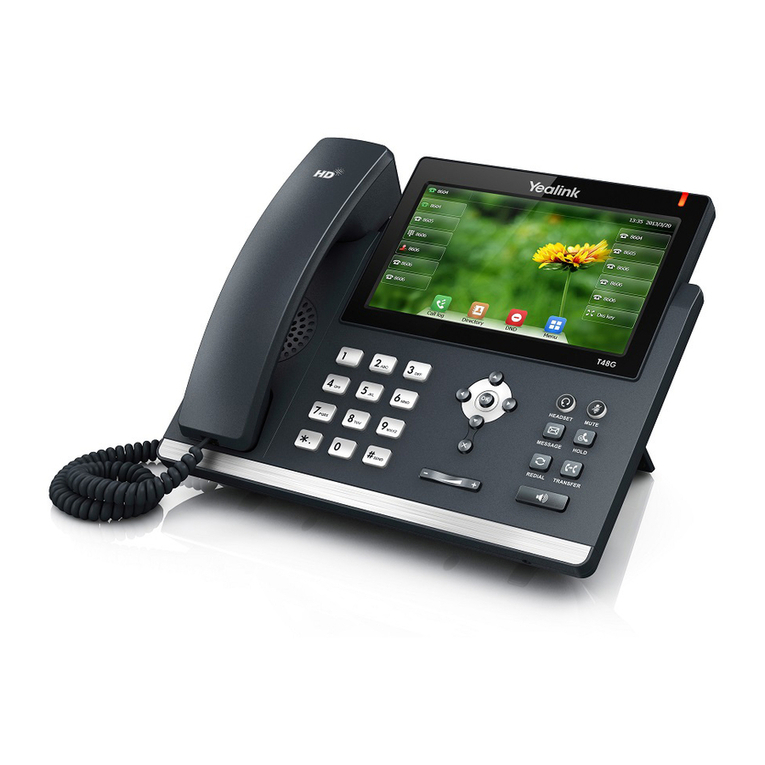
Yealink Yealink SIP-T48G User manual

Yealink

Yealink Yealink SIP-T48G User manual

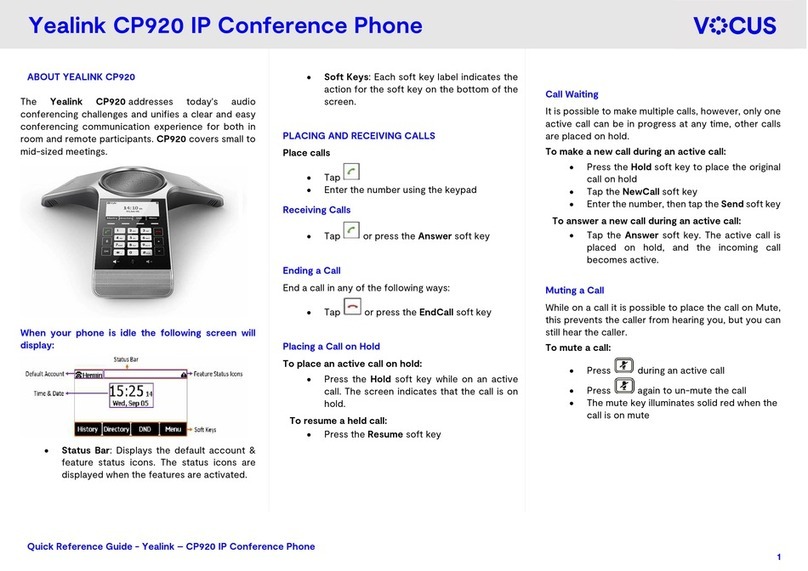
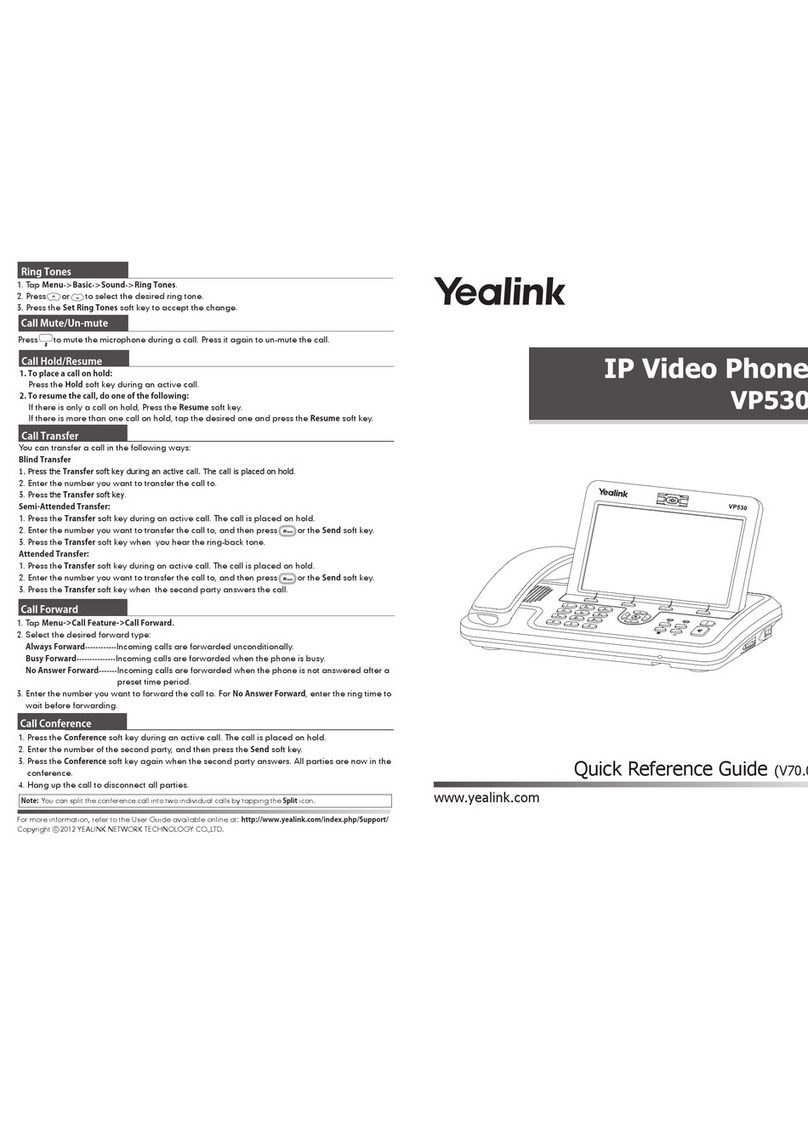
Yealink VP530 User manual

Yealink

Yealink VP530 User manual

Yealink SIP-T23P User manual

Yealink

Yealink SIP-T23P User manual

Yealink SIP-T32G User manual

Yealink

Yealink SIP-T32G User manual

Yealink SIP-T2 Series User manual

Yealink

Yealink SIP-T2 Series User manual

Yealink SIP-T48S User manual

Yealink

Yealink SIP-T48S User manual

Yealink TR-069 User manual

Yealink

Yealink TR-069 User manual

Yealink Yealink SIP-T42G User manual

Yealink

Yealink Yealink SIP-T42G User manual

Yealink SIP-T41S User manual

Yealink

Yealink SIP-T41S User manual

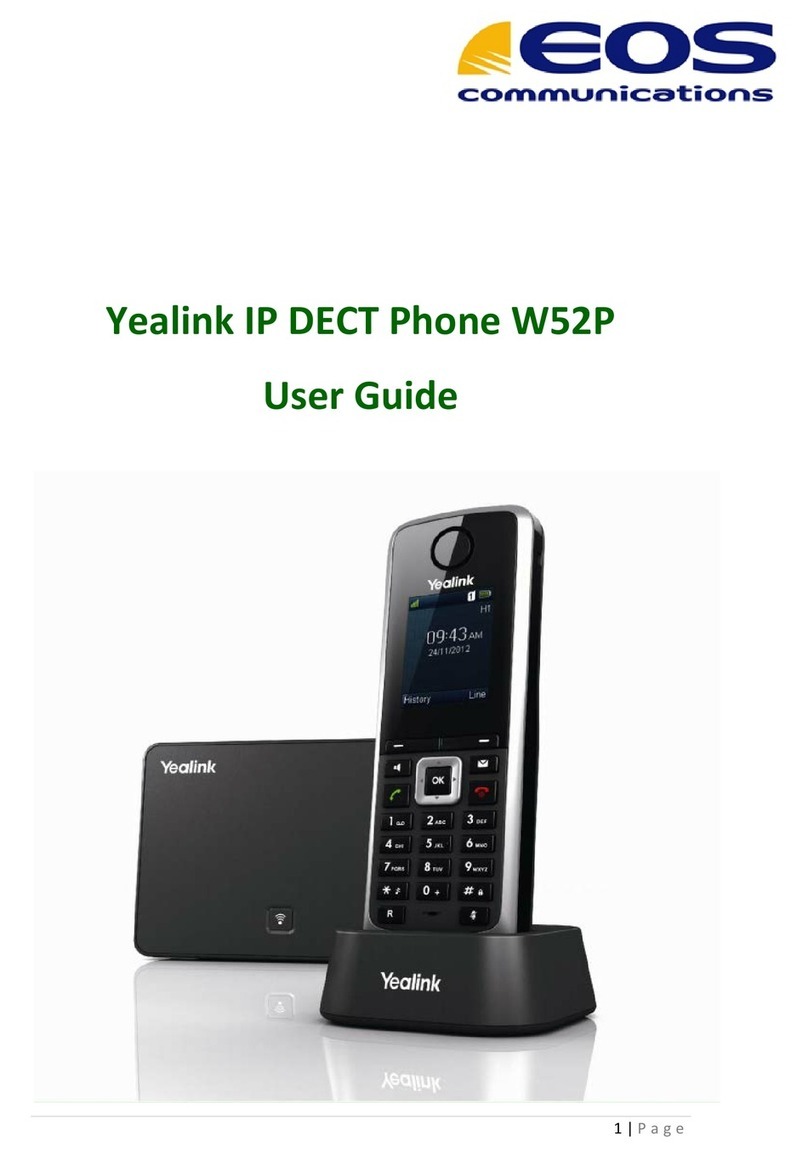
Yealink Telkom W52P User manual

Yealink

Yealink Telkom W52P User manual

Yealink Yealink SIP-T48G User manual

Yealink

Yealink Yealink SIP-T48G User manual

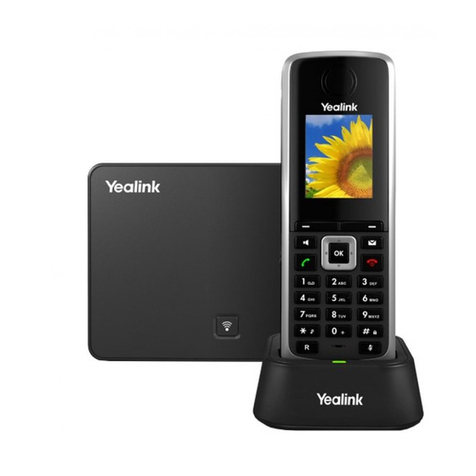
Yealink W53 Series User manual

Yealink

Yealink W53 Series User manual

Yealink Yealink SIP-T46G User manual

Yealink

Yealink Yealink SIP-T46G User manual

Yealink Yealink SIP-T20P User manual

Yealink

Yealink Yealink SIP-T20P User manual

Yealink W56P Telesystem User manual

Yealink

Yealink W56P Telesystem User manual

Yealink T53W User manual

Yealink

Yealink T53W User manual

Yealink T57W User manual

Yealink

Yealink T57W User manual

Yealink SIP-T32G User manual

Yealink

Yealink SIP-T32G User manual

Yealink T41P Skype User manual

Yealink

Yealink T41P Skype User manual

Yealink T46S Skype for Business User manual

Yealink

Yealink T46S Skype for Business User manual

Yealink Yealink SIP-T46G Instruction manual

Yealink

Yealink Yealink SIP-T46G Instruction manual

Yealink T42 User manual

Yealink

Yealink T42 User manual

Yealink W73P User manual

Yealink

Yealink W73P User manual

Popular IP Phone manuals by other brands

Cortelco C62 VoIP Phone user guide

Cortelco

Cortelco C62 VoIP Phone user guide

VanillaIP Polycom IP300 user manual

VanillaIP

VanillaIP Polycom IP300 user manual

Viking SR-IP product manual

Viking

Viking SR-IP product manual

Panasonic KX-UT133-B Administrator's guide

Panasonic

Panasonic KX-UT133-B Administrator's guide

Avaya one-X 9600 Series overview

Avaya

Avaya one-X 9600 Series overview

AVA Enterprises B179 Installation and administration guide

AVA Enterprises

AVA Enterprises B179 Installation and administration guide

Cisco Unified 7900 Series System guide

Cisco

Cisco Unified 7900 Series System guide

Polycom SoundPoint IP 450 datasheet

Polycom

Polycom SoundPoint IP 450 datasheet

Cisco SPA-500 Series user guide

Cisco

Cisco SPA-500 Series user guide

IPitomy IP290 user manual

IPitomy

IPitomy IP290 user manual

Polycom SoundPoint IP 650 user guide

Polycom

Polycom SoundPoint IP 650 user guide

Proximus Maestro 3016 IP quick start guide

Proximus

Proximus Maestro 3016 IP quick start guide

Polycom IP 450 user guide

Polycom

Polycom IP 450 user guide

Fanvil X4 user manual

Fanvil

Fanvil X4 user manual

Snom 320 quick start guide

Snom

Snom 320 quick start guide

Avaya Integral 5 R3.0 user guide

Avaya

Avaya Integral 5 R3.0 user guide

Nortel 1140E Getting started

Nortel

Nortel 1140E Getting started

Nexotek NT-P500 user manual

Nexotek

Nexotek NT-P500 user manual

manuals.online logo
manuals.online logoBrands
  • About & Mission
  • Contact us
  • Privacy Policy
  • Terms and Conditions

Copyright 2025 Manuals.Online. All Rights Reserved.

Sub-Menu
Status
Accounts
Network
Features
Settings
Message
History
Directory
You can check the status of your IP phone: IP address, MAC address,
Firmware version, Account information, etc.
You can check and configure the accounts information including the name,
password, SIP Proxy, STUN Status, etc.
It shows a summary of network-related parameters for your phone,
such as WAN/LAN port option, VLAN option.
Some advanced phone configuration can be customized in this sub-menu:
Forward, Call Waiting, Auto Answer, DSS Keys.
Some Basic settings can be customized in this sub-menu: Language,
Time, Ring Tone, Phone Volume, Reset to Factory.
It allows the users to check and edit the voice mail and SMS.
You can check the call history here: All calls, Dial Calls, Received Calls,
Missed Calls, Forwarded Calls.
It shows the contact list of the phone.
Description
Press Tran Button or Transfer softkey during the active conversation, the call will be on hold,
there will be a dial tone. Dial the second telephone number
Hang up to complete the transfer
You will be disconnected from the call
There are two ways to transfer a call: Blind Transfer and Attended Transfer.
Blind Transfer:
Press Tran button or Transfer softkey during the active conversation, the call will be on hold,
there will be a dial tone. Dial the second telephone number
When the phone is answered, you can have a private conversation without the first person
hearing it, then hang up to complete the transfer
You will be disconnected from the call
Press the following softkeys: Menu->Features->Enter->Forward->Enter
There are 5 options: Always Forward, Busy Forward, No Answer Forward, Busy/No Answer
Forward, Cancel Forward
If you choose one of them(except Cancel Forward), you need to enter the number you want
to forward your calls to. Press Save to save the changes
You can use the Menu on the phone to adjust and customize the phone settings.
Attended Transfer:
Call Transfer
Call Forward
Press the Conf softkey during an active call
The first call is placed on hold. You will hear a dial tone. Dial the number to conference in,
then press the Send softkey
When the call is answered, the conference call will now include you and the other two parties
Hang up to disconnect all parties
Conference Call
Enterprise IP Phone
www.yealink.com
SIP-T26P
Quick Reference

Step 2: Press an available line button if there is more than one account, then
Dial the number you want to call, or
Press the Directory softkey, use the navigation button to highlight your choice, or
Press History softkey, use the navigation button to highlight your choice (press Left/
Right button to chose All Calls, Missed Calls, Dialed Calls, Received Calls and Forwarded
Calls) or
Press the RD button to call the last number called
LEDs
Basic Phone Functions
Making a call
Answering a call
Table 1 Programmable Keys as Call /Line Appearance Buttons
Step 1: Choose one of the following devices:
Lift the handset
Press the Speaker button
Press the Headset button if the headset is connected to the Headset Port in advance
Dial the number directly, in this case the conversation will be in Speaker Mode
Table 2 Account Button LEDs
Table 3 Power Indication LED
LED Status
Speaker
DTMF Keypad
Navigation Key
Context-sensitive
Softkeys Conference
Account Button
Headset
Hold
Programmable
Keys
Transfer
Hands-free
Volume
Adjustment Bar
Mute
Redial
Message
Steady green
Slow blinking red
Steady red
Fast blinking red
Off
Call/line appearance is in idle status
Call/line appearance is ringing
Call/line appearance is active
Call/line appearance is not available
It is not active as Call/Line apperance buttons
Description
LED Status
Steady green
Blinking green
Off
The account is active
There is an incoming call to the account
The phone is in idle status whether registered/unregistered
Description
LED Status
Steady green
Off
Power on
Power off
Description
Answering an incoming call in the following ways:
If you are not on another phone, lift the handset or press the Speaker
button/ Answer softkey to answer using the speakerphone, or press the Headset
button to answer using the headset
If you are on another call, press the answer softkey
Press the Mute button to mute the call, press the button again to cancel
Step 3: press the Send button or Send softkey to make the call out
Note: If you dial the number directly in Step 1, you can ignore Step 2 and go straightly to Step 3. During the
conversation, you can swift between Headset, Handset and Speakerphone by pressing the corresponding button
or lifting the handset.
Muting a Call
During the call, you can press the volume adjustment bars to adjust the volume
Volume Adjustment
Press the Hold button or Hold softkey to put your active call on hold
If there is only one call on hold, press the Resume softkey or Hold button to retrieve the call
If there are more than one call on hold, press the line button, press the Up/Down button to
highlight the call, press the Resume softkey or Hold button to retrieve the call
Putting a Call on Hold
Speed dial numbers must already be set into the phone, please check the relating content in the
user manual for more details
Press the DSS Keys which has been set as Speed Dial button, the entry in the speed dial list
assigned in advance will be dialed automatically
Speed Dial
Power Indication
LED