G3000
Air-Carbon
Arc Gouging Torch
Maximum 600 Amps
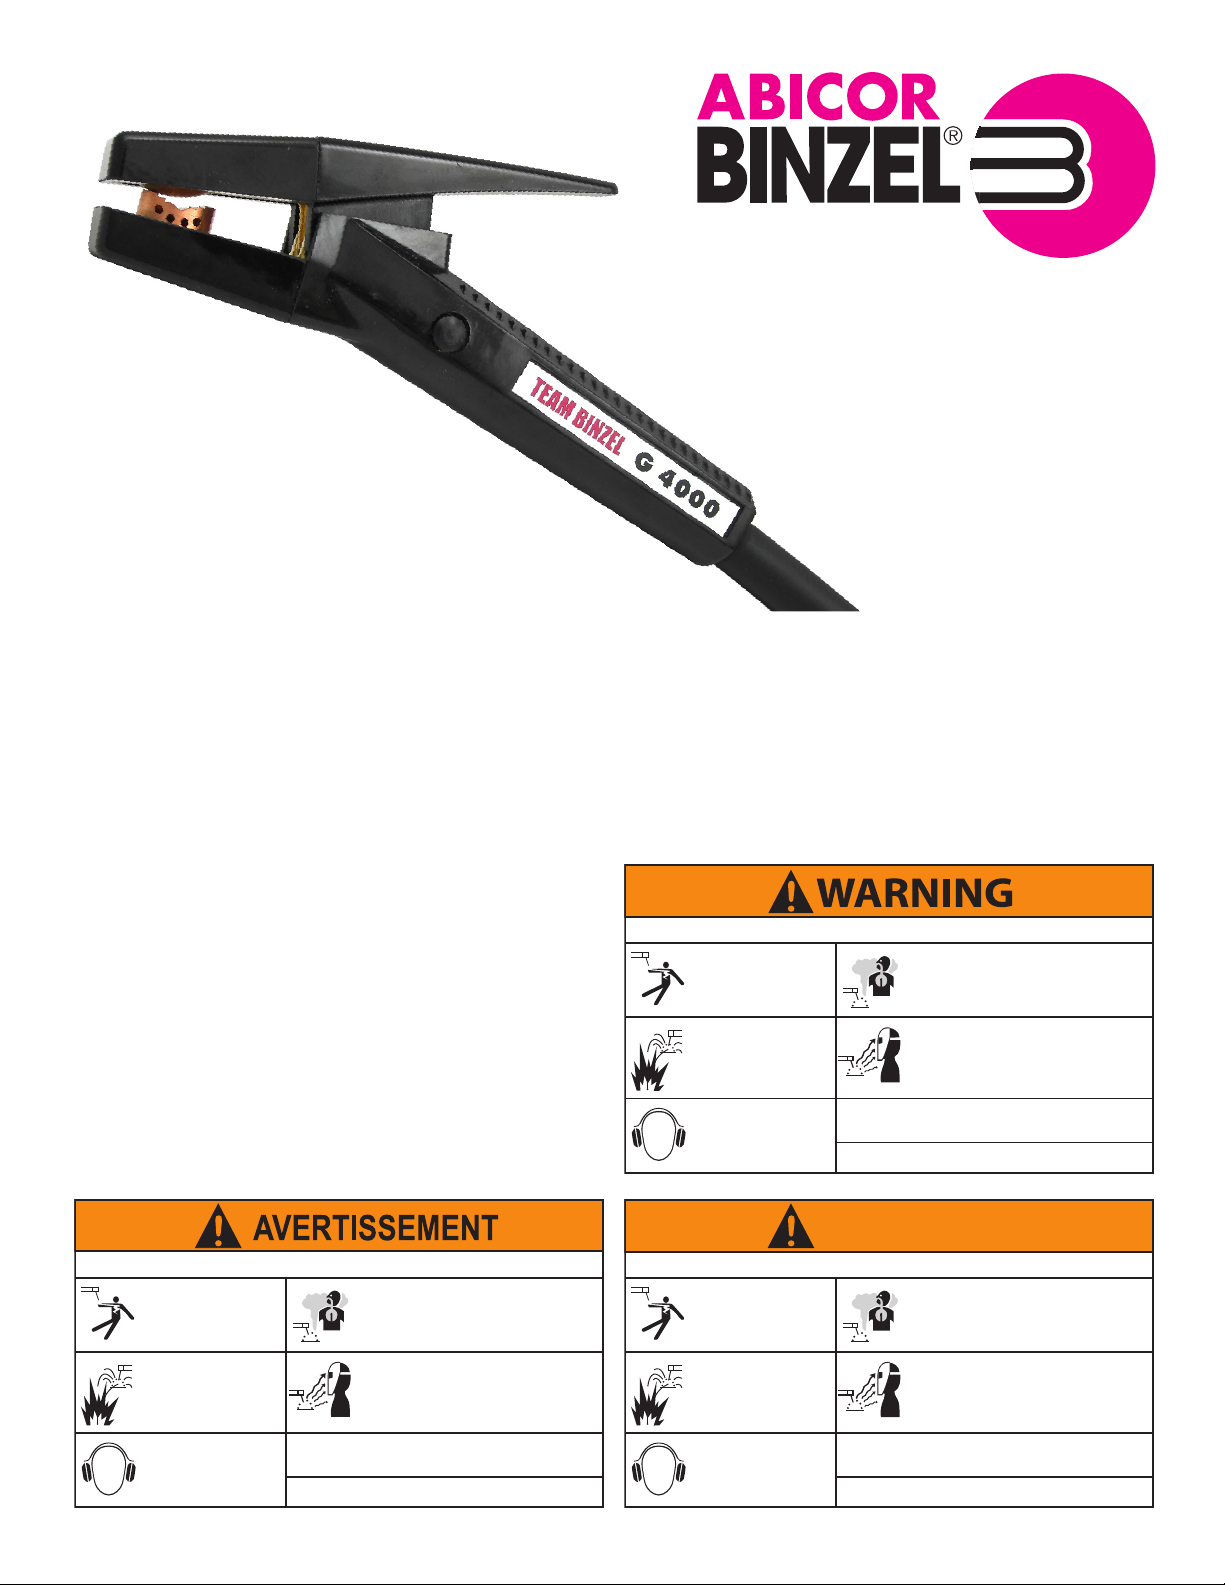
G4000
Air-Carbon
Arc Gouging Torch
Maximum 1000 Amps
Warnings and Safety,
Parts Breakdown,
Hook-up Procedure,
Specications and
Operation
SAFETY AND OPERATING REFERENCES
Code of Federal Regulations (OSHA) Section 29 part 1910.95, 132, 133,•
134, 139, 251, 252, 253, 254, and 1000
U.S.GovernmentPrintingOfce,Washington,DC20402
ANSIZ49.1“SafetyinWeldingandCutting”• ANSI Z87.1 “Practice for Occupational and Educational Eye and Face• Protection”
ANSIZ88.2“StandardPracticesforRespiratoryProtection”American• National Standards Institute, 1430 Broadway, New York, NY 10018
AWSC5.3“RecommendedPracticesforAirCarbon-ArcGougingand• Cutting”
AWSF4.1RecommendedSafePracticesforWeldingandCuttingCon-• tainers”TheAmericanWeldingSociety,550NWLejeuneRd,P.O.Box
351040,Miami,FL33135
NFPA51B“FirePreventioninCuttingandWeldingProcesses”•
National Fire Protection Association, Battery Park, Quincy, MA 02269
CSAStandardW117.2“SafetyinWelding,CuttingandAlliedProcesses”• CanadianStandardsAssociation,178RexdaleBlvd.,Rexdale,Ontario,
CanadaM9W1R3
Lire American National Standard Z49.1, “Safety in Welding, Cutting, and Allied Processes,"
Disponible au American Welding Society, 550 N.W. LeJeune Rd., Miami, FL 33126;
OSHA Safety and Health Standards, Disponible au U.S.Government Printing Office,
Washington, DC 20402
Lire et suivre les instructions du fabricant, les pratiques de votre employeur et les fiches signalétiques.
Seulement le personnel qualifié devrait installer, utiliser ou entretenir ce matériel et/ou cet équipement
UN CHOC ELECTRIQUE peut tuer..
• Porter toujours des gants secs et isolants.
• Ne jamais toucher une électrode ou des pièces
électriques sous tension.
• Mettre la soudeuse hors tension avant de
remplacer l’électrode et les pièces de torche.
LES ÉTINCELLES DE SOUDAGE peuvent causer
un incendie ou une explosion.
• Ne pas souder à proximité de matériaux
inflammables
• Ne pas souder sur des récipients fermés.
• Enlevez les matériels combustibles du lieu de travail
• Evitez des vêtements enduits de graisse ou d’huile
car une étincelle peut l’enflammer
LE BRUIT peut endommager l’ouïe
• Toujours porter un appareil de protection
auditioire si le bruit excédent les limites
spécifiées par l’OSHA.
LES FUMÉE ET LES VAPEURS DE GAZ peuvent être dangereuses pour la santé
• Eloigner la tète des endroits renfermant des vapeurs
• Assurez une ventilation suffisante ou aspirer les fumée et les vapeurs de gaz à la source
pour les maintenir hors de votre aire de travail et sous les limites permissibles
• La fumée causer par la soudure et le coupage peut réduire la qualité de l’air et
causer des blessures ou la mort. Toujours utiliser un appareil respiratoire à
alimentation d’air dans les zones confinées ou si l’air n’est pas sécuritaire
LE RAYONNEMENT DE L’ARC peut blesser les yeux et brûler la peau.
• Toujours porter l’équipement de protection pour des yeux, des oreilles et du corps.
• Toujours porter un casque de soudage muni d’un filtre de protection oculaire approprié.
• Protégez-vous ainsi que les autres contre les éclaboussures des rayons d'éclat d'arc en
utilisant des écrans, des barrières et des couvertures de soudure.
• Toujours porter des gants de protection ainsi que les vêtements de protection pour couvrir
la peau exposée. Cela aidera dans la prévention des brûlures causées par le
rayonnement de l’arc et les éclaboussures.
Lea y siga las instrucciones del fabricante, las prácticas seguras de su compañía y los datos de las Hojas de Seguridad del
Producto. Solo personal calificado debe instalar, usar o dar servicio a este material y/o equipo.
LOS RAYOS DELARCO pueden dañar sus ojos y quemar su piel.
• Siempre use la protección coreecta de vista, oído y cuerpo
• Siempre use una careta de soldadura con la sombra apropiada.
Protéjase a usted y a otros de los rayos del arco y de la escoria usando
pantallas protectoreas, barreras y cortinas para soldadura.
• Siempre use guantes protectores y ropa para cubrir la piel expuesta. Esto
ayudará en la prevención de quemaduras por arco y escoria.
HUMOS Y GASES pueden ser dañinos para su salud.
• Mantenga su cabeza fuera de los humos.
• Use suficiente ventilación o extracción desde el arco para evitar que los
humos y gases lleguen a su zona de respiración y área en general.
• Los humos de la soldadura y corte pueden terminar con la calidad del
aire, causar lesiones o la muerte. Siempre use un respirador en áreas
confinadas o si el aire que se respira no es seguro
CHOQUES ELECTRICOS pueden matar
• Siempre use guantes secos aislantes.
• No toque partes eléctricamente cargadas
• Siempre desconecte la fuente de poder
antes de instalar o cambiar electrodos,
boquillas y otras partes
CHISPAS DE SOLDADURA pueden causar
fuego o explosión.
• No suelde cerca de material flamable.
• No suelde en lugares cerrados.
• Retire combustibles del área de trabajo y/o
coloque un detector de incendio.
• Evite ropa con aceite o grasa pues una
chispa puede encenderlas.
RUIDO ALTO puede dañar el oído.
• Siempre use aparatos protectores de oído
para asegurar protección cuando los
niveles de ruido excedan los estándares
OSHA
Lea el Estándar Nacional Americano Z49.1, “Safety in Welding, Cutting,
and Allied Processes," disponible en la Sociedad Americana de Soldadura,
550 N.W. LeJeune Rd., Miami, FL 33126; los Estándares de Seguridad y Salud OSHA,
disponibles en la Oficina de Impresión del Gobierno de E.U., Washington, DC 20402
CUIDADO
Read and follow the manufacturer's instructions, employer's safety practices and Material Safety Data Sheets (MSDS).
Only qualified personnel should install, use or service this material and or equipment.
ELECTRIC SHOCK can kill.
•Always wear dry insulating gloves.
• Do not touch live electrical parts.
•Always disconnect power source
before hooking up or changing
electrodes, nozzles and other parts.
WELDING SPARKS can cause fire or
explosion.
• Do not weld near flammable material.
• Do not weld on closed containers.
• Remove combustibles from the work
area and / or provide a fire watch.
•Avoid oily or greasy clothing as a
spark may ignite them.
FUMES AND GASES can be hazardous to your health.
• Keep your head out of the fumes.
• Use enough ventilation or exhaust at the arc to keep fumes
and gases from your breathing zone and the general area.
• Fumes from welding and cutting can deplete air quality, cause
injury or death. Always wear an air supplied respirator in
confined areas or if breathing air is not safe.
ARC RAYS can injure eyes and burn skin.
•Always wear correct eye, ear and body protection.
•Always wear a welding helmet with the proper grade filter lens.
Protect yourself and others from spatter arc flash rays by using
protective screens, barriers and welding curtains.
•Always wear protective gloves and clothing to cover exposed
skin. This will aid in the prevention of arc and splatter burns.
LOUD NOISE can damage hearing.
•Always wear protective hearing
devices to ensure protection when
noise levels exceed OSHA
standards.
Read American National Standard Z49.1, "Safety in Welding, Cutting, and Allied
Processes," available from American Welding Society, 550 N.W. LeJeune Rd.,
Miami, FL 33126; OSHA Safety and Health Standards, available from U.S.
Government Printing Office, Washington, DC 20402.
ABICOR BINZEL CORP. • 650 Medimmune Ct., Suite 110, Frederick, MD 21703 • 301-846-4196 • FAX: 301-846-4407 • 800-542-4867 • www.abicorusa.com


