manuals.online logo
Brands
  1. Home
  2. •
  3. Brands
  4. •
  5. Alarmtech
  6. •
  7. Security Sensor
  8. •
  9. Alarmtech GD 375 Instruction Manual

Alarmtech GD 375 Instruction Manual

GD 375 Instruction Manual 4-GD375-01
© 2016 Alarmtech Rev. GD375_1611en Page 1 of 3
Detectors
Passive glass break detector
Datasheet and Instruction Manual GD 375
DESCRIPTION
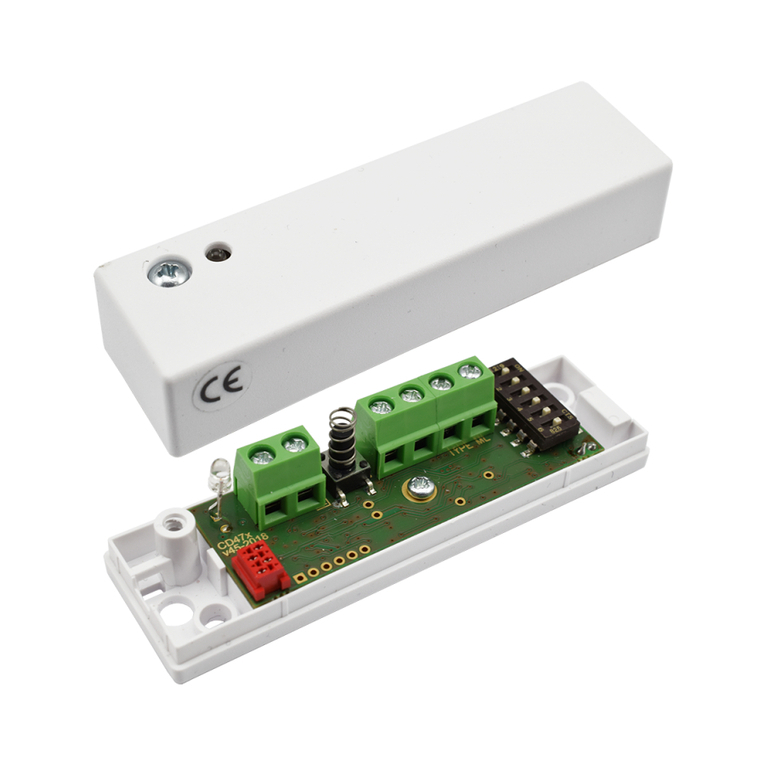
GD 375 is a passive glass break detector glued on to the glass surface. Together with interface IU 400 it forms a Grade 3 security
system according to EN 50131-2-7-2 to detect an attack against float glass and laminated glass with smashing with blunt force or
cutting or drilling with diamond tools. Application areas are shop-windows, glass sliding doors, standard windows and other
vulnerable glass surfaces in public areas and private homes.
FEATURES
 Detects break of glass and cutting or drilling with diamond tools
 Very resistant to disturbances on the glass
 Build in self test
 No sensitivity adjustment
 Low current consumption
 Completely sealed plastic casing
 EN 50131-2-7-2 Grade 3 approved
OPERATING PRINCIPLE
GD 375 is equipped with a piezoelectric sensor and a powerful processor that detects mechanical waves propagating in the glass
pane. During glass breakage or cutting and drilling the detector evaluates what kind of attack it is and triggers the alarm. When
connected to the interface IU 400 the GD 375 will be controlled by the voltage on the loop and it will have 2 modes of operation.
When the IU 400 loop is set at 8V the detector is in DAY mode and the detector LED lit at alarm and the current draw increase
indicating for the interface it is an alarm. When the voltage is changed to 6V the detector is in NIGHT mode and the LED don´t lit at
alarm and the alarm is put into the memory. When voltage on the loop is changed back to 8V the memory is recalled and the LED lit
on the detector if there was an alarm during NIGHT. When changing voltage to the detector from DAY to NIGHT the memory is
resetted.
The detector has a self controlled function to ensure that the detector works. The processor generates a control signal to the
sensor that simulate an attack each 10 minutes and the detector electronics should respond with an alarm signal which is inhibited
and registered as functional. If that control alarm is missing the detector starts to make a pulsing LED in DAY mode and current
draw on the loop is pulsing between alarm current and normal current indicating to the interface the detector is faulty.
If the voltage on the loop goes below 5V the detector will generate a pulsing current indicating for the interface that the voltage
was too low. The fault is put into memory and when the voltage come back to 8V the LED will lit and start blinking until resetted
GD 375 Instruction Manual 4-GD375-01
© 2016 Alarmtech Rev. GD375_1611en Page 2 of 3
CIRCUIT DIAGRAM
CABLE COLORS
The cable has 4 white cores and two of them are soldered together inside the detector forming two pairs
LED INDICATIONS
Event DAY mode NIGHT mode
Glass Break Steady red light, Alarm current No LED, Alarm current
Low Voltage Blinking LED, Pulsing current No LED, Pulsing current
Self-test fail Blinking red light, pulsing current No LED Pulsing current
INSTALLATION
Warning: correct gluing of the detector is vital for its function. Follow the installation instructions carefully.
Before installation, test the detector using GVT-500 or GVT-5000 tester. Use the 12 V output of the GVT-5000 tester to supply the
detector.
Warning: GDK 100 adhesive kits must be used for safe installation (see drawing below).
Select the installation spot. Distance between the detector and the frame must not be lower than 20 mm.
Clean the glass surface with the cleaning solvent (bottle no. 1). Let the surface dry.
Apply the sticker template for precise installation.
Clean the detector’s bottom surface with the brown graining pad to remove any grease.
Apply activator (bottle no. 2) on the bottom surface of the detector and on the installation spot. The sticker template (if used) will
prevent staining the glass outside the installation area. Let the surfaces dry for 1-2 minutes.
Place a small drop of glue (bottle no. 3) in the centre of the detector’s bottom surface and spread it evenly in a thin layer ith
GD 375 Instruction Manual 4-GD375-01
© 2016 Alarmtech Rev. GD375_1611en Page 3 of 3
enclosed triangular spatula. A thin layer is very important for a good and fast bond.
Press and hold the detector against the glass surface on the selected spot until you feel it adheres. (10sec).
Let the glue harden for another 5 minutes before you start working with the cables.
Remove the surplus glue from the side of the detector using the triangular spatula. Remove the sticker template if used.
TECHNICAL DATA
Type of protected glass Float glass,
Glass thickness Float 4 mm, 6mm
Detection radius 2 m
Supply voltage 6 – 15 VDC
Max. voltage ripple 2 Vpp at 12 V
Stabilizing time 10 sec.
Voltage for DAY mode Typ 8V or higher
Voltage for NIGHT mode Typ 6V
Current consumption quiescent in DAY and NIGHT mode Typ. 1,3 mA
Current consumption in Alarm state in DAY and NIGHT mode Typ. 2,5 mA
Current consumption at Faulty state Pulsing between 1,3 mA to 2,5mA
Alarm output transistor
Alarm indication Steady lit LED in DAY mode
Fault indication at low voltage or missing self control Blinking LED in DAY mode
Low voltage indication with pulsing current <5V
Alarm hold time latching
Alarm reset power down U< 1V or changing voltage from DAY to NIGHT
Environmental class EN50130-5 IIIA
Operating temperature -40°C to +55°C
Operating humidity max. 95% RH
Housing material plastic ABS
Dimensions: Ф 27x11 mm
Security Grade 3, EN50131-2-7-2, VdS Class C
Approvals SBSC Alarm class 3/4

Other Alarmtech Security Sensor manuals

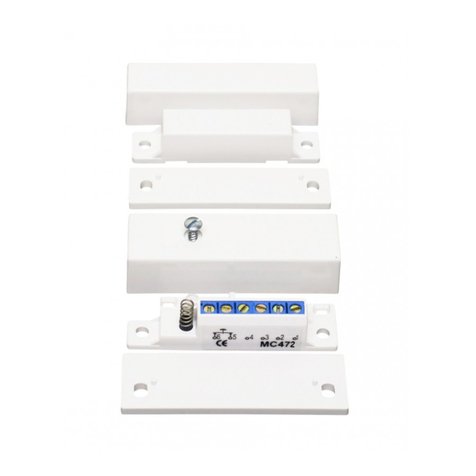
Alarmtech MC 472 User manual

Alarmtech

Alarmtech MC 472 User manual

Alarmtech CD 470 User manual

Alarmtech

Alarmtech CD 470 User manual

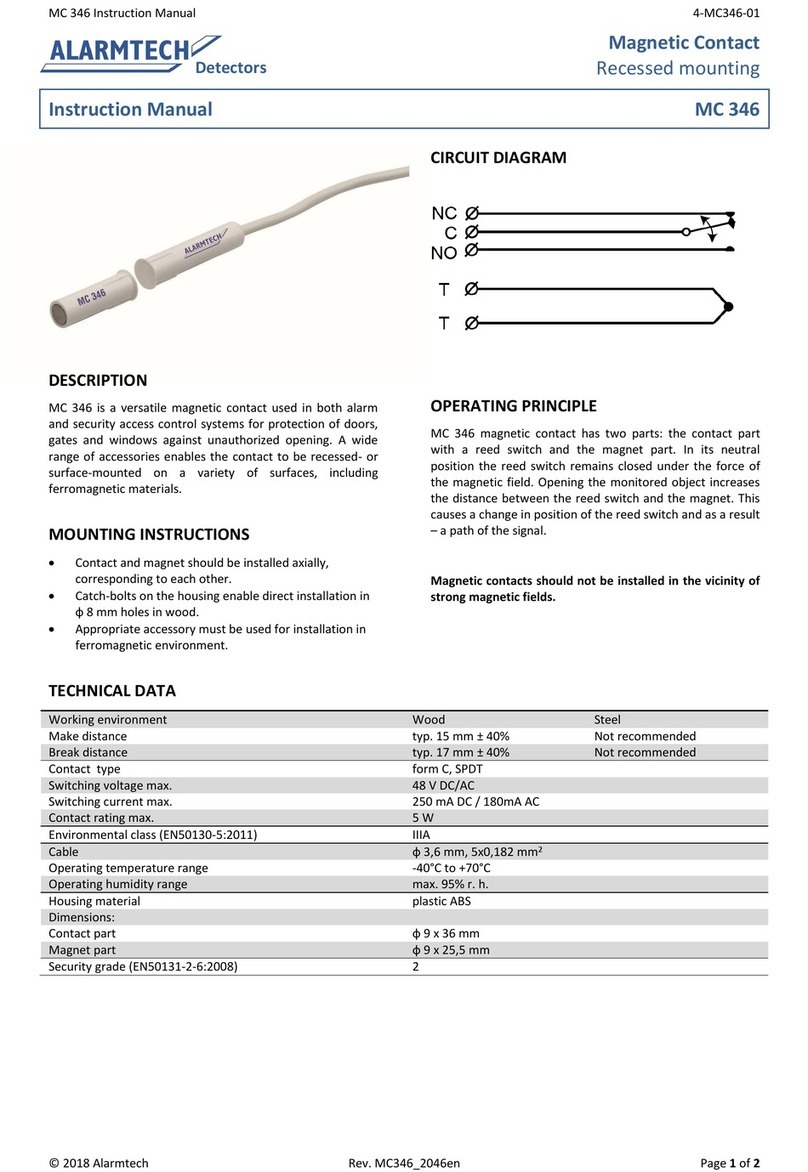
Alarmtech MC 346 User manual

Alarmtech

Alarmtech MC 346 User manual

Alarmtech AD 800 Manual

Alarmtech

Alarmtech AD 800 Manual

Alarmtech MC 140 User manual

Alarmtech

Alarmtech MC 140 User manual

Alarmtech CD 470-I User manual

Alarmtech

Alarmtech CD 470-I User manual

Alarmtech AD 800-AM Manual

Alarmtech

Alarmtech AD 800-AM Manual

Alarmtech MC 470 User manual

Alarmtech

Alarmtech MC 470 User manual

Alarmtech MC 740-E User manual

Alarmtech

Alarmtech MC 740-E User manual

Alarmtech MC 740-E-M14 User manual

Alarmtech

Alarmtech MC 740-E-M14 User manual

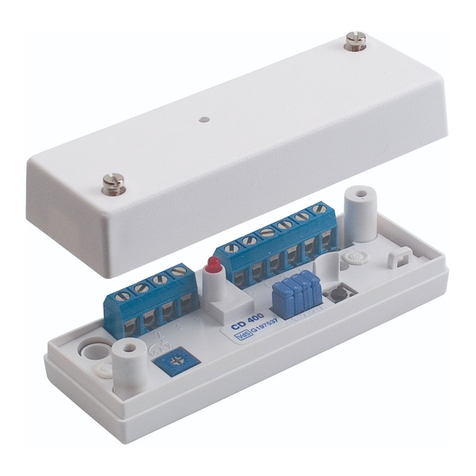
Alarmtech CD 400 User manual

Alarmtech

Alarmtech CD 400 User manual

Alarmtech MC 746-E User manual

Alarmtech

Alarmtech MC 746-E User manual

Alarmtech MC 740-E User manual

Alarmtech

Alarmtech MC 740-E User manual

Alarmtech MC 340 2x4,7k User manual

Alarmtech

Alarmtech MC 340 2x4,7k User manual

Alarmtech GD 335 User manual

Alarmtech

Alarmtech GD 335 User manual

Alarmtech CD 470 User manual

Alarmtech

Alarmtech CD 470 User manual

Alarmtech GD 370 User guide

Alarmtech

Alarmtech GD 370 User guide

Alarmtech AD 700 User manual

Alarmtech

Alarmtech AD 700 User manual

Popular Security Sensor manuals by other brands

YATO YT-73138 Original instruction

YATO

YATO YT-73138 Original instruction

Honeywell C7076A operating instructions

Honeywell

Honeywell C7076A operating instructions

AJAX MotionProtect quick start guide

AJAX

AJAX MotionProtect quick start guide

Toshiba TCB-LD1UPE Installation & operation manual

Toshiba

Toshiba TCB-LD1UPE Installation & operation manual

Powerfix Profi PMDL 5 A1 operating instructions

Powerfix Profi

Powerfix Profi PMDL 5 A1 operating instructions

Assa Abloy Yale SR-PIR Installation

Assa Abloy

Assa Abloy Yale SR-PIR Installation

Pyronix KX15DC-WE manual

Pyronix

Pyronix KX15DC-WE manual

CRESTO 1121 user guide

CRESTO

CRESTO 1121 user guide

Agilent Technologies 1260 Infinity user manual

Agilent Technologies

Agilent Technologies 1260 Infinity user manual

Larson Electronics MS-AT-7A-HV-WP instruction manual

Larson Electronics

Larson Electronics MS-AT-7A-HV-WP instruction manual

Better Water PB2 instructions

Better Water

Better Water PB2 instructions

Bluetech LD Series operating instructions

Bluetech

Bluetech LD Series operating instructions

Herz clever&smart narrow It Room Sensor installation manual

Herz

Herz clever&smart narrow It Room Sensor installation manual

3M DBI-SALA Nano-Lok XL Series instruction manual

3M

3M DBI-SALA Nano-Lok XL Series instruction manual

Bornack Stripe Comfort Click user manual

Bornack

Bornack Stripe Comfort Click user manual

NA-DE 10431 quick start guide

NA-DE

NA-DE 10431 quick start guide

YOSensi YO Pure Pro user guide

YOSensi

YOSensi YO Pure Pro user guide

Powerfix Profi 288019 Operation and safety notes

Powerfix Profi

Powerfix Profi 288019 Operation and safety notes

manuals.online logo
manuals.online logoBrands
  • About & Mission
  • Contact us
  • Privacy Policy
  • Terms and Conditions

Copyright 2025 Manuals.Online. All Rights Reserved.