manuals.online logo
Brands
  1. Home
  2. •
  3. Brands
  4. •
  5. teko
  6. •
  7. Security Sensor
  8. •
  9. teko Astra-516 User manual

teko Astra-516 User manual

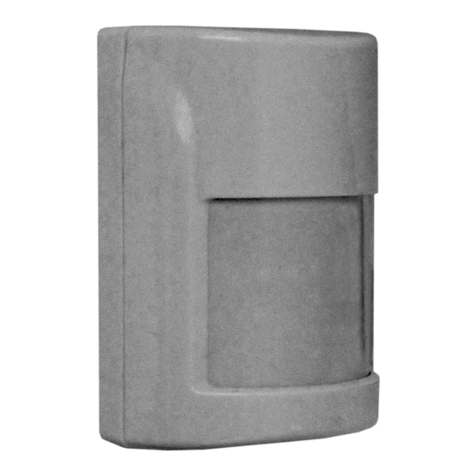
Astra-516 (Volumetric Lens)
Optic-Electronic PIR Motion Detector
Operating Manual
Rev. 516-v1_6_en
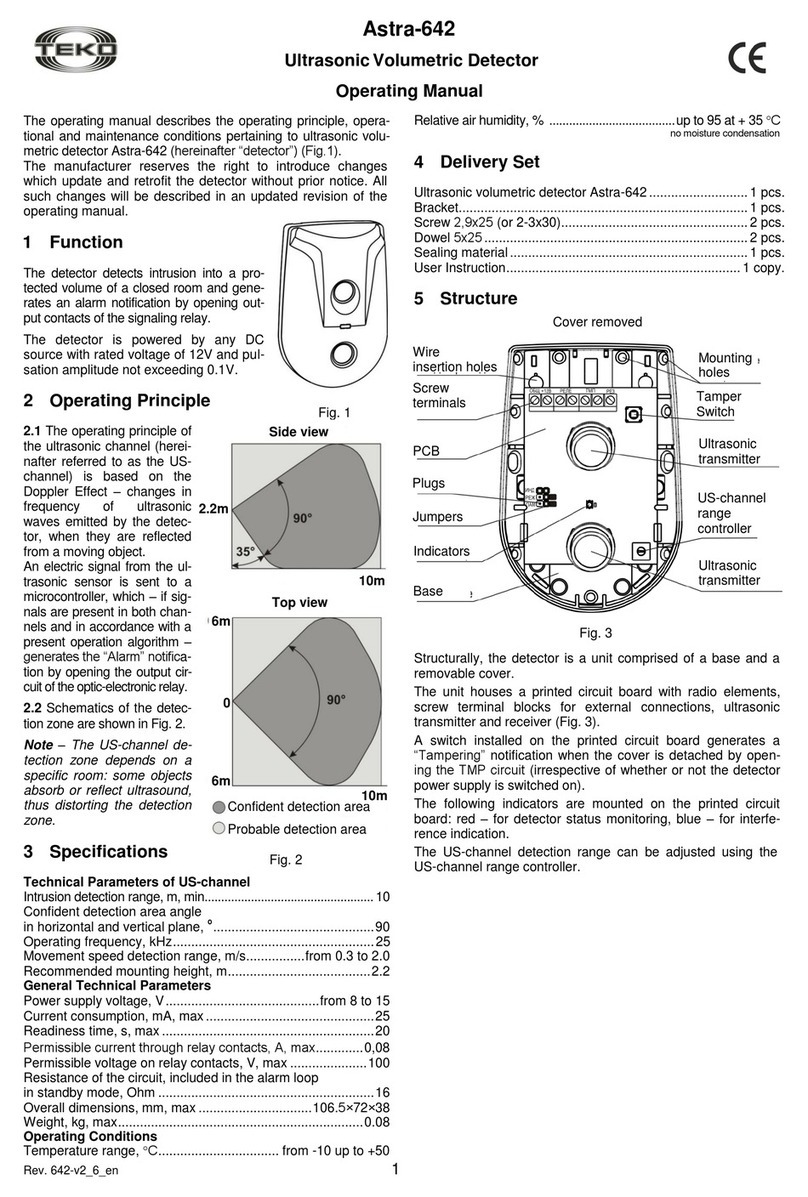
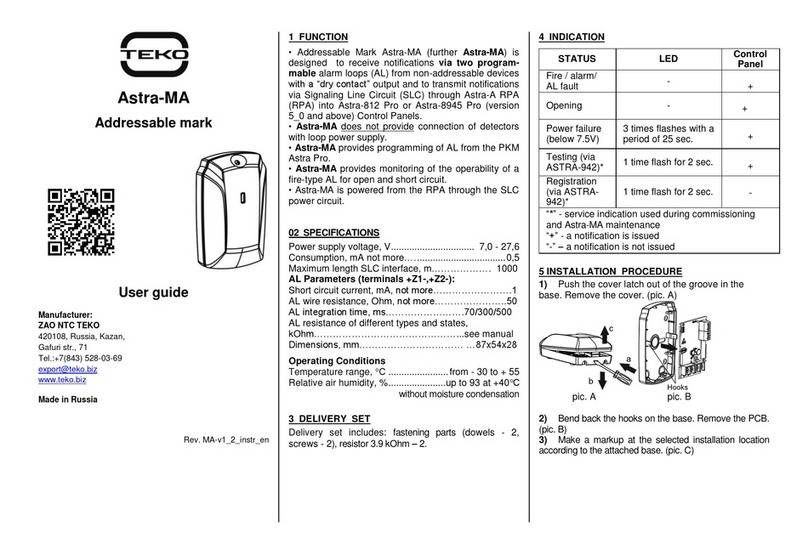
The present operation manual is intended for studying operation
principle, running conditions and maintenance of PIR motion
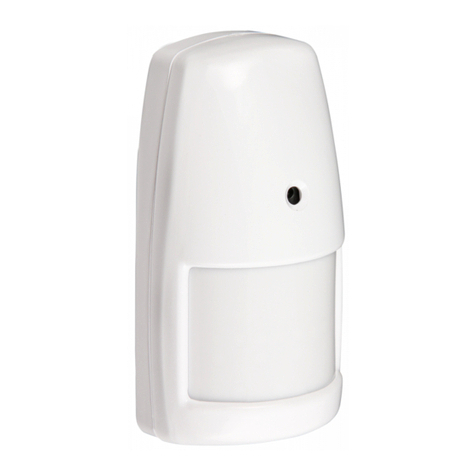
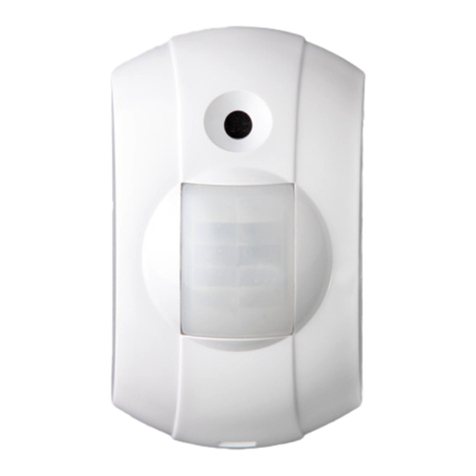
detector Astra-516 (hereinafter “detector”) (Figure 1).
The manufacturer reserves the right to make alteration
regarding refinement of the product without prior notification. All
changes will be imported into new edition of the operation
manual.
1 Function
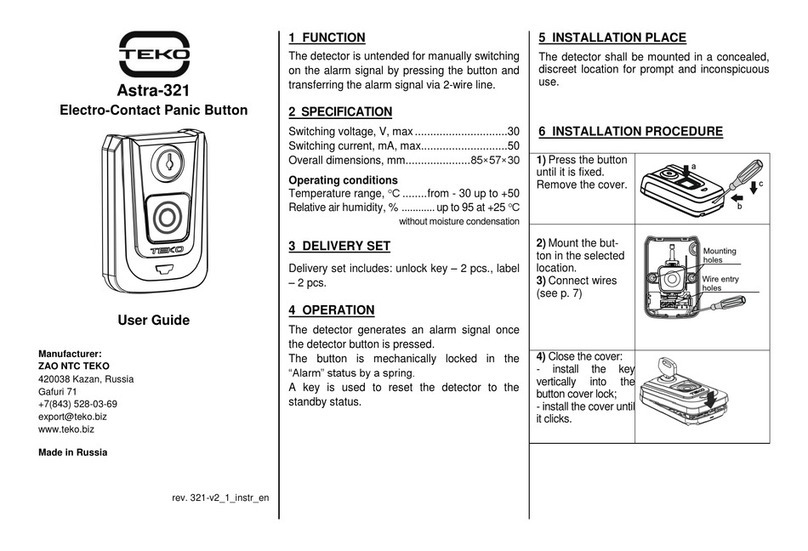
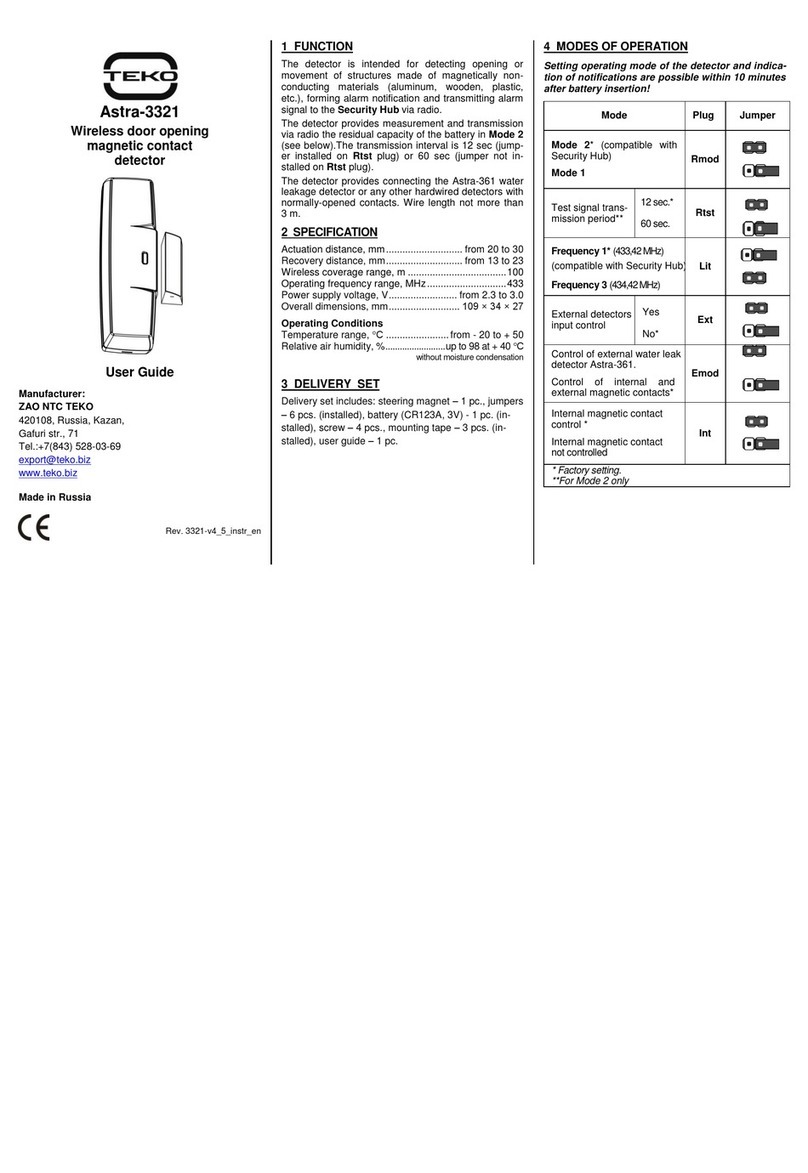
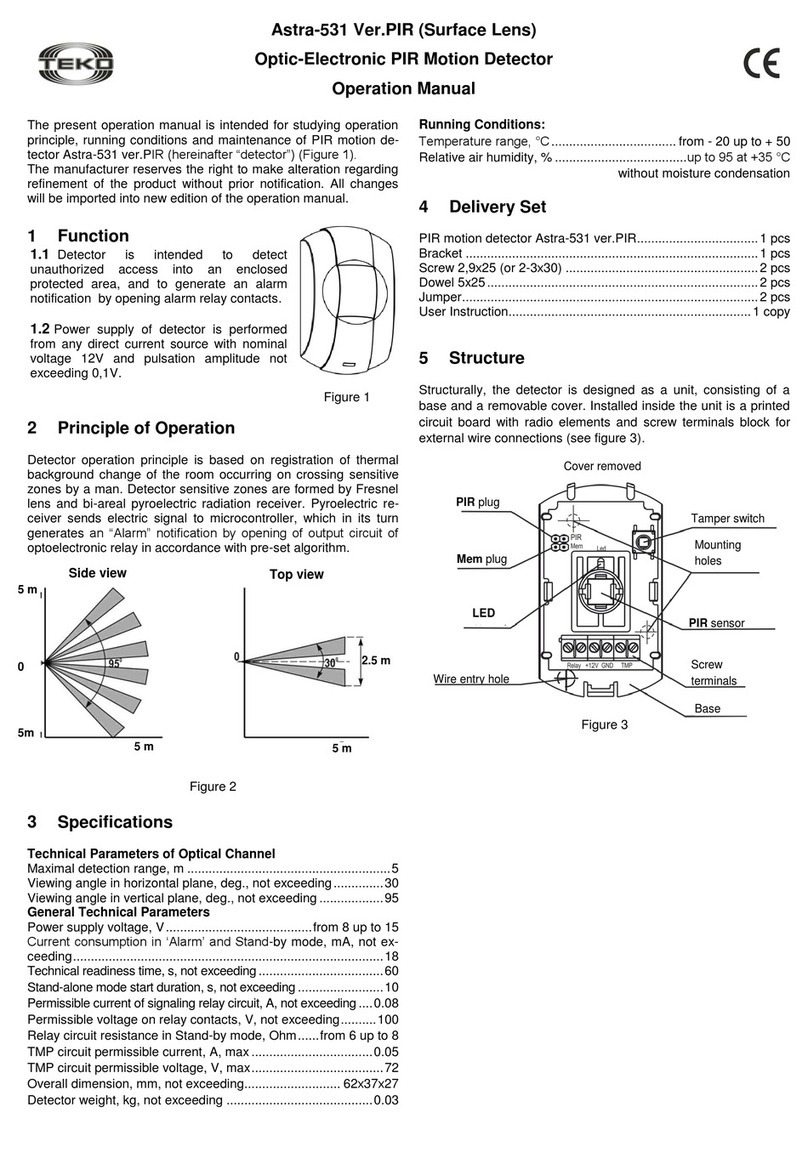
Detector is intended to detect
unauthorized access into closed
protected area, and to generate an
alarm notification by opening of
sygnaling relay contacts.
Power supply of detector is performed
from any direct current source with
nominal voltage 12V and pulsation
amplitude not exceeding 0,1V.
2 Operating Principle
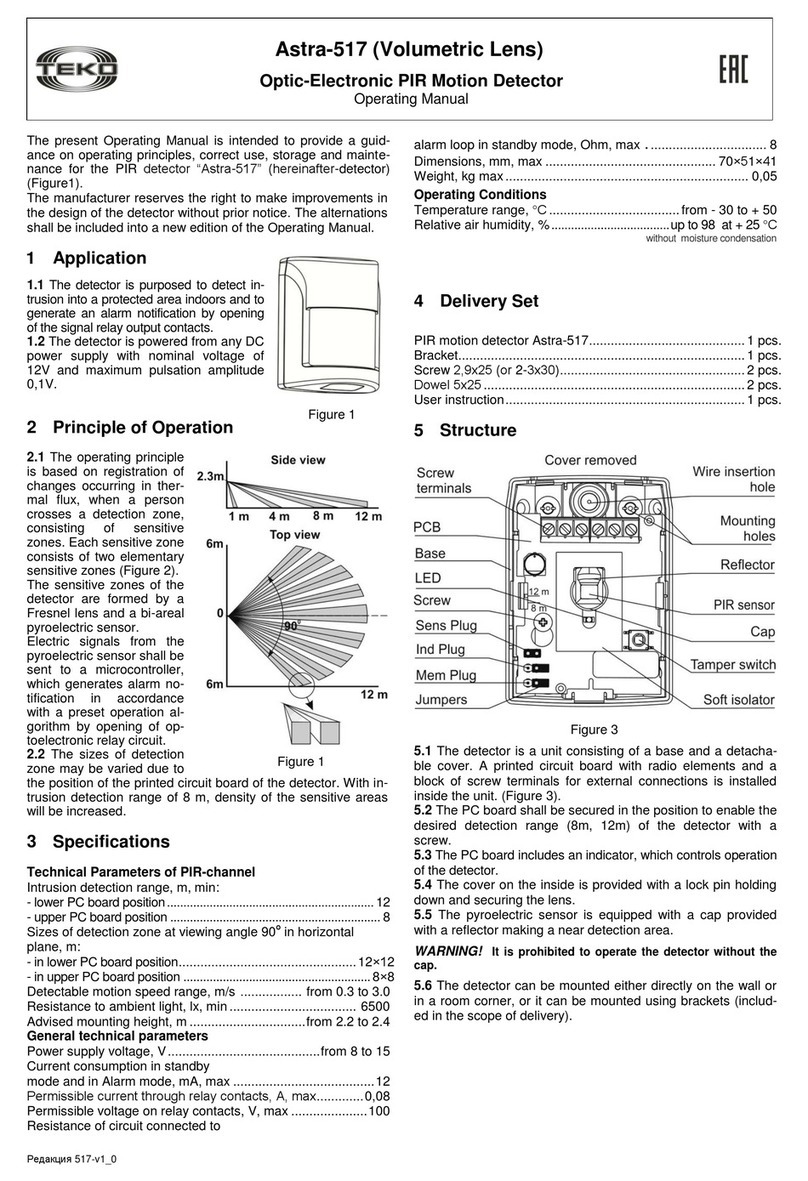
Operation principle is
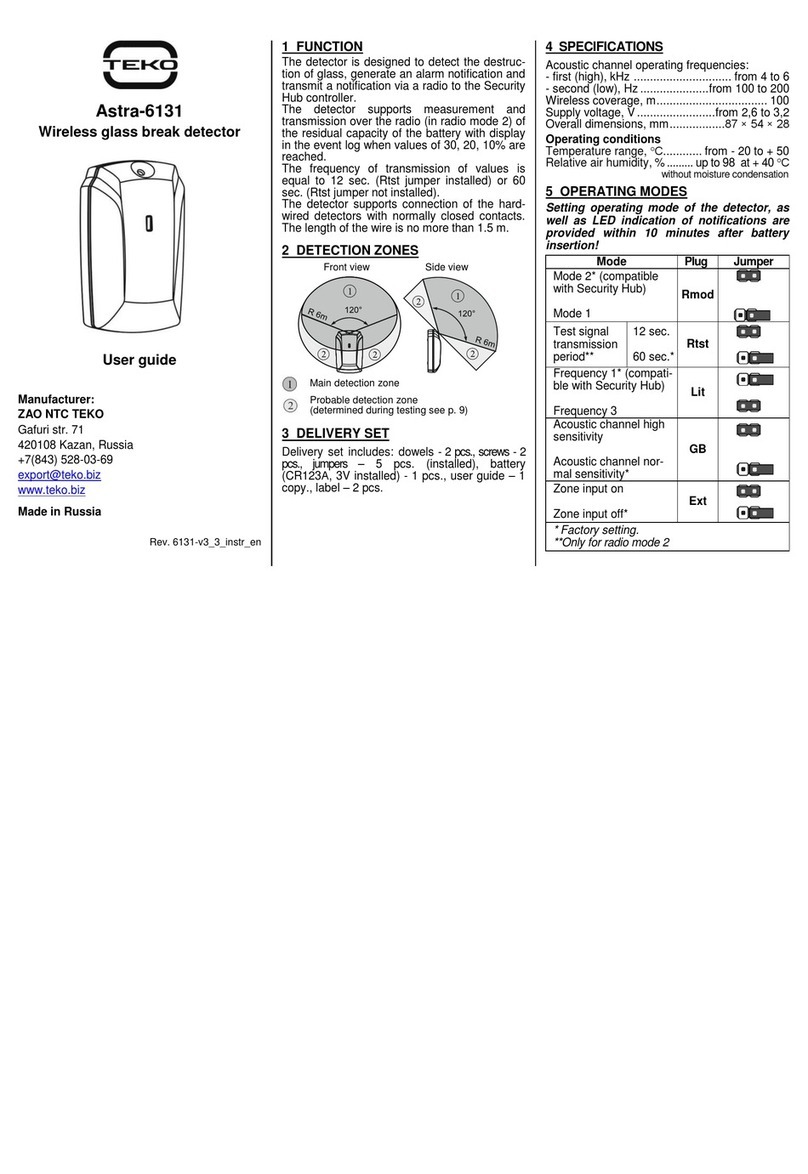
based on registration of
changes in thermal
emission flux occurring on
crossing by a man of
detection zone consisting
of sensitive zones. Each
sensitive zone consists of
two elementary sensitive
zones (Fig. 2).
The sensitive zones are
formed by a Fresnel lens
and a bi-areal pyroelectric
sensor.
An electric signal from the
pyroelectric sensor is sent
to a microcontroller which –
in accordance with a preset
operation algorithm –gene-
rates an “Alarm” notification
by opening optoelectronic
relay circuit.
3 Specifications
Technical Parameters of Optical Channel
Intrusion detection range, m, min...................................................12
Detection area angle (in horizontal plane), о...........................90
Movement speed detection range, m/s.......... from 0.3 up to 3.0
Resistance to ambient light, lx, min................................... 6500
Recommended installation height, m..............from 2.2 up to 2.5
General Technical Parameters
Power supply voltage, V .................................... from 8 up to 15
Current consumption in standby mode and
in “Alarm” mode, mA, max..................................................... 12
Permissible current through relay contacts, А, max............ 0.08
Permissible voltage on relay contacts, V, max..................... 100
Resistance of circuit connected to alarm loop
in standby mode, Ohm......................................... from 6 up to 8
Overall dimensions, mm, max............................ 106.5×72×51.5
Weight, kg, max.................................................................. 0.08
Operating Conditions
Temperature range, °С.................................from -30 up to +50
Relative air humidity, %........................................up to 95 at +35 °С
no moisture condensation
4 Delivery Set
PIR motion detector Astra-516………………………………. 1pcs
Bracket...............................................................................1 pcs.
Screw 2.9x25 (or 2-3х30)...................................................2 pcs.
Dowel 5х25........................................................................2 pcs.
Sealing material.................................................................1 pcs.
User Instruction................................................................1 copy.
5 Structure
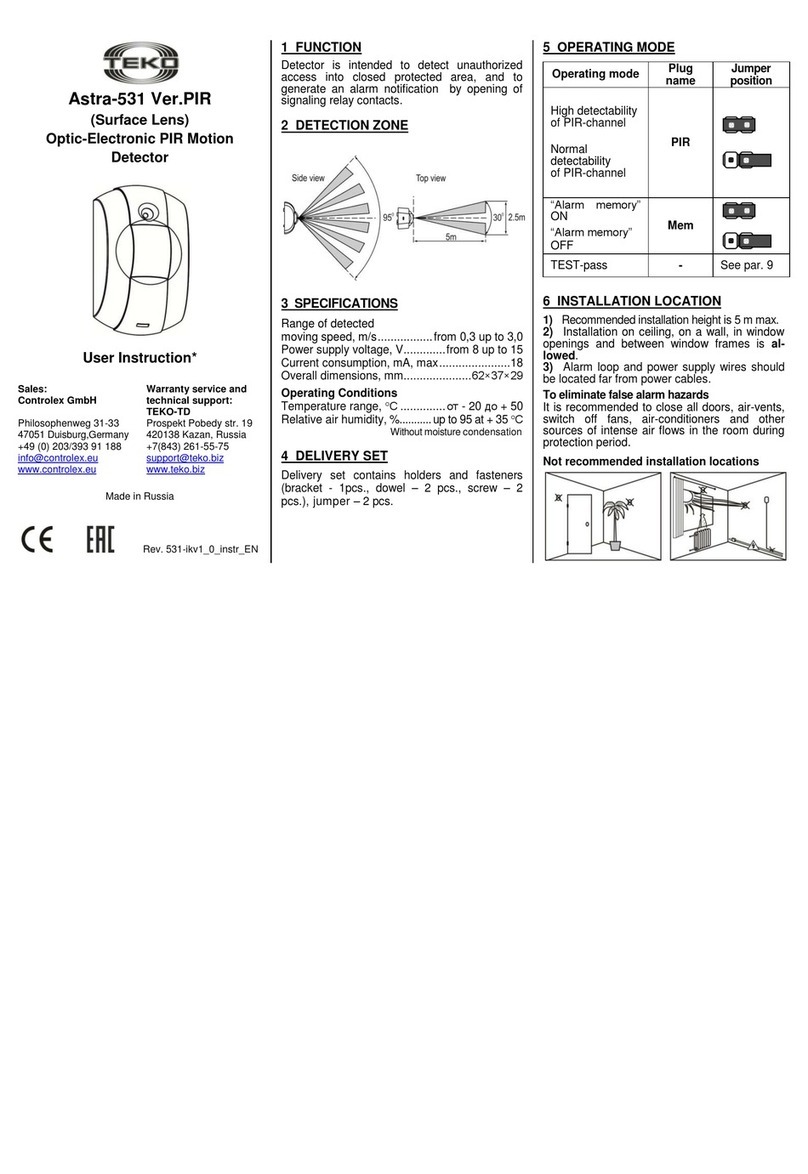
Fig. 3
Structurally, the detector is designed as a unit consisting of a
base and a removable cover. The unit houses a printed circuit
board with radio elements and screw terminal blocks for exter-
nal connections (Fig. 3).
Mounted on PCB is an indicator used for detector operability su-
pervision.
The pyroelectric sensor is equipped with a cap.
WARNING! It is prohibited to operate the detector without
the cap.
The spherical lens provides for the distortion-free detection
zone and forms the short-range detection zone.
Fig. 1
Fig. 2
Side view
Top view
1m 5m 9m 12m
2,5m
0m 5m 9m 12m
6m
0
6m
Cover removed
Base
Screw
terminal
blocks
Plugs
Bracket
mounting
hole
Mounting
holes
Indicator
Jumpers
Tamper
Switch
PCB
Pyroelectric
sensor
Wire insertion
holes
Rev. 516-v1_6_en
2
6 Information Capacity
Table 1 –Notifications to Indicator and Relay
Notification
type
Indicator
Relay
Starting of
detector
stand-by
mode
Flashes once per 1 s af-
ter powering up.
Duration –up to 60 s
For up to 60 s
Norm
Not lit
Alarm
Lights up once for 4 s at
detection of man
movement in detection
zone (when indication is
enabled)
For 4 s
Alarm in
“Alarm
memory”
mode
Fig. 4
For 4 s
Alarm
during
TEST-pass
Lights up once for 2 s at
detection of man
movement in detection
zone (when indication is
enabled)
For 2 s
Failure
Keeps lighting until failure
elimination
until failure eli-
mination
Tampering
Not lit
TMP relay is
open
"" –relay is closed,
"" –relay is open,
Fig. 4
7 Operating Modes
Table 2 –Operating modes and settings
Operating mode
Plug
Jumper position
“Alarm memory” ON
“Alarm memory” OFF
Mem
+
–
High detectability
Normal detectability
Mode
+
–
Indication ON
Indication OFF
Ind
+
–
TEST-pass
(switches ON for 8 min)
Ind
For a short moment
(for 2-3s) change
jumper position on
the plug Ind during
starting of detector
operating mode
"+" - jumper is installed on both plug pins
"–" - jumperis removed(orinstalledon one plug pin)
The “Alarm memory” mode allows registering the fact
and number of zone violations in prortected area, and is
reflected in corresponding notification .
The mode is activated in 1 minute after installation of Mem
plug or in 1 min. after starting of detector stand-by mode with
jumper installed previously on Mem plug. “Alarm” notification
is indicated in 1 min. after violation of protected area. To
switch the mode off and reset indication, remove jumper from
Mem plug or switch power off.
TEST-pass allows revealing precise location of sensitive
zones formed by the lens. On expiry of 8 min the detector
automatically starts its stand-by mode.
8 Installation and Pre-starting Procedure
8.1 Works on installation, mounting, maintenance and
operation of detector should be performed by only qualified
persons.
8.2 After transportation in conditions differing from those of
operation keep detector unpacked under supposed operation
conditions for at least 4 hours.
8.3 Selection of Installation Place
8.3.1 Recommended mounting height
8.3.2 In capital buildings it is recommended to install detector
on a bearing wall.
8.3.3 In light metalwork buildings one should avoid to install
detector directly on the wall, it is recommended to install
detector on bearing carriers.
8.3.4 Wires of signaling zones and power supply circuits should
be located far from powercables.
8.3.5 It is recommended to close all doors, air-vents, switch off
fans, air-conditioners and other sources of intense air flows in
the room during protection period.
8.3.6 Non-recommended mounting locations
Indication is
ON
Indication is
OFF
0.5 s
0.5 s
0.5 s
1 s
1 s
Start of
indication
Number of alarm
events (up to 3)
Reiterated indication
2.2-2.5m
4 s
Rev. 516-v1_6_en
3
8.4 Installation Procedure
Step-1
Push out cover lock from
base slot.
Remove cover
Step-2
Unbend hooks of the base.
Remove PCB
Step-3
Press out blanks of se-
lected wire insertion
holes
Step-4 Choose mounting option: a, bor c
Step-5а
WALL-MOUNTED
Step-5c
BRACKET-MOUNTED
Press out blank from
bracket mounting slot
Step-5b
CORNER-MOUNTED
Step-6a,b
Make marking on the wall at
the required height applying
the base to installation sur-
face.
Detector base should be
positioned strictly as per
figure of the step 3
Step-6c
Make marking on the wall
at the required height
applying the bracket to
installation surface.
Mount the bracket on a
wall or on the ceiling
Mounting holes
Step-7а,b
Lead wires from power
supply source and
signaling zones through
wire insertion hole on
the base.
Fix the base on the wall
or in the corner
Proceed to step 9
Step-7c
Superpose bracket clamp with
base slot of the detector. Drive a
screw partially into the bracket
clamp from the inside of the de-
tector base.
Position the detector as required
and tighten the screw. The
bracket provides for detector
rotation for 87º in horizontal
plane
Step-8
Lead wires from power supply source and signaling zones
through wire insertion hole on the base
Step-9
Place the printed circuit
board back into the
base, match the PCB
slots with guides on the
base. Press on the
PCB until it clicks in
position
Step-10 Connect wires to detector terminals.
A reserve terminal (RES) is provided for connection of a
terminal resistor
Step-11
Seal all holes in the base with a sealing material supplied to
protect the detector from ingress of air currents and insects
Step-12
Remove jumper from Mem plug.
Mount jumpers on Mode and Ind
plugs
Step-13
Turn the detector ON; the indicator blinks once per 1 s for
no longer than 60 s –it means the detector is being switch-
ed to the operating mode
Hooks
b
c
Press out
blanks of
selected
mounting
holes
Press out
blanks of
selected
mounting
holes
Clamp
Screw
Rev. 516-v1_6_en
4
Step-14 While the detector is
being switched to the operating
mode remove jumper from Ind plug
for a short period of time (2-3 s)
and mount it back on the plug (the
TEST mode will be switched on for
8 min)
Step-15
Install detector cover on its
place (until a click)
Step-16 Make a TEST-pass through a
protected area with speed of 0.3 m/s to
determine locations of sensitive zones.
Stop at the moment of detection (the LED
lights up for 2 sec), mark this position,
then make a step back and continue
moving. Repeat the TEST pass in the
opposite direction.
Sensitive zones formed by the lens are located between
marked locations
Step-17
Push out cover lock from base
slot.
Remove cover
Step-18 Depending on a selected
operating mode, install jumpers on Mem
and Ind plugs
Step-19
Install detector cover on its
place (until a click)
Step-20 When testing an alarm system at the initial
operation period (1-2 weeks) in case of issuing false
«Alarm»notifications, connected with the peculiarities of the
protected premises, remove jumper from Mode plug
8.5To provide for reliable operation of the alarm system it is
recommended to test and maintain the detector at least
once a month.
Testing should be carried out as follows:
-make a pass through the detection zone;
-make sure “Alarm” notification on the control panel and, if
indication is enabled, on the detector indicator (lights up once
for 4 s for each movement) is appeared.
Maintenance should be carried out as follows:
-inspect integrity of the detector body, reliability of contacts
and mounting, clean the detector from any dirt accumulated.
9 Labeling
The following data are shown on the label glued to the body:
- detector abbreviated designation;
- firmware version;
- month and year of manufacture (last two digits);
- certification mark;
- bar code, duplicating textual data.
10 EC Conformity Declarations
This product is in conformity with the provisions of:
EMC 89/336/EEC
EN 61000-6-3:2005 Electromagnetic compatibility (EMC) - Part 6-3:
Generic standards - Emission standard for residential, commercial and
light-industrial environments
EN 50130-4/1995 + A1:1998 + A2:2003 + Corrig. 2003 Alarm systems
- Part 4: Electromagnetic compatibility - Product family standard: Im-
munity requirements for components of fire, intruder and social alarm
systems
EN 60950-1: 2001+A11:2004+Corrig.2004 Safety of information tech-
nology equipment
11 Recycling
The detector does not pose any life or health risk to individuals or to
the environment. Once its service life is complete, the detector may be
utilized with no special environment protection measures.
12 Manufacturer Warranties
12.1 Quality Management System meets provisions of ISO 9001-
2011.
12.2 The manufacturer guarantees the compliance of the detector to
specifications if the user observes required conditions of transporta-
tion, storage, installation and operation.
12.3 The storage warranty period is 5 years and 6 months from the
date of manufacture.
12.4 The operation warranty period is 5 years from the date of putting
into operation but no longer than 5 years 6 months from the date of
manufacturing.
12.5 The manufacturer shall repair or replace a faulty detector during
the warranty period.
12.6 The warranty becomes void if:
- the user does not follow guidelines of the operating manual;
- the detector is mechanically damaged;
- the detector is repaired by a party other than the Manufacturer.
12.7 The warranty covers the detector only. All equipment manufac-
tured by other parties and used with the detector is covered by its re-
spective warranty.
The manufacturer bears no responsibility for death, injury, prop-
erty damage or other incidental or premeditated loss based on
user's statement that the detector failed to implement its function.
Sales:
Controlex GmbH
Warranty service and
technical support:
ТЕКО-TD
Philosophenweg 31-33
47051 Duisburg, Germany
Phone: +49 (0) 203 / 393 91 188
Fax: +49 (0) 203 / 393 91 189
GSM: +49 (0) 178 / 218 48 22
E-mail: info@controlex.eu
Web: www.controlex.eu
Prospekt Pobedy str. 19
420138 Kazan, Russia
Phone: +7 (843) 261-55-75
Fax: +7 (843) 261-58-08
E-mail: info@teko.biz
support@teko.biz
Web: www.teko.biz
Made in Russia
“Alarm memory”
is OFF
“Alarm memory”
is ON
Indication OFF
Indication ON
b
c

Other teko Security Sensor manuals

teko Astra-5 ver.A User manual

teko

teko Astra-5 ver.A User manual

teko Astra-531 User manual

teko

teko Astra-531 User manual

teko Astra-531 PIR Installation instructions

teko

teko Astra-531 PIR Installation instructions

teko Astra-7 User manual

teko

teko Astra-7 User manual

teko Astra-531 DC Installation instructions

teko

teko Astra-531 DC Installation instructions

teko Astra-5 Ver.A User manual

teko

teko Astra-5 Ver.A User manual

teko Astra-551 User manual

teko

teko Astra-551 User manual

teko Astra-9 User manual

teko

teko Astra-9 User manual

teko Astra-GB Installation instructions

teko

teko Astra-GB Installation instructions

teko Astra-517 User manual

teko

teko Astra-517 User manual

teko Astra-3221 User manual

teko

teko Astra-3221 User manual

teko Astra-43A User manual

teko

teko Astra-43A User manual

teko Astra-5131 User manual

teko

teko Astra-5131 User manual

teko Astra-531 AC Installation instructions

teko

teko Astra-531 AC Installation instructions

teko Astra-8 User manual

teko

teko Astra-8 User manual

teko Astra-R TRC User manual

teko

teko Astra-R TRC User manual

teko Astra-7 ver.A User manual

teko

teko Astra-7 ver.A User manual

teko Astra-621 User manual

teko

teko Astra-621 User manual

teko Astra-517 ver.P User manual

teko

teko Astra-517 ver.P User manual

teko Astra-361 Installation instructions

teko

teko Astra-361 Installation instructions

teko Astra-515 ver.A User manual

teko

teko Astra-515 ver.A User manual

teko Astra-3731 User manual

teko

teko Astra-3731 User manual

teko Astra-642 User manual

teko

teko Astra-642 User manual

teko Astra-621 User manual

teko

teko Astra-621 User manual

Popular Security Sensor manuals by other brands

Evikon PluraSens E2638-LEL user manual

Evikon

Evikon PluraSens E2638-LEL user manual

ST STEVAL-IFS014V1 user manual

ST

ST STEVAL-IFS014V1 user manual

CAME 001SDTEWL manual

CAME

CAME 001SDTEWL manual

AMC IF800T installation manual

AMC

AMC IF800T installation manual

Micropack FDS303 Safety & technical manual

Micropack

Micropack FDS303 Safety & technical manual

Respiri Wheezo WZO01 quick start guide

Respiri

Respiri Wheezo WZO01 quick start guide

SKF TKSU 10 Instructions for use

SKF

SKF TKSU 10 Instructions for use

Eterna MHDB installation instructions

Eterna

Eterna MHDB installation instructions

DSC WLS912L-900 installation instructions

DSC

DSC WLS912L-900 installation instructions

BEA FALCON EXXL manual

BEA

BEA FALCON EXXL manual

Sonoff SNZB-P user manual

Sonoff

Sonoff SNZB-P user manual

Afriso EURO-INDEX OWWG 3 operating instructions

Afriso EURO-INDEX

Afriso EURO-INDEX OWWG 3 operating instructions

AJAX Systems DoorProtect user manual

AJAX Systems

AJAX Systems DoorProtect user manual

Feig Electronic MWD BP manual

Feig Electronic

Feig Electronic MWD BP manual

Omron F3SJ-B**N25 Series instruction sheet

Omron

Omron F3SJ-B**N25 Series instruction sheet

Spectrex SharpEye 40/40R user guide

Spectrex

Spectrex SharpEye 40/40R user guide

elobau 1655 V Series Translation of the original operating instructions

elobau

elobau 1655 V Series Translation of the original operating instructions

CPS Leak-Seeker 1 Operation manual

CPS

CPS Leak-Seeker 1 Operation manual

manuals.online logo
manuals.online logoBrands
  • About & Mission
  • Contact us
  • Privacy Policy
  • Terms and Conditions

Copyright 2025 Manuals.Online. All Rights Reserved.