manuals.online logo
Brands
  1. Home
  2. •
  3. Brands
  4. •
  5. Axor
  6. •
  7. Bathroom Fixture
  8. •
  9. Axor Citterio Showerpipe 180 1jet 39671009 User manual

Axor Citterio Showerpipe 180 1jet 39671009 User manual

INSTALLATION
EN ⁄ Instructions for use ⁄ assembly instructions 02
DE ⁄ Gebrauchsanleitung ⁄ Montageanleitung 03
Lesezeichen
English 02
Deutsch 03
AXOR Citterio Showerpipe 180 1jet
39671009
02EN
ASSEMBLY (see page 04)
SAFETY NOTES
Gloves should be worn during installation to prevent crushing and cutting injuries.
The product may only be used for bathing, hygienic and body cleaning purposes.
The arm of the shower head is intended only to hold the shower head. Do not load
it down with other objects!
Children as well as adults with physical, mental and/or sensoric impairments must
not use this product without proper supervision. Persons under the influence of
alcohol or drugs are prohibited from using this product.
Do not allow the streams of the shower touch sensitive body parts (such as your
eyes). An adequate distance must be kept between the shower and you.
The product may not be used as a holding handle. A separate handle must be
installed.
The hot and cold supplies must be of equal pressures.
INSTALLATION INSTRUCTIONS
⁄ Prior to installation, inspect the product for transport damages. After it has been
installed, no transport or surface damage will be honoured.
⁄ The pipes and the fixture must be installed, flushed and tested as per the applicable
standards.
⁄ The plumbing codes applicable in the respective countries must be observed.
⁄ The installation dimensions stated in these installation instructions are ideal for
people of approximately 1800 mm in body height. The dimensions can be altered
if required. In this case, pay attention to the fact that a change of installation height
will also change the minimum height, and that the altered mounting dimensions must
be taken into consideration.
⁄ During installation of the product by qualified trained personnel, make sure that the
entire fastening surface is even and smooth (no protruding seams or tile offset), that
the finish of the wall is suitable to apply the product and has no weak points.
⁄ The mesh washer must be insert to protect the shower against incoming dirt by
pipework. Incoming dirt leads to defects or/and can damage parts of the shower;
such caused faults voids all liability and guarantee claims.
⁄ The product is not designed to be used with steam baths!
⁄ If required, the bottom part of the pipe between the fixture and the shower head
can be shortened with a fine-toothed saw.
⁄ If the continuous water heater causes any problems, or you have different water
pressures you must install a water limiter to the cold supply, (ordered separately,arti-
cle number 97510000).
TECHNICAL DATA
Operating pressure: max. 1 MPa
Recommended operating pressure: 0,1 - 0,5 MPa
Test pressure: 1,6 MPa
(1 MPa = 10 bar = 147 PSI)
Hot water temperature: max. 70°C
Recommended hot water temp.: 65°C
Centre distance: 150±12 mm
Connections G 1/2: cold right - hot left
Thermal disinfection: max. 70°C / 4 min
⁄ Safety against backflow
⁄ The product is exclusively designed for drinking water!
SYMBOL DESCRIPTION
Do not use silicone containing acetic acid!
SAFETY FUNCTION (see page 06)
The desired maximum temperature for example max. 42º C can be pre-set
thanks to the safety function.
ADJUSTMENT (see page 06)
After the installation, the output temperature of the thermostat must be
checked. A correction is necessary if the temperature measured at the output
differs from the temperature set on the thermostat.
MAINTENANCE (see page 07)
⁄ The check valves must be checked regularly according to DIN EN 1717
in accordance with national or regional regulations (at least once a year).
⁄ To guarantee the smooth running of the thermostat, it is necessary from
time to time to turn the thermostat from total hot to total cold.
DIMENSIONS (see page 09)
FLOW DIAGRAM (see page 09)
 Overhead shower
 Hand shower
SPARE PARTS (see page 10)
SPECIAL ACCESSORIES (order as an extra)
tile-matching-disk Chrome Plated #95239000 (see page 10)
CLEANING (see page 08)
OPERATION (see page 11)
To empty the overhead shower after use, hold it in a slightly inclined position.
FAULT CAUSE REMEDY
⁄ Insufficient water ⁄ Supply pressure inadequate ⁄ Check water pressure (If a pump has been installed check
to see if the pump is working).
⁄ Regulator filter dirty ⁄ Clean filter in front of the mixer and on the MTC-thermo car-
tridge
⁄ Shower filter seal dirty ⁄ Clean filter seal between shower and hose
⁄ Crossflow, hot water being forced into cold water pipe, or
vice versa, when mixer is closed
⁄ Backflow preventers dirty or leaking ⁄ Clean backflow preventers, exchange if necessary
⁄ Spout temperature does not correspond with temperature
set
⁄ Thermostat has not been adjusted ⁄ Adjust thermostat
⁄ Hot water temperature too low ⁄ Increase hot water temperature to 42 ºC to 65 ºC
⁄ Temperature regulation not possible ⁄ thermo cartridge calcified ⁄ Exchange thermo cartridge
⁄ Instantaneous heater didn't work with thermostat ⁄ Filters are dirty ⁄ Clean the filter / exchange filter
⁄ check valve hasn't moved back ⁄ Exchange check valves
⁄ Flow limiter in handshower isn’t removed ⁄ Remove flow limiter
03 DE
MONTAGE (siehe Seite 04)
SICHERHEITSHINWEISE
Bei der Montage müssen zur Vermeidung von Quetsch- und Schnittverletzungen
Handschuhe getragen werden.
Das Produkt darf nur zu Bade-, Hygiene- und Körperreinigungszwecken eingesetzt
werden.
Der Kopfbrausearm ist nur für das Halten der Kopfbrause ausgelegt, er darf nicht
mit weiteren Gegenständen belastet werden!
Kinder, sowie Erwachsene mit körperlichen, geistigen und / oder sensorischen
Einschränkungen dürfen das Produkt nicht unbeaufsichtigt benutzen. Personen, die
unter Alkohol- oder Drogeneinfluss stehen, dürfen das Produkt nicht benutzen.
Der Kontakt der Brausestrahlen mit empfindlichen Körperstellen (z. B. Augen) muss
vermieden werden. Es muss ein ausreichender Abstand zwischen Brause und
Körper eingehalten werden.
Das Produkt darf nicht als Haltegriff benutzt werden. Es muss ein separater
Haltegriff montiert werden.
Große Druckunterschiede zwischen den Kalt- und Warmwasseranschlüssen müssen
ausgeglichen werden.
MONTAGEHINWEISE
⁄ Vor der Montage muss das Produkt auf Transportschäden untersucht werden. Nach
dem Einbau werden keine Transport- oder Oberflächenschäden anerkannt.
⁄ Die Leitungen und die Armatur müssen nach den gültigen Normen montiert, gespült
und geprüft werden.
⁄ Die in den Ländern jeweils gültigen Installationsrichtlinien sind einzuhalten.
⁄ Die in der Montageanleitung angegebenen Montagemaße sind ideal für Personen
von ca. 1800 mm Körpergröße und müssen gegebenenfalls angepasst werden.
Hierbei ist darauf zu achten, dass sich bei geänderter Montagehöhe die
Mindesthöhe ändert und die Änderung der Anschlussmaße berücksichtigt werden
müssen.
⁄ Bei der Montage des Produktes durch qualifiziertes Fachpersonal ist darauf zu
achten, dass die Befestigungsfläche im gesamten Bereich der Befestigung plan ist
(keine vorstehenden Fugen oder Fliesenversatz), der Wandaufbau für eine
Montage des Produktes geeignet ist und keine Schwachstellen aufweist.
⁄ Die beigepackte Siebdichtung muss eingebaut werden, um Schmutzeinspülungen
aus dem Leitungsnetz zu vermeiden. Schmutzeinspülungen können die Funktion
beeinträchtigen und/oder zu Beschädigungen an Funktionsteilen der Brause
führen, für hieraus ergebende Schäden haftet Hansgrohe nicht.
⁄ Das Produkt ist nicht für die Verwendung in Verbindung mit einem Dampfbad
vorgesehen!
⁄ Im Notfall kann das Rohr zwischen Armatur und Kopfbrause im unteren Bereich mit
einer feinen Säge gekürzt werden.
⁄ Bei Problemen mit dem Durchlauferhitzer oder großen Druckunterschieden muss
eine optional erhältliche Drossel (Artikelnummer 97510000) in den Kaltwasserzu-
lauf eingesetzt werden.
TECHNISCHE DATEN
Betriebsdruck: max. 1 MPa
Empfohlener Betriebsdruck: 0,1 - 0,5 MPa
Prüfdruck: 1,6 MPa
(1 MPa = 10 bar = 147 PSI)
Heißwassertemperatur: max. 70°C
Empfohlene Heißwassertemperatur: 65°C
Anschlussmaße: 150±12 mm
Anschlüsse G 1/2: kalt rechts - warm links
Thermische Desinfektion: max. 70°C / 4 min
⁄ Eigensicher gegen Rückfließen
⁄ Das Produkt ist ausschließlich für Trinkwasser konzipiert!
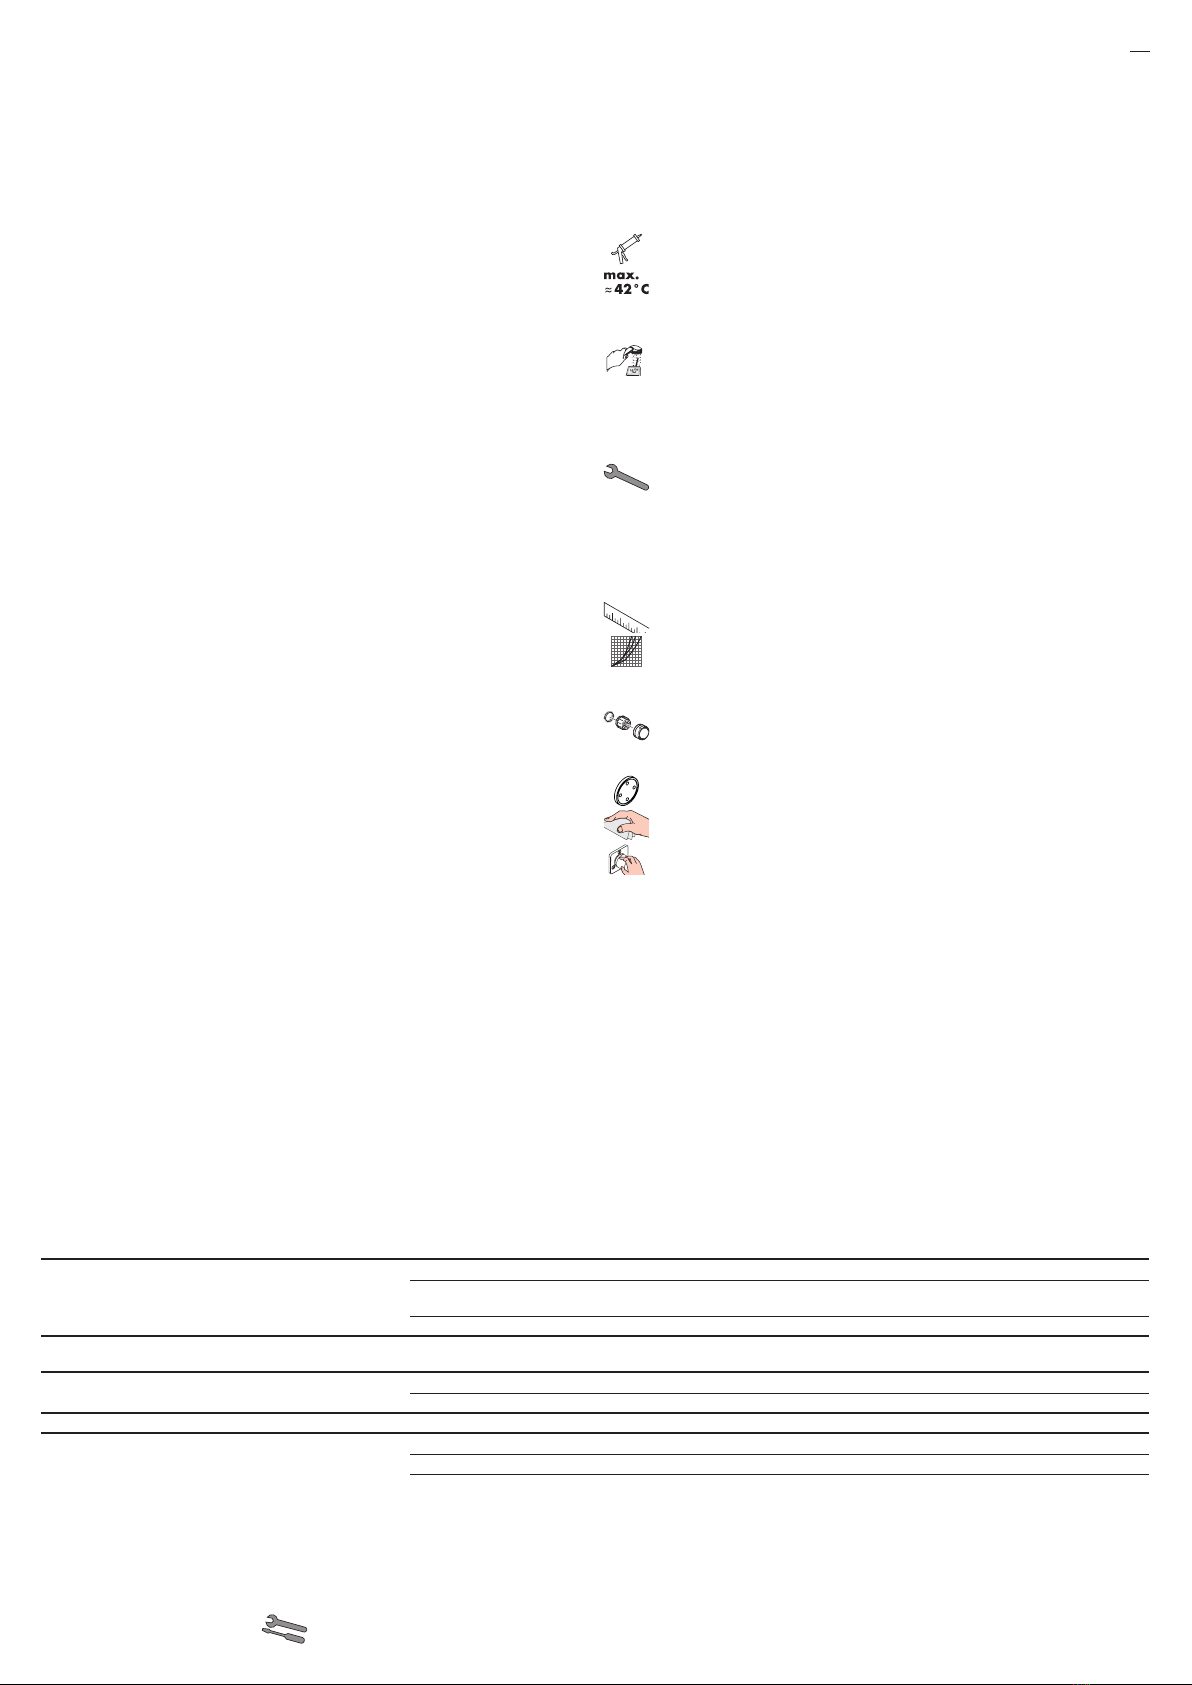
SYMBOLERKLÄRUNG
Kein essigsäurehaltiges Silikon verwenden!
SAFETY FUNCTION (siehe Seite 06)
Dank der Safety Function lässt sich die gewünschte Höchsttemperatur von
z. B. max. 42 ºC voreinstellen.
JUSTIERUNG (siehe Seite 06)
Nach erfolgter Montage muss die Auslauftemperatur des Thermostaten
überprüft werden. Eine Korrektur ist erforderlich wenn die an der Entnahme-
stelle gemessene Temperatur von der am Thermostaten eingestellten
Temperatur abweicht.
WARTUNG (siehe Seite 07)
⁄ Rückflussverhinderer müssen gemäß DIN EN 1717 regelmäßig in
Übereinstimmung mit nationalen oder regionalen Bestimmungen auf ihre
Funktion geprüft werden (mindestens einmal jährlich).
⁄ Um die Leichtgängigkeit der Regeleinheit zu gewährleisten, sollte der
Thermostat von Zeit zu Zeit auf ganz warm und ganz kalt gestellt werden.
MASSE (siehe Seite 09)
DURCHFLUSSDIAGRAMM (siehe Seite 09)
 Kopfbrause
 Handbrause
SERVICETEILE (siehe Seite 10)
SONDERZUBEHÖR (nicht im Lieferumfang enthalten)
Fliesenausgleichsscheibe Chrom #95239000 (siehe Seite 10)
REINIGUNG (siehe Seite 08)
BEDIENUNG (siehe Seite 11)
Zum Entleeren der Kopfbrause diese nach dem Benutzen leicht schräg
stellen.
STÖRUNG URSACHE ABHILFE
⁄ Wenig Wasser ⁄ Versorgungsdruck nicht ausreichend ⁄ Leitungsdruck prüfen
⁄ Schmutzfangsieb der Regeleinheit verschmutzt ⁄ Schmutzfangsiebe vor dem Thermostat und auf der Regel-
einheit reinigen
⁄ Siebdichtung der Brause verschmutzt ⁄ Siebdichtung zwischen Brause und Schlauch reinigen
⁄ Kreuzfluss, warmes Wasser wird bei geschlossener
Armatur in die Kaltwasserleitung gedrückt oder umgekehrt
⁄ Rückflussverhinderer verschmutzt / defekt ⁄ Rückflussverhinderer reinigen ggf. austauschen
⁄ Auslauftemperatur stimmt nicht mit der eingestellten
Temperatur überein
⁄ Thermostat wurde nicht justiert ⁄ Thermostat justieren
⁄ Zu niedrige Warmwassertemperatur ⁄ Warmwassertemperatur erhöhen auf 42 ºC bis 65 ºC
⁄ Temperaturregelung nicht möglich ⁄ Regeleinheit verkalkt ⁄ Regeleinheit austauschen
⁄ Durchlauferhitzer schaltet bei Thermostatbetrieb nicht ein ⁄ Schmutzfangsiebe verschmutzt ⁄ Schmutzfangsiebe reinigen / austauschen
⁄ Rückflussverhinderer sitzt fest ⁄ Rückflussverhinderer austauschen
⁄ Drossel in der Handbrause nicht ausgebaut ⁄ Drossel aus der Handbrause entfernen
04
1
1.
2.
X
X + 36 mm
X 36
1. 2.
2
36 mm
3a
max. 39 mm
max. 5 mm
3b 5
6 7
SW 30 mm
(17 Nm)
10 11
Ø6 mm
60
14
1.
2.
9
1.
2.
3.
SW 24 mm
4
1.
2.
8
12 13
Ø6 mm
15 1.
2.
Montage
05
16
1.
2.
3.
17
1.
2.
18
23,5 mm
23,5 mm
SW 3 mm
(4 Nm)
Ø6 mm
60
200 mm
21
SW 5 mm
19 20
22
SW 2 mm
(1 Nm)
23
SW 17 mm
(10 Nm)
Montage
06
for example 42° C
z. B. 42° C
2 3
SW 3 mm
(2 Nm)
2.
1.
45
1 2
56
SW 3 mm
4
SW 3 mm
(2 Nm)
SW 3 mm
1
1.
2.
6
3
Justierung / Safety Function
07
SW 30 mm
2
SW 10 mm
3
4
SW 30 mm
(17 Nm)
6
1
2.
3.
4.
SW 3 mm
1.
5
SW 10 mm
(20 Nm)
red ⁄ rot
7
2.
3.
4.
1.
SW 3 mm
(4 Nm)
5.
1 2 3
1.
2.
2.
1.
Wartung
08
www.axor-design.com/
cleaning-recommendation
www.axor-design.com/
cleaning-recommendation
www
.axor-design.com/
cleaning-recommendation
www.axor-design.com/
cleaning-recommendation
EN ⁄ Cleaning recommendation ⁄ Warranty ⁄ Contact
DE ⁄ Reinigungsempfehlung ⁄ Garantie ⁄ Kontakt
www.axor-design.com/
cleaning-recommendation
www.axor-design.com/
cleaning-recommendation
www.axor-design.com/
cleaning-recommendation
www
.axor-design.com/
cleaning-recommendation
www.axor-design.com
/
cleaning-recommendatio
n
www.axor-design.com/
cleaning-recommendation
www.axor-design.com/
cleaning-recommendation
www.axor-design.com/
cleaning-recommendation
www.axor-design.com/
cleaning-recommendation
www.axor-design.com
/
cleaning-recommendation
www.axor-design.com/
cleaning-recommendation
www.axor-design.com/
cleaning-recommendation
QUICK
CLEAN
EN ⁄ Just clean: simply rub over the spray nozzles to remove lime scale.
DE ⁄ Einfach sauber: Kalk lässt sich von den Noppen ganz leicht abrubbeln.
3
7
> 1 min
2.
1.
1
max. 10 min
20mm
2
2.
1.
3
> 1 min
SW 2 mm
SW 2 mm
(1 Nm)
1 2 4
5 6
SW 17 mm
SW 17 mm
(10 Nm)
Reinigung
09
bar
4,5
0,0
0,5
1,0
1,5
2,0
2,5
3,0
3,5
4,0
5,0
0,45
0,00
0,05
0,10
0,15
0,20
0,25
0,30
0,35
0,40
0,50
5,50,55
6,00,60
036912151821242730
MPa
00,1 0,2 0,3 0,4 0,5
Q = l/min
Q = l/sec
Ø 128
2002
2427
min. 50
1000
2477
1100
2577
2102
2527
130
~
~
1
2
Maße / Durchflussdiagramm
10
95239000
28276000
96509000
39525000
96769000
96770000
39397000
96467000
98382000
(12x2,25)
98129000
(14x2)
98131000
(15x2,5)
96922000
96157000
93136000
94140000
96429000
94282000
95041000
39398000
94246000
96179000
95692000
95688000
98187000
(50x2)
98165000
(20x2)
98445000
(M6x6)
M6x12
98058000
98131000
(15x2,5)
98137000
(17x1,5)
97767000
(M4x6)
96737000
93592000
92839000
(6 l/min)
94246000
Serviceteile
11
open ⁄ öffnen close ⁄ schließen
< 40° C
cold ⁄ kalt hot ⁄ warm
2.
1.
AXOR S 120
RainAir
Rain
WhirlAir
open ⁄ öffnen
Bedienung
AXOR ⁄ Hansgrohe SE
Auestraße 5–9
77761 Schiltach
Deutschland
info@axor-design.com
axor-design.com
11/ 2 019
9.04288.61

Other Axor Bathroom Fixture manuals

Axor Starck 12452009 Manual

Axor

Axor Starck 12452009 Manual

Axor Citterio E 36143009 Manual

Axor

Axor Citterio E 36143009 Manual

Axor Showerpipe 27984007 Manual

Axor

Axor Showerpipe 27984007 Manual

Axor 250 2jet 35296 Series Manual

Axor

Axor 250 2jet 35296 Series Manual

Axor AXOR 250 1jet 35287007 User manual

Axor

Axor AXOR 250 1jet 35287007 User manual

Axor Starck 10715 1 Series Instruction Manual

Axor

Axor Starck 10715 1 Series Instruction Manual

Axor Uno 27987 Series User manual

Axor

Axor Uno 27987 Series User manual

Axor hansgrohe Uno 38850 Series User manual

Axor

Axor hansgrohe Uno 38850 Series User manual

Axor Starck X Instruction Manual

Axor

Axor Starck X Instruction Manual

Axor Starck Nature 240 1 jet 12670 7 Series Manual

Axor

Axor Starck Nature 240 1 jet 12670 7 Series Manual

Axor 460/300 2jet 35275 Series User manual

Axor

Axor 460/300 2jet 35275 Series User manual

Axor Showerpipe 800 mm 27984 Series Manual

Axor

Axor Showerpipe 800 mm 27984 Series Manual

Axor Uno 38211 Series User manual

Axor

Axor Uno 38211 Series User manual

Axor One 45711 1 Series Instruction Manual

Axor

Axor One 45711 1 Series Instruction Manual

Axor Starck 28284 Series User manual

Axor

Axor Starck 28284 Series User manual

Axor 250 1jet User manual

Axor

Axor 250 1jet User manual

Axor ShowerSelect Round 36723 Series Manual

Axor

Axor ShowerSelect Round 36723 Series Manual

Axor 120 3jet EcoSmart 26051 Series User manual

Axor

Axor 120 3jet EcoSmart 26051 Series User manual

Axor Uno 45600 Series Manual

Axor

Axor Uno 45600 Series Manual

Axor ShowerSelect Round 36723000 Manual

Axor

Axor ShowerSelect Round 36723000 Manual

Axor Starck 240 1-Jet 12672 1 Series Instruction Manual

Axor

Axor Starck 240 1-Jet 12672 1 Series Instruction Manual

Axor Front Showerpipe 26020000 Manual

Axor

Axor Front Showerpipe 26020000 Manual

Axor ShowerHeaven 1200/300 4jet 13603000 User manual

Axor

Axor ShowerHeaven 1200/300 4jet 13603000 User manual

Axor Starck X 10406000 User manual

Axor

Axor Starck X 10406000 User manual

Popular Bathroom Fixture manuals by other brands

Graff 5307900 Accessories guide

Graff

Graff 5307900 Accessories guide

Speakman COMMANDER  SC-1210-AF Installation, Maintenance & Operation Instructions

Speakman

Speakman COMMANDER SC-1210-AF Installation, Maintenance & Operation Instructions

Graff ONDA E-6335-LM61W Series Instructions for assembly and use

Graff

Graff ONDA E-6335-LM61W Series Instructions for assembly and use

Pegler OKA 4S4031 Guide to the installation, care and maintenance

Pegler

Pegler OKA 4S4031 Guide to the installation, care and maintenance

Artika Balneo DSH2-C1 instruction manual

Artika

Artika Balneo DSH2-C1 instruction manual

Kohler MASTERSHOWER Series installation instructions

Kohler

Kohler MASTERSHOWER Series installation instructions

STEIN EMILIO installation instructions

STEIN

STEIN EMILIO installation instructions

Mopedia RP435-6 instruction manual

Mopedia

Mopedia RP435-6 instruction manual

Brizo Virage 85730 Series manual

Brizo

Brizo Virage 85730 Series manual

Signature Hardware Contemporary 948611 quick start guide

Signature Hardware

Signature Hardware Contemporary 948611 quick start guide

NewTeam NT 973-T Installation instructions and user guide

NewTeam

NewTeam NT 973-T Installation instructions and user guide

Roca DEBBA COMPACT 855900 Series installation guide

Roca

Roca DEBBA COMPACT 855900 Series installation guide

WimTec PROOF P6 Installation and operating instructions

WimTec

WimTec PROOF P6 Installation and operating instructions

Artweger BODY+SOUL 9T3F Series Assembly instructions

Artweger

Artweger BODY+SOUL 9T3F Series Assembly instructions

Noro Snow R manual

Noro

Noro Snow R manual

Drive DS 130 operating instructions

Drive

Drive DS 130 operating instructions

Pressalit R8212 Mounting instruction

Pressalit

Pressalit R8212 Mounting instruction

Gabarron TBB 8i Installation instructions and user guide

Gabarron

Gabarron TBB 8i Installation instructions and user guide

manuals.online logo
manuals.online logoBrands
  • About & Mission
  • Contact us
  • Privacy Policy
  • Terms and Conditions

Copyright 2025 Manuals.Online. All Rights Reserved.