manuals.online logo
Brands
  1. Home
  2. •
  3. Brands
  4. •
  5. Aztech
  6. •
  7. Modem
  8. •
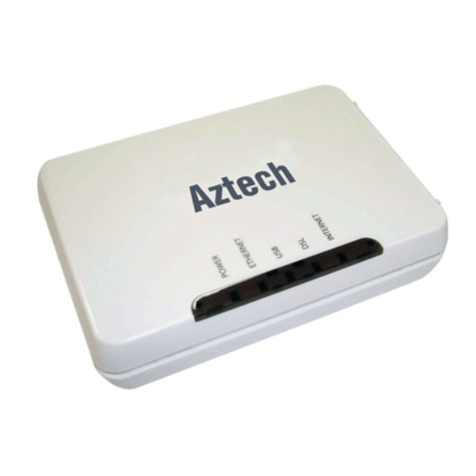
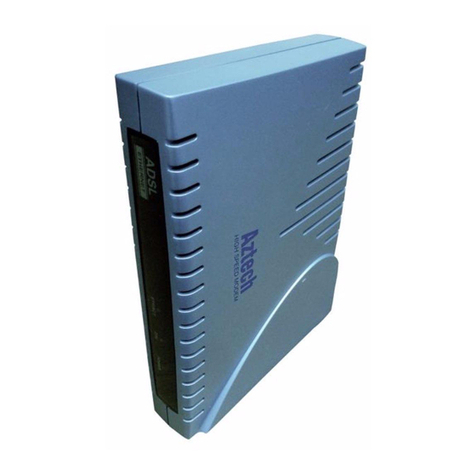
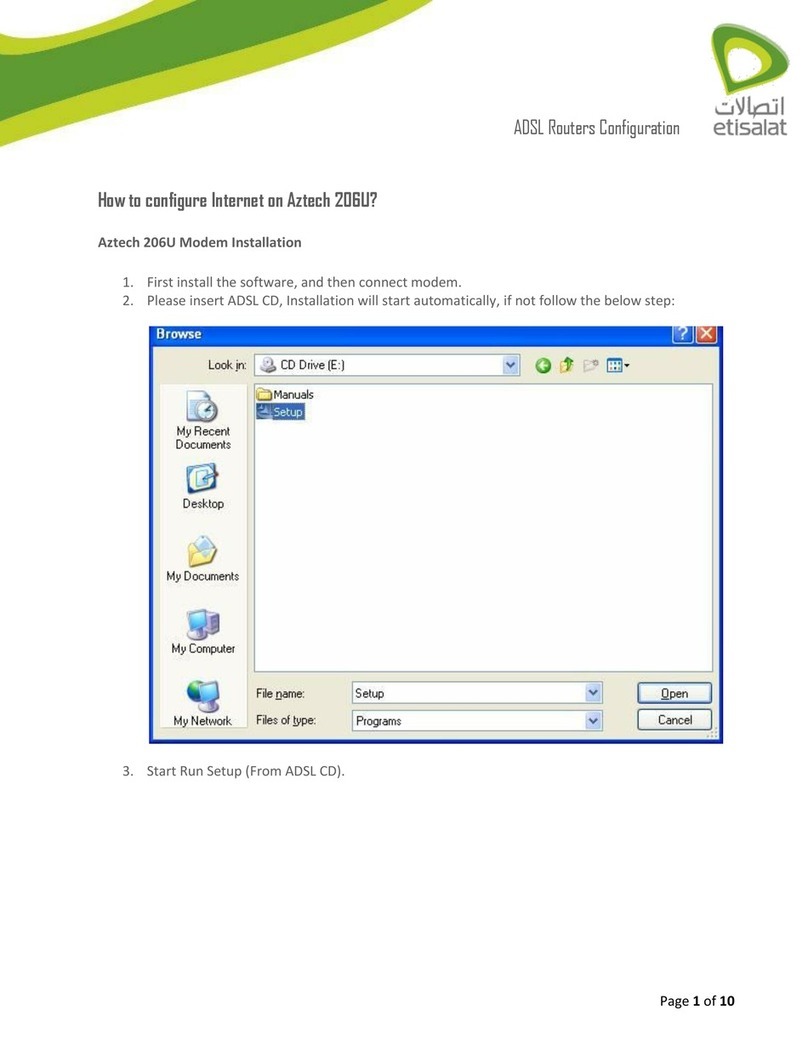
  9. Aztech DSL500U Instructions for use

Aztech DSL500U Instructions for use

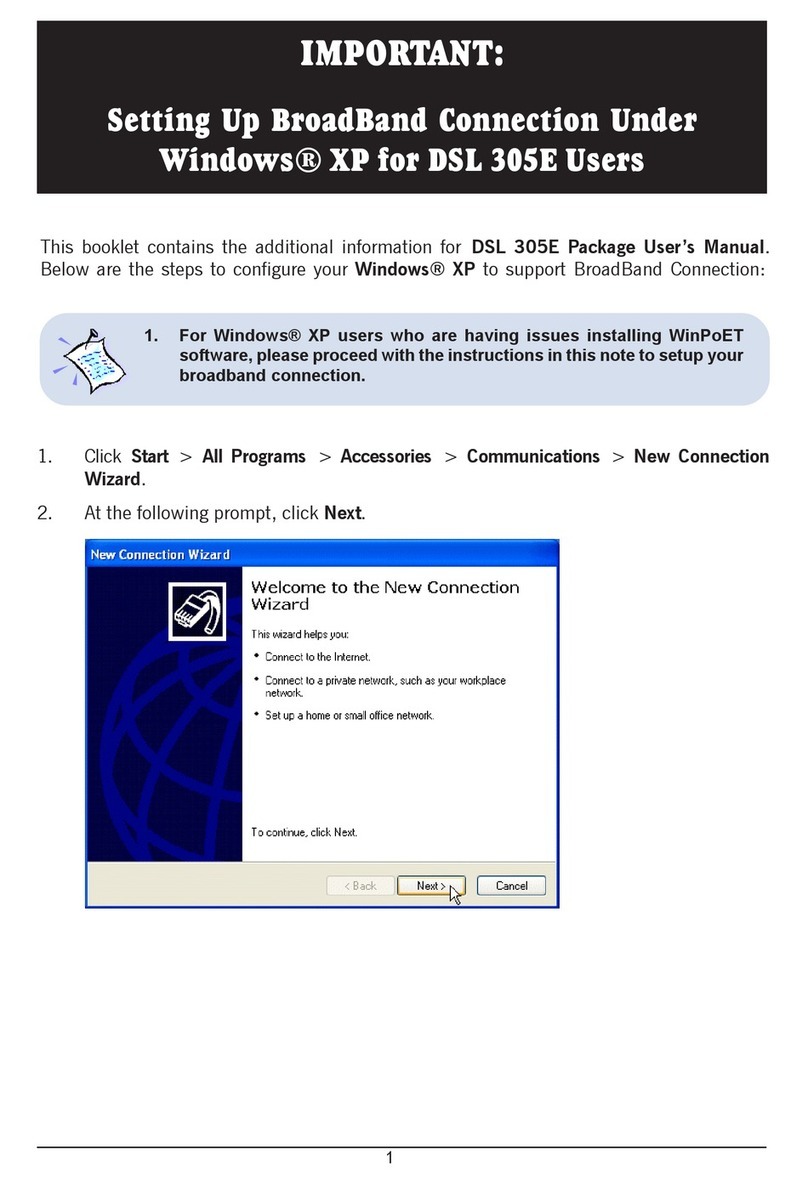
Windows® 98 Second Edition, Windows® Me, Windows® XP and Windows® 2000
supported
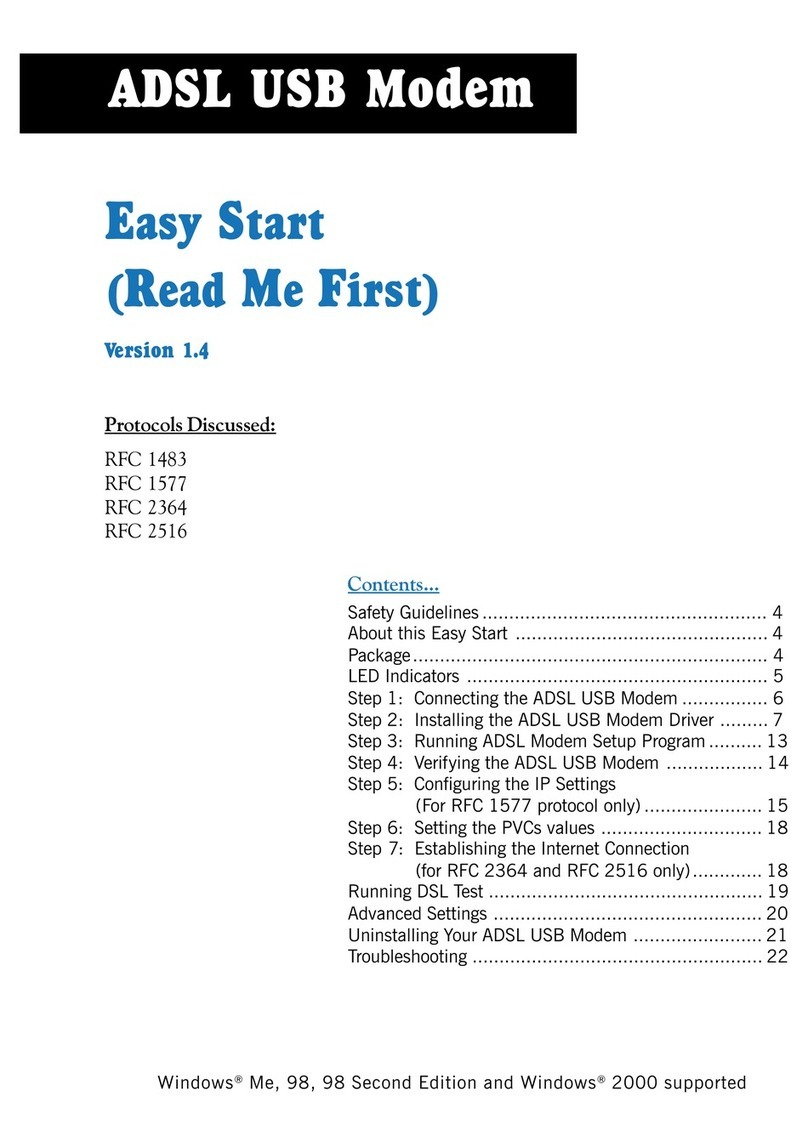
Easy Start
(Read Me First)
Version 1.0
DSL500U
ADSL USB Modem
Contents...
About this Easy Start ................................................... 2
Safety Guidelines ......................................................... 2
Package...................................................................... 2
Minimum System Requirements .................................... 3
LED Indicators ............................................................ 3
Step 1: Connecting Your DSL500U ADSL USB Modem ... 4
Step 2: Installing Your DSL500U ADSL USB Modem
Driver ............................................................ 5
2.1 For Windows® 98 Second Edition .......... 5
2.2 For Windows® Me ............................... 8
2.3 For Windows® XP ............................... 10
2.4 For Windows® 2000 ........................... 12
Step 3: Dial-Up to the Internet .................................... 14
Technical Support ....................................................... 15
2
DSL500U ADSL USB Modem Easy Start
Package
If you found any missing items, please contact your dealer immediately.
(The actual cables that are included with your package may differ in appearance from country to
country)
Telephone extension cable
this Easy Start
USB cable
Installation CD
Product warranty does not apply to damage caused by lightning, power surges or wrong voltage.
ËÌ
ÍÎ
DSL500U
ADSL USB
Modem
Safety Guidelines
•Keep the modem away from fluid, direct sunlight and excessive heat.
•During times of lightning strike/thunderstorm, do not use the modem.
•This product is for use only in UL Listed computers.
•To reduce the risk of fire, use only No. 26 AWG or larger telecommunication
line cord.
About this
Easy Start
This booklet contains information on setting up your
DSL500U ADSL USB Modem. It touches on the key
installation procedures to help you setup your modem !
ÏMicro-Filter (optional) 1
On commonly asked questions or for problems encountered during
the setting up / running of your modem, please refer to theFrequently
Asked Questions located in the \Manuals folder on your Installation
CD.
1 Micro-Filter can be purchased separately from your dealer.
Ê
3
DSL500U ADSL USB Modem Easy Start
LED Indicators
The LED indicators show the status of the following:
Power :Lights up when power is supplied via the USB port from your PC
ADSL :Lights up when the ADSL line is established
Data :Blinks when the modem is transmitting/receiving data
Minimum System Requirements
•IBM PC-based computer with Pentium® 233 processor MMX
•32MB RAM
•20MB hard disk space (system files and modem driver only)
•A free USB Port
•CD-ROM drive
•Windows® 98 Second Edition / Windows® Me / Windows® XP /
Windows® 2000
Power ADSL Data
4
DSL500U ADSL USB Modem Easy Start
Step 1: Connecting Your DSL500U
ADSL USB Modem
With the "Hot Swap" feature in this modem, you can connect your modem to your
computer without having to power off your system!
Carry out the connections as illustrated.
ÊConnect one end of the USB cable ( ) to the USB Port on the
modem and the other end ( ) to the USB port of your computer.
ËConnect one end of the telephone extension cable to the LINE Jack on the
modem and the other end to a Telephone wall socket.
ÌConnect a Micro-Filter2(can be purchased separately from your dealer) to the
TEL Jack on the modem. Connect your Telephone Set to the Micro-Filter.
(The optional connection to the telephone set provides easy access to the phone while
working near the modem. The connection to the Micro-Filter is not required if you
are not connecting to a Telephone Set).
2 For details on the usage of the Micro-Filter, please refer to the Frequently Asked Question, 'Do
I need to use Micro-Filter when using ADSL ?' on the Installation CD (\manuals folder).
Telephone set
Telephone
wall socket
Telephone
extension cable
USB port
USB Port
TEL jack
LINE jack
Ê
Ì
Ë
USB cable
rear view of a PC
Micro-Filter2
5
DSL500U ADSL USB Modem Easy Start
Power on your computer (if it is not powered on during connection). If you have
connected the USB cable from your computer to your modem as illustrated in Step
1, you will be prompted with the following window to install the driver.
Step 2: Installing Your DSL500U
ADSL USB Modem Driver
The screen shots, screens information and steps illustrated in this
manual serve only as a guide. The exact information and steps you
see on your system may vary, depending on your system
configurations. For any dissimilarities, follow closely to the
instructions as prompted on your PC screen.
2.1 For Windows® 98 Second Edition
ii. Select Search for the best
driver for your device
(Recommended) and click
Next.
You may be prompted for your Windows CD-ROM during the driver
installation. Have it ready by your side.
i. Place the Installation CD into your CD-ROM Drive and click Next.
6
DSL500U ADSL USB Modem Easy Start
iii. Click Specify a location.
Enter your CD-ROM drive letter in the text box and click Next.
iv. Click The updated driver
(Recommended)
DSL500U ADSL USB
Modem and click Next.
v. Click Next again to
proceed installation with
the specified driver.
vi At the Copying Files prompt, place your Windows CD-ROM in your CD-
ROM Drive. Enter the path of your Windows CD-ROM and click OK.
7
DSL500U ADSL USB Modem Easy Start
vii. Click Finish to complete the driver installation.
viii. Restart your system at the prompt.
ix. After Windows rebooted, system will proceed with the setup. You will be
prompted for your Windows CD-ROM again. Place your Windows CD-ROM
in your CD-ROM Drive. Enter the path of your Windows CD-ROM and click
OK.
x. Restart you system again.
xi. Upon successful installation, you will see a DSL Test and a DSL500U ADSL
USB Modem Dial-Up shortcut icons generated on your desktop. You may now
proceed with Step 3 - Dial-Up to the Internet.
8
DSL500U ADSL USB Modem Easy Start
2.2 For Windows® Me
i. Place the Installation CD into your CD-ROM Drive.
ii. Select Specify the location of the driver (Advanced) and click Next.
iii. Click Specify a location.
Enter your CD-ROM drive
letter in the text box and
click Next.
iv. Click Next again to proceed installation with the specified driver.
v. Click Finish to complete
the driver installation.
9
DSL500U ADSL USB Modem Easy Start
vi. Restart your system at the prompt.
vii. After Windows rebooted, system will proceed with the setup. Windows will
then again prompt for restart. Select the restart option and click OK to
proceed.
viii. After Windows rebooted, you will see a DSL Test and a DSL500U ADSL USB
Modem Dial-Up shortcut icons generated on your desktop. You may now
proceed with Step 3 - Dial-Up to the Internet.
10
DSL500U ADSL USB Modem Easy Start
2.3 For Windows® XP
i. Place the Installation CD into your CD-ROM Drive.
ii. At the following prompt, select Install from a list or specific location (Advanced)
and click Next.
iii. Click Include this location in the search.
Enter your CD-ROM drive letter in the text box and click Next.
iv. At the prompt stating that the
modem has not passed
Windows Logo testing, click
Continue Anyway. (This
happens when Windows detects
your driver as a new version).
The installation will progress.
v. Restart your system at the
prompt.
11
DSL500U ADSL USB Modem Easy Start
vi. After Windows rebooted, system will proceed with the setup. You may be
prompted again on the Windows Logo testing dialog box. Click Continue
Anyway again.
vii. Upon successful installation, you will see a DSL Test and a DSL500U ADSL
USB Modem Dial-Up shortcut icons generated on your desktop. You may now
proceed with Step 3 - Dial-Up to the Internet.
Dependingonyoursystem'sconfigurations,thispromptmaybe overlapped
by the background installation window (as shown below). When this
happens, please ignore the background installation window and click
Continue Anyway to proceed with the installation.
12
DSL500U ADSL USB Modem Easy Start
2.4 For Windows® 2000
i. Place the Installation CD into your CD-ROM Drive.
ii. At the following prompt, click Next.
iii. Click Search for a
suitable driver for
my device
(recommended) and
click Next.
iv. Select Specify a location and click Next.
v. Enter your CD-ROM drive letter in the text box and click Next.
13
DSL500U ADSL USB Modem Easy Start
vi. Click Next to proceed installation with the specified driver.
vii. You may be prompted
Digital Signature Not
Found. This happens
when Windows detects
your driver as a new
version. Click Yes.
The installation will progress.
vii. Restart your system at the prompt.
viii. After Windows rebooted, system will proceed with the setup.
viii. Upon successful installation, you will see a DSL Test and a DSL500U ADSL
USB Modem Dial-Up shortcut icons generated on your desktop. You may now
proceed with Step 3 - Dial-Up to the Internet.
14
DSL500U ADSL USB Modem Easy Start
Step 3: Dial-Up to the Internet
i. To connect to the Internet, double-click on the shortcut icon DSL500U ADSL
USB Modem Dial-Up on your Windows desktop.
(The shortcut icon was created when you have installed the modem driver successfully.)
ii. Enter your user name and password. Click Connect.
iii. Upon successful dial-up, you should be able to see an icon displayed on
your Windows system tray. Double-click on the icon.
Duration indicates the amount of time you are connected to the Internet. You
may click Disconnect to end your session.
If you are not able to connect to the Internet, you may refer to the Frequently Asked
Questions, 'I am not able to connect to the Internet.' on your Installation CD.
15
DSL500U ADSL USB Modem Easy Start
Technical Support
Aztech Sales Enquiries
Hotline : (65) 6741 7211 (Marketing and Sales Department)
Email : [email protected]
Fax : (65) 6749 1198
Working Hours : Monday to Friday - 0900 to 1700
Saturday/Sunday/Public Holidays - Closed
Aztech Technical Support
Hotline : (65) 6749 2062
Email : [email protected]
Fax : (65) 6749 1198
Working Hours : Monday to Friday - 0900 to 1700
Saturday/Sunday/Public Holidays - Closed
Technical Support Considerations
Majority of enquiries can be resolved efficiently. However, there may be cases when
it is beyond our technical support to assist you. We may not be able to assist you
in:
Hardware conflicts
We will try to discover them and make suggestions but we are unable to repair
them over the telephone.
Software conflicts
Removal of other software and reinstalling our software may be the only
solution.
O/S problem
If you encounter problems like fatal exception or illegal operation, kindly refer
to your PC vendor.
Modifications made to your software
Our technical support officers are trained to support the software we provide
as part of our service and they are knowledgable about a wide range of other
programs. However, we are unable to support software that has been
modified.
 All other company or product names are trademarks or registered trademarks or service marks of their respective
owners.
© Copyright April 2002. All Rights Reserved.
P/N: 040-5B1465-101 (Ref: 500)

Other manuals for DSL500U

1

Other Aztech Modem manuals

Aztech DSL700P User manual

Aztech

Aztech DSL700P User manual

Aztech MR8800-U User manual

Aztech

Aztech MR8800-U User manual

Aztech DSL905E Series User manual

Aztech

Aztech DSL905E Series User manual

Aztech DSL305E Instructions for use

Aztech

Aztech DSL305E Instructions for use

Aztech DSL605E Instructions for use

Aztech

Aztech DSL605E Instructions for use

Aztech DSL Turbo 900 Package User manual

Aztech

Aztech DSL Turbo 900 Package User manual

Aztech 56K External Modem Product information sheet

Aztech

Aztech 56K External Modem Product information sheet

Aztech 56K External Modem Product information sheet

Aztech

Aztech 56K External Modem Product information sheet

Aztech MR2800-W User manual

Aztech

Aztech MR2800-W User manual

Aztech DSL605E User manual

Aztech

Aztech DSL605E User manual

Aztech 56K PCI Modem User manual

Aztech

Aztech 56K PCI Modem User manual

Aztech DSL700P User manual

Aztech

Aztech DSL700P User manual

Aztech ADSL USB Modem Instructions for use
Aztech

Aztech ADSL USB Modem Instructions for use

Aztech DSL705EU Manual

Aztech

Aztech DSL705EU Manual

Aztech 100U Product information sheet

Aztech

Aztech 100U Product information sheet

Aztech HL109EP Instructions for use

Aztech

Aztech HL109EP Instructions for use

Aztech EM6800 User manual

Aztech

Aztech EM6800 User manual

Aztech 206U User manual

Aztech

Aztech 206U User manual

Aztech 56K External Modem Instructions for use

Aztech

Aztech 56K External Modem Instructions for use

Aztech ADSL PCI Modem Product information sheet

Aztech

Aztech ADSL PCI Modem Product information sheet

Aztech FG7003GRV(AC) User manual

Aztech

Aztech FG7003GRV(AC) User manual

Aztech DSL600E(C) User manual

Aztech

Aztech DSL600E(C) User manual

Aztech 206U User manual

Aztech

Aztech 206U User manual

Aztech HomePlug AV Wireless N Extender User manual

Aztech

Aztech HomePlug AV Wireless N Extender User manual

Popular Modem manuals by other brands

Foxtel ADSL Quick install guide

Foxtel

Foxtel ADSL Quick install guide

Sierra Wireless GX350 Quick reference card

Sierra Wireless

Sierra Wireless GX350 Quick reference card

Cisco DPC2100 datasheet

Cisco

Cisco DPC2100 datasheet

Siskiyou 6519 Setup instructions

Siskiyou

Siskiyou 6519 Setup instructions

Linksys CG7500 user guide

Linksys

Linksys CG7500 user guide

Ebyte E180-DTU user manual

Ebyte

Ebyte E180-DTU user manual

Digi XStream -PKG- R product manual

Digi

Digi XStream -PKG- R product manual

Zte SKINNY DONGLE user guide

Zte

Zte SKINNY DONGLE user guide

Raymar V.32M/14.4 Specification sheet

Raymar

Raymar V.32M/14.4 Specification sheet

Multitech MultiConnect MTCM quick start

Multitech

Multitech MultiConnect MTCM quick start

I/O Magic MagicSurfer 56K user guide

I/O Magic

I/O Magic MagicSurfer 56K user guide

Novatel SA-G+ user guide

Novatel

Novatel SA-G+ user guide

Nokia USB Modem manual

Nokia

Nokia USB Modem manual

Navini Networks Ripwave user guide

Navini Networks

Navini Networks Ripwave user guide

LI-COR AirLink RV50X instruction manual

LI-COR

LI-COR AirLink RV50X instruction manual

MultiMax MA-2040 Digital Input & Output Configuration

MultiMax

MultiMax MA-2040 Digital Input & Output Configuration

Technicolor TG588v v2 Setup and user guide

Technicolor

Technicolor TG588v v2 Setup and user guide

NBN connection box user guide

NBN

NBN connection box user guide

manuals.online logo
manuals.online logoBrands
  • About & Mission
  • Contact us
  • Privacy Policy
  • Terms and Conditions

Copyright 2025 Manuals.Online. All Rights Reserved.