BabyGo TRAVEL XP User manual

babyGO Baby Products GmbH
Am Bahndamm 1-3
33378 Rheda-Wiedenbrück
Germany
Kinder Rückhaltesystem
- Bedienungsanleitung
Child Restraint - Instrucon Manual
Siège auto pour enfant
- Manuel d’ulisaon
WICHTIG:
FÜR SPÄTEREN GEBRAUCH
AUFBEWAHREN.
SORGFÄLTIG LESEN.
IMPORTANT:
RETAIN FOR FUTURE REFERENCE.
READ CAREFULLY.
IMPORTANT:
GARDER POUR UTILISATION
ULTÉRIEURE.
LIRE ATTENTIVEMENT.
Child Restraint

Baby-Autositz
Bedienungsanleitung
Baby car seat
Instrucon manual
Siège-Auto pour bébé
Manuel d’instrucons
Sillita de Coche Para Bebés
Manual de Instrucciones
Seggiolino per bambini
Manuale di istruzioni
Baby autozitje
Handleiding
Fotelik samochodowy
Intrukcja obs ugi
D
FR
ES
IT
NL
PL
Scaunel auto pentru copii.
manual de intrucuni
Gyermekülés
Használa utasítás
Bilbarnstol
Instrukonsmanual
Βρεφικό κάθισμα αυτοκινήτου
Εγχειρίδιο οδηγιών
Auto-sedište za bebe
Uputstvoza upotrebu
RO
HU
SE
GR
SRB
EN
otroškegavarnostnega avtosedeža
Navodila za uporabo
SLO
2
Child Restraint

D – Babyschale
Autositz
Baby-Autositz
Bedienungsanleitung
3
Child Restraint

4
Liebe Eltern:
Vielen Dank, dass Sie sich zum Kauf unseres Sicherheits-Baby-Autositzes entschieden haben. Bei der
Entwicklung unseres Autositzes wurde großer Wert auf Sicherheit, Komfort und Bedienungsfreundlich-
keit gelegt. Unsere Produkte sind ECE-zerfi ziert – der höchste Standard. Die Sicherheit Ihres Kindes
kann nur garanert werden, wenn dieses Produkt gemäß dieser Anleitung verwendet wird. Nehmen Sie
sich deshalb bie die Zeit, diese Anleitung aufmerksam zu lesen.
• Dieses Produkt ist für Kinder ab der Geburt bis ungefähr 12 Monate (0 – 13 kg) geeignet.
• Lesen Sie diese Anleitung bie aufmerksam. Sehen Sie sich vor und während des Einbaus die
Abbildungen in dieser Anleitung genau an.
• Bei diesem Produkt handelt es sich um ein Sicherheitsprodukt, das nur sicher ist, wenn es in
Übereinsmmung mit den in dieser Anleitung gegebenen Anweisungen verwendet wird.
•Um zu verhindern, dass Ihr Kind aus dem Sitz fallen kann, stellen Sie zu jeder Zeit sicher, dass
der Tragegriff in der Trageposion eingerastet ist, bevor Sie den Sitz anheben. Stellen
Sie des Weiteren sicher, dass Ihr Kind immer mit dem Sicherheitsgurt sicher angeschnallt ist.
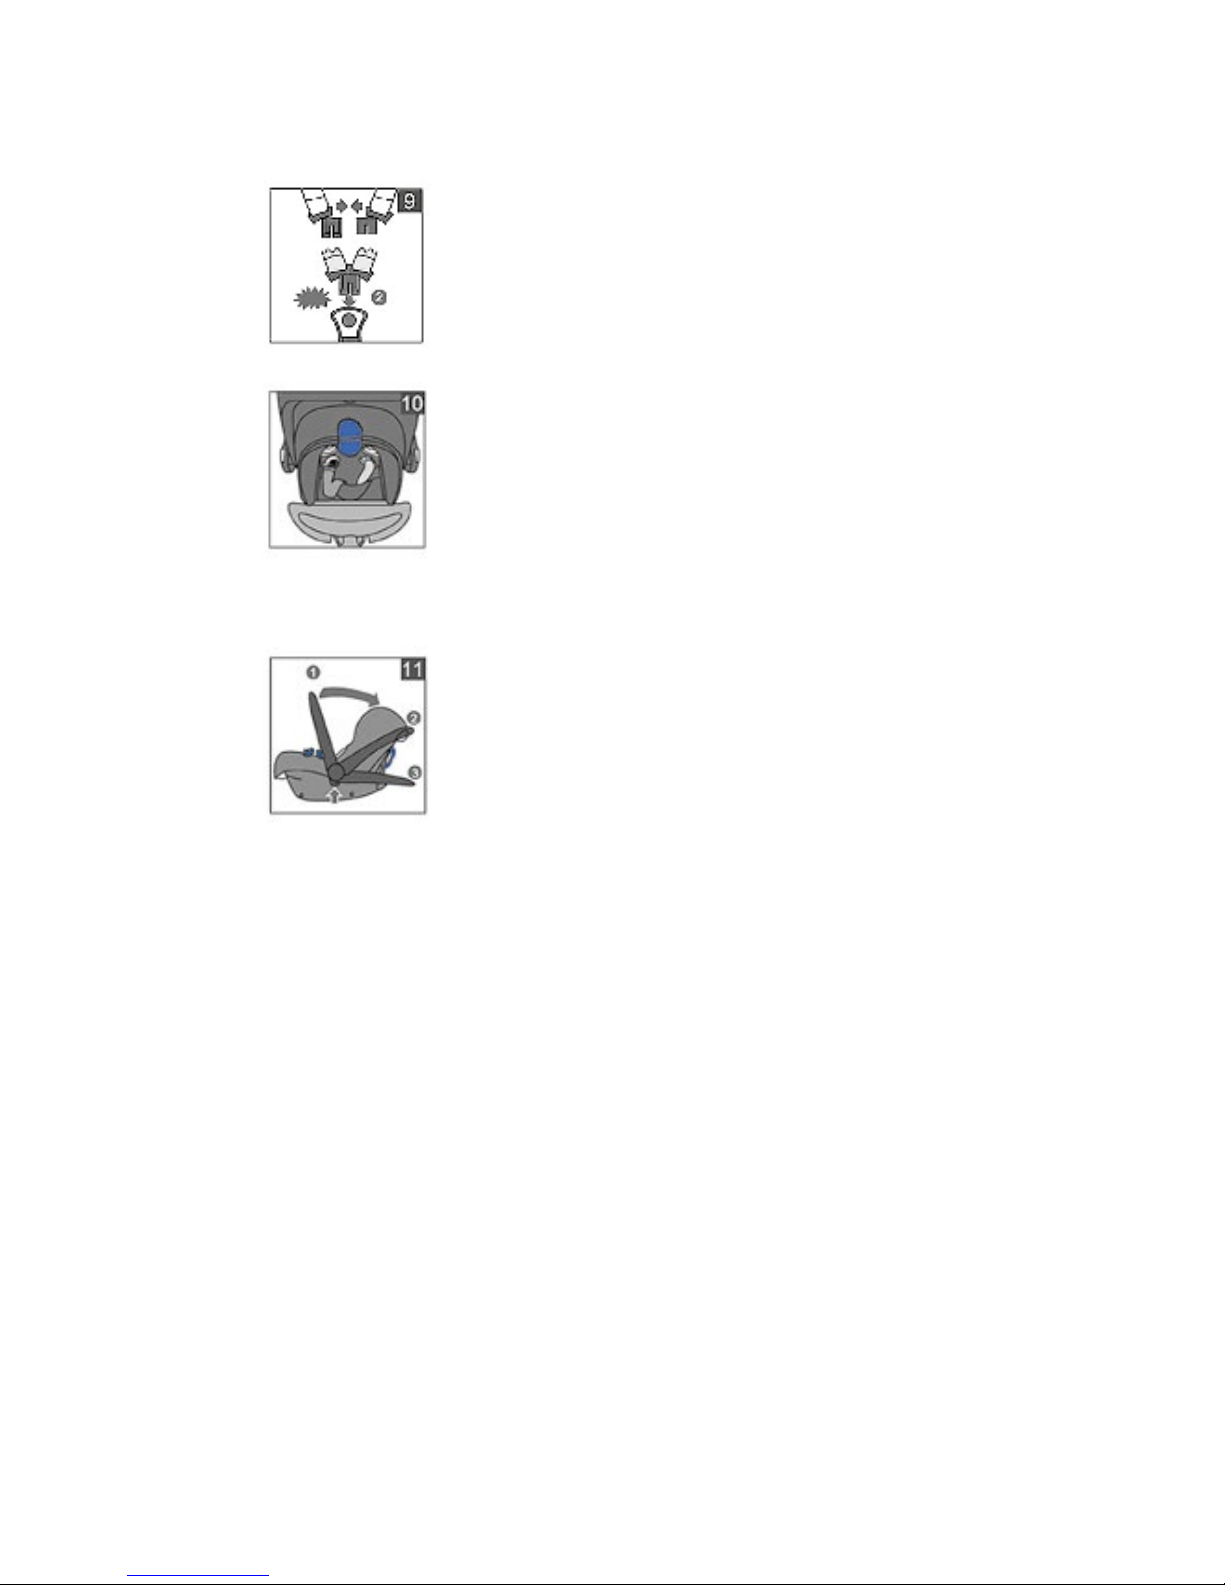
•Es ist für die Sicherheit Ihres Kindes sehr wichg, dass der Sicherheitsgurt entlang den blauen Mar-
kierungen am Produkt geführt ist. Details entnehmen Sie bie dem Abschni „Einbau“. Achten Sie
darauf, dass der Gurt zu keiner Zeit anders geführt wird.
Verwenden Sie dieses Produkt nie auf einem Autositz, der mit einem Front-Airbag ausgestaet ist.
Wenn Sie den Sicherheitsgurt des Fahrzeugs nutzen wollen, verwenden Sie den Kindesitz nur auf
einem Autositz in Fahrtrichtung auf einem Sitz mit einem automaschen oder staschen 3-Punkt-
Sicherheitsgurt. Der Sicherheitsgurt des Kindersitzes wurde nach der Norm ECE R16 oder einer ver-
gleichbaren geprü.
•Der Kindersitz kann sowohl auf dem Vorder- als auch auf den Rücksitzen verwendet werden. Wir
empfehlen jedoch die Verwendung auf den Rücksitzen. Platzieren Sie den Sitz auf den Rücksitzen
immer gegen die Fahrtrichtung.
• Sichern Sie Ihr Kind immer mit dem Sicherheitsgurt. Auch, wenn der Sitz nicht im Auto eingesetzt
wird.
•Nach einem Unfall kann der Sitz aufgrund von Schäden, die nicht unmielbar erkennbar sind, unsi-
cher werden und sollte deshalb ersetzt werden.
• Wir empfehlen strengstens, kein Produkt aus zweiter Hand zu benutzen, da Sie nie die Vorgeschich-
te des Produkts kennen.
• Um eine Beschädigung des Bezugs zu vermeiden, sollten die Logos bzw. Airbag-Auleber nicht
enernt werden Anweisungen für die Verwendung im Auto
• Stellen Sie vor dem Kauf sicher, dass der Sitz in Ihr Auto passt.
• Der Baby-Autositz muss immer gesichert werden. Auch wenn er nicht in Gebrauch ist. Ein ungesi-
cherter Sitz kann andere Passagiere im Fall einer Notbremsung verletzen.
• Wenn der Sicherheitsgurt des Autos höhenverstellbar ist, stellen Sie ihn auf die unterste Posion.
• Wenn Sie den Baby-Autositz auf dem Beifahrersitz einbauen, stellen Sie den Autositz auf die hin-
terste Posion. Die Rückenlehne muss vollständig aufgerichtet und die Kopfstütze unten sein. Wenn
der Babysitz nicht benutzt wird, können Rückenlehne (und Kopfstütze) wie erforderlich eingestellt
werden.
Wichg: Bie zuerst lesen
4
Child Restraint

5
Teilebezeichnungen
1. Schale
2. Gurtschloss
3. Gurtverteiler mit Gurtpolster
4. Schultergurt mit Gurtpolster
5. Schlitze zum Einstellen des Schultergurts
6. Stützkissen
7. Tragegriff
8. Drucktaste zum Einstellen des Tragegriffs
9. Gurtlasche zum Einstellen des Schulter-
gurts mit einer Hand
10. Einstellknopf für die Schnellverstellung
11/12. Auleber mit Anleitung und
Airbag-Warnung
13. Sonnendach (integriert)
• Decken Sie den Sitz immer ab, wenn das Fahrzeug in der Sonne abgestellt ist. Die Kunststoff- und
Metallteile können sehr heiß werden und der Bezug kann ausbleichen.
• Halten Sie nie ein Baby während der Fahrt auf Ihrem Schoß. Aufgrund der enormen, bei einem Unfall
freigesetzten Kräe können Sie Ihr Baby nicht halten. Verwenden Sie immer einen Autositz - auch für
kurze Fahrten.
• Nutzen Sie nie denselben Gurt für sich und Ihr Kind.
Einbau des Sicherheits-Baby-Autositzes
in Ihr Auto
1. Dieses Produkt ist für die Verwendung mit
3-Punkt-Gurten geeignet. Diese werden, wie in
Abbildung 1 gezeigt, in einen Hü- und einen
Schulterteil aufgeteilt.
5
Child Restraint

6
3. Führen Sie den das Hüteil des Sicherheits-
gurts zwischen der Schale und den beiden
Gurthaken über die Vorderseite (Fußende),
wie in Abbildung 3 gezeigt.
4. Legen Sie den Schulterteil des Sicherheitsgurts
um den Baby-Autositz herum und schieben Sie
ihn in den Gurthaken auf der Rückseite, wie in
Abbildung 4 gezeigt.
5. Der Rückhaltehaken halt den Sicherheitsgurt
in Posion, wie in Abbildung 5 gezeigt.
6. Setzen die die Gurtzunge in die Schnalle. Stel-
len Sie sicher, dass der Gurtnicht verdreht ist.
Ziehen Sie den Gurtso fest wie möglich an.
Überprüfen Sie nochmals, dass der Gurtdurch
alle drei blauen Gurthaken geführtist, wie in
Abbildung 6 gezeigt.
2. Setzen Sie den Baby-Autositz gegen die Fahrt-
richtung auf den Sitz, also mit der Rückwand
nach vorne. Der Tragegriff muss in aufrechter
Posion arreertsein, wie in Abbildung 2 ge-
zeigt.
6
Child Restraint

7
1. Einbau des Baby-Autositzes: Nehmen Sie zu-
erst den Stoezug von den beiden Handgrif-
fen ab. Stellen Sie die Rückseite in die zweite
Posion (150). Setzen Sie die Verbinder in die
Handgriffe auf beiden Seiten, bis Sie einen
„Klick“ hören. Setzen Sie anschließend den
den Kindersitz mit den Verbindern in den Kin-
derwagen. (Siehe Abbildung)
2. Ausbau des Baby-Autositzes: Drücken Sie auf
den roten Teil der beiden Verbinder. Ziehen Sie
den Baby-Autositz aus den Verbindern. (Siehe
Abbildung)
Ein- und Ausbau des Kindersitzes in Ihren
Kinderwagen
7. Lösen Sie den Schultergurt, indem Sie auf
die Schnellverstellungstaste drücken und die
Schultergurte, wie in Abbildung 7 gezeigt, in
Ihre Richtung und ziehen Sie anschließend
den Gurtverteiler, wie in Abbildung 8 gezeigt,
nach vorne.
8. Nehmen Sie die Gurtschließzungen zusammen
und setzen Sie sie, wie in Abbildung 9 gezeigt,
in das Gurtschloss ein.
Verwendung des Autositzes
7
Child Restraint

8
9. Ziehen Sie die Schultergurte mit der Gurt-
Schnellverstellung auf der Vorderseite fest.
Die Lasche kann unter der Schale gesichert
werden.
10. Stellen Sie die Höhe der Schultergurte ein. Die
Schultergurte sollten durch die Schlitze direkt
über den Schultern Ihres Babys laufen, wie in
Abbildung 10 gezeigt.
•ziehen Sie die Schultergurte durch die Schlit-
ze in Schale und Bezug.
•Legen Sie die Schultergurte in der erforder-
lichen Höhe nach hinten und verwenden
Sie dieselben Schlitze in Schale und Bezug.
Vergewissern Sie sich, dass die Gurte richg
verwendet werden können und nicht verdreht
sind.
11. Drücken Sie gleichzeig die Knöpfe auf bei-
den Seiten des Tragegriffs und stellen Sie
dann den Tragegriff in die gewünschte Posi-
on. Die Knöpfe springen wieder heraus, wenn
der Tragegriff in Posion ist. 1 Trage-/Fahrpo-
sion 2 Schlaf-/Schaukelposion 3 Sitzposi-
on, wie in Abbildung 11 gezeigt. Abnehmen
des Bezugs
12. Nehmen Sie zuerst die Gurtpolster ab, öffnen
Sie den Rand am Sonnendach so weit wie
möglich. Ziehen Sie anschließend die Zungen
aus dem Gurtschloss und den Verstellgurt
durch die Öffnungen. Zum Wiedereinbauen
des Bezugs befolgen Sie die obigen Schrie
in umgekehrter Reihenfolge.
Wartung
•Der Sitz kann mit Seife und handwarmem Wasser gewaschen werden. Verwenden Sie keine
Scheuermiel. Der Bezug kann von Hand gewaschen werden (maximal 30 °C). Nicht in im Trockner
trocknen. Das Gurtschloss kann mit warmem Wasser gewaschen werden. Nicht schmieren.
Um eine opmale und sichere Verwendung von Kinder-Sicherheitssitzen sicherzustellen, sollten
Sie nichtlänger als 5 Jahre nach dem Kaufdatum verwendet werden. Alterung des Kunststoffs
unter Sonneneinwirkung (UV-Licht) zum Beispiel kann die Qualität des Produkts unbemerkt redu-
zieren.
•Wenn Ihr Kind aus dem Kindersitz herausgewachsen ist, empfehlen wir, den Autositz nicht länger
zu verwenden und ihn vorschrismäßig zu entsorgen.
8
Child Restraint

EN – Safety baby
car seat
Baby car seat
Instrucon Manual
9
Child Restraint

10
Dear Parents:
Congratulaons on the purchase of our safety baby car seat. Safety, comfort and user-friendliness
played an important role in our car seat, and our products are qualifi ed by the ECE which is the highest
standard. Your child‘s safety can only be guaranteed if this product is used according to these instruc-
ons. Therefore, please take me to read through this manual carefully.
•This product is suitable for children from birth to approximalely 12 months (0 – 13kgs).
•Read this instrucon manual carefully. Study the illustraons in this manual closely before and du-
ring installaon.
•It is a safety product that is only safe when used according to the instrucons given in this manual.
•To prevent your child from falling out of the seat. Always check to make sure the carrying handle is
“clicked” into carrying posions before liing the seat. Also make sure your child is always strapped
securely with the harness belt.
•The correct roong of the seat belt along the blue markings on the product is essenal for your
child‘s safety . Please see the installaon secon. Never thread the belt in any other way.
•Never use this product on a seat equipped with a front airbag.
•When installing with the seat belt, only use the car seat on forward facing seat that has been provi-
ded with an automac or stac 3--point belt. The belt provided has been approved according to the
ECE R16 standard or similar.
•It may be used in the front seat and in the back seat. We strongly suggest to be used in the back seat.
Always place the product rearward facing .
•Always secure your child with the harness belt. Even when the seat is not fi ed in the car.
•The seat may become unsafe aer an accident due to damage that is not immediately noceable. It
should therefore be replaced.
•We strongly advise against using a second-hand product, as you can never be sure of its history.
•In order to prevent damage to the cover, do not remove the logos or airbag scker.
Instrucon for use in the car
•Always check to make sure the seat fi ts in your car properly before purchasing it.
•The baby car seat must always be secured. Even when it not in use. An unsecured seat can injure
other passengers in the car in the event of an emergency stop.
•If the car seat belt height is adjustable, adjust it to lower posion.
•When installing the baby car seat on the passenger seat, put the car seat in the rearmost posion.
The backrest must be in fully upright and headrest down. When not using it, the passenger seat (and
headrest) may be adjusted as required.
•Always cover the seat when the car is parked in the sun, as the plasc and metal parts can become
very hot and cover may become discolored.
Important : Read first
10
Child Restraint

11
Components name
1. Shell
2. belt buckle
3. crotch strap with belt pad
4. shoulder belt with belt pad
5. slots to adjust shoulder belt
6. support pillow
7. carrying handle
8. push buon for adjusng carrying handle
9. belt strap for adjusng shoulder belts
easily with one
10. control buon of quick adjuster
11. instrucon and airbag warning scker
12. sun canopy (built in)
•Never hold a baby on your lap while driving. Due to the enormous forces released in an accident, it
will be impossible to hold onto the baby. Always use a car seat, even for short trips.
•Never use the same seat belt to secure yourself and the child.
Installing the safety baby car seat in your car
1. This product is suitable for installaon in three-
point seat belts which will be divided into hip
and shoulder part, as shown in picture 1.
11
Child Restraint

12
3. Thread the lap secon of the seat belt across
the front (foot end) between the shell and two
belt hooks, as shown in picture 3.
4. Place the shoulder secon of the seat belt
around the car seat and slide it into the belt
hook on the back, as shown in picture 4.
5. The retaining hook holds the seat belt in place,
as shown in picture 5.
6. Insert the tongue secon into the buckle. Make
sure the seat belt is not twisted. Tighten it as
much as possible. Check again to make sure
the seat is thread through all three blue belt
hooks, as shown in picture 6.
2. Place the baby car seat in a rearward facingpo-
sion on the seat,therefore with the back for-
ward facing. The carryinghandle must be locked
in anupright posion, as shownin picture 2.
12
Child Restraint

13
1. Install baby car seat: First lake off the fabric
cover from two side handrails. Adjust the back
to the second posion (150). Put the connec-
tors on the each sides handrails ll you hear
“click”. Then put the baby car seat on the strol-
ler by connectors. (See picture)
2. Uninstall baby car seat: Press the red part on
two connectors. Pull the baby car seat away
from the connector. (See picture)
Installing and uninstalling the baby car seat in
your stroller
7. Loose the shoulder belts by pressing the quick
adjuster buon and pulling the shoulder belts
towards you as shown in picture 7, then put
down the crotch strap as shown in picture 8.
8. Join the buckle tongue secons together end
insert them into the buckle as shown in picture
9.
How to use the car seat
13
Child Restraint

14
9. Pull the shoulder belts ght using the quick
adjuster belt strap on the front. The loop can
be secured under shell rim.
10. Adjust the height of the shoulder belts, the
shoulder belts should run through the slots
located directly above the baby‘s shoulders
as shown in picture 10.
• Pull the shoulder belts through the slots in
the shell and cover
• Place the shoulder belts back, at the requi-
red height and use the same slots in both
shell and cover. Check to make sure the
belts can be used properly and that they are
not twisted.
11. Press the buons on both sides of the carry-
ing handle at the same me end then adjust
the carrying handle to the desired posion.
The buons will pop up again once the handle
is in place. 1. carrying posion/driving posi-
on 2. sleeping posion/rocking posion 3. sit-
ng posion as shown in picture 11. Removing
the cover.
12. First remove the belt pads, open the rim at the
sun canopy as far as possible. Then pull the
buckle tongue secons and adjustment strap
through the openings. To refi t the cover, carry
out the above instrucons in reverse order.
Maintenance
•The seat can be cleaned with soap and lukewarm water. Do not use any abrasive detergents.
•The cover must be washed by hand (maximum 30 C) . Do not use a dryer.
•The belt buckle can be cleaned using warm water. Do not lubricate.
•To ensure opmum and safe use of car safety seats, they should not be used for longer than 5 years
aer the date of purchases. Ageing of the plasc, for instance, under the infl uence of sunlight (UV),
may quite unnoceably reduce the qualies of the product.
•Once the child has grown out of the seat we therefore advise you to no longer use the car seat and
to dispose of it in proper way.
14
Child Restraint

FR – Siège-auto pour
bébé
Siège-Auto pour bébé
Manuel d‘instrucons
15
Child Restraint

16
Chers parents:
Félicitaons pour l‘achat de notre siège auto pour bébé. La sécurité, le confort et la facilité d’ulisaon
ont joué un rôle primordial dans la fabricaon de notre siège-auto, et nos produits sont qualifi és par la
norme CEE qui garan la plus haute marque de qualité. La sécurité de votre enfant ne peut être garan-
e que si ce produit est ulisé conformément à ces instrucons. Par conséquent, nous vous prions de
prendre le temps de lire aenvement ce manuel.
•Ce produit est desné aux enfants de la naissance à environ 12 mois (0 – 13kg).
•Lisez aenvement ce manuel. Etudiez les illustraons de ce manuel aenvement avant et pen-
dant l‘installaon.
•Il s‘agit d‘un produit de sécurité qui n‘est sûr que lorsqu‘il est ulisé selon les instrucons données
dans ce manuel.
•Pour empêcher votre enfant de tomber du siège. Toujours vérifi er et s‘assurer que la poignée de
transport est « cliquée » dans sa posion de transport avant de lever le siège. De plus, assurez-vous
que votre enfant est toujours aaché solidement avec la ceinture harnais.
• Une mise en place correcte de la ceinture de sécurité le long des marques bleues sur le produit est
essenelle pour la sécurité de votre enfant. Veuillez vous reporter à la secon installaon. Ne jama-
is enfiler la ceinture de toute autre manière.
• Ne jamais uliser ce produit sur un siège équipé d‘un airbag frontal.
• Lors de l‘installaon de la ceinture de sécurité, n’ulisez le siège auto que sur un siège orienté vers
l‘avant de la voiture qui a été fourni avec une boîte automaque ou staque et avec une ceinture
trois points. La ceinture fournie a été approuvée conformément à la norme ECE R16 ou similaire.
• Il peut être ulisé sur le siège avant et les sièges arrière. Nous vous suggérons fortement de l’uliser
sur les sièges arrière. Toujours placer l‘arrière du produit vers l’avant.
•Aachez toujours votre enfant avec le harnais. Même lorsque le siège n‘est pas ulisé dans le véhi-
cule.
• Le siège peut devenir dangereux après un accident, même si ce n‘est pas immédiatement percep-
ble. Il doit donc être remplacé.
• Nous vous déconseillons fortement d‘uliser un produit de seconde main, car vous ne pouvez jama-
is être sûr de son vécu.
• Afin d‘éviter d‘endommager la coque, ne pas enlever les logos ou autocollants d’instrucons con-
cernant l’airbag Instrucons d‘ulisaon dans la voiture
• Toujours s‘assurer que le siège s‘adapte correctement à votre voiture avant de l‘acheter.
• Le siège auto bébé doit toujours être placé en sécurité. Même lorsqu‘il n‘est pas ulisé.
Un siège non fi xé peut blesser les autres passagers dans la voiture en cas d‘arrêt d‘urgence.
• Si la hauteur de ceinture de sécurité du siège est réglable, réglez-la sur la posion la plus basse
• Lors de l‘installaon du siège d‘auto pour bébé sur le siège passager,mere le siège dans la posi-
on la plus reculée. Le dossier doit être bien remonté et l’appuie-tête vers le bas. Lorsqu‘il n‘est pas
ulisé, le siège passager (et appui-tête) peut être ajusté selon vos besoins.
Important: A lire impéravement
16
Child Restraint

17
Liste des composants
1, Housse
2, boucle de ceinture
3, entrejambe, avec protège harnais
4, Sangles d‘épaules, avec protège harnais
5, fentes pour ajuster la sangle d‘épaules
6, oreiller de souen
7, poignée de transport
8, bouton-poussoir pour le réglage de la
poignée de transport
9, sangle pour le réglage des bretelles faci-
lement avec une seule main
10, Bouton de control de réglage rapide
11, autocollant d’instrucon et
d‘averssement d‘airbag
12, pare-soleil (intégré)
• Toujours couvrir le siège lorsque la voiture est garée en plein soleil, car les pièces métalliques et en
plasque peuvent devenir très chaudes et sa coque peut se décolorer.
•
Ne tenez jamais un bébé sur vos genoux pendant que vous conduisez. En raison des énormes forces
libérées lors d‘un accident, il sera impossible de retenir le bébé. Toujours uliser un siège-auto,
même pour de courts trajets.
• N‘ulisez jamais la même ceinture de sécurité pour vous assurer vous-même ainsi que l‘enfant.
Installaon du siège auto pour bébé dans
votre voiture
1. Ce produit est adapté pour les installaons de
ceintures trois points qui seront divisés entre
les hanches et les épaules, comme représenté
sur la photo 1.
17
Child Restraint

18
3. Enfilez la sangle abdominale de la ceinture
de sécurité sur le devant (côté pieds) entre la
coque et les deux crochets pour ceinture, com-
me dans la fi gure 3.
4. Placez la secon épaule de la ceinture de sé-
curité autour du siège auto et faites-la glisser
dans le crochet pour la ceinture à l’arrière,
comme illustré dans la fi gure 4.
5. Le crochet de retenue mainent la ceinture en
place, comme dans la fi gure 5.
6. Insérez la languee dans la boucle. Assurez-
vous que la ceinture de sécurité n’est pas
vrillée. Serrez-la autant que possible. Vérifi ez
encore une fois que le siège est maintenu à
travers tous les trois crochets bleus, comme
indiqué sur la photo 6.
2. Placez le siège auto bébé sur le siège dans une
posion dos à la route, donc avec le dos tourné
vers l‘avant. La poignée de transport doit être
bloquée dans une posion vercale, comme
représenté sur la photo 2.
18
Child Restraint

19
1. Installer le siège auto pour bébé: D‘abord re-
rer les caches en ssu des poignées de chaque
côté. Réglez le dossier sur la posion numéro
deux(150).
Placez les connecteurs de chaque côtés sur
les poignées jusqu‘à ce que vous entendiez
«clic» Ensuite, mere le siège auto pour bébé
sur la poussee grâce aux connecteurs. (Voir
l‘image)
2. Désinstaller le siège auto pour bébé: Appuyez
sur la pare rouge des deux connecteurs. Tirer
le siège auto bébé loin des connecteurs. (Voir
photo
Installaon et désinstallaon du siège auto
bébé dans votre poussee
7. Desserrez les bretelles en appuyant sur le
bouton de réglage rapide et en rant les
sangles d‘épaules vers vous, comme indi-
qué sur l‘image7, puis descendez la sangle
d‘entrejambe comme dans la fi gure 8.
8. Joignez les deux langues ensemble et insérer
les dans la boucle comme montré dans l‘image
9.
Comment uliser le siège auto
19
Child Restraint

20
9. Serrez les bretelles en rant sur la sangle de
réglage rapide sur la face avant. La boucle
peut être fixée sous la coque.
10. Réglez la hauteur des sangles d‘épaules, les
sangles doivent passer à travers les fentes si-
tuées directement au-dessus des épaules du
bébé comme indiqué sur la fi gure 10.
• rez les sangles parles fentes à travers la
coque et la housse
• Replacez les sangles à la hauteur désirée
et ulisez les fentes à même hauteur dans
la coque et la housse. Assurez-vous que les
ceintures peuvent être ulisées correcte-
ment et qu‘elles ne sont pas tordues.
11. Appuyez sur les boutons des deux côtés de
la poignée de transport en même temps, puis
réglez la poignée de transport dans la posi-
on souhaitée. Les boutons vont « cliquer »
de nouveau une fois que la poignée sera en
place. 1 posion de la poignée pour le trans-
port/la conduite2 posion pour dormir/ber-
cer 3 posion assise, comme indiqué figure
11. Rerer la housse
12. Commencez par rerer les protèges harnais,
ouvrez la bordure du pare-soleil autant que
possible. Ensuite, rez les langues de la cein-
ture et le fermoir à travers les ouvertures. Pour
remere la housse, suivre les instrucons ci-
dessus dans l‘ordre inverse.
Entreen
•Le siège peut être neoyé avec du savon et de l‘eau ède. Ne pas uliser de détergents abrasifs.
•La housse doit être lavée à la main (maximum 30 ° C). Ne pas mere au sèche-linge.
•La boucle de la ceinture peut être neoyée avec de l‘eau ède. Ne pas lubrifi er.
•Pour garanr une ulisaon opmale et en toute sécurité des sièges auto, ils ne devraient pas être
ulisés pendant plus de 5 ans après la date d‘achat. Le vieillissement du plasque, par exemple,
sous l‘infl uence de la lumière du soleil (UV), peut entraîner une détérioraon impercepble de la
qualité du produit.
•Une fois que l‘enfant est trop grand pour le siège. Nous vous recommandons de ne plus uliser le
siège auto et d‘en disposer de manière appropriée.
20
Child Restraint
Other manuals for TRAVEL XP
2
Table of contents
Languages:
Other BabyGo Car Seat manuals

BabyGo
BabyGo iTravel XP User manual

BabyGo
BabyGo Wega User manual

BabyGo
BabyGo BURSA User manual

BabyGo
BabyGo FreeMove User manual

BabyGo
BabyGo GROW UP 360 User manual

BabyGo
BabyGo MOVE 360 User manual

BabyGo
BabyGo YB103 User manual

BabyGo
BabyGo ISO User manual

BabyGo
BabyGo GO SAFE User manual

BabyGo
BabyGo BURSA 3 User manual

BabyGo
BabyGo TRAVEL XP User manual

BabyGo
BabyGo FREEFIX I-SIZE User manual

BabyGo
BabyGo Nova User manual

BabyGo
BabyGo ISO 360 User manual

BabyGo
BabyGo NOVA 2 User manual

BabyGo
BabyGo PRIME 360 User manual

BabyGo
BabyGo BURSA User manual

BabyGo
BabyGo BURSA II User manual

BabyGo
BabyGo Tojo User manual

BabyGo
BabyGo FreeMove User manual