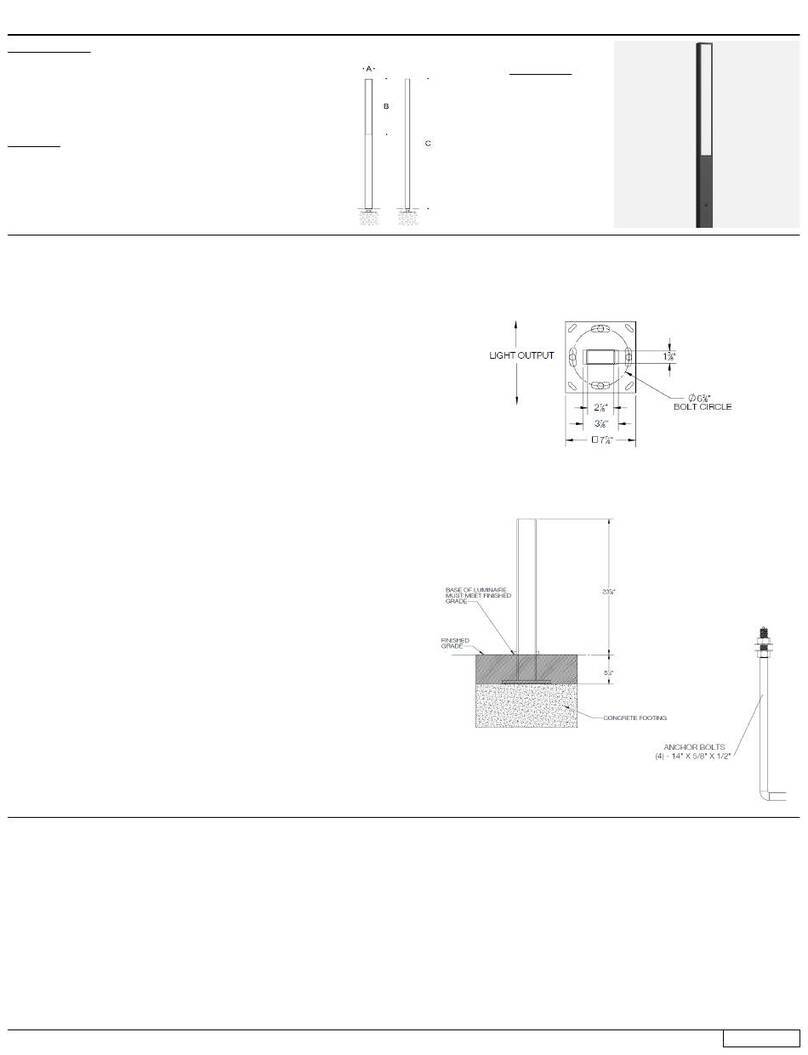
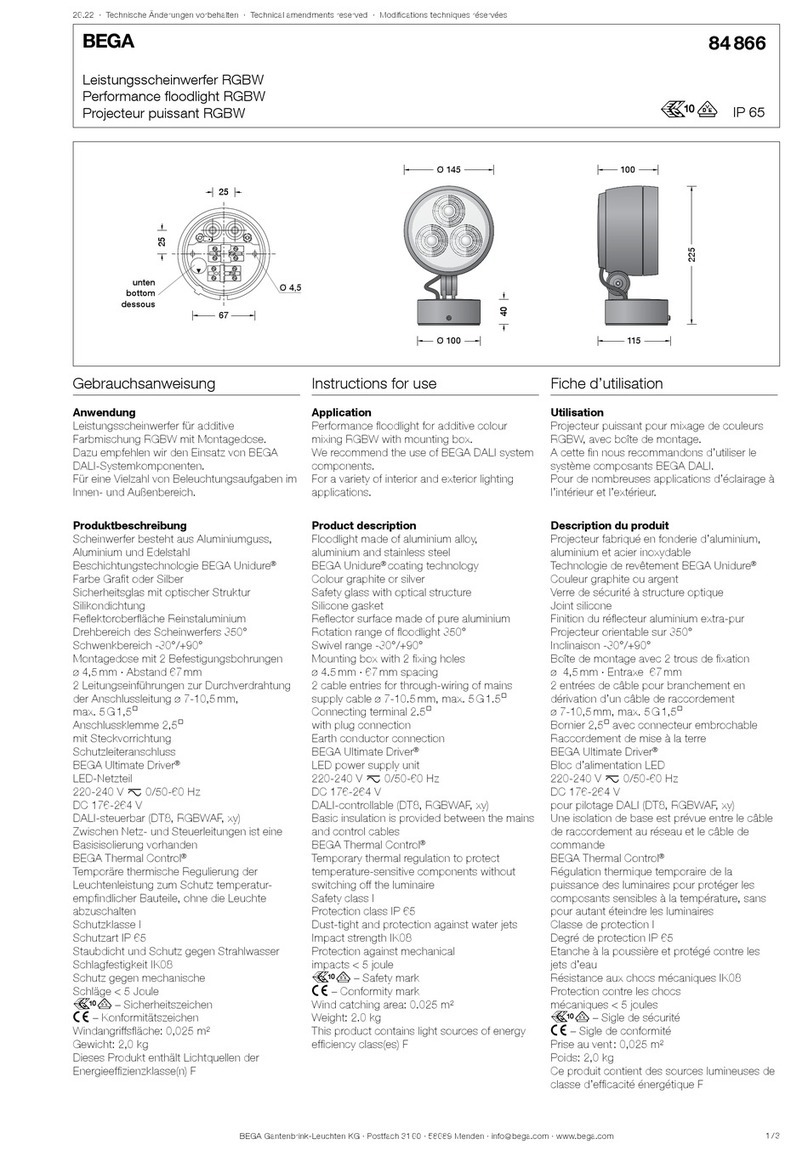
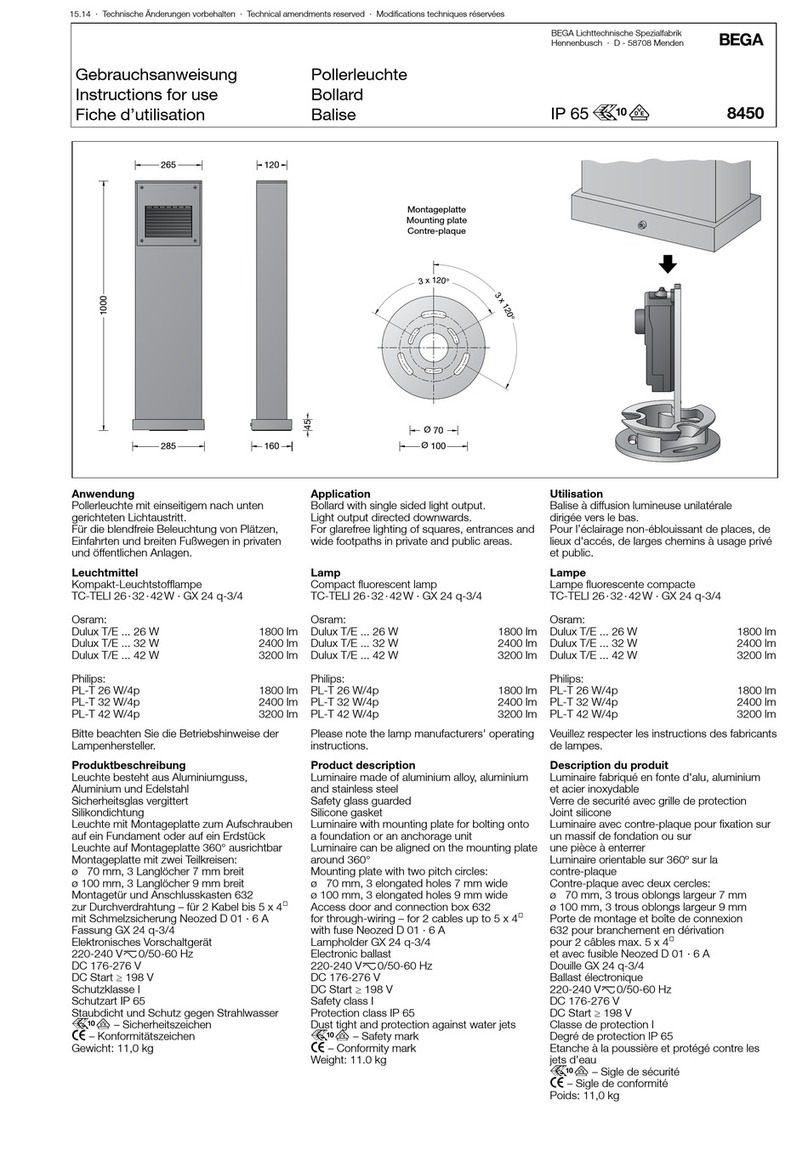
manuals.online logo
Brands
  1. Home
  2. •
  3. Brands
  4. •
  5. BEGA
  6. •
  7. Outdoor Light
  8. •
  9. BEGA 84 700 User manual

BEGA 84 700 User manual

BEGA Gantenbrink-Leuchten KG · Postfach 31 60 · 58689 Menden · info@bega.com · www.bega.com 1/3
20.21 · Technische Änderungen vorbehalten · Technical amendments reserved · Modications techniques réservées
IP 65
!
Prolmast
Prole pole
Mât prolé
84 700
8×8
40004000
120
120
590590
500500
Gebrauchsanweisung Instructions for use Fiche d’utilisation
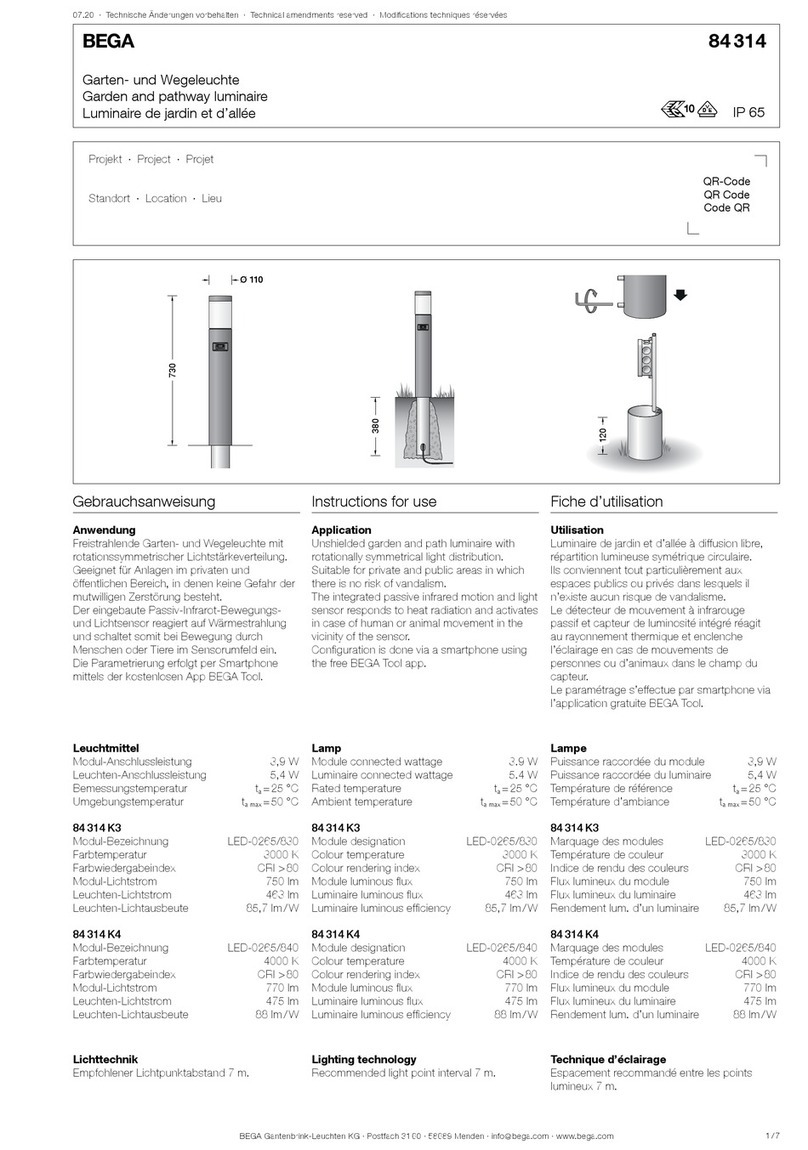
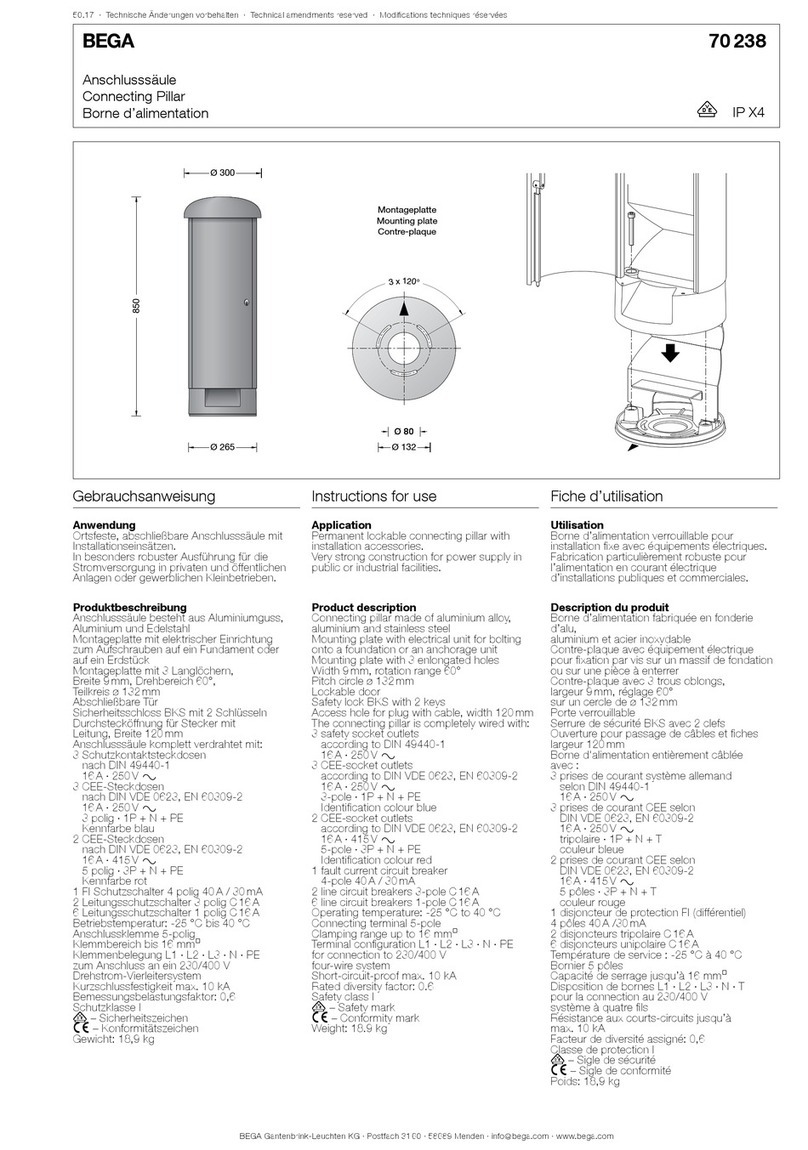
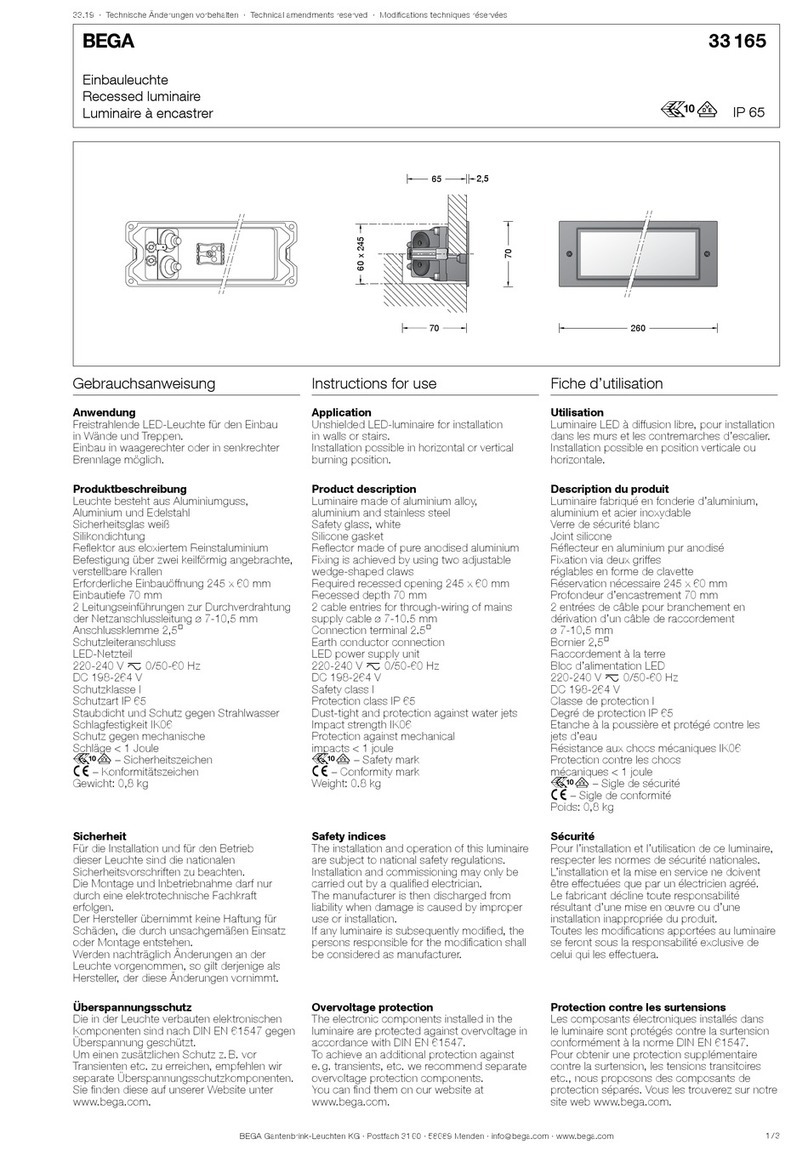
Anwendung
Quadratischer Prolmast aus Aluminium.
Mit 4-seitiger Prolnute für die Aufnahme von
bis zu acht Scheinwerfern.
Application
Square prole pole made of aluminium.
With four-sided prole groove for
accommodating of up to eight oodlights.
Utilisation
Mât prolé carré fabriqué en aluminium.
Avec rainure prolée sur 4 côtés pour la xation
jusqu’à huit projecteurs.
Produktbeschreibung
Mast aus Aluminium,
pulverbeschichtet und lackiert
Beschichtungstechnologie BEGA Unidure®
Befestigung des Prolmastes mit dem Erdstück
71 207 oder mit dem Aufschraubsockel 71 199
zum Aufschrauben auf ein Fundament (siehe
Ergänzungsteile)
Mit eingesetzter Tür aus Aluminiumdruckguss
Vierkant-Türverschluss (SW8)
Anschlusskasten 71 084
zur Durchverdrahtung für 2 Kabel bis 7×6@
Klemmenbelegung L1· L2 · L3 · N · PE
2 Anschlussklemmen zum Anschluss
von DALI Steuerleitungen
Sicherungsklemme mit Feinsicherung
6,3 A träge ø 5 ×20 mm
c 0780– Konformitätszeichen
Windangriffsäche:0,48m²
Gewicht: 29,2 kg
Product description
Luminaire pole made of aluminium,
powder coated and lacquered
BEGA Unidure® coating technology
Fixing of the prole pole with anchorage unit
71 207 or screw-on base 71 199 for bolting
onto a foundation (see accessories)
With inserted door made of die cast aluminium
Square door latch (wrench size8mm)
Connection box 71 084
for through-wiring for 2 cables up to 7×6@
Terminal connection L1· L2 · L3 · N · PE
2 connecting terminals for connecting DALI
control cables
Fuse terminal with micro fuse
6,3 A slow ø 5 ×20 mm
c 0780– Conformity mark
Wind catching area:0.48m²
Weight: 29.2 kg
Description du produit
Mât fabriqué en aluminium;
surface poudrée et laquée
Technologie de revêtement BEGA Unidure®
La xation du mât prolé est effectuée au
choix sur pièce enterrée 71 207 ou socle à
visser 71 199 à xer par vis sur un massif de
fondation (voir accessoires)
Avec porte fabriquée en fonderie d'aluminium
injecté
Fermeture à vis à quatre pans (SW8)
Boîte de connexion 71 084 pour branchement
en dérivation pour 2 câbles max. 7×6@
Disposition de bornes L1· L2 · L3 · N · PE
2 bornes pour le raccordement de câbles de
commande DALI
Porte fusible avec fusible à l n
6,3 A lent ø 5 ×20 mm
c 0780– Sigle de conformité
Prise au vent :0,48m²
Poids: 29,2 kg
Sicherheit
Für die Installation und für den Betrieb
dieses Lichtmastes sind die nationalen
Sicherheitsvorschriften zu beachten.
Der Hersteller übernimmt keine Haftung für
Schäden, die durch unsachgemäßen Einsatz
oder Montage entstehen.
Werden nachträglich Änderungen an dem
Lichtmast vorgenommen, so gilt derjenige als
Hersteller, der diese Änderungen vornimmt.
Safety indices
The installation and operation of this pole are
subject to national safety regulations.
The manufacturer is then discharged from
liability when damage is caused by improper
use or installation.
If any pole is subsequently modied, the
persons responsible for the modication shall
be considered as manufacturer.
Sécurité
Pour l’installation et l’utilisation de ce mât,
respecter les normes de sécurité nationales.
Le fabricant décline toute responsabilité
résultant d'une mise en œuvre ou d'une
installation inappropriée du produit.
Dans le cas où des modications sont
apportées ultérieurement au mât, l’intervenant
qui aura réalisé ces modications sera
considéré comme étant le fabricant.
BEGA Gantenbrink-Leuchten KG · Postfach 31 60 · 58689 Menden · info@bega.com · www.bega.com
2/3
Vor der Montage zu beachten:
Die Befestigung des Prolmastes erfolgt
mit dem Erdstück 71 207 oder mit dem
Aufschraubsockel 71 199 zum Aufschrauben
auf ein Fundament (siehe Ergänzungsteile).
Für den elektrischen Anschluss ist eine
Kabellänge von ca.1 m über Oberkante
Bodenbelag ausreichend. Der Fußpunkt des
Prolmastes darf nicht tiefer als die Oberkante
des Bodenbelages liegen.
Notice prior to installation:
The xing of the prole pole can be done
with anchorage unit 71 207 or screw-on base
71 199 for bolting onto a foundation
(see accessories).
A cable length of approx.1 m above top edge
of the mounting surface is sufcient for the
electrical connection. The base of the prole
pole must not be below top edge of the
mounting surface.
À respecter avant l’installation:
La xation du mât prolé est effectuée au
choix sur pièce enterrée 71 207 ou socle à
visser 71 199 à xer par vis sur un massif de
fondation (voir accessoires).
Pour le raccordement électrique une longueur
de câble d'environ 1 m au-dessus de la couche
de nition du sol est nécessaire. Le bas du mât
prolé ne doit pas se trouver en dessous de la
couche de nition du sol.
14701470
670670
330330
Ø 90Ø 90 500 × 500
50 × 150
befestigte Oberfläche
Paved surface
Surface consolidée
verdichteter Boden
Compacted soil
Sol damé
Erdreich · Soil · Terre
Sauberkeitsschicht
Sub-base
Couche d’assainissement
Drainage
Beton · Concrete · Béton
1020
Montage Erdstück 71 207
Die Fundamentgröße ist abhängig von der
Topographie, Bodenbeschaffenheit und
Windbelastung und muss jeweils bauseits
bestimmt werden.
Dazu gilt die Norm DIN 1045.
Die obige beispielhafte Fundamentempfehlung
gilt nur für einen tragfähigen Baugrund und nur
für den Prolmast 84 700.
Zweiteilige Grundplatte aus dem Erdstück
entnehmen und am Erdstück befestigen.
Erdkabel durch seitliche Leitungseinführung in
das Erdstück einführen.
Erdstück standsicher einbauen.
Beim Einbau des Erdstücks ist darauf zu
achten, dass das Rohr absolut senkrecht steht.
Die Schutzschicht im Bereich des Erdstückes
darf nicht beschädigt werden.
Installation anchorage unit 71 207
The size of the foundation depends on the
topography, condition of the soil and the wind
load and must be determined on site.
DIN1045 applies.
The above exemplary recommendation for
a foundation is only applicable for a stable
subgrade and prole pole 84 700.
Remove the two-part anchor plate from the
anchorage unit and x it at the anchorage unit.
Lead the mains supply cable through the lateral
cable entry into the anchorage unit.
Install anchorage unit stably.
When installing the anchorage unit note that
the tube is absolutely vertical.
The protective coating at the anchorage unit
must not be damaged.
Installation pièce enterrée 71 207
Le volume et les dimensions du massif
béton dépendent de la topographie, de la
composition du sol, ainsi que des forces et des
charges exercées par le vent et doivent être
individuellement dénis sur le chantier.
La norme DIN1045 est alors applicable.
Le massif de fondation recommandé ci-dessus
est un exemple uniquement valable pour un
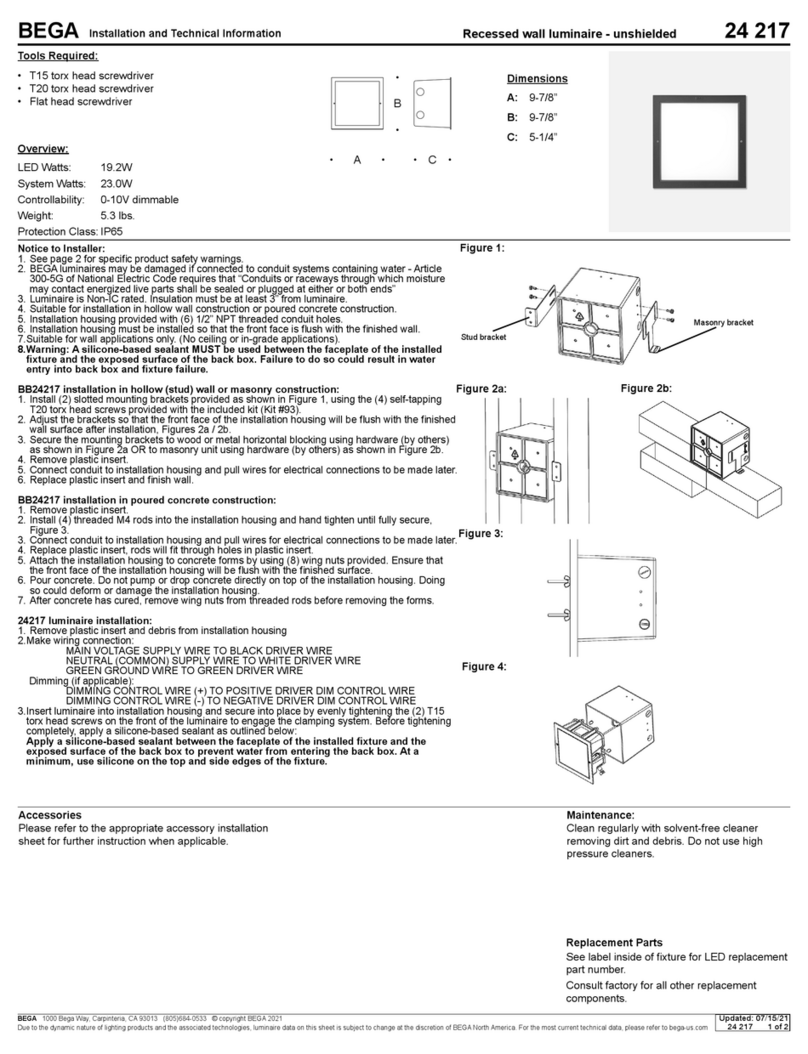
terrain à bâtir solide, et seulement pour le mât
prolé 84 700.
Retirer de la pièce enterrée la plaque de
stabilisation composée de deux pièces.
Fixer la sur la pièce enterrée. Introduire le câble
réseau dans la pièce par l'entrée de câble
latérale. Installer et stabiliser la pièce enterrée.
Lors de l'installation de la pièce enterrée il
faut bien vérier que le tube soit absolument
vertical.
La couche protectrice en contact et autour
de la pièce enterrée ne doit pas être
endommagée.
befestigte Oberfläche
Paved surface
Surface consolidée
verdichteter Boden
Compacted soil
Sol damé
Erdreich · Soil · Terre
Beton · Concrete · Béton
2020
330330
450450
Ø 90Ø 90
300300400400
Ø 30
700 × 700
700
BEGA Gantenbrink-Leuchten KG · Postfach 31 60 · 58689 Menden · info@bega.com · www.bega.com 3/3
Montage mit Aufschraubsockel 71 199
Die Fundamentgröße ist abhängig von der
Topographie, Bodenbeschaffenheit und
Windbelastung und muss jeweils bauseits
bestimmt werden.
Dazu gilt die Norm DIN 1045.
Die obige beispielhafte Fundamentempfehlung
gilt nur für einen tragfähigen Baugrund und nur
für den Prolmast 84 700.
Erdkabel in den Aufschraubsockel führen.
Aufschraubsockel auf Fundament standsicher
befestigen.
Das Befestigungsmaterial ist bauseits
festzulegen und zu stellen: z. B. Steinschrauben
aus Edelstahl M16x300DIN529.
Dabei auf bauaufsichtliche Zulassung achten.
Installation with screw-on base 71 199
The size of the foundation depends on the
topography, condition of the soil and the wind
load and must be determined on site.
DIN1045 applies.
The above exemplary recommendation for
a foundation is only applicable for a stable
subgrade and prole pole 84 700.
Lead underground cable into the screw-on
base.
Fix screw-on base stably on a foundation.
The xing material must be determined and
provided by the customer: e.g. stone bolts
made of stainless steel M16x300DIN529.
Note authorization through supervision of
construction.
Installation avec socle à visser 71 199
Le volume et les dimensions du massif
béton dépendent de la topographie, de la
composition du sol, ainsi que des forces et des
charges exercées par le vent et doivent être
individuellement dénis sur le chantier.
La norme DIN1045 est alors applicable.
Le massif de fondation recommandé ci-dessus
est un exemple uniquement valable pour un
terrain à bâtir solide, et seulement pour mât
prolé 84 700.
Introduire le câble réseau dans le socle à visser.
Fixer solidement le socle à visser sur le massif
de fondation.
Les matériaux de xation doivent être dénis
et fournis sur le chantier: par exemple
vis à scellement en acier inoxydable
M16x300DIN529. Respecter les consignes
de la maîtrise d'ouvrage.
Montage Scheinwerfer
Montage und elektrischen Anschluss gemäß
Gebrauchsanweisung des verwendeten
Scheinwerfers vornehmen.
Installation Floodlight
Installation and electrical connection according
to the instructions for use of the oodlight used.
Installation du projecteur
Pour Installation et raccordement électrique
respecter la che d'utilisation du projecteur
utilisé.
Montage Mast
Verschluss der Montagetür entriegeln und
Montagetür entnehmen.
Innensechskantschrauben (SW4) im
Mastsockel lösen. Mast auf Erdstück oder
Befestigungssockel setzen.
Innensechskantschrauben fest anziehen.
Anzugsdrehmoment = 12 Nm.
Anschlusskasten öffnen.
Erdkabel und Leuchtenanschlussleitung durch
die Leitungseinführung in den Anschlusskasten
führen.
Schutzleiterverbindung herstellen und
elektrischen Anschluss vornehmen.
Auf richtige Belegung der Anschlussleitung
achten. Den Netzanschluss an der braunen
(L), blauen (N) und grün-gelben Ader (1)
vornehmen.
Der Anschluss der Steuerleitungen erfolgt über
die beiden mit DALI gekennzeichneten Adern.
Bei Nichtbelegung dieser Adern wird die
Leuchte mit voller Lichtleistung betrieben.
Anschlusskasten schließen.
Tür einsetzen und verriegeln.
Installation Pole
Unlock the fastener of the installation door and
remove the installation door.
Unscrew the hexagon socket screws (wrench
size4) in the pole base. Place the pole on an
anchorage unit or a mounting base.
Tighten the hexagon socket screws.
Torque = 12 Nm.
Open the connection box.
Lead the luminaire wiring and mains supply
cable through the cable entry into the
connection box.
Make the earth conductor connection and the
electrical connection.
Note correct conguration of the mains supply
cable. Make mains supply connection at the
brown (L), blue (N) and green-yellow lead (1).
The connection of the control cables is
achieved by means of the both leads marked
with DALI.
In case these leads are not used the luminaire
will be operated at full light output.
Close the connection box.
Install the door and lock it.
Installation Mât
Déverrouiller le dispositif de fermeture et retirer
la porte de montage.
Desserrer les vis à six pans creux (SW4) du
socle du mât. Poser le mât sur la pièce à
enterrer ou le socle de xation.
Serrer fermement les vis à six pans creux.
Moment de serrage = 12 Nm.
Ouvrir la boîte de connexion.
Introduire le câble souterrain et le câble du
luminaire dans la boîte de connexion par
l’entrée de câble.
Mettre à la terre et procéder au raccordement
électrique.
Veiller au bon adressage du câble de
raccordement. Effectuer le raccordement
électrique au l marron (L), bleu (N) et vert-
jaune (1).
Le raccordement des câbles de la commande
est effectué avec les ls marqués DALI.
Si ces ls ne sont pas raccordés le luminaire
fonctionne sur la puissance maximale.
Fermer la boîte de connexion.
Installer et fermer la porte.
Reinigung · Pege
Mast regelmäßig mit lösungsmittelfreien
Reinigungsmitteln von Schmutz und
Ablagerungen säubern.
Dafür keinen Hochdruckreiniger verwenden.
Cleaning · Maintenance
Clean pole regularly with solvent-free cleansers
from dirt and deposits.
Do not use high pressure cleaners.
Nettoyage · Entretien
Nettoyer le mât régulièrement avec des
produits de nettoyage ne contenant pas de
solvants et le débarrasser des dépôts et des
souillures.
Ne pas utiliser de nettoyeur haute pression.
Ergänzungsteile
71 207 Erdstück
71 199 Aufschraubsockel
Accessories
71 207 Anchorage unit
71 199 Screw-on base
Accessoires
71 207 Pièce enterrée
71 199 Socle à visser
Es gibt dazu eine gesonderte
Gebrauchsanweisung.
A separate instructions for use can be provided
upon request.
Une che d’utilisation pour ces accessoires est
disponible.
Ersatzteile
Vierkantschlüssel 56 000 091
Tür grat 75 003 948
Tür silber 75 003 949
Dichtung Anschlussbox 83 002 027
Spares
Square spanner 56 000 091
Door graphite 75 003 948
Door silver 75 003 949
Gasket connection box 83 002 027
Pièces de rechange
Clé carrée 56 000 091
Porte graphite 75 003 948
Porte argent 75 003 949
Joint boîte de raccordement 83 002 027

Other BEGA Outdoor Light manuals

BEGA 84 300 Manual

BEGA

BEGA 84 300 Manual

BEGA 84 696 User manual

BEGA

BEGA 84 696 User manual

BEGA UniLink 84 824 User manual

BEGA

BEGA UniLink 84 824 User manual

BEGA 84 607 User manual

BEGA

BEGA 84 607 User manual

BEGA 22 052 Manual

BEGA

BEGA 22 052 Manual

BEGA 99 326 User manual

BEGA

BEGA 99 326 User manual

BEGA 33 296 Manual

BEGA

BEGA 33 296 Manual

BEGA 84 218 Manual

BEGA

BEGA 84 218 Manual

BEGA 77 089 Manual

BEGA

BEGA 77 089 Manual

BEGA 84 422 User manual

BEGA

BEGA 84 422 User manual

BEGA 84 433 User manual

BEGA

BEGA 84 433 User manual

BEGA 88 977 User manual

BEGA

BEGA 88 977 User manual

BEGA 88 863 User manual

BEGA

BEGA 88 863 User manual

BEGA 84 992 User manual

BEGA

BEGA 84 992 User manual

BEGA UniLink 84 835 User manual

BEGA

BEGA UniLink 84 835 User manual

BEGA 99 558 Manual

BEGA

BEGA 99 558 Manual

BEGA 88 619 User manual

BEGA

BEGA 88 619 User manual

BEGA 71 601 User manual

BEGA

BEGA 71 601 User manual

BEGA 88 490 User manual

BEGA

BEGA 88 490 User manual

BEGA 84 563 Manual

BEGA

BEGA 84 563 Manual

BEGA 33 200 Manual

BEGA

BEGA 33 200 Manual

BEGA 33 539 Manual

BEGA

BEGA 33 539 Manual

BEGA 77 146 User manual

BEGA

BEGA 77 146 User manual

BEGA 84 724 User manual

BEGA

BEGA 84 724 User manual

Popular Outdoor Light manuals by other brands

BOSS ILLUMINATION HALO product manual

BOSS ILLUMINATION

BOSS ILLUMINATION HALO product manual

Ferguson Enterprises PARK HARBOR FOXFIELD PHEL5105BLK quick start guide

Ferguson Enterprises

Ferguson Enterprises PARK HARBOR FOXFIELD PHEL5105BLK quick start guide

Visual Comfort & Co. CHO2112 Assembly instructions

Visual Comfort & Co.

Visual Comfort & Co. CHO2112 Assembly instructions

Malibu Boats LZ701 instructions

Malibu Boats

Malibu Boats LZ701 instructions

Quoizel BDS8408AGV installation guide

Quoizel

Quoizel BDS8408AGV installation guide

ABBA UNB11 installation guide

ABBA

ABBA UNB11 installation guide

SLV BIG THEO WALL OUT operating manual

SLV

SLV BIG THEO WALL OUT operating manual

Regent Lighting Solutions Europa Pro Installation

Regent Lighting Solutions

Regent Lighting Solutions Europa Pro Installation

Cooper Lighting HALO HOME FTS20CW instruction manual

Cooper Lighting

Cooper Lighting HALO HOME FTS20CW instruction manual

Adesso 4271-21 Assembly instruction

Adesso

Adesso 4271-21 Assembly instruction

marset kaschkasch Bolita Assembly instructions

marset

marset kaschkasch Bolita Assembly instructions

Tracon Electric LALB4W user manual

Tracon Electric

Tracon Electric LALB4W user manual

Westinghouse W-431 owner's manual

Westinghouse

Westinghouse W-431 owner's manual

Yeelight YLYTD-0014 user manual

Yeelight

Yeelight YLYTD-0014 user manual

Targetti ZEDGE PRO 1E3192 manual

Targetti

Targetti ZEDGE PRO 1E3192 manual

Sealey ML36230F instructions

Sealey

Sealey ML36230F instructions

CREE LIGHTING IG Series installation instructions

CREE LIGHTING

CREE LIGHTING IG Series installation instructions

Solight WM-10W-E quick start guide

Solight

Solight WM-10W-E quick start guide

manuals.online logo
manuals.online logoBrands
  • About & Mission
  • Contact us
  • Privacy Policy
  • Terms and Conditions

Copyright 2025 Manuals.Online. All Rights Reserved.