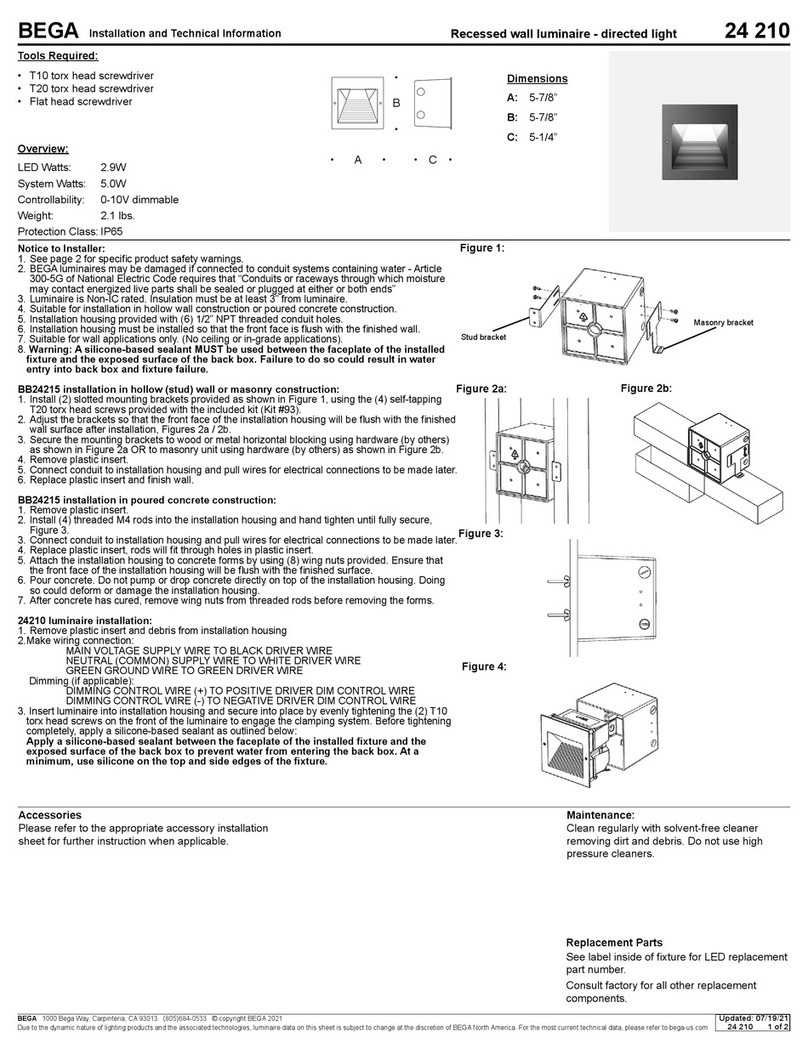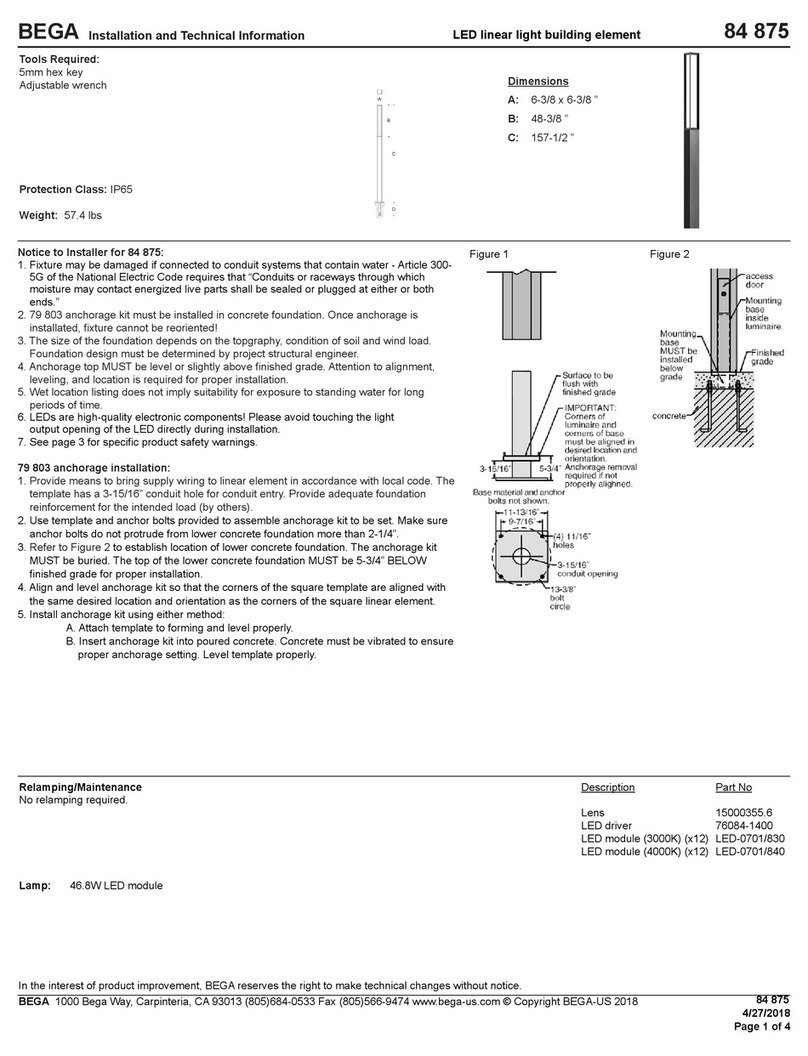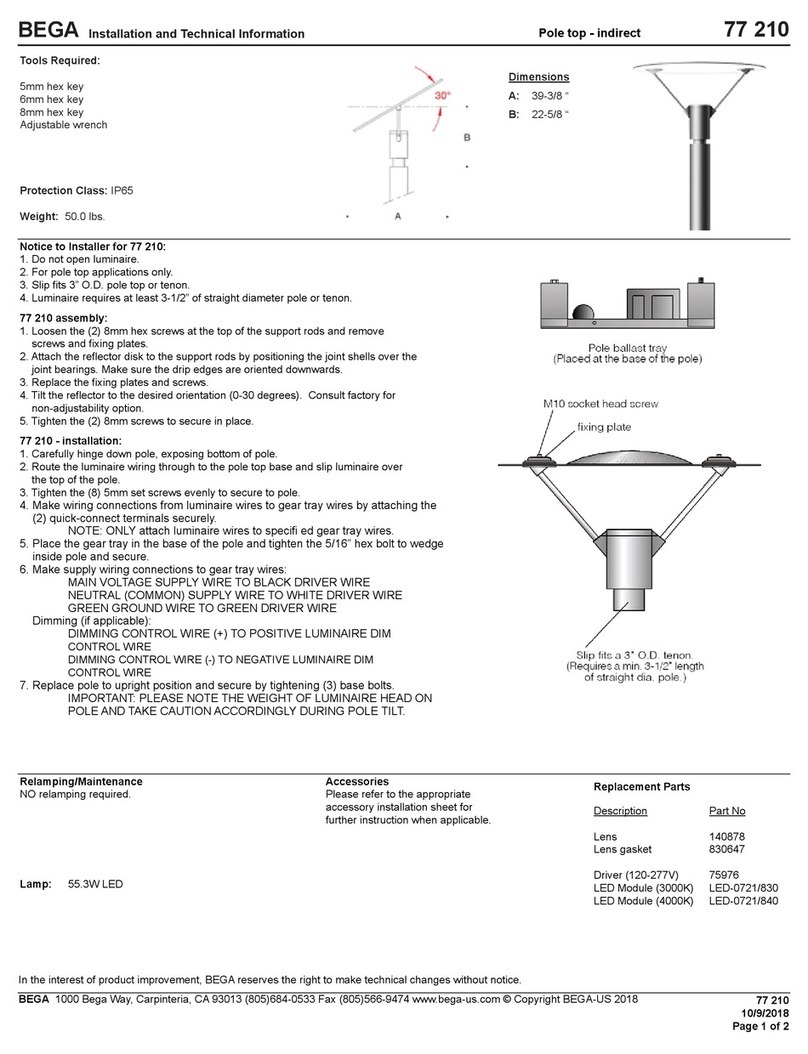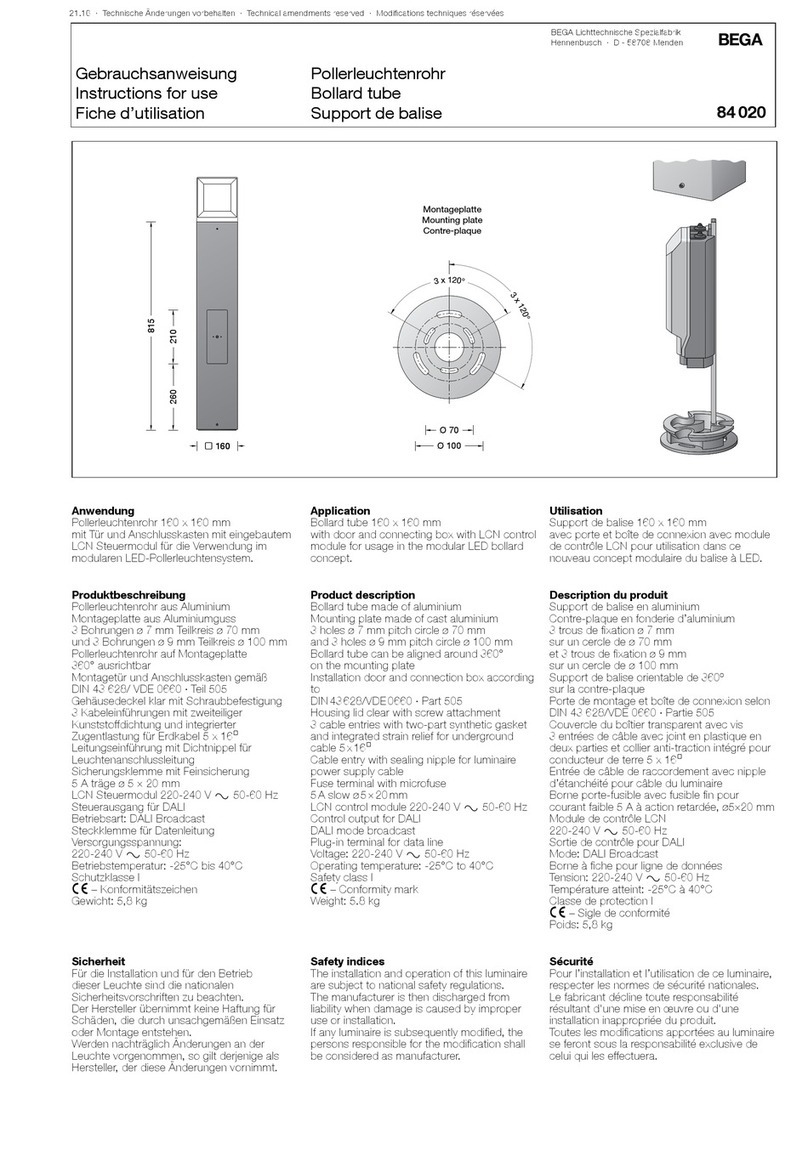
Installation and Technical Information
BEGA
Due to the dynamic nature of lighting products and the associated technologies, luminaire data on this sheet is subject to change at the discretion of BEGA North America. For the most current technical data, please refer to bega-us.com
BEGA 1000 Bega Way, Carpinteria, CA 93013 (805)684-0533 © copyright BEGA 2021
Overview:
LED Watts: 35.7 W
System Watts: 39.7 W
Controllability: 0-10V, TRIAC, and ELV dimming to 1%
Weight: 33.0 lbs.
Protection Class: IP65
Tools Required:
• 5mm Hex key
• 6mm Hex key
• 8mm Hex key
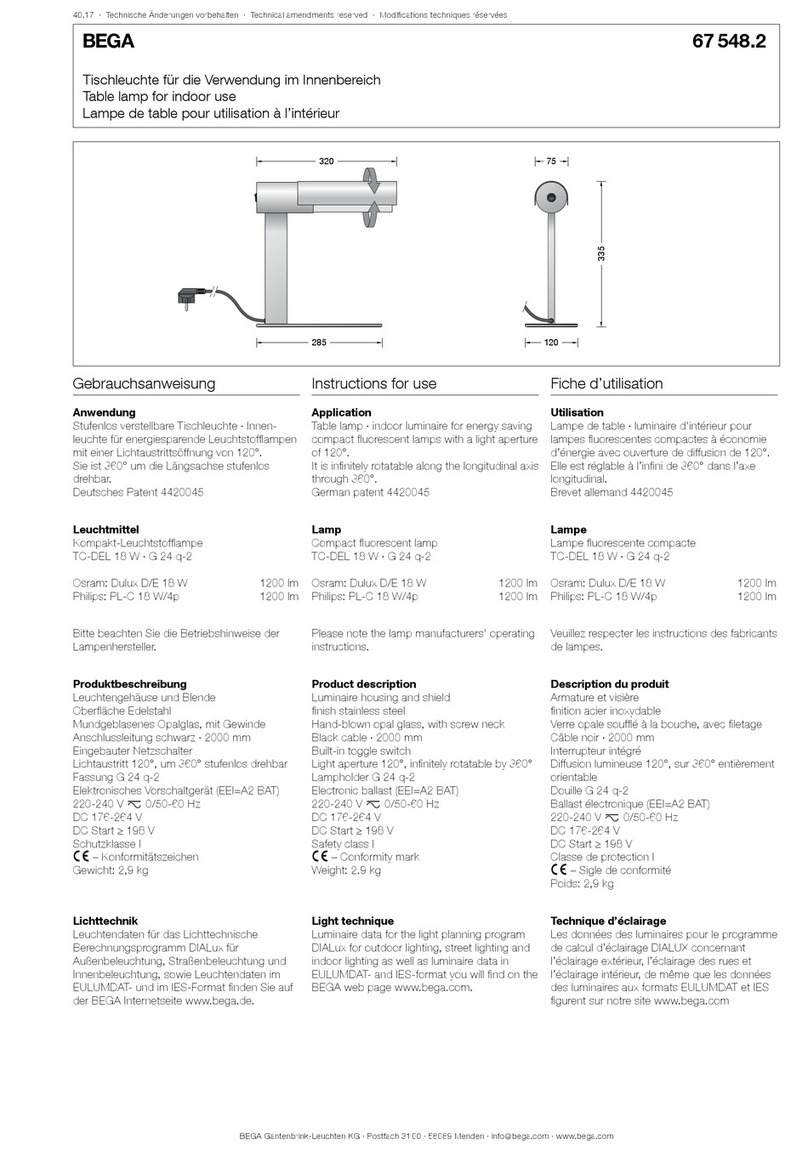
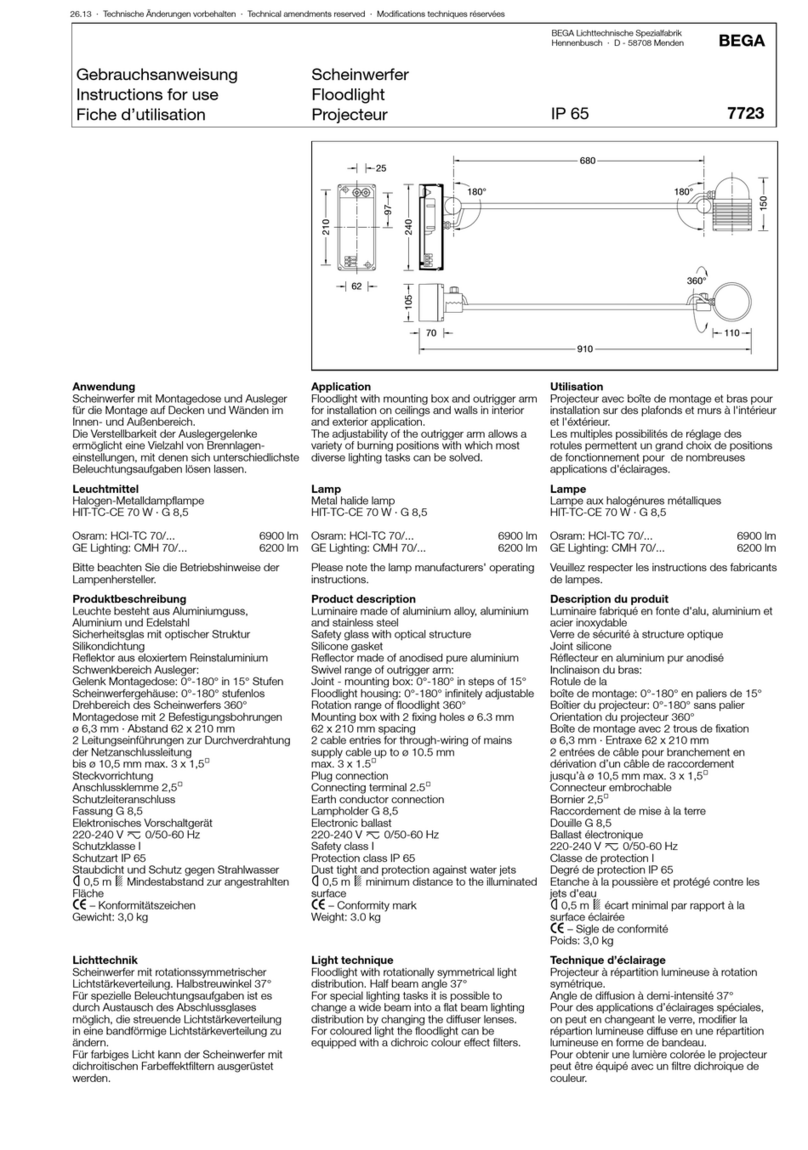
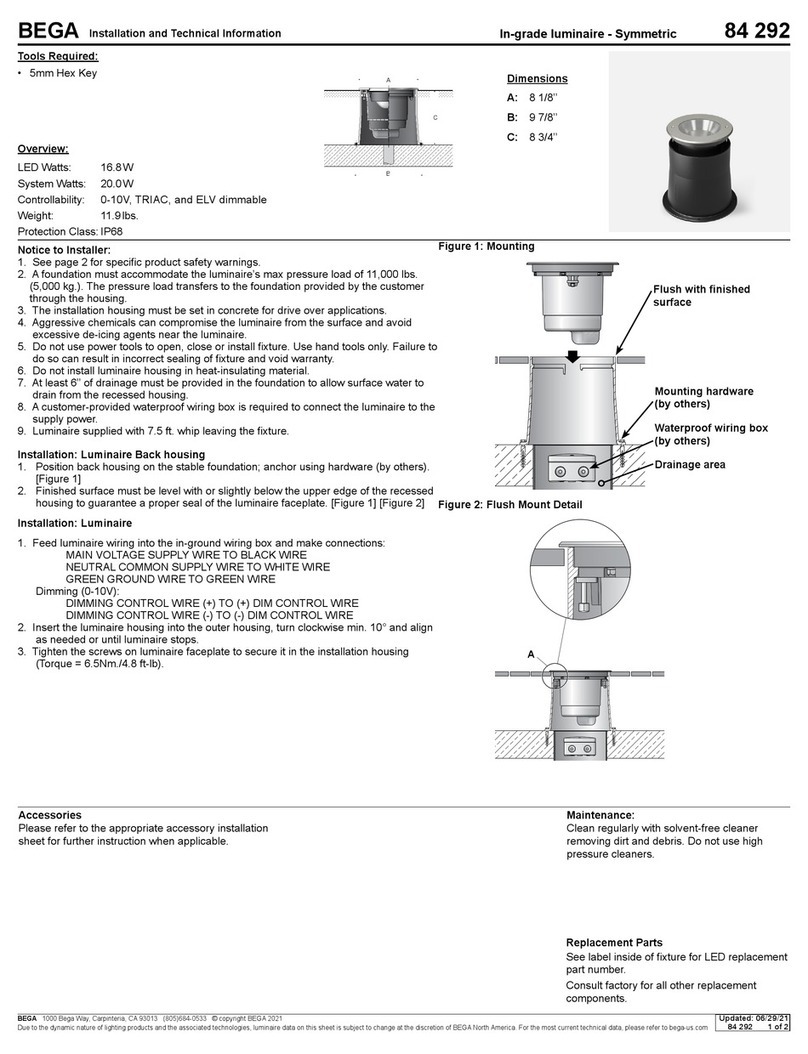
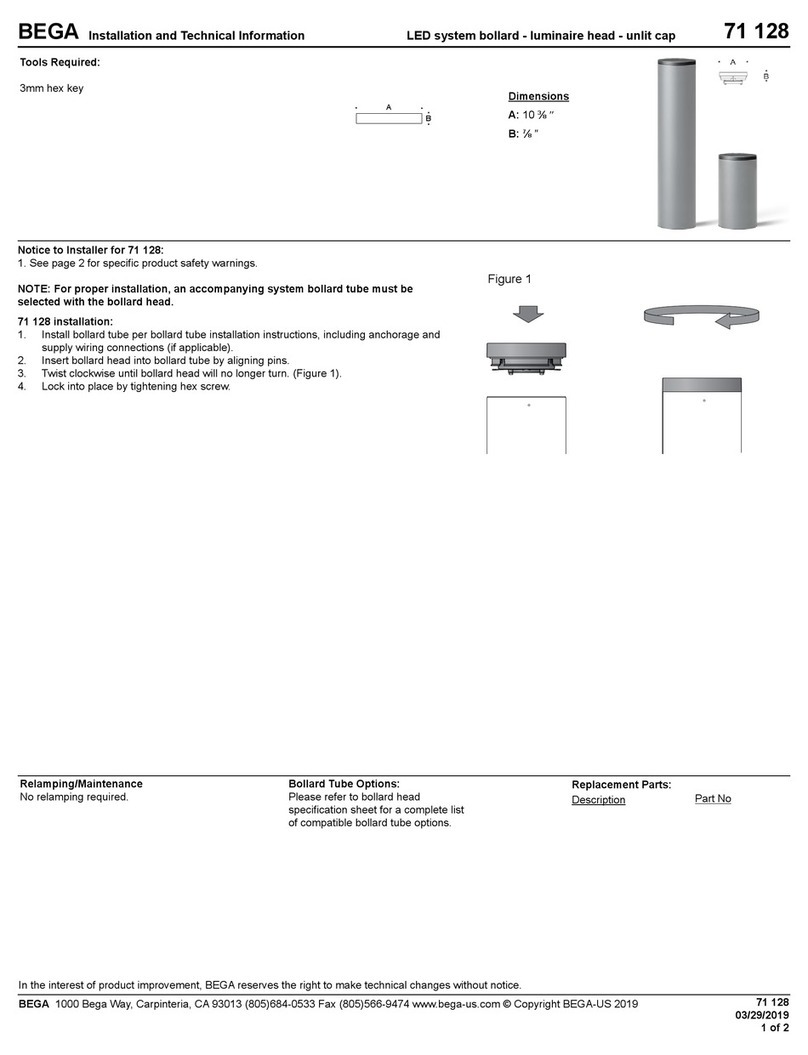
Indirect pole-top luminaire - Adjustable with cut-o optics 98 019
Notice to Installer:
1. Do not open luminaire.
2. For pole top applications only.
3. Slip ts 3” O.D. pole top or tenon.
4. Luminaire requires at least 3-1/2” of straight diameter pole or tenon.
5. LEDs are high-quality electronic components! Please avoid touching diode of LED
module when installing.
Pole top reector assembly:
1. Loosen the (2) 8mm hex screws at the top of the support rods and remove
screws and xing plates.
2. Attach the reector disk to the support rods by positioning the joint shells over the
joint bearings. Make sure the drip edges are oriented downwards.
3. Replace the xing plates and screws.
4. Tilt the reector to the desired orientation (0-30 degrees).
5. Tighten the (2) 8mm hex screws to secure in place.
98 019 Installation:
1. Route luminaire wiring down to base of pole.
2. Make supply wiring connections:
MAIN VOLTAGE SUPPLY WIRE TO BLACK WIRE
NEUTRAL (COMMON) SUPPLY WIRE TO WHITE WIRE
GREEN GROUND SUPPLY WIRE TO GREEN WIRE
Dimming (if applicable):
DIMMING CONTROL SUPPLY WIRE (+) TO POSITIVE DRIVER DIM
CONTROL WIRE
DIMMING CONTROL SUPPLY WIRE (-) TO NEGATIVE DRIVER DIM
CONTROL WIRE
4. Slip luminaire over the top of the pole.
5. Tighten the (6) 5mm set screws evenly to secure to pole.
Dimensions
A: 31-1/2’’
B: 21-1/4’’
Maintenance:
Clean regularly with solvent-free cleaner
removing dirt and debris. Do not use high
pressure cleaners.
Replacement Parts
See label inside of xture for LED replacement
part number.
Consult factory for all other replacement
components.
Accessories
Please refer to the appropriate accessory installation
sheet for further instruction when applicable.
Updated: 03/30/21
98 019 1 of 2


