manuals.online logo
Brands
  1. Home
  2. •
  3. Brands
  4. •
  5. BFT
  6. •
  7. Gate Opener
  8. •
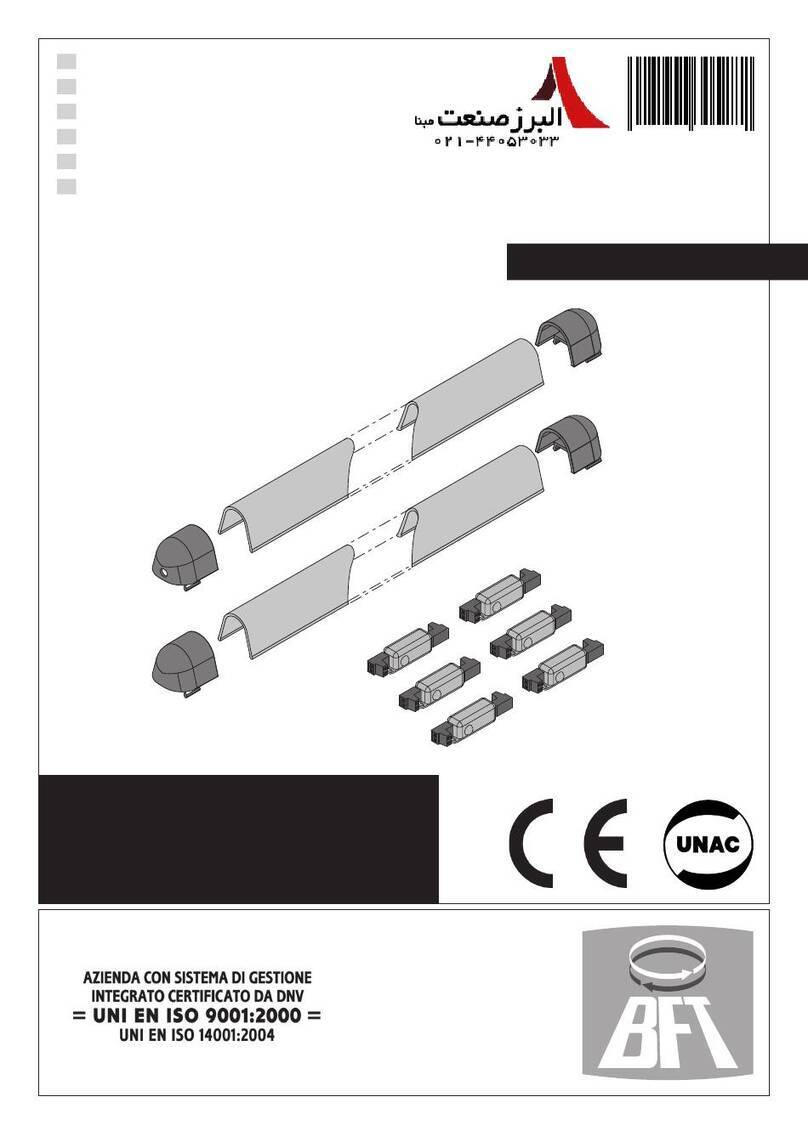
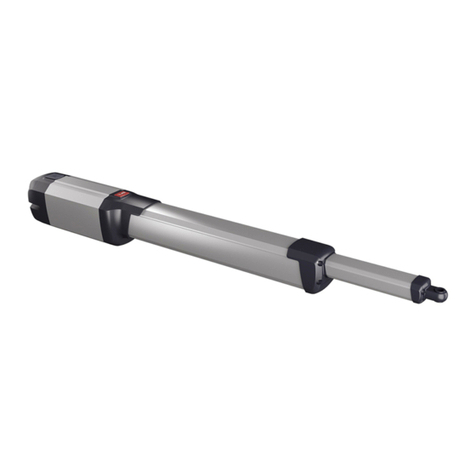
  9. BFT DEIMOS BT A400 120 User manual

BFT DEIMOS BT A400 120 User manual

This manual suits for next models

3

Other BFT Gate Opener manuals

BFT ECOSOL User manual

BFT

BFT ECOSOL User manual

BFT EBB KIT BL-LARGE User manual

BFT

BFT EBB KIT BL-LARGE User manual

BFT STOPPY MBB 219-700.C User manual

BFT

BFT STOPPY MBB 219-700.C User manual

BFT D113745-00001 User manual

BFT

BFT D113745-00001 User manual

BFT WIND AC A230/240-76 EF User manual

BFT

BFT WIND AC A230/240-76 EF User manual

BFT MICHELANGELO User manual

BFT

BFT MICHELANGELO User manual

BFT GIUNO ULTRA BT User manual

BFT

BFT GIUNO ULTRA BT User manual

BFT PHOBOS N BT How to use

BFT

BFT PHOBOS N BT How to use

BFT IGEA User manual

BFT

BFT IGEA User manual

BFT KUSTOS ULTRA BT A25 User manual

BFT

BFT KUSTOS ULTRA BT A25 User manual

BFT ELI-250 User manual

BFT

BFT ELI-250 User manual

BFT PHOBOS N User manual

BFT

BFT PHOBOS N User manual

BFT CLONIX1-2 User manual

BFT

BFT CLONIX1-2 User manual

BFT ELI 250 BT User manual

BFT

BFT ELI 250 BT User manual

BFT FABER BT User manual

BFT

BFT FABER BT User manual

BFT E5 BT A User manual

BFT

BFT E5 BT A User manual

BFT ELI BT A35 V User manual

BFT

BFT ELI BT A35 V User manual

BFT ORO User manual

BFT

BFT ORO User manual

BFT LUX R User manual

BFT

BFT LUX R User manual

BFT ELI-250 User manual

BFT

BFT ELI-250 User manual

BFT Deimos User manual

BFT

BFT Deimos User manual

BFT PHOBOS BT User manual

BFT

BFT PHOBOS BT User manual

BFT LUX User manual

BFT

BFT LUX User manual

BFT ELI250N User manual

BFT

BFT ELI250N User manual

Popular Gate Opener manuals by other brands

Nortek Security & Control Mighty Mule HD272 installation manual

Nortek Security & Control

Nortek Security & Control Mighty Mule HD272 installation manual

tousek TURN 10 Installation and operating instructions

tousek

tousek TURN 10 Installation and operating instructions

SOMFY AXOVIA 220B RTS installation instructions

SOMFY

SOMFY AXOVIA 220B RTS installation instructions

Nice HySecurity CBOX1050 Installation and programming manual

Nice HySecurity

Nice HySecurity CBOX1050 Installation and programming manual

CAME FROG-PM4 installation manual

CAME

CAME FROG-PM4 installation manual

Aprimatic ONDA 500 installation instructions

Aprimatic

Aprimatic ONDA 500 installation instructions

Turnstiles FSW 900 manual

Turnstiles

Turnstiles FSW 900 manual

Erreka BUL BL33 Quick installation and programming guide

Erreka

Erreka BUL BL33 Quick installation and programming guide

Extel VERA quick guide

Extel

Extel VERA quick guide

Beninca R1-2 WBV quick start guide

Beninca

Beninca R1-2 WBV quick start guide

Erreka VULCAN D user manual

Erreka

Erreka VULCAN D user manual

Motorline professional FORT User& installer's manual

Motorline professional

Motorline professional FORT User& installer's manual

Beninca BOB5024 manual

Beninca

Beninca BOB5024 manual

AGA GATEMASTER 900 HD installation manual

AGA

AGA GATEMASTER 900 HD installation manual

Cardin BL Series manual

Cardin

Cardin BL Series manual

Westfalia 85 27 06 instruction manual

Westfalia

Westfalia 85 27 06 instruction manual

Riello Elettronica CARDIN ACE FAST Instruction handbook

Riello Elettronica

Riello Elettronica CARDIN ACE FAST Instruction handbook

Telcoma ARM Instruction handbook

Telcoma

Telcoma ARM Instruction handbook

manuals.online logo
manuals.online logoBrands
  • About & Mission
  • Contact us
  • Privacy Policy
  • Terms and Conditions

Copyright 2025 Manuals.Online. All Rights Reserved.

Cable run
1
5x0.75 mm²
3x1.5 mm²
2x0.75 mm²
3x1.5 mm²
3x1.5 mm²
Motor fastening
2
Limit switch adjustment
3
4
>25 mm
60-70 mm
17 mm + X
I
t
e
≥ 20 mm
Concrete foundation
17 mm
Y
Y + 50 mm
Use normalised black cables
R02V - HO5VVF
Gear set / rack
2 mm
DEIMOS BTA FW ≥ 3.03
X = Rack
Programming (see reverse)
Product reserved for professionals
For safety warnings, please see complete instruction manual
Position the feet at the limit switches while keeping a 2 cm margin before the gate stop. The limit
switch pawl should be all down. Note: the first trigger pulse after switching on power is the opening.
D812965 04903_01 18-10-17
START
S3 S3 X1X1
START STOP
2
3How to programme the remote control
6
10 11
M
41 4342 10 11
M
41 4342
4Fine-tune the limit switch adjustment. 5
LED RADIO
FLASHES RADIO
START
x1
S1 S2 S3 S1 S1 OK
LED RADIO
FLASHES
S1
Y
Y + 50 mm
=
AUTO OPEN AUTO CLOSE
5s
SET
SET SET
OK KO
S1 S2 S3
S1 S2 S3
LED radio
Intermittent ashing
S1 S2 S3 S1 S2 S3
LED radio
Steadily lit
LED radio
Continuous ashing
Y #
ANT
SHIELD
Antenne
+++
F3 1,25A T
F1 0,63A T (220-230V
F1 1,6A T (120V)
ERR
SET
RADIO
24V -
24V +
24 VSafe+
COM
START
OPEN
NO
NO
Accessories
power supply
Limit switch
connector * Commands
PHOT
STOP
COM
FAULT 1
BAR
FAULT 2
NC
NC
NC
Safety devices
Power supply
LN
220-230V ~ *
M1
Motor* Blinker
+ REF SWE
SWC
OWS
10L N 11 20 21 41 42 43
50 51 52 60 61 62 70 71
72 73 74 75
24V
!
24V~ 220-230V~*
POWER
SWO
SWC
START
OPEN
STOP
PHOT
FAULT1
BAR
FAULT2
S1 S2 S3
*factory pre-wired
1
2
3
Hamal control board
HAMAL
3
By default, the opening is on the right. If the opening is on the left, check wiring: switch 10-11 & 42-43.
mini maxi
+++
7
S2
>5s
S1+ S2
>10s
KEYS
Description
S1
S2
S3
Add Start Key
associates the desired key with the Start command.
Add Pedestrian Key
associates the desired key with the pedestrian command.
Conrms the changes made
to parameter settings and operating
Erase List
WARNING! Erases all memorized transmitters from
the receiver’s memory.
Pressed BRIEFLY, it gives the START command.
HELD DOWN (>5 sec.), it activates the AUTOSET function.
2
TRIMMER
Function
T1
T2
Waiting time before automatic closing. 0 120
5 50
10 90
% Force exerted by leaf
% Slow-down speed
T3
+
mini. +
maxi
3
2
1ON
OFF
1
Apartment
building
Residential
Reaction to the START input (wired or radio):
CLOSED Opens
Stops
Opens
Opens Opens
OPEN Closes Closes
Opens
WHILE
CLOSING
STOPS+TCA No effect
WHILE
OPENING
AFTER
STOP
Apartment
building
Residential
Reaction to the OPEN input (wired):
CLOSED Opens
Opens
Opens
Opens Opens
OPEN
Opens
WHILE
CLOSING
Keeps it
open Keeps it
open
No effectNo effect
WHILE
OPENING
AFTER
STOP
Closes Closes
STOPS+TCA No effect
Apartment
building
Residential
Reaction to the PEDESTRIAN input (radio):
CLOSED Opens
partially Opens
partially
Opens
partially Opens
partially
Stops Opens
partially
OPEN
WHILE
CLOSING
WHILE
OPENING
AFTER
STOP
How to perform an open/close test by using the remote control.
Testing the direction of opening - running / stop:
apply power, motor engaged and at stroke centre.
Checking the direction of rotation.
Start an autoset, gate closed.
Fine-tune the adjustments. Motor functions using the potentiometers (T1, T2, T3).
Remember to check
by pressing S2 for 5 sec.
As an option, to go further....
1 - I wish to deactivate the photocells during opening:
3 - I wish to activate pedestrian opening:
Place dipswitch 5 in the ON position.
2 - I wish to activate and adjust automatic closure:
This is done by regulating the T1 potentiometer.
Please refer to the remote control programming by
pressing S2.
DIP
Function
1Transmitter programming
Selection of sensing bars.
Check photocells.
Secure entry check.
Photocells during closing
ON: Memorise the commands
OFF : Disables memorizing of transmitters
ON : Input for resistive edge 8K2.
OFF: Entry for sensitive lintel.
ON : Enable safety check
OFF: Deactivate the check.
ON : Enable safety check
OFF: Deactivate the check.
ON: Invert the movement during the closure phase only.
OFF: Active on opening and closing; invert the movement during the closure phase.
2
3
4
5
Sets the automation type of operation:
ON = Apartment building
OFF = Residential
ON : Safety edge with active reversal only when closing, when opening the movement stops
OFF : Safety edge with active reversal in both directions
Fast closure.
ON : Closes 3 seconds after the photocells are cleared
OFF: Fast closure deactivated.
7
Safety edge input operation
6
Residential / apartment
building operation
8
*factory pre-parameterised
Choose the key
Press the 2 top keys simultaneously
(hidden key). The LED remains xed
24V
2
1TX1 2
1
RX1
4
5
3
50 51 52
70 72 73
DIP3=ON DIP3=OFF
Wire the THEA photocells. 1b1a Wire the DESME photocells
24V
2
1TX1 2
1
RX1
4
5
3
50 51
70 72
or