manuals.online logo
Brands
  1. Home
  2. •
  3. Brands
  4. •
  5. BFT
  6. •
  7. Gate Opener
  8. •
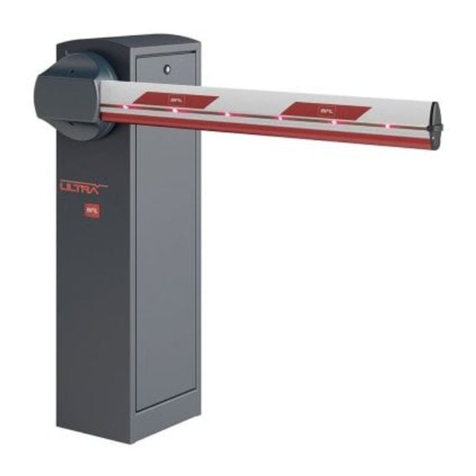
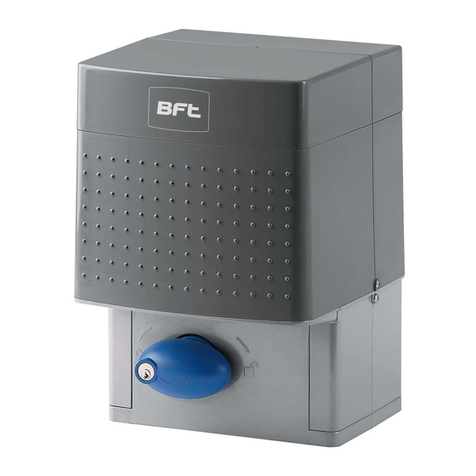
  9. BFT GIUNO ULTRA BT User manual

BFT GIUNO ULTRA BT User manual

Other BFT Gate Opener manuals

BFT E5 BT A User manual

BFT

BFT E5 BT A User manual

BFT MOOVI 30S User manual

BFT

BFT MOOVI 30S User manual

BFT IGEA User manual

BFT

BFT IGEA User manual

BFT BAT KIT 2 User manual

BFT

BFT BAT KIT 2 User manual

BFT PHOBOS BT B 25 User manual

BFT

BFT PHOBOS BT B 25 User manual

BFT DEIMOS BT A400 120 User manual

BFT

BFT DEIMOS BT A400 120 User manual

BFT IGEA BT User manual

BFT

BFT IGEA BT User manual

BFT PHEBE User manual

BFT

BFT PHEBE User manual

BFT PHOBOS N L User manual

BFT

BFT PHOBOS N L User manual

BFT E5 User manual

BFT

BFT E5 User manual

BFT LUX User manual

BFT

BFT LUX User manual

BFT SUB BT User manual

BFT

BFT SUB BT User manual

BFT PHOBOS N BT How to use

BFT

BFT PHOBOS N BT How to use

BFT STOPPY MBB 219-700.C User manual

BFT

BFT STOPPY MBB 219-700.C User manual

BFT ICARO User manual

BFT

BFT ICARO User manual

BFT P7 User manual

BFT

BFT P7 User manual

BFT LUX User manual

BFT

BFT LUX User manual

BFT PHOBOS N BT User manual

BFT

BFT PHOBOS N BT User manual

BFT SP4000 User manual

BFT

BFT SP4000 User manual

BFT PHOBOS N BT User manual

BFT

BFT PHOBOS N BT User manual

BFT BOTTICELLI 800 U User manual

BFT

BFT BOTTICELLI 800 U User manual

BFT KUSTOS ULTRA BT A25 User manual

BFT

BFT KUSTOS ULTRA BT A25 User manual

BFT PHOBOS N BT User manual

BFT

BFT PHOBOS N BT User manual

BFT IGEA User manual

BFT

BFT IGEA User manual

Popular Gate Opener manuals by other brands

Nortek Security & Control Mighty Mule HD272 installation manual

Nortek Security & Control

Nortek Security & Control Mighty Mule HD272 installation manual

tousek TURN 10 Installation and operating instructions

tousek

tousek TURN 10 Installation and operating instructions

SOMFY AXOVIA 220B RTS installation instructions

SOMFY

SOMFY AXOVIA 220B RTS installation instructions

Nice HySecurity CBOX1050 Installation and programming manual

Nice HySecurity

Nice HySecurity CBOX1050 Installation and programming manual

CAME FROG-PM4 installation manual

CAME

CAME FROG-PM4 installation manual

Aprimatic ONDA 500 installation instructions

Aprimatic

Aprimatic ONDA 500 installation instructions

Turnstiles FSW 900 manual

Turnstiles

Turnstiles FSW 900 manual

Erreka BUL BL33 Quick installation and programming guide

Erreka

Erreka BUL BL33 Quick installation and programming guide

Extel VERA quick guide

Extel

Extel VERA quick guide

Beninca R1-2 WBV quick start guide

Beninca

Beninca R1-2 WBV quick start guide

Erreka VULCAN D user manual

Erreka

Erreka VULCAN D user manual

Motorline professional FORT User& installer's manual

Motorline professional

Motorline professional FORT User& installer's manual

Beninca BOB5024 manual

Beninca

Beninca BOB5024 manual

AGA GATEMASTER 900 HD installation manual

AGA

AGA GATEMASTER 900 HD installation manual

Cardin BL Series manual

Cardin

Cardin BL Series manual

Westfalia 85 27 06 instruction manual

Westfalia

Westfalia 85 27 06 instruction manual

Riello Elettronica CARDIN ACE FAST Instruction handbook

Riello Elettronica

Riello Elettronica CARDIN ACE FAST Instruction handbook

Telcoma ARM Instruction handbook

Telcoma

Telcoma ARM Instruction handbook

manuals.online logo
manuals.online logoBrands
  • About & Mission
  • Contact us
  • Privacy Policy
  • Terms and Conditions

Copyright 2025 Manuals.Online. All Rights Reserved.

Cable run
1Motor fastening
2
Limit switch adjustment (put motor in gear by moving the panel by hand)
Programming (see reverse)
3
4
Use normalised black cables
R02V - HO5VVF
4x2.5 mm²
4x2.5 mm²
4x1 mm²
3x1 mm²
2x1 mm²
2x1 .5mm²
2x1 .5mm²
3x1 .5mm²
RG58
4x1 mm²
2x1 mm²
GIUNO ULTRA BT FW ≥ v2.12 et FW ≥ 1.12
a
c
X
D
F
Kg
b
Z=b-X > 45mm
α°
P
GIUNO ULTRA BT A50 mm
ba115 135 155 175 195 215 235 255 275
115 110 110 108 101 96 92
135 106 106 110 102 96 92
155 107 106 108 103 96 91 87
175 103 107 106 96 91 86
195 104 106 97 90 86
215 101 99 90 85
235 96 101 90 84
255 95 89 83
275 88
GIUNO ULTRA BT A20 mm
ba90 100 110 125 135 145 155 165 175
90 110 104 98 95 91
100 105 99 95 91 88
110 108 100 95 91 88
125 99 93 89 86
135 99 93 89
145 95 97 89
155 95 91
165 91 91 86
175 91 85
CU
102
94
L1
L2
91
L1 CU L2
BT A20 776 268 1108
BT A50 883 390 1347
BA
A
2
1
CLOSE
OPEN
CLOSING LIMIT
DEVICE ADJUSTMENT
OPENING LIMIT
DEVICE ADJUSTMENT
LED ON
with sensor activted
LED ON
with sensor activted
A
Closing slow-down
Closing limit stop
A
B
Opening limit stop Opening slow-down
AB
2
1
A
B
+
OK
-
1) 2)
X4
+
OK
-
3) 4) 5)
6)
X1
+
OK
-
X1
+
OK
-
X1
motor
type
TYPE de
moteur
TYPE de
moteur
4) +
OK
-
+
OK
-
+
OK
-
008
+
OK
-
2)
Logic
param
prg
logic
+
OK
-
reg fc
4)
X5
X1
motor
type
For safety warnings, please see complete instruction manual
Product reserved for professionals
D813005 04903_02 27-10-17
40 41 42 43 44 45
10 11
M1
14 15
M2
+
-
+
-
1
2
3
4
M1 +
M1 -
- REF SWE
SW 1
1
2
3
4
M2 +
M2 -
- REF SWE
SW 2
M1 M2
SW 1
- REF SWE
SW 2
GIUNO ULTRA BT A 20 GIUNO ULTRA BT A 50
Puissance maximum 90W 90W
Cycle maximum S3 10s-5-14s-5 x40
pause
90 min. S3 10s-5-14s-5 x40
pause
90 min.
Motor 1 opens first.
Thalia control board
JP5 JP7
Y #
F2 3,15 AT
F1 1.25 AT(220-230V)
F1 2.5 AT (120V)
ANT
220-230V ~
*
S2
S1
S3
L N 10 11
LN
M1
220-230V ~
*
14 15 20 21 26 27 40 41 42 43 44 45 50 51 52 60 61 62 70 71 72 73 74 75
+
M2
24V
AUX 3
(MAX 24V 1A)
SN 1
SN 2
24V -
24V +
24 VSafe+
COM
IC 1
IC 2
COM
SAFE 1
STOP
FAULT 1
SAFE 2
FAULT 2
-
+
-
NO
NO
NC
NC
NC
JP21
Antenne
Optional
board connector,
Safety devicesCommandsAUXPower supply Motor limit switch
inputs
Accessories
power
supply
THALIA
1Simplified menu: basic regulations
Click OK Upward/Downward
x1
Motor at stroke centre and in gear:
- apply power
- 1x OK: language appears. 3x - (ENG) + click OK
- select “type” of motor. x - (Giuno) + click OK
- select number of motors (n. mot.). 2x - + click OK
- select direction (direction of opening). Select (int. or ext.) + click OK
- select preset. (Ar: auto closure or Sr: semi-auto closure). Select + click OK
- start autoset with panels at half-travel; they close.
If this is not a closing operation, then press +- simultaneously.
Reconnect the motors in the right direction (motor 1 switch 10&11; motor 2 switch 14&15)
When autoset is finished, the display show OK.
As an option, you can go even further...
4How to perform an open/close test by using the remote control.
3How to programme the remote control
- Access the radio menu
- Select the channel you want (“add start” total opening or “add2ch” for the 2nd channel), then press OK.
Screen display Screen display Screen display
Screen display
hidden button
Ok + key no
release desidered button
Press the 2 top keys
simultaneously (hidden
key), until the screen
displays...
Select the key to be
programmed, with a
single push
1 - I wish to de-activate the photocells while opening: Access the Logic menu, scroll down to screen SAFE 1,
go to 4.
2 - I wish to access automatic closing: Access the logic menu, scroll down to the TCA screen,
go to 1.
3 - I wish to adjust the automatic closing time: Access the Param menu, click OK, and scroll down to
the TCA screen, enter the value and click OK.
4- I wish to activate pedestrian opening: Access the Logic menu; scroll down to screen AUX 3, go
to 1.(then continue programming the 2nd key on your
remote control).
language
Dir
ITA
fra
deu
eng
esp
int
EXT
type eli
2
n. mot.
1
.....
phobos BT A
phobos N
AR
preset
sr
ac
sc
ind
24V
2
1TX1 2
1
RX1
4
5
3
50 51 52
70 72 73
SAFE1= 1 , 3 , 5
24V
2
1TX1 2
1
RX1
4
5
3
50 51
70 72
SAFE1= 0, 2, 4
Wire the THEA photocells.
2b
2a
Wire the DESME photocells.
or
- REF SWE