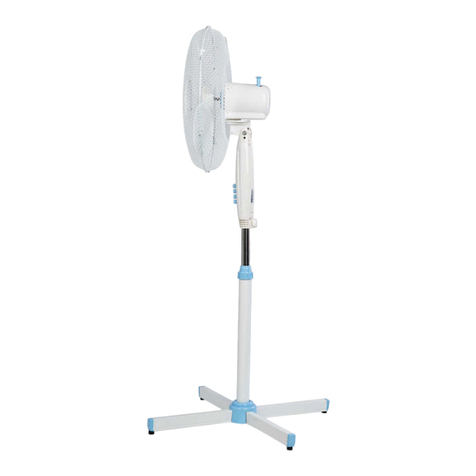
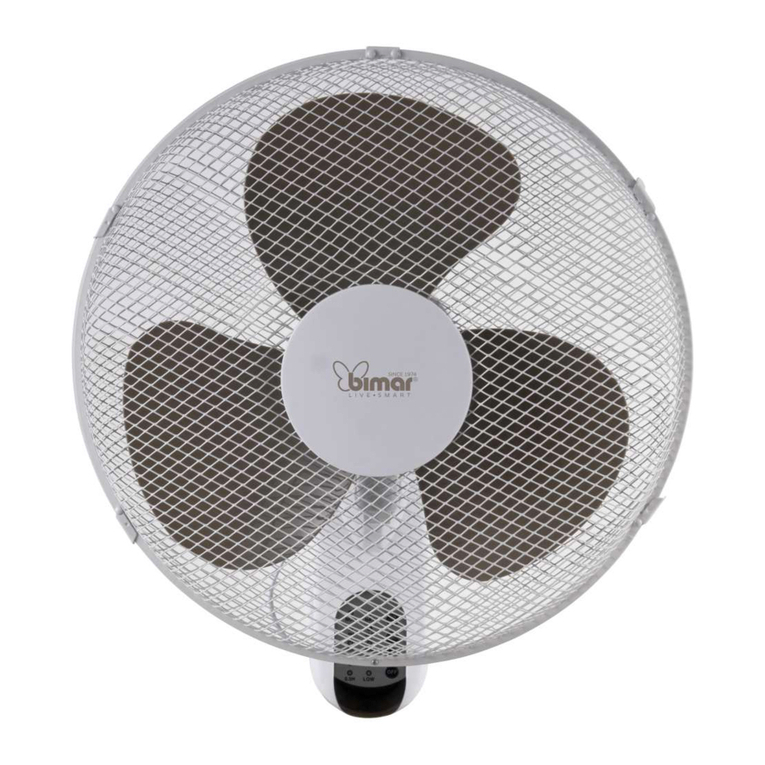
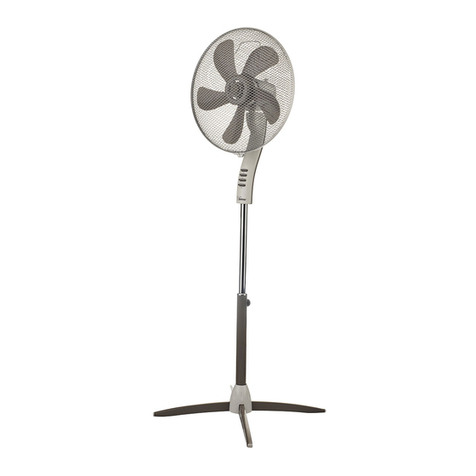
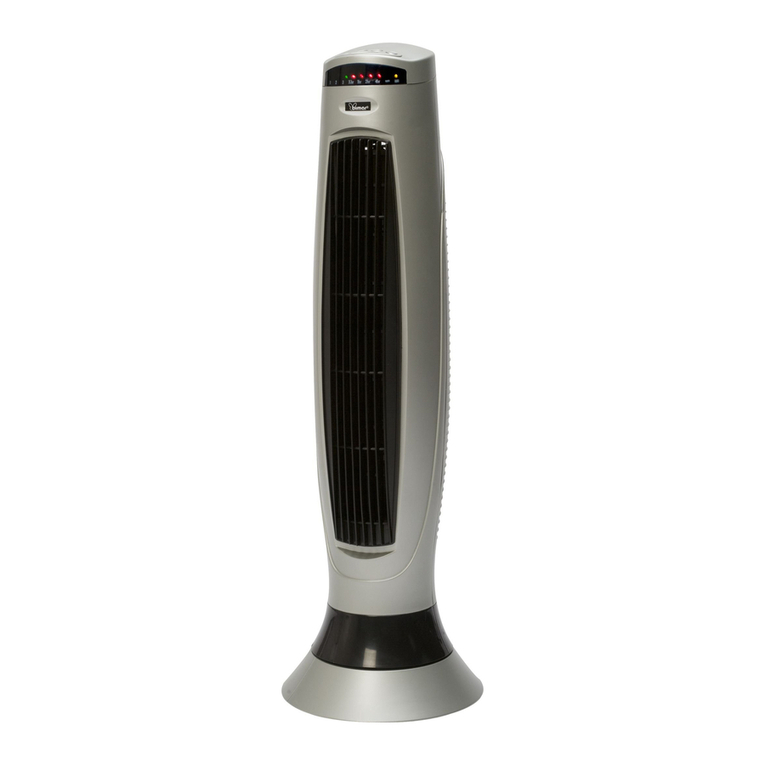
Bimar BIVP42T User manual

10
Please read these instructions carefully before using the
appliance, and instruct other persons using it, too, if necessary.
Keep the manual handy for future use.
If when reading these instructions manual certain parts should be
difficult to understand, or if there is any confusion, contact the
company indicated on the last page before using the product.
This symbol indicates that the appliance is a class II appliance.
This means the plug on the power cord is not earthed.
GENERAL NOTICES
Thisdeviceisintendedforhomeuseonly,toventilaterooms:do
notuseitforanyotherpurpose.Anyotheruseistobeconsidered
inappropriate and therefore dangerous. The manufacturer
cannot be held responsible for any damage caused by
inappropriate, improper or irresponsible use and/or for repairs
madetotheproductbyunauthorisedpersonnel.
Examples of devices for domestic use are appliances typically
used inthe home,whichcanbeusedfortypicaldomestictasks
evenbynon-experts:
-inshops,officesandothersuchplacesofwork;
-inagriculturalbusinessesorsimilar;
-by clients in hotels, motels and other residential type
environments
-bedandbreakfasttypeenvironments
Donotinsertanytool,oryourfingers,intothegrilleprotectingthe
blades.
Donotusethedeviceatroomtemperaturesabove40°C.
Thisappliancecanbe usedbychildrenaged8yearsandabove
andpersonswithreducedphysical,sensoryormentalcapabilities

11
or lack of experience and knowledge if they are supervised or if
they have been given instructions concerning the use of the
appliance in a safe way and if they understand the hazards
involved.Childrenmustnotplaywiththeappliance.Cleaningand
user maintenance must not be performed by children without
supervision.
Thisappliancecanbeusedbychildrenaged8andolderandby
persons with reduced physical, sensory ormental capabilities or
lackofexperienceandknowledgeiftheyareproperlysupervised
oriftheyhavereceivedinstructionsregardingthesafeuseofthe
appliance and have understood the related dangers. Children
should not play with the appliance. Cleaning and maintenance
shouldnotbeperformedbychildrenunlesstheyareolderthan8
yearsofageandaresupervised.
The appliance must be kept out of children’s reach.
Warning: when using electrical appliances, the basic safety
precautionsmustalwaysbeobservedtoavoidrisksoffire,electric
shocksandphysicalinjury.
Donotusetheapplianceifitisnotoperatingcorrectlyorseems
damaged;ifindoubt,contactprofessionallyqualifiedpersonnel.
Make sure that the fan is working correctly: if not, turn the
appliance off and have it checked by professionally qualified
personnel.
Donotmovetheappliancewhenitisrunning.
Iftheapplianceisnotinuse,unplugitfromtheplugpoint.
Alwaysunplugtheappliancebeforeyouassemble,disassemble
orcleantheappliance.
Donotleavetheapplianceexposedtotheweather(sun,rain,etc.).
Donottouchtheappliancewithwethandsorfeet.

12
Donotpullonthecordtomovetheappliance.
Donotpull onthecord ortheapplianceitselftodisconnectthe
plugfromtheplugpoint.
If the power cord is damaged, it must be replaced by the
manufacturer, its service agent or similarly qualified persons in
ordertoavoidrisks.
This appliance must not be operated by means of an external
timeroraseparateremotecontrolsystem,toavoidtheriskoffire
ifthedeviceiscoveredand/or ispositionedincorrectly.Itmust
also not be used together with another device that can
automaticallyturnontheunit,thusavoidingtheriskofdamageto
people,animalsorproperty.
If the appliance breaks or there is a malfunction, switch off the
appliance and have it checked by qualified personnel; repairs
carried out by unauthorised personnel may be dangerous and
nullifytheguarantee.
Ensurethatthefanisswitchedofffromthesupplymainsbefore
removingtheguard.
INSTALLATION
After removing the packing materials, check the integrity of the appliance; if you
are unsure, do not use it and ask for qualified professional help. The packing
materials (plastic bags, polystyrene foam, nails, etc.) must be kept out the reach
of children because they are potential sources of danger. Attention: any stickers
or advertising material applied to the grid removed before using the appliance.
The manufacturer declines all responsibility in case this is not safe working
practices will be respected.
Before connecting the appliance, check that the voltage values shown on the
data plate correspond to those of the electricity supply network. In the event of
incompatibility between the electric outlet and the plug of the appliance, have
the outlet replaced with another more suitable type by professionally qualified
personnel, who will make sure that the section of the wires of the outlet is
appropriate for the absorbed power of the heater. In general, the use of adapters
or extension cords is not recommended; if their use is indispensable, they must
conform to existing safety standards and their current capacity (amperes) must
not be less that the maximum of the appliance.

13
The power socket must be easy to reach so the plug can be removed quickly in
case of emergency.
To not place the appliance near sinks or other container of liquids (minimum
distance of 2 meters) to avoid the risk of it falling in.
Do not place the appliance near an open flame, cooking or other heating
appliance.
Keep the fan far away from fabrics (curtains, etc.) or unstable materials that
could obstruct the air intake grille; make sure that the front is free of unstable
materials (dust, etc.).
Make sure that the electric cord is not touching rough, hot or moving surfaces
and not twisted or wrapped around the appliance.
Stand the appliance on a horizontal, flat surface or table; do not stand on a
inclined plane (the appliance could upset).
ASSEMBLY
Before assembling the fan, make sure it is unplugged from the socket.
The appliance can only be used once correctly assembled in all its parts, complete
with counterweight base, protective grills, propeller.
Proceed as shown and use the images for reference.
A. Unscrew and remove the ring nut (6) from the column, insert the ring (3), and
tighten the ring nut again.
B. Set the column (14) in place on the base and secure it using the "L" screw with
washer (1) while also engaging the counterweight.
C. Make sure column and base and counterweight are firmly coupled.
D. Unscrew the ring nut (15) and the ring nut (16) (turn clockwise) from the motor
body.
E. Insert the rear grill (12) into the motor body, make sure the handle is at the top
and lock it using the ring nut (15).
F. Insert the propeller (13) onto the drive shaft (5) and lock it with the ring nut
(16) (turn counter clockwise and tighten).
G. To fasten the front grill, it is best to place the main unit on a smooth even floor.
Couple the front grill (11) to the rear (12) and hold in place with plastic ring, (a
fixing screw is good at the bottom) and secure fastening by tightening screw
(10).
H. At the end of the operation, check that the protective grills are firmly coupled
and attached to the motor.

14
1) "L" screw
2) Base with counterweight
3) Ring
4) Fan fixing ring nut
5) Drive shaft
6) Rod fixing ring nut
7) Adjustable hose
8) Floor fixing screw
9) Control panel
10) Plastic ring screw
11) Front grill / protective
screen
12) Rear grill
13) Propeller
14) Column
15) Rear grill fixing ring nut
Control panel
Telecomando
Remote controller

15
USE
Warning: The fan can only be used if properly assembled in good condition.
The fan functions are operated with both the keypad of the control panel and the
remote control which must be pointed at the front (maximum distance of about
4m) towards the control panel; for the first use take off the tab transparent
plastic of the batteri’s side (type AAA), not included inside the box.
The fan has the following setting and control elements:
-Stand-by-ON button “": to turn the fan on or turn it off in standby mode
-Ventilation: the three speeds are selected by pressing the “” button or
“SPEED”of the remote control: the symbol corresponding to the selected speed
will light up: ( = min; = med; = max).
-Mode: the three modes are selected by pressing the “MODE”: button:
1. Normal: constant ventilation
2. Silent: constant and silent ventilation (symbol )
3. Natural: intermittent ventilation (symbol “ "), as shown in the diagrams
shown here.
Maximum speed selected
Medium speed selected
Minimum speed selected
-Timer: sets the operating time at which the unit shuts down. Press the "TIMER"
button repeatedly: each press changes the time in ½ hour intervals (from ½
hour to 7½ hours), and the selected duration will be shown on the control
panel. To deactivate the timer, press the button until the timer turns off.
-Swing (right-left): press the “SWING" button, turn it on and or turn it off to
press again
-Vertical tilt (high-low): This is selected by tilting the motor body to the desired
direction (high-horizontal-low).

16
-Height adjustment: unscrew the ring nut (6); raise or lower the main unit to the
desired height and then lock the ring nut.
To operate the fan, plug it into a socket: indicating the standby status; press the “
" button to activate the fan and select the desired functions.
To deactivate the unit, press the " " button. To turn off the appliance, unplug
it from the socket.
CLEANING AND MAINTENANCE
Attention: before normal cleaning, remove the plug from the socket.
Clean the body with soft, slightly damp, cloth; do not use abrasive or corrosive
products.
Do not immerse any part of the fan in water or other liquid: if this should happen,
do not put your hand in the liquid, but first remove the plug from the socket.
Carefully dry the appliance and make sure that all the electrical parts are dry: in
the case of doubt, ask for professionally qualified help.
It is essential that the motor's air holes be kept from dust and lint.
Periodically check the electric cord for damage; its replacement requires a
special tool: contact an authorized service center, also for any repairs.
If the fan will not be used for long periods, it must be protected from dust and
humidity; we recommend storing it in its original packaging.
Should you decide not to use the appliance any more, we recommend making it
inoperative by cutting the power cord (after making sure you have disconnected
the plug from the socket) and make dangerous parts harmless if children are
allowed to play with them (such as the blade).
The batteries of the remote control must be disposed of in the appropriate
containers; dispose of them in compliance with current law.
IMPORTANT INFORMATION FOR CORRECT DISPOSAL OF THE PRODUCT IN
ACCORDANCE WITH EC DIRECTIVE 2011/65/EC.
At the end of its working life, the product must not be disposed of as urban
waste. It must be taken to a special local authority differentiated waste collection
centre or to a dealer providing this service. Disposing of a household appliance
separately avoids possible negative consequences for the environment and
health deriving from inappropriate disposal and enables the constituent
materials to be recovered to obtain significant savings in energy and resources.
As a reminder of the need to dispose of household appliances separately, the
product is marked with a crossed-out wheeled dustbin.
Table of contents
Other Bimar Fan manuals

Bimar
Bimar YH-32TA User manual

Bimar
Bimar WLTF-1203 User manual

Bimar
Bimar VP309 User manual

Bimar
Bimar VD200 User manual

Bimar
Bimar VTM35 User manual

Bimar
Bimar VPS56 User manual

Bimar
Bimar YF-ST1627-1 User manual

Bimar
Bimar RTY-30 User manual

Bimar
Bimar Bdesign VT35 User manual

Bimar
Bimar VC76.2 User manual
Popular Fan manuals by other brands

Vent-Axia
Vent-Axia 496711 instruction manual

Home Decorators Collection
Home Decorators Collection TRENTINO II YG475-BN Use and care guide

Faro Barcelona
Faro Barcelona Saona 33803 installation guide

Panasonic
Panasonic WhisperSense FV-08VQCL6 installation instructions

Broan
Broan InVent AE80S Installation and Use & Care Instructions

Oceanic
Oceanic OCEAVT30CM user manual