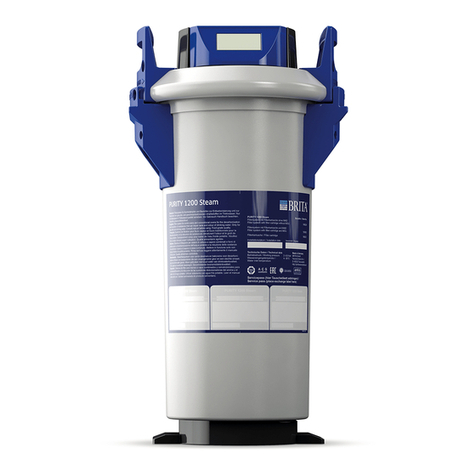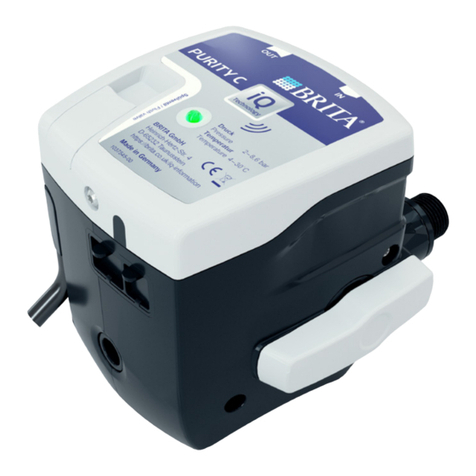
Precautions
Operate only with a col , potable rinking water supply.
Never use water of unknown microbiological quality or contaminate water without appropriate sterilisation.
The appliance use with the filter must be free of limescale before installation.
No water softening system shoul be installe on the supply to the filter.
Protect the system from irect sunlight, open flames or sources of heat as well as mechanical amage.
With a water pressure greater than 6 bar a pressure re ucer must be installe .
Following lengthy interruptions in operation or maintenance work the filter, pipework an appliance shoul be thoroughly flushe
through before being put back into service. After very long interruptions in operation the filter cartri ge shoul be exchange .
Please perform installation strictly in accor ance with the installation an operating instructions. Damage resulting from failure to
observe the instructions will invali ate the warranty.
These instructions shoul be rea along with the instructions supplie with the appliance it is to be installe with.
The Zip FL3000 filter system is esigne for connection to the mains water supply using flexible nylon tubing. Any breach in the
supply pipework or fittings will result in potentially serious water amage to the surroun ings. Zip Heaters (UK) Lt accepts no
liability for such amage an it is the responsibility of the owner to take all necessary measures to avoi an contain any leakage
from the unit, its supply pipework an fittings.
The flexible nylon tubing shoul be cut squarely with a sharp knife or tube cutter to the lengths require .
As the nylon tubing contains water un er mains pressure, care shoul be taken not to amage it uring installation. Care shoul
especially be taken to prevent the tube from kinking or crushing aroun ben s an push fit stem elbows are inclu e in the
installation kit for use as necessary to facilitate this.
Note: The pressure housing an filter hea of the Zip FL3000 system are esigne for a service life of 5 years an bear a
pro uction ate. Exchange must be carrie out after 5 years (pro uction ate plus 5 years, i.e. if “06/03” is shown, exchange must
take place in June 2008 at the latest).
Installation of the Zip FL3000 Filter System
Fitting the filter head and ater connection.
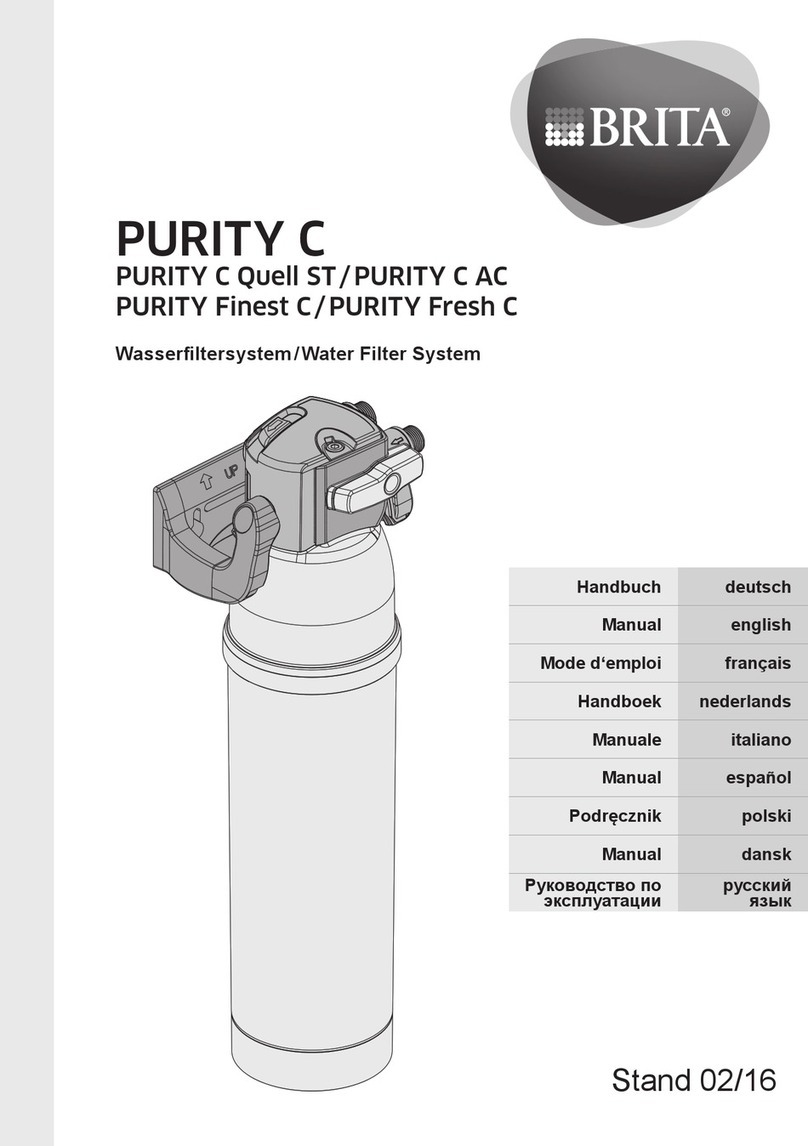
Turn the shut-off valve (4) on the filter hea (2) to “OFF”.
Close the water supply, raw approximately one litre of water from the appliance to e-pressurise the system if fitting to an existing
installation then switch off the power supply to the appliance.
Release the wall mounting bracket (1) from the filter hea (2) by turning an attach the wall mounting bracket in the require
position using the screws supplie .
When installing the filter horizontally, the circular retaining clip shoul be fixe in a suitable position to support the free en of the
filter assembly using the screws supplie .
Using the fittings supplie , connect a suitable length of nylon tubing to the water supply an flush the supply line thoroughly before
connection to the inlet si e of the filter hea taking care to observe the irection of flow in icate on the filter hea an being careful
not to over-tighten the fittings.
Connect the outlet from the filter hea to the appliance using another length of nylon tubing.
Install the filter hea by turning in the attache wall mounting bracket.
Inserting the pressure housing
Check that the pressure housing is fully tightene an the locking evice (3) is engage in the pressure cap.
Check the by-pass setting on the by-pass a justment cap (7) is set to position 3 by turning it to align this position with the reference
mark on the filter cartri ge before removing the protective cap.
Insert the pressure housing containing the filter cartri ge into the filter hea an turn 90º in a clockwise irection until it locks into
place
Secure the pressure housing into the retaining clip if installe horizontally.
Commissioning the filter
Turn the shut-off valve (4) on the filter hea to “ON”.
Open the water supply an switch back on the power supply to the appliance.
Check the system for any leaks an rectify as necessary.
Ensure that “Litres Filtere ” is set to zero an “Filter Life” is set to 3,000 litres on the Hy rotap (refer to Hy rotap operating
instructions).
There is no nee to flush the filter an the system is now rea y for operation.
