manuals.online logo
Brands
  1. Home
  2. •
  3. Brands
  4. •
  5. BullFrog
  6. •
  7. Indoor Furnishing
  8. •
  9. BullFrog 0218 SIAMO User guide

BullFrog 0218 SIAMO User guide

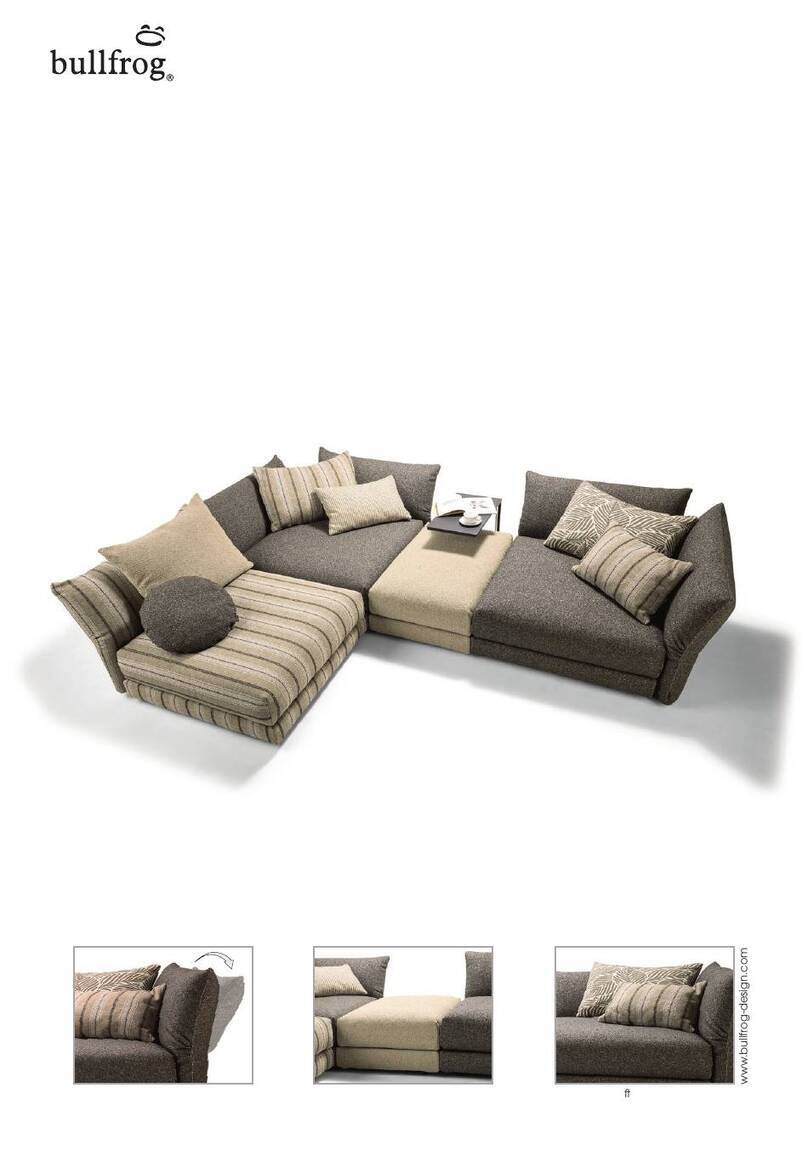
With comfortable stool
Practical shelf,
optionally with cushion
Optional with seat adjustment
(continuously motorised adjustment)
up to reclining position
ASSEMBLY AND INSTRUCTION MANUAL
28.05.2021
MODEL 0218 SIAMO
© 2018 K URT BEI E R &KATI QU I N G E R
AUF ANFRAGE SIND AUCH SONDERFARBEN MÖGLICH!
www.bullfrog-design.com
ATTENTION!To ensure secure assembly, please observe the individual steps of instruction!
The furniture should always be mounted in pairs (2 persons)!
Mounting of connectors
1. Unscrew the bolt (A) from element 2 with the enclosed allen key and the 3 supportingfeet (B) from
Element 1 and 2.
2. Loosen the 2 bolts (C)
B
CA
Element 1 Element 2
D
Element 1 Element 2
3. Turn the connectors (D) of element 1 horizontal.
Position the elements at the place supposed to stay and tilt them backwards. To avoid damagesat
the furniture or at the flor use a suitable support.
Mounting of connectors for type 300 /300RR /300RL /30G /30RL /30RR
0218 SIAMO
© 2018 K URT BEI E R &KATI QU I N G E R
1x Supporting foot
Adjustingscrew
6. Adjust the plastic setscrew of the 5 support feet (B) at floor level.
7. Tiltmounted sofa forward on its feet!
Element 1 Element 2
4. Screw in the 2 supportingfeet (B) of element 1 again and tighten the 2 bolts (C).
BC
Element 1 Element 2
5. Telescope the 2 elements completely and screw in the thirdsupportingfoot (B) and the bolt A again
in element 2.
B
A
Element 1 Element 2
B
B
BB
B
0218 SIAMO
© 2018 K URT BEI E R &KATI QU I N G E R
Mounting of connectors for all further combinations:
ATTENTION! To ensure secure assembly, please observe the individual steps of instruction!
The furniture should always be mounted in pairs (2 persons)!
1. Position the elements at the place supposed to stay and tilt them backwards.
2. Unscrew the 2 bolts (A) from element 1 with the enclosed allen key and the 2 support feet (B) from
element 2.
A
Element 1
Element 2
B
Element 1
Element 2
3. Turn the connectors (C) of element 1 horizontal above the screw threads (A). Then tighten the bolts
(A) firmly again with the enclosed allen key.
AD
C
0218 SIAMO
© 2018 K URT BEI E R &KATI QU I N G E R
Element 1
Element 2
B
C
4. Telescope the 2 elements completely and again screw in the 2 support feet (B) through the oblong
holes of connectors (C) at element 2.
5. Adjust the plastic setscrew of the 4 support feet (B) at floor level.
B
6. Tilt mounted sofa forward on its feet.
1 x support foot
Adjusting screw
0218 SIAMO
© 2018 K URT BEI E R &KATI QU I N G E R
design by kurt beier & kati quinger
C
B
Sofa with seperated seats
(seperate controllable)
ATTENTION! DON`T SIT ON BACK!
1. Connect cable A (fixed at seat element) to provided transormer and plug it into socket.
2. Press button B and C at remote control to move seat continuously up to relax position.
The upholstery moves forwards or backwards.
TRANSFORMER Power supply
TRANSFORMER
ATTENTION!
TRANSFORMER HAS TO
BE SITUATED OUTSIDE
OF THE SOFA!
Motorised seat adjustment (for types with seat adjustment):
Regardless of the motorised adjustment, the upper back can be adjusted manually.
Use of functional headrest:
0218 SIAMO
© 2018 K URT BEI E R &KATI QU I N G E R
Delivery condition: already synchronised December 2017
B
C
A
1. Press pairing buttons Aat receiver 2 x until the LED
indicates. The pairing process is active for about 10
seconds.
2. Press simultaneous button B and C at remote cont-
rol until the green LED starts to flash. The flashing confir-
mes a successful pairing process.
Note:
For the pairing prozess the distance between transmitter
and receiver should be less than 2 metres.
Motorised seat adjustment - Programming of transmitter and receiver
The programming is completed, the transmitter is now ready for operation. If the motor doesn´t start while pressing,
release the button and press again. If necessary retry the process.
Transmitter
Brief instruction, Pairing-Method:
Should a new start-up of remote control be necessary the wireless communication with the
control/motor must be established. Proceed as follows:
Receiver
LED
Put drive systems into operation successively, don`t operate several systems simultaneous. Otherwise the
remote control cannot be assigned clearly by control/motor.
0218 SIAMO
© 2018 K URT BEI E R &KATI QU I N G E R
seam
zipper
FUNKI - how it works!
3. Now you are able to move the upper
part backwards until the upper part of
the cushion will click into place in the
zero position.
1. Take the cushion at its upper side
and put the cushion on your knees
with the zipper on the bottom. The
seamless side faces you.
2. Move the upper part of the cushion
towards yourself until the final position
is reached.
4. Now put the cushion in the preferred
position (e.g. in the back, seamless side
in front and zipper at the bottom).
By pulling the upper part of the chushion
towards yourself, you are now able
to choose among 16 raster positions,
however you like it.
0218 SIAMO
© 2018 K URT BEI E R &KATI QU I N G E R

This manual suits for next models

1

Other BullFrog Indoor Furnishing manuals

BullFrog OD0821 ROCKfrog User guide

BullFrog

BullFrog OD0821 ROCKfrog User guide

BullFrog 6011 LEA User guide

BullFrog

BullFrog 6011 LEA User guide

BullFrog AMIE 2214 User guide

BullFrog

BullFrog AMIE 2214 User guide

BullFrog IWAN 1070 User guide

BullFrog

BullFrog IWAN 1070 User guide

BullFrog THEKLA 0919 User guide

BullFrog

BullFrog THEKLA 0919 User guide

BullFrog 6002 LETTO User guide

BullFrog

BullFrog 6002 LETTO User guide

BullFrog BABOO 0318 User guide

BullFrog

BullFrog BABOO 0318 User guide

BullFrog 0319 TAO User guide

BullFrog

BullFrog 0319 TAO User guide

BullFrog 0221 WUMMS User guide

BullFrog

BullFrog 0221 WUMMS User guide

BullFrog PANDA 0520 User guide

BullFrog

BullFrog PANDA 0520 User guide
BullFrog OD0319 TAO User guide

BullFrog

BullFrog OD0319 TAO User guide

BullFrog BALOU OD2308 User guide

BullFrog

BullFrog BALOU OD2308 User guide

BullFrog OD1520 LAGOON User guide

BullFrog

BullFrog OD1520 LAGOON User guide
BullFrog 2203 TIBOU User guide

BullFrog

BullFrog 2203 TIBOU User guide

BullFrog OLALA 1121 User guide

BullFrog

BullFrog OLALA 1121 User guide

BullFrog TABLO 2117 User guide

BullFrog

BullFrog TABLO 2117 User guide

BullFrog 0621 User guide

BullFrog

BullFrog 0621 User guide

BullFrog 6027 LOFT User guide

BullFrog

BullFrog 6027 LOFT User guide

BullFrog 1001 CAMP User guide

BullFrog

BullFrog 1001 CAMP User guide

BullFrog CAYMAN 6660 User guide

BullFrog

BullFrog CAYMAN 6660 User guide

BullFrog 0820 NAOS User guide

BullFrog

BullFrog 0820 NAOS User guide

BullFrog LAGOON 1520 User guide

BullFrog

BullFrog LAGOON 1520 User guide

BullFrog OLALA OD1121 User guide

BullFrog

BullFrog OLALA OD1121 User guide

BullFrog THEKLA 0919 User guide

BullFrog

BullFrog THEKLA 0919 User guide

Popular Indoor Furnishing manuals by other brands

Forte PDVV721 Assembling Instruction

Forte

Forte PDVV721 Assembling Instruction

Next 702831 Assembly instructions

Next

Next 702831 Assembly instructions

Forte FADO FDOT12 Assembly instructions

Forte

Forte FADO FDOT12 Assembly instructions

BoLiving Oakland Lamp Table 517219 Assembly instructions

BoLiving

BoLiving Oakland Lamp Table 517219 Assembly instructions

TAKT T08 Sling Side Table Building instructions

TAKT

TAKT T08 Sling Side Table Building instructions

Forte Hoyvik HVKS953 Assembling Instruction

Forte

Forte Hoyvik HVKS953 Assembling Instruction

Forte ENJV811 Assembling Instruction

Forte

Forte ENJV811 Assembling Instruction

Desalto SKIN Assembly instruction

Desalto

Desalto SKIN Assembly instruction

EUROSTYLE ANTOINE Assembly instructions

EUROSTYLE

EUROSTYLE ANTOINE Assembly instructions

Garden Treasures RC-GSN quick start guide

Garden Treasures

Garden Treasures RC-GSN quick start guide

Work Smart KCM1420 operating instructions

Work Smart

Work Smart KCM1420 operating instructions

VS Vis-a-Vis Lounge Series Assembly instructions

VS

VS Vis-a-Vis Lounge Series Assembly instructions

Home Styles 88521695 C Assembly instructions

Home Styles

Home Styles 88521695 C Assembly instructions

Furinno 18126 Assembly instruction

Furinno

Furinno 18126 Assembly instruction

Polywood SHD19 Assembly instructions

Polywood

Polywood SHD19 Assembly instructions

Herman Miller Electric Sit Stand Desk operating instructions

Herman Miller

Herman Miller Electric Sit Stand Desk operating instructions

Herman Miller Cosm Adjustment guide

Herman Miller

Herman Miller Cosm Adjustment guide

Furinno 11180 Assembly instruction

Furinno

Furinno 11180 Assembly instruction

manuals.online logo
manuals.online logoBrands
  • About & Mission
  • Contact us
  • Privacy Policy
  • Terms and Conditions

Copyright 2025 Manuals.Online. All Rights Reserved.