manuals.online logo
Brands
  1. Home
  2. •
  3. Brands
  4. •
  5. C-LOGIC
  6. •
  7. Measuring Instrument
  8. •
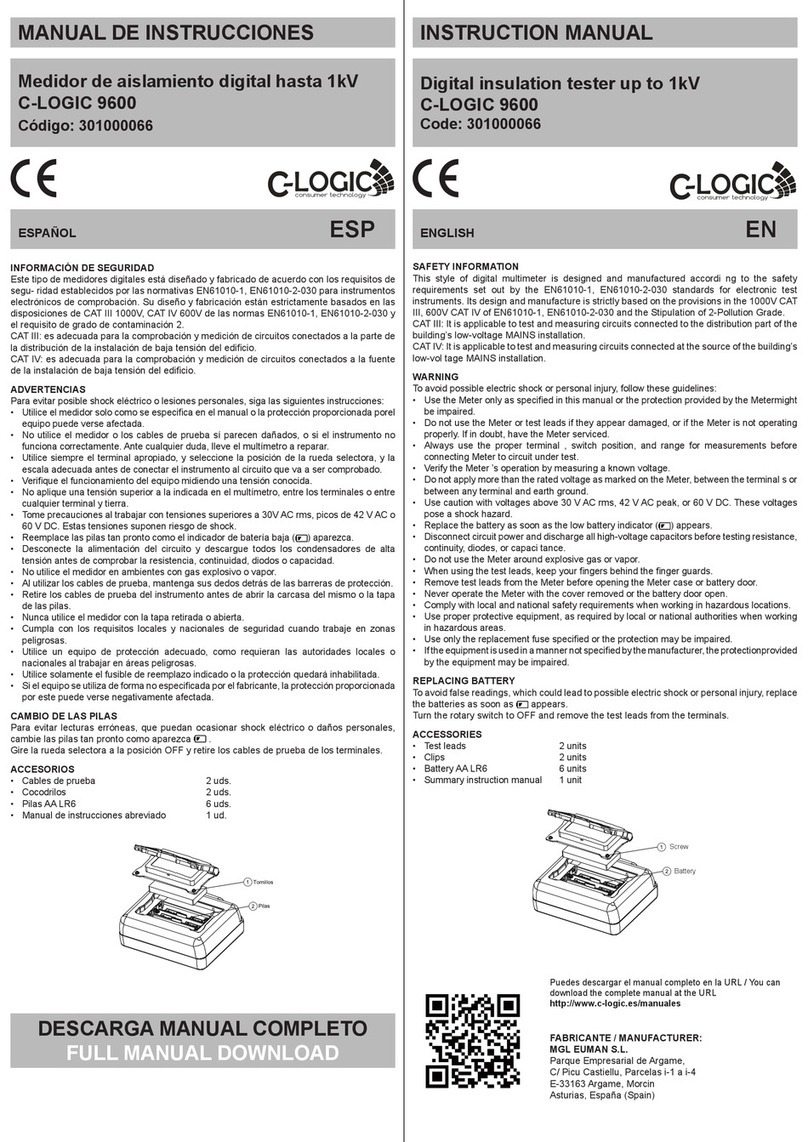
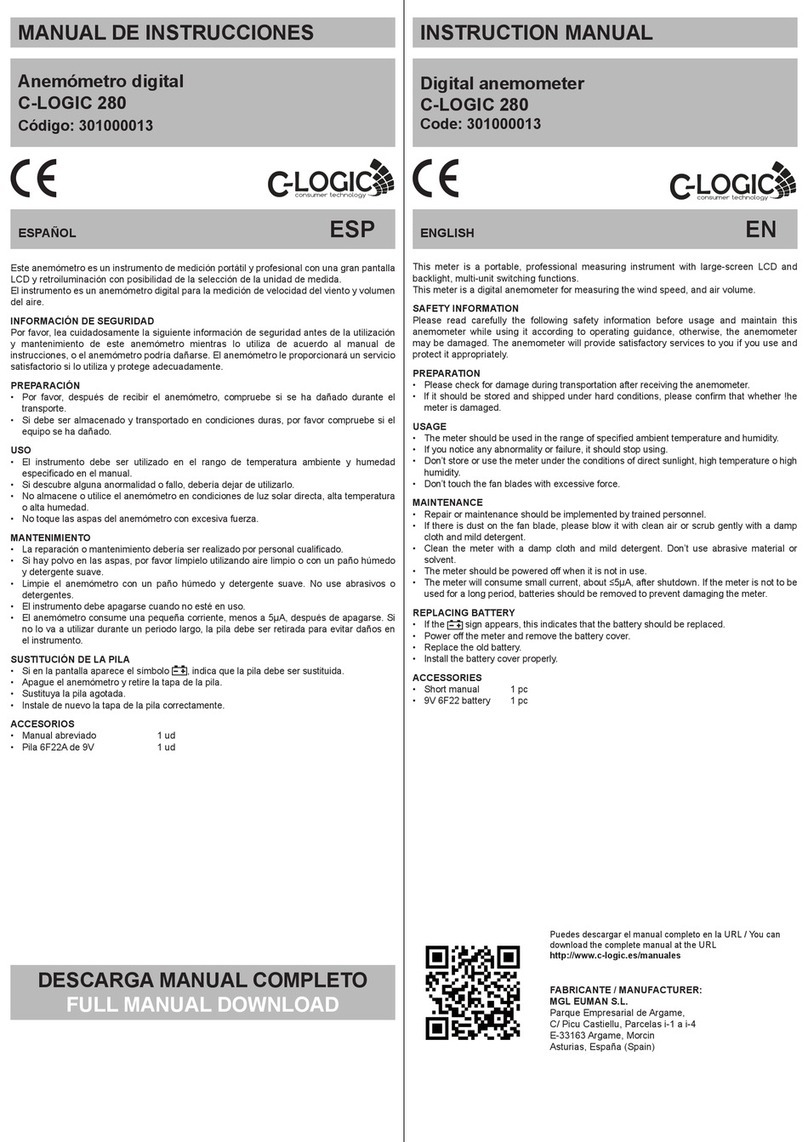
  9. C-LOGIC 8730 User manual

C-LOGIC 8730 User manual

21
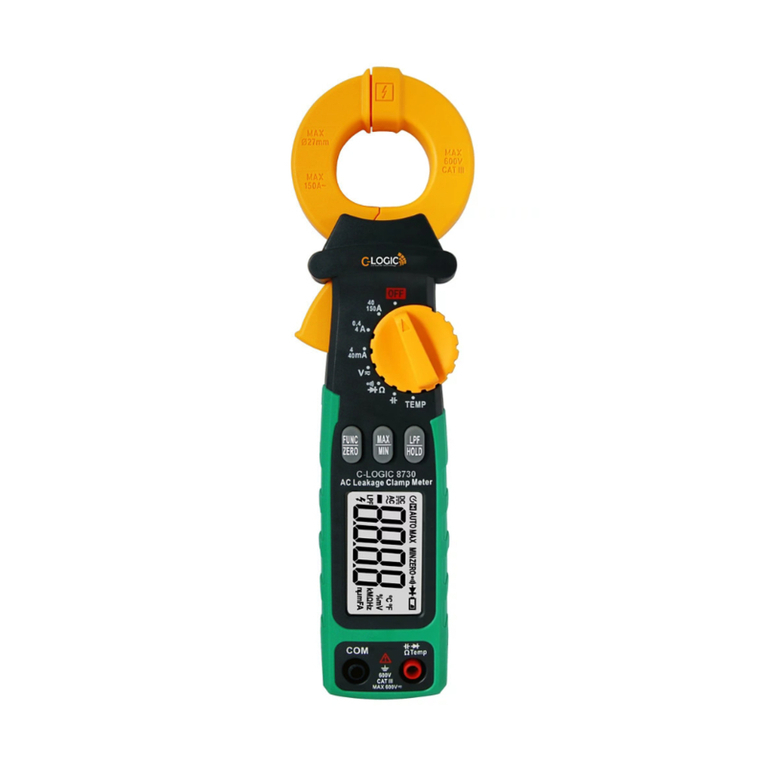
C-LOGIC 8730
INSTRUCTION MANUAL
Leakage Clamp Meter
CONTENTS CONTENTS
WARNING
MAINTENANCE
INTRODUCTION
FRATURES
SUMMARY OF FUNCTION
LAYOUT
LCD DISPLAY
OPERATION
ON/OFF OPERATION
EARTH RESISTANCE
MEASUREMENT
CURRENT MEASUREMENT
HOLD BUTTON
ALARM OPERATION
MEMORY FUNCTION
SPECIAL FUNCTION
SPECIFICATION
FEATURES
ACCESSORY
CHANGING THE BATTERIES
APPLICATION FIELD
.....................................................1
............................................1
...........................................2
...................................................2
............................3
........................................................3
...............................................4
...............................6
......................................7
.......................10
...........................................11
...................................11
..................................12
...................................13
..........................................15
..................................................15
...............................................16
......................16
..................................18
Earth Resistance Clamp Meter Earth Resistance Clamp Meter
1. Safety information ..............................................25
1.1 Preliminary .....................................................25
1.2 Usage.............................................................26
1.3 Mark ...............................................................27
1.4 Maintenance...................................................27
2. Description .........................................................28
2.1 Part Name......................................................29
2.2 Switch Button And Input Jack Description.........
.............................................................................30
2.3 LCD Display ...................................................31
3. Specifications ....................................................32
3.1 General ..........................................................32
3.2 Technical indicators........................................33
4. Operating Guidance ..........................................36
4.1 Reading Hold .................................................36
4.2 50Hz/60Hz Current Selection function...........36
4.3 Maximum/Minimum Measurement Choice.....36
4.4 Function Selection Function...........................37
4.5 Current Clearing Function..............................37
4.6 Automatic Power-Off ......................................37
4.7 Measurement Preparation..............................38
4.8 Current Measurement ....................................38
4.9 Voltage Measurement ....................................39
4.10 Resistance Measurement ............................40
4.11 Diode Measurement .....................................40
4.12 Circuit Continuity Measurement...................41
4.13 Capacitance Measurement ..........................41
4.14 Temperature Measurement ..........................42
5. Maintenance .......................................................42
5.1 Replace Battery..............................................42
5.2 Replace Test Leads........................................43
6. Accessories .......................................................43
23 24
Leakage Clamp Meter Leakage Clamp Meter
01 02
1. Safety Information
1.1 Preliminary
1.1.1 When using the meter, the user should comply with
standard safety rules:
- General shock protection
- Prevent misusing the meter
1.1.2 Please check for damage during transportation
after receiving the meter.
1.1.3 If the meter is stored and shipped under hard
conditions, please confirm if the meter is damaged.
1.2 Usage
1.2.1 When using, select the right function and
measuring range.
1.2.2 Don't measure by exceeding indication value
stated in each measuring range.
1.2.3 When measuring a circuit with the meter
connected, do not contact with probe tip
(metal part).
1.2.4 When measuring, if the voltage to be measured is
more than 60 V DC or 30 V AC (RMS), always keep
your fingers behind finger protection device
1.2.5 Do not measure voltage greater than DC or 600V
AC(RMS).
1.2.6 In the manual measuring range mode, when
measuring an unknown value, select the highest
measuring range first.
1.2.7 Before rotating conversion switch to change
measuring function, remove probe from the circuit
to be measured.
1.2.8 Don't measure resistor, capacitor, diode and
circuit connected to power.
1.2.9 During the test of currents, resistors, capacitors,
diodes and circuit connections, be careful to avoid
connecting the meter to a voltage source.
1.2.10 Do not measure capacitance before capacitor is
discharged completely.
1.2.11 Do not use the meter in explosive gas, vapor or
1.1.4 Probe should be in good condition. Before use,
please check whether the probe insulation is
damaged and if the metal wire is bare.
1.1.5 Use the probe table provided with the meter to
ensure safety. If necessary, replace the probe
with another identical probe or one with the same
level of performance.
The meter is designed and manufactured according to
safety requirements of EN 61010-1:2010,EN 61010-2-032,
EN 61010-2-033 on electronic measuring instrument and
hand held digital multipurposemeter. And conforms to UL
STD.61010-1,61010-2-032,61010-2-033, Certified to CSA
STD.C22.2 NO.61010-1,IEC STD 61010-2-032, IEC
STD61010-2-033.The product meets with the requirements
of 600V CAT III and pollution degree 2.
All safety guidelines outlined should be followed
otherwise the protection provided by the instrument
may be impaired.
Warning symbols in the manual alert users of
potential dangerous situations.
Precautions are to prevent the user from damaging
the instrument or the test object.
The special attention should be paid whenusing the
meter because the improper usage may cause electric
shock and damage the meter .The safety measures in
common safety regulations and operating instruction
should be complied with when using. In order to make
fully use of its functions and ensure safe operations
please comply with the usage in this section carefully.
WARNING
25 26
Leakage Clamp Meter Leakage Clamp Meter
dusty environments.
1.2.12 If you find any abnormal phenomena or failure
on the meter, stop using the meter.
Note-Important safety information, refer to the
instruction manual.
Conforms to UL STD. 61010-1, 61010-2-032,
61010-2-033; Certified to CSA STD C22.2 NO.
61010-1, 61010-2-032,61010-2-033
Complies with European (EU) safety standards
Earth (ground) TERMINAL
Equipment protected throughout by double
insulation or reinforced insulation.
Application around and removal from UNINSULATED
HAZARDOUS LIVE conductors is permitted.
CAT III: MEASUREMENT CATEGORY III is applicable to
test and measuring circuits connected to the distribution
part of the building's low-voltage MAINS installation.
1.2.13 Unless the meter bottom case and the battery
cover are completely fastened completely, do
not use the meter.
1.2.14 Don't Store or use the meter in the conditions
of direct sunlight, high temperature and high
humidity.
1.3 Mark
1.4 Maintenance
1.4.1 Don't try to open the meter bottom case to adjust
or repair. Such operations can only be performed
by technicians who fully understand the meter and
electrical shock hazard.
1.4.2 Before opening the meter bottom case or battery
cover, remove probe from the circuit to be
measured.
1.4.3 To avoid wrong readings causing electric shock,
when " "appears on the meter display, replace
the battery immediately.
1.4.4 Clean the meter with damp cloth and mild
detergent. Do not use abrasives or solvents.
1.4.5 Power off the meter when the meter is not used.
Switch the measuring range to "OFF" position,
1.4.6 If the meter is not used for long time, remove the
battery to prevent the meter being damaged.
- The meter is a portable, professional measuring
instrument with LCD display for easy reading by
users. Measuring range switch is operated
by single hand for easy operation with overload
protection and low battery indicator. It is an ideal
multifunction meter for professionals, factories,
schools, fans and family use.
- The meter is used for AC leakage current, AC voltage,
DC voltage, resistance, capacitance, circuit connection,
diode and temperature test.
- The meter has reading hold function.
- The meter has maximum measuring function.
- The meter has minium measuring function.
- The meter has auto power-off function.
2. Description
27 28
Leakage Clamp Meter Leakage Clamp Meter
05 06
2.1 Part Name
5
6
7
3
4
8
2
1
(1) The central of the clamp head
(2) Transfer switch
(3) Resistance, capacitance, voltage,
diode and continuity input jack
(4) Common end jack
(5) LCD display
(6) Function choice button
(7) Trigger
(8) Current clamp head: used for leakage current
measurement.
2.2 Switch, Buttom and Input jack description
HOLD/LPF button: used for reading hold and LPF(50Hz/
60Hz) function control.
FUNC/ZERO button: used for measuring function switch
and current clearing function control.
MAX/MIN button: used for maximum/minimum
measurement function switch and leakage current
measeuring.
OFF position: used for shutting off the power.
INPUT jack: voltage, resistance, capacitance, diode,
circuit connection input wire connecting and
temperature terminal.
COM jack: voltage, resistance, capacitance, diode,
circuit connection common wire connecting and
temperature terminal.
Transfer switch: used for selecting function and
measuring range.
29 30
Leakage Clamp Meter Leakage Clamp Meter
Alternating current or voltage, direct voltage
3. Specifications
Automatic measuring range and manual measuring
range.
Full measuring range overload protection.
The maximum allowable voltage between
measurement end and ground: 600V DC or AC(RMS)
Operational height: maximum 2000m
Display: LCD
Displayed maximum value: 4000 counts.
Polarity indication: automatical indication, “ ” means -
negative polarity.
Exceeding measuring range display: “ O ”.L
Sampling rate: about 3 times/sec.
Unit display: has function and power unit display.
Auto off time: 30 min
Power supply: 2x1.5V AAA Batteries
Battery undervoltage indication: LCD displays
symbol.
Temperature coefficient: less than 0.1×accuracy/°C
Operational temperature: 18°C~28°C
Storage temperature: -10°C~50°C
Dimension: 213×62×38mm (8.4x2.44x1.5in)
Weight: about 238g(8.4oz)-include battery
The meter should be recalibrated under the condition
of 18°C~28°C, relative humidity less than 75% with
the period of one year.
3.1 General
“ ”
2.3 LCD Display
Diode, continuity
Automatic measuring range mode
Maximum measuring state
Minimum measuring state
Automatic power-off state
Low battery
Reading hold state
Volt(voltage)
Amperes(Current)
Ohm, Kilohm, Megohm(resistance)
Nano, farad, Microfarad, Millifarad
Temperate measuring state
Current clearing state
Low pass filter (50Hz/60Hz) function state
LPF
31 32
Leakage Clamp Meter Leakage Clamp Meter
09 10
3.2 Technical Indicators
When clamping 2 or more cables to measure leakage
current, the result may be interfered by the current on the
cable. The deviation may be more than 1mA when the
current on the cable is 1 Amp.
33 34
Leakage Clamp Meter Leakage Clamp Meter
35 36
Leakage Clamp Meter Leakage Clamp Meter
Electric shock hazard. Remove the probe measuring with
current clamp.
1)1) Measuring switch is placed to positio A. At this time, the
meter is in AC current measurement state. Choose appropri-
ate measuring range.
1) Clamping two or more leads of circuit to be tested
simultaneously will not get the correct measuring results.
1) Turn the transfer switch to turn on the power. When battery
voltage is low (about2.4V), LCD displays " " symbol,
replace the battery.
2)2) " " symbol means that input voltage or current should not
be more than the specified value, which is to protect the
internal line from damage.
3) Place transfer switch to required measuring function
and range.
4) When connecting line, first connect the common test line,
then connect charged test line. When removing line, remove
charged test line first.
2) Hold the trigger, open clamp head, clip one lead of measure-
ment circuit to be tested in the clamp.
3)3) Read the current and frequency value on the LCD displ .
37 38
Leakage Clamp Meter Leakage Clamp Meter
2) To get accurate reading, connect the lead to be tested at
the center of current clamp.
3) " " indicates that maximum input AC current is 150A.
4)4) Do not touch or hand hold position over protective barri ,
when measure current.
39 40
Leakage Clamp Meter Leakage Clamp Meter
17 18
41 42
Leakage Clamp Meter Leakage Clamp Meter
R-00-05-2206
19
43
Leakage Clamp Meter
MGL EUMAN, S.L.
Parque Empresarial de Argame,
C/Picu Castiellu, Parcelas i-1 a i-4
E-33163 Argame, Morcín
Asturias, España, (Spain)

Other manuals for 8730

3

Other C-LOGIC Measuring Instrument manuals

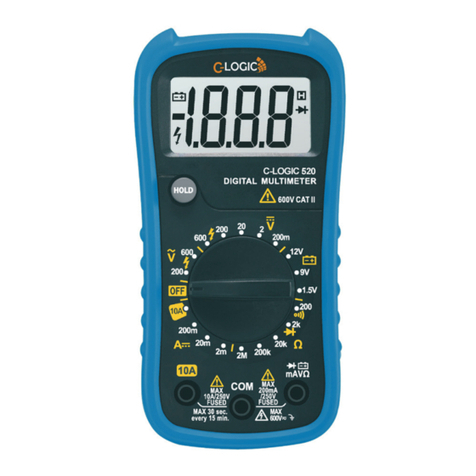
C-LOGIC 280 User manual

C-LOGIC

C-LOGIC 280 User manual

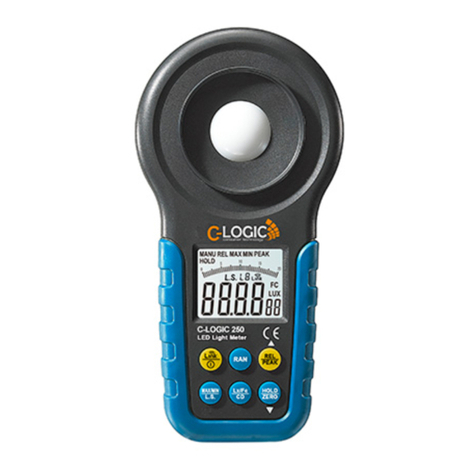
C-LOGIC 250 User manual

C-LOGIC

C-LOGIC 250 User manual

C-LOGIC 85 User manual

C-LOGIC

C-LOGIC 85 User manual

C-LOGIC 80 User manual

C-LOGIC

C-LOGIC 80 User manual

C-LOGIC 290 User manual

C-LOGIC

C-LOGIC 290 User manual

C-LOGIC 810 User manual

C-LOGIC

C-LOGIC 810 User manual

C-LOGIC 290 User manual

C-LOGIC

C-LOGIC 290 User manual

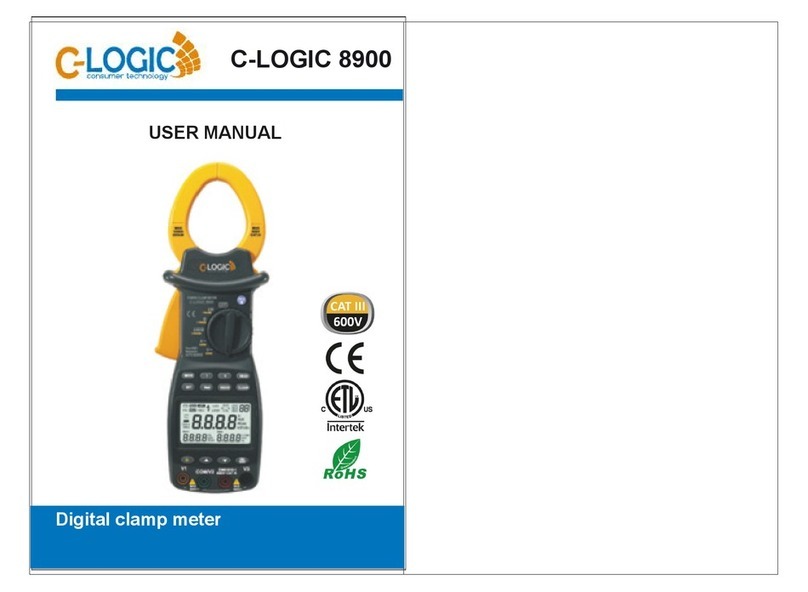
C-LOGIC 8900 User manual

C-LOGIC

C-LOGIC 8900 User manual

C-LOGIC 520 User manual

C-LOGIC

C-LOGIC 520 User manual

C-LOGIC 9600 User manual

C-LOGIC

C-LOGIC 9600 User manual

C-LOGIC 280 User manual

C-LOGIC

C-LOGIC 280 User manual

C-LOGIC 95 User manual

C-LOGIC

C-LOGIC 95 User manual

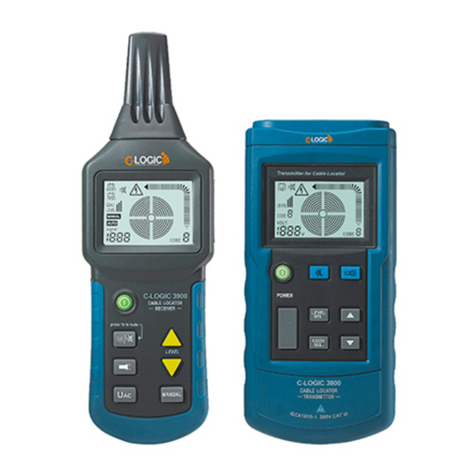
C-LOGIC 3900 User manual

C-LOGIC

C-LOGIC 3900 User manual

C-LOGIC 8900 User manual

C-LOGIC

C-LOGIC 8900 User manual

C-LOGIC 810 User manual

C-LOGIC

C-LOGIC 810 User manual

C-LOGIC 290 User manual

C-LOGIC

C-LOGIC 290 User manual

C-LOGIC 280 User manual

C-LOGIC

C-LOGIC 280 User manual

C-LOGIC 8730 User manual

C-LOGIC

C-LOGIC 8730 User manual

C-LOGIC 350 User manual

C-LOGIC

C-LOGIC 350 User manual

C-LOGIC 250 User manual

C-LOGIC

C-LOGIC 250 User manual

C-LOGIC 95 User manual

C-LOGIC

C-LOGIC 95 User manual

C-LOGIC 3400 User manual

C-LOGIC

C-LOGIC 3400 User manual

C-LOGIC 8730 User manual

C-LOGIC

C-LOGIC 8730 User manual

C-LOGIC 8730 User manual

C-LOGIC

C-LOGIC 8730 User manual

Popular Measuring Instrument manuals by other brands

METREL VoltScanner MI 2130 user manual

METREL

METREL VoltScanner MI 2130 user manual

Ilec SN10 user manual

Ilec

Ilec SN10 user manual

Endress+Hauser Proline Prowirl 72 operating instructions

Endress+Hauser

Endress+Hauser Proline Prowirl 72 operating instructions

Eurochron 1544543 operating instructions

Eurochron

Eurochron 1544543 operating instructions

HEIDENHAIN MSE 1202 installation instructions

HEIDENHAIN

HEIDENHAIN MSE 1202 installation instructions

Chauvin Arnoux CA 10101E user manual

Chauvin Arnoux

Chauvin Arnoux CA 10101E user manual

geo-FENNEL FR 55 user manual

geo-FENNEL

geo-FENNEL FR 55 user manual

Seitron PRESSOTEST 200 manual

Seitron

Seitron PRESSOTEST 200 manual

Keithley 6485 user manual

Keithley

Keithley 6485 user manual

PCE Instruments PCE-CM 40 user manual

PCE Instruments

PCE Instruments PCE-CM 40 user manual

Rotem DRM-3000 operating manual

Rotem

Rotem DRM-3000 operating manual

TeleMann 1720 QAM(A) user manual

TeleMann

TeleMann 1720 QAM(A) user manual

AEMC SL261 user manual

AEMC

AEMC SL261 user manual

Beha-Amprobe 4930890 user manual

Beha-Amprobe

Beha-Amprobe 4930890 user manual

Unihedron SQM-LE Operator's manual

Unihedron

Unihedron SQM-LE Operator's manual

Connective Peripherals EasyScopeIII user guide

Connective Peripherals

Connective Peripherals EasyScopeIII user guide

Martindale Electric CM55 instruction manual

Martindale Electric

Martindale Electric CM55 instruction manual

Ametek AMEVision 3050-OLV user manual

Ametek

Ametek AMEVision 3050-OLV user manual

manuals.online logo
manuals.online logoBrands
  • About & Mission
  • Contact us
  • Privacy Policy
  • Terms and Conditions

Copyright 2025 Manuals.Online. All Rights Reserved.