manuals.online logo
Brands
  1. Home
  2. •
  3. Brands
  4. •
  5. CB2
  6. •
  7. Indoor Furnishing
  8. •
  9. CB2 Platform Coffee Table User manual

CB2 Platform Coffee Table User manual

Made in Vietnam - r04 Page 1 of 4
platform COFFEE TABLE
hardware
components
tools required
Thank you for purchasing the Platform Coffee Table.
This page
lists all the contents included in the box.
Please take the time
to identify the hardware as well as
the individual components
to this product. As you
unpack and prepare for assembly, place the contents
on a carpeted or padded area to protect them from
damage.
Note: 2 people are required to safely assemble this product.
Missing hardware?
Please call 800.606.6387 for replacements.
4 - large
bolts
16 - flat
washers
phillips head screwdriver
1 - top panel
4 - drawer sides
(2 left, 2 right)
( We recommend the use of hand tools instead of power tools )
16 - spring
washers
12 - small
bolts
16 - screws 12 - cam
screws
12 - wood
dowels
12 - cams
1 - bottom panel 1 - back panel
2 - side panels
(1 left, 1 right)
2 - drawer fronts
(1 left, 1 right)
1 - partition 2 - drawer backs
2 - drawer bottoms 4 - legs 4 - brackets
Customer Service 800.606.6252 | Latest instructions available at www.cb2.com
3
B
A
bottom
panel
1 2
A
B
leg
bracket
bottom
panel
top panel
left side panel
right side panel
partition
large
bolt
small
bolt
NOTE: Make sure arrows
points toward nearest
edge with holes
Made in Vietnam - r04 Page 2 of 4
platform COFFEE TABLE
NOTE: Do not over
tighten the bolts
A) With the assistance of another adult, attach 4
legs to bottom panel as shown. Insert 1 small
bolt, 1 flat washer and 1 spring washer
through top panel into each leg. Secure, but do
not over tighten, the bolts with a screwdriver.
B) Secure each leg to corner brackets with 1
large bolt, 1 flat washer and 1 spring washer
as shown.
Attach 4 brackets to assembled unit as shown.
Secure each bracket with 2 small bolts, 2 flat
washers and 2 spring washers as shown.
Customer Service 800.606.6252 | Latest instructions available on www.cb2.com
4
Insert 6 wood dowels and 6 cam screws into
top panel and bottom panel as shown. Secure,
but do not over tighten, each cam screw with a
phillips head screwdriver.
Insert 4 cams into left/right side panel and
partition as shown. Make sure arrows on each
cam points toward nearest edge with holes.
NOTE: Do not over
tighten cam screws
7
56
Made in Vietnam - r04 Page 3 of 4
platform COFFEE TABLE
With the assistance of another adult, fit dowels
of top panel into corresponding holes of
assembled unit. Secure all cams.
Customer Service 800.606.6252 | Latest instructions available on www.cb2.com
left side
panel
right side
panel
partition
With the assistance of another adult, position unit
upright. Fit dowels of assembled unit into
corresponding holes of left/right side panels
and partition. With a screwdriver, turn each cam
clockwise until it securely engages each cam
screw.
back panel
Fit back panel into corresponding grooves of
assembled unit as shown.
top panel
8
Fit dowels of drawer front into corresponding
holes of drawer left and attach with 2 screws as
shown. Secure, but do not over tighten, screws
with a screwdriver.
drawer front
drawer left
NOTE: Make sure open end
of glides are positioned toward
back panel and grooves in all
panels are aligned
NOTE: Do not over
tighten the screws
11
drawer bottom
9 10
drawer back
12
drawer right
Made in Vietnam - r04 Page 4 of 4
platform COFFEE TABLE
Fit dowels of drawer assembly into
corresponding holes of drawer right and attach
with 4 screws as shown. Repeat steps 8-11 for
remaining drawer assembly.
Fit glides of drawer assembly into drawer glides
of unit. Push drawer assembly into the glides
until the drawer is all the way in. Test the drawer
by opening and closing a couple of times to
ensure it is secure.
Assembly is now complete.
NOTE: To remove drawers, fully extend the
drawer and push the lever on the right
drawer glide down and pull the lever
on the left drawer glide up while
pulling out the drawer.
left drawer
glide
right drawer
glide
Clean surfaces with a dry or damp soft cloth. Do not use abrasive cleaners. Do not use furniture wax or polish as
the unit is finished with a protective clear lacquer. It is recommended to use coasters to protect surface from heat
and water.
cleaning & care
Slide drawer bottom into corresponding
grooves of drawer assembly.
Customer Service 800.606.6252 | Latest instructions available on www.cb2.com
Fit dowels of drawer back into corresponding
holes of drawer assembly and attach with 2
screws as shown.

Other CB2 Indoor Furnishing manuals

CB2 Rouka User manual

CB2

CB2 Rouka User manual

CB2 GETAWAY User manual

CB2

CB2 GETAWAY User manual

CB2 SHAKE TALL CHEST User manual

CB2

CB2 SHAKE TALL CHEST User manual

CB2 stairway User manual

CB2

CB2 stairway User manual

CB2 Plank User manual

CB2

CB2 Plank User manual

CB2 FACET User manual

CB2

CB2 FACET User manual

CB2 Sawyer User manual

CB2

CB2 Sawyer User manual

CB2 Paradigm User manual

CB2

CB2 Paradigm User manual

CB2 REVEL User manual

CB2

CB2 REVEL User manual

CB2 STELLA User manual

CB2

CB2 STELLA User manual

CB2 Shake Nightstand User manual

CB2

CB2 Shake Nightstand User manual

CB2 V BOOKCASE User manual

CB2

CB2 V BOOKCASE User manual

CB2 Trine Queen or King Bed User manual

CB2

CB2 Trine Queen or King Bed User manual

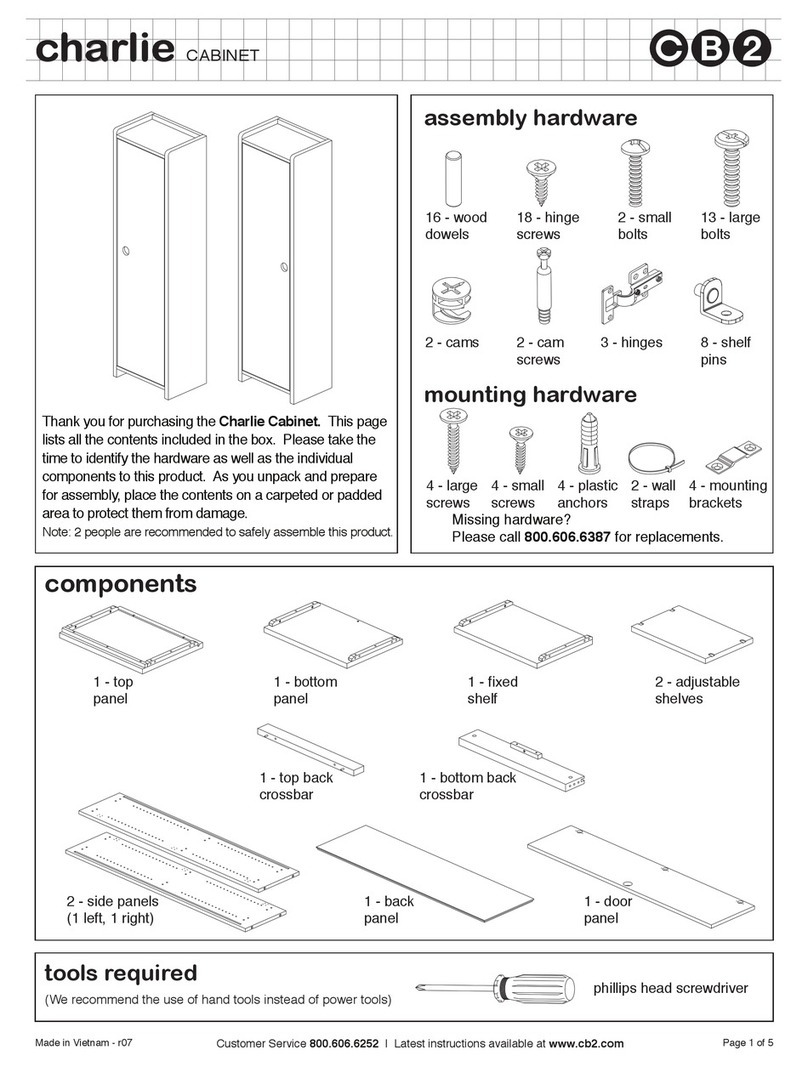
CB2 CHARLIE User manual

CB2

CB2 CHARLIE User manual

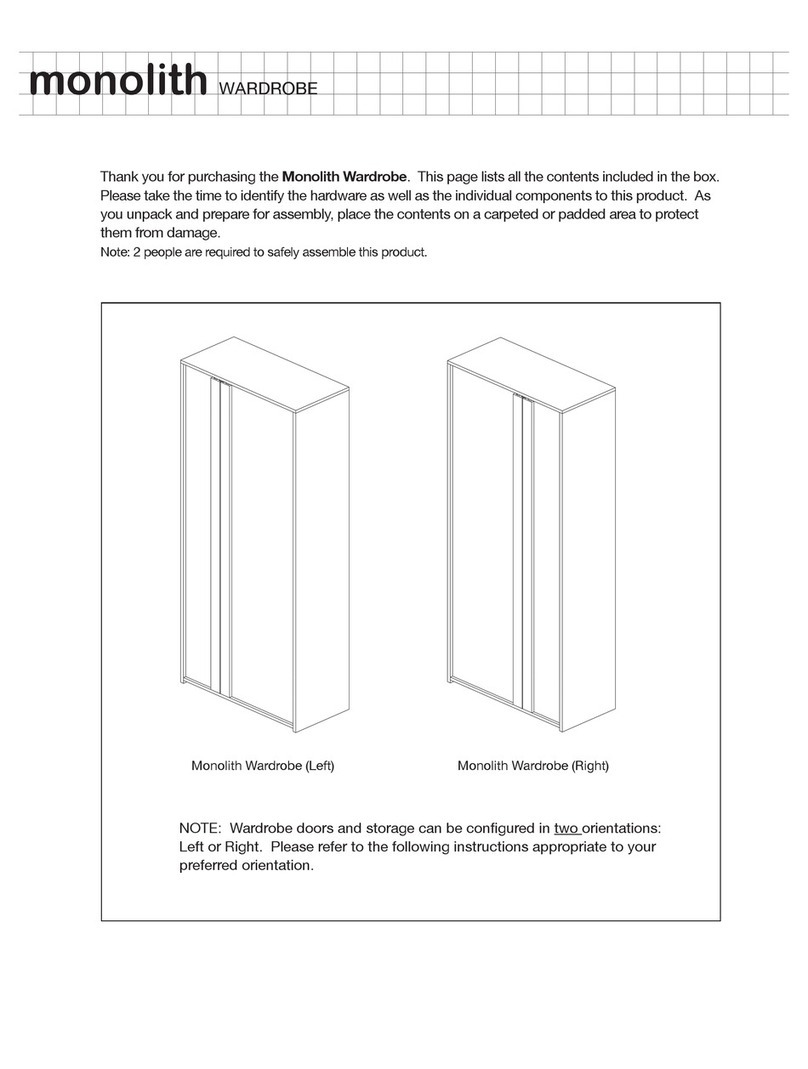
CB2 MONOLITH User manual

CB2

CB2 MONOLITH User manual

CB2 BUNKER II User manual

CB2

CB2 BUNKER II User manual

CB2 ACACIA User manual

CB2

CB2 ACACIA User manual

CB2 KICKSTAND User manual

CB2

CB2 KICKSTAND User manual

CB2 CHANGES User manual

CB2

CB2 CHANGES User manual

CB2 Veer User manual

CB2

CB2 Veer User manual

CB2 Cubo User manual

CB2

CB2 Cubo User manual

CB2 CADET User manual

CB2

CB2 CADET User manual

CB2 HYDE User manual

CB2

CB2 HYDE User manual

CB2 HYDE User manual

CB2

CB2 HYDE User manual

Popular Indoor Furnishing manuals by other brands

Furniture of America CM3738SC-2PK Assembly instructions

Furniture of America

Furniture of America CM3738SC-2PK Assembly instructions

ABSTRACTA AIRFLAKE manual

ABSTRACTA

ABSTRACTA AIRFLAKE manual

Westwood Design LD-BU-1745BU-C Assembly instruction

Westwood Design

Westwood Design LD-BU-1745BU-C Assembly instruction

Serta SMART LAYERS HENSLEY 48077 Assembly instructions and warranty information

Serta

Serta SMART LAYERS HENSLEY 48077 Assembly instructions and warranty information

Baxton Studio 319C Assembly instruction

Baxton Studio

Baxton Studio 319C Assembly instruction

BUT TIME 4894223220842 Assembly instructions

BUT

BUT TIME 4894223220842 Assembly instructions

Design Within Reach Aero High Shelving Care Instructions

Design Within Reach

Design Within Reach Aero High Shelving Care Instructions

Neo Chair 803B Assembly instruction

Neo Chair

Neo Chair 803B Assembly instruction

AMIX EX006 Assembly instruction

AMIX

AMIX EX006 Assembly instruction

Habitat Ottone 822438 manual

Habitat

Habitat Ottone 822438 manual

Kvik P15675 Assembly manual

Kvik

Kvik P15675 Assembly manual

Madeira MANFROI OCTA Assembly instructions

Madeira

Madeira MANFROI OCTA Assembly instructions

MID.YOU DRTK211 Assembling Instruction

MID.YOU

MID.YOU DRTK211 Assembling Instruction

Buck Stool Bioswing Instructions for use

Buck

Buck Stool Bioswing Instructions for use

Glas Italia MGB01 Assembling and use instruction

Glas Italia

Glas Italia MGB01 Assembling and use instruction

FMD Furniture VIBORG 2 Assembly instruction

FMD Furniture

FMD Furniture VIBORG 2 Assembly instruction

Patriot Docks 10832 Assembly instructions

Patriot Docks

Patriot Docks 10832 Assembly instructions

Julian Bowen Limited Carmel 170302 Assembly instructions

Julian Bowen Limited

Julian Bowen Limited Carmel 170302 Assembly instructions

manuals.online logo
manuals.online logoBrands
  • About & Mission
  • Contact us
  • Privacy Policy
  • Terms and Conditions

Copyright 2025 Manuals.Online. All Rights Reserved.