SAFETY PRECAUTIONS
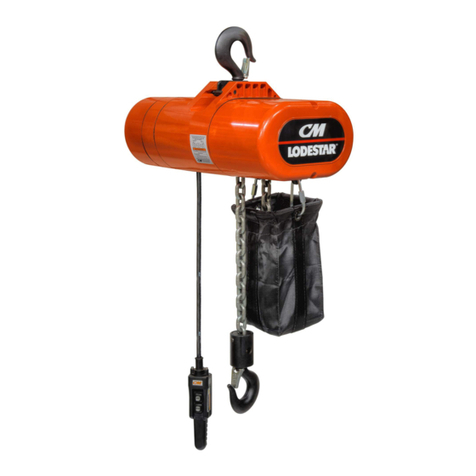
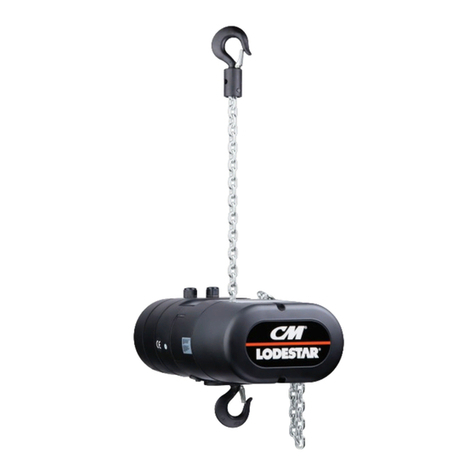
Each Lodestar XL Electric Hoist is built in accordance with the specifications contained herein and at the time of manufacture
complied with our interpretation of applicable sections of the *American Society of Mechanical Engineers Standard B30.16
“Overhead Hoists,” the National Electrical Code (ANSI/NFPA 70) and the Occupational Safety and Health Act. Since OHSA
states the National Electrical Code applies to all electric hoists, installers are required to provide current overload protection
and grounding on the branch circuit section in keeping with the code. Check each installation for compliance with the appli-
cation, operation and maintenance sections of these articles.
The safety laws for elevators, lifting of people and for dumbwaiters specify construction details that are not incorporated in
CM industrial hoists. For such applications, refer to the requirements of applicable state and local codes, and the American
National Safety Code for elevators, dumbwaiters, escalators and moving walks (ASME A17.1). Columbus McKinnon
Corporation cannot be responsible for applications other than those for which CM equipment is intended.
* Copies of this Standard can be obtained from The American Society of Mechanical Engineers, 345 East 47th Street,New
York, NY 10017, U.S.A.
ii
THIS SYMBOL POINTS OUT IMPORTANT SAFETY INSTRUCTIONS WHICH IF NOT
FOLLOWED COULD ENDANGER THE PERSONAL SAFETY AND/OR PROPERTY
OF YOURSELF AND OTHERS. READ AND FOLLOW ALL INSTRUCTIONS IN THIS
MANUAL AND ANY PROVIDED WITH THE EQUIPMENT BEFORE ATTEMPTING TO
OPERATE YOUR LODESTAR HOIST.
DO’S AND DO NOT’S
Safe Operation of Hoists
The following are Do’s and Do Not’s for safe operation of
overhead hoists. Taking precedence over any specific rule
listed here, however, is the most important rule of all—USE
COMMON SENSE. A few minutes spent reading these
rules can make an operator aware of dangerous practices
to avoid and precautions to take for his own safety and the
safety of others. Frequent examinations and periodic
inspections of the equipment as well as conscientious
observance of safety rules may save lives as well as time
and money.
12. DO warn personnel of an approaching load.
13. DO protect load chain from weld spatter or other damaging
contaminants.
14. DO promptly report any malfunction, unusual performance or
damage of the hoist.
15. DO inspect hoist regularly, replace damaged or worn parts,
and keep appropriate records of maintenance.
16. DO use CM’s replacement parts when repairing the hoist.
17. DO use hook latches whenever possible.
18. DO apply lubricant to the load chain as recommended in
this manual.
19. DO NOT lift more than rated load.
20. DO NOT use the hoist load limiting device to measure the
load.
21. DO NOT use damaged hoist or hoist that is not working
correctly.
22. DO NOT use the hoist with twisted, kinked, damaged or worn
chain.
23. DO NOT lift a load unless chain is properly seated in chain
wheel(s).
24. DO NOT use load chain as a sling or wrap chain around the
load.
25. DO NOT lift a load if any binding prevents equal loading on
all supporting chains.
26. DO NOT apply the load to the tip of the hook.
27. DO NOT operate unless load is centered under hoist.
28. DO NOT allow your attention to be diverted from operating
the hoist.
29. DO NOT operate the hoist beyond limits of chain travel.
30. DO NOT use limit switches as routine operating stops. They
are emergency devices only.
31. DO NOT use hoist to lift, support or transport people.
32. DO NOT leave a suspended load unattended unless specific
precautions have been taken.
33. DO NOT allow sharp contact between two hoists or between
hoist and obstructions.
34. DO NOT allow the chain or hook to be used as a ground for
welding.
35. DO NOT allow the chain or hook to be touched by a live
welding electrode.
36. DO NOT remove or obscure the warnings on the hoist.
37. DO NOT adjust or repair a hoist unless qualified to perform
hoist maintenance.
38. DO NOT attempt to lengthen the chain or repair damaged
chain.
1. DO read ASME B30.16 Safety Standard for Overhead Hoists
and this manual thoroughly.
2. DO be familiar with hoist operating controls, procedures and
warnings.
3. DO make sure hook travel is in the same direction as shown
on controls.
4. DO make sure that the hoist limit switches function properly.
5. DO maintain firm footing when operating hoist.
6. DO make sure that load slings or other approved single
attachments are properly sized and seated in the hook
saddle.
7. DO make sure that the hook latch, if used, is closed and not
supporting any part of the load.
8. DO make sure that load is free to move and will clear all
obstuctions.
9. DO take up slack carefully, check load balance, lift a few
inches and check load holding action before continuing.
10. DO avoid swinging of load or load hook.
11. DO make sure that all persons stay clear of the suspended
load.
WARNING To Avoid Injury:
