manuals.online logo
Brands
  1. Home
  2. •
  3. Brands
  4. •
  5. Corriveau
  6. •
  7. Outdoor Furnishing
  8. •
  9. Corriveau Ganyon 101417 Datasheet

Corriveau Ganyon 101417 Datasheet

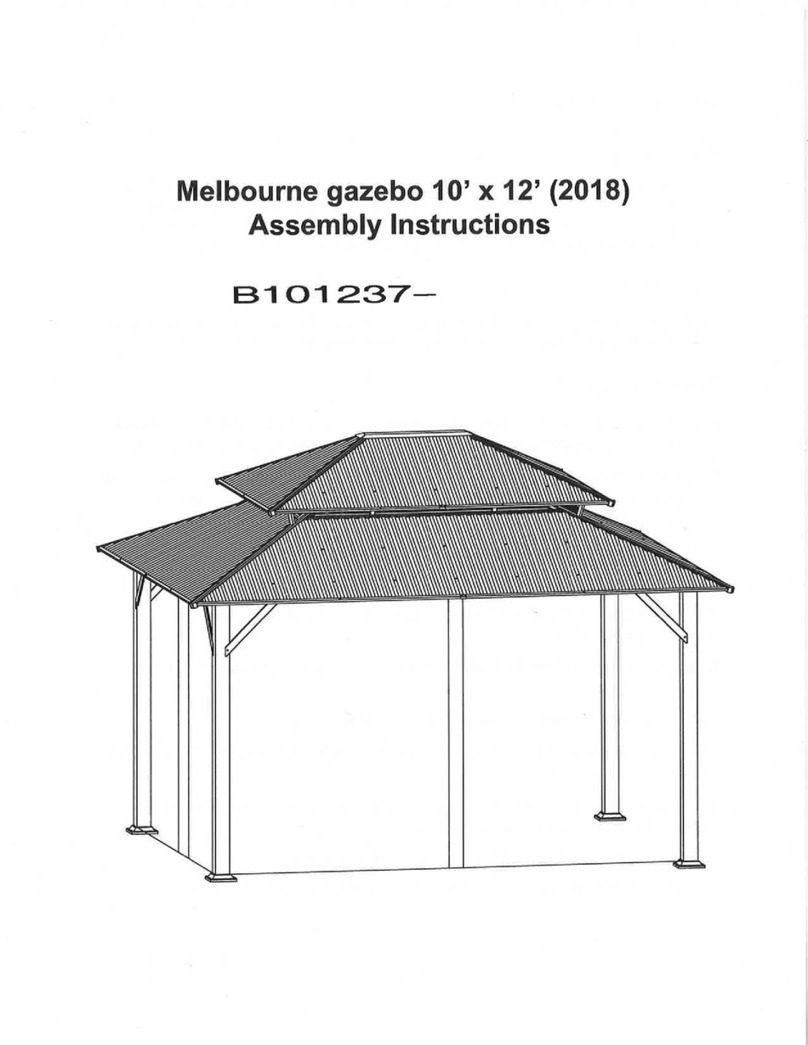
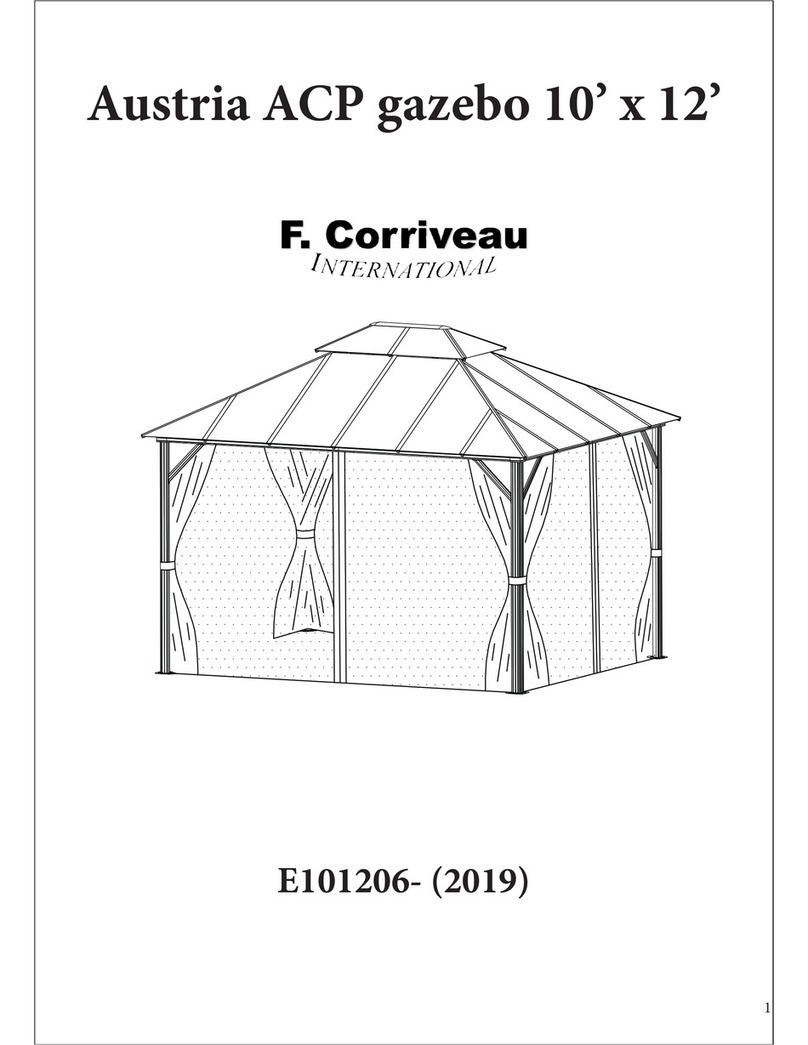
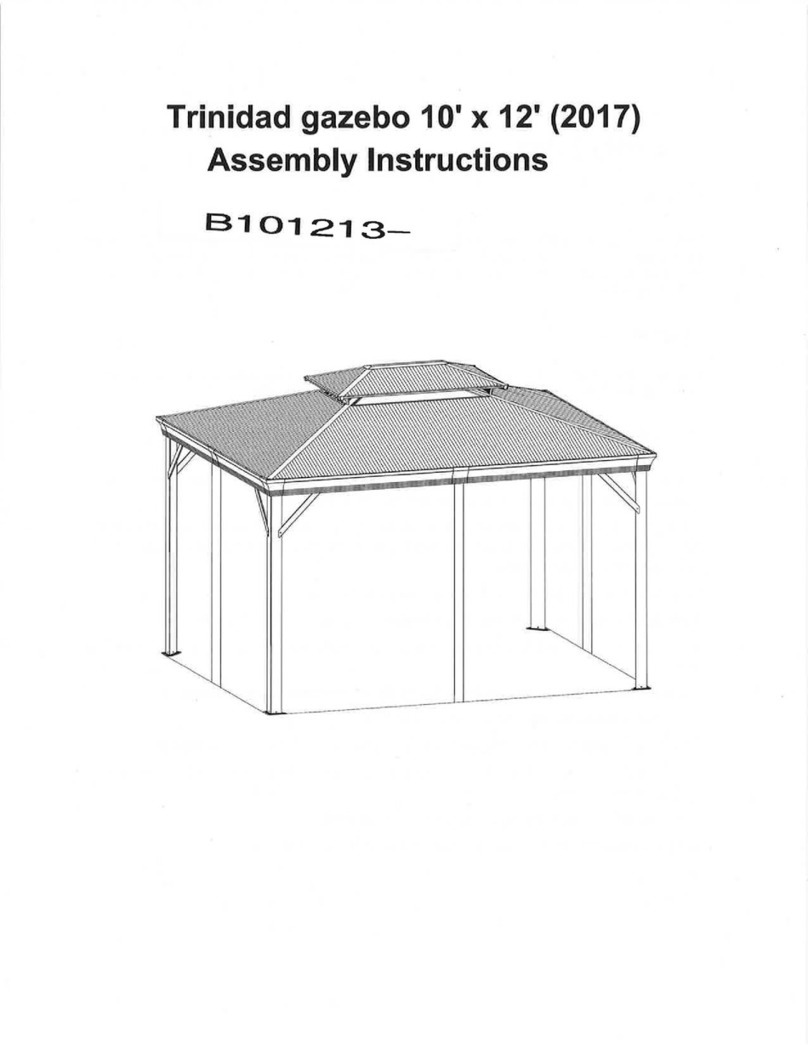
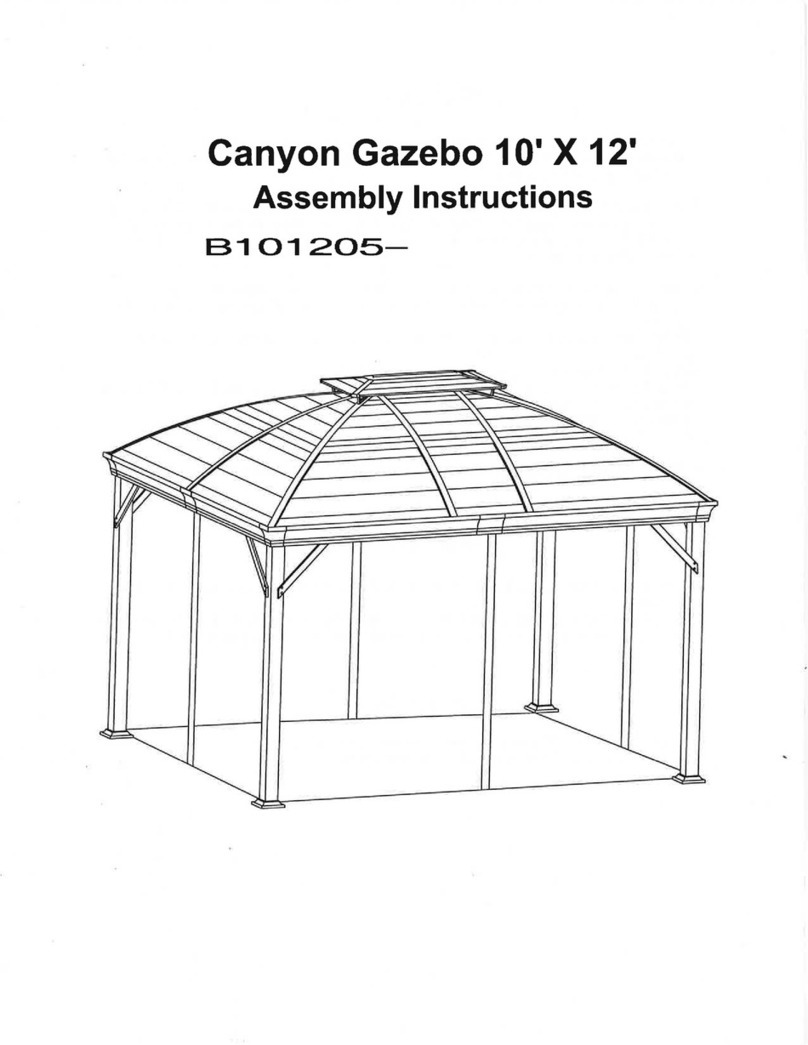
Ganyon Gazebo 10'X 14' (201 6)
Assembly lnstructions
8101 41 7-
I
Security rules
Warning :
Keep away flame or heat source from gazebo fabrics. Othen¡rise fabrics can burn or melt and can
cause severe burn on nearby persons. ln this case, material damage has to be considered.
Moreover, the adding of any substance will block or severly slow down capacity of fabric to resist
or be flame retardant.
Regulation
It is the responsability of consumer being in accordance with city regulation, construction code,
zoning or any limitations and obtaining permit prior erecting the gazebo.
Recommendation
Prior to proceed to erect the gazebo, a check-up of quantity of each items should be done. Some
pafts may have sharp edges, wearing gloves is recommended.
Figure at least five hours to complete the set-up with two persons. Consider having enough time
for completion of erecting. Even well anchored, a non complete gazebo unit can get or create
damage to nearby environment.
Keep away from any electric installation or transportation device.
A check up of tightening of all bolts should be done all across lifespan of gazebo.
Even if this gazebo is built for year round use, this is strongly recommended to remove snow from
top.
Mosquito net and curtains (optional) must be removed from the unit at freezing period.
lnstruction manual must be read prior start-up of erecting.
All recommendation must be followed carefully to ensure perfect sturdiness of the unit.
Use proper tools and equipements for a safe and compliant installation. Never climb, sit or stand
on structure while erecting.
Anchoring bolts or other anchoring devices are not supplied.
Always recommended to keep instruction manual for fufther reference.
I
Care
Never use a high pressure washer. Use of mild soap in a lukewarm water is the best solution for
frame only. A clear water rinse is necessary then, Never use soap for fabrics, this will reduce
their capacity and consequently their lifespan and general look. For fabrics, a soft brush and a
lukewarm water is offering an excellent cleaning.
Warranty
Govered
This gazebo is warranty from any manufacturing defect for one year at normal use. This limited
warranty is for one,year for parts only.
ln any case a part is needed, please contact the seller giving description and pictures of defect.
Not covered
All damage caused by commercial use, improper care, neglected storage, unreasonable or
abusive use, vandalism, chemical, freeze damage, extreme weather or act of God, rust,
oxidation, stains, glass breakage, packaging and transportation fees for return. Normal
discoloration and build-up of snow are not covered either.
Seller :
For each part request, please contact our customer service. lt will need a description of problem,
pictures and consumer invoice copy. Be aware full item code must appear on invoice to give
fabricating period, color and right identification of part requested. This will ensure all proper
information to proceed the request. Moreover, name of person in charge of the request must be
written, name and address of seller ( branch ), e-mail address, fax and phone number.
2
N
AB
AO
AJ
AF !,
-AN
o
AD
Po
å
ñ
AÑ
Mé ¿AF
æ
AI èAE
eMAI
AS JEI
A
.B I
ry et
AR
ASE
AQ
\
AQ
AW
AV
A
g
B
@c
3
AA
tttl
tlf tnr
CM,
@
fltl
Itlt
Reminder: Before assembly, don't forget to check inside of each Post
(No.A), some parts are well packed and stored inside.
A
AJ
AO
AN
AK
AL
4pcs
1 pcs
1 pcs
4pcs
2pcs
The first Post (No.A)
The second Post (No.A)
AI
AM
AQ
AP
Spcs
2pcs
4pcs
4pcs
A
AThe third Post (No.A)
AThe fourth Post (No.A)
K
L
AF
AG
AH
4pcs
4pcs
Spcs
2pcs
2pcs
R4pcs
4
PARTS LIST:
NO. Description QTY Drawing
APost 4
BBase cap 4
cBase flange 4
DShort crossbar 2
EShort crossbar 2
FLong crossbar 2
GLong crossbar 2
HMain Connector 2
Connector 2
JConnector 4
KCorner supporter (Left) 4
LCorner supporter (Right) 4
MTip connector 10
NRoof connector 1
oCorner roof tube 4
5
NO. Description QTY Drawing
AF Upper roof supporting bar B
AG Upper roof supporting bar 2
AH Upper roof supporting bar 2
AI Upper roof supporting bar I
AJ Roof support profile (Right) 4
AK Roof support profile (Left) 4
AL Roof support profile (Middle) 2
AM Roof support bar (Center) 2
AN Roof support bar (Center) 1
AO Roof support bar (Center) 1
AP Eave profile 4
AQ Eave profile 4
AR Corner moulding 4
AS Center moulding 4
AT Stake 16
7
NO. Description QTY Drawing
PMiddle roof tube 2
oMiddle roof tube 4
RAir vent tube 4
SRoof cap 1
TUpper roof panel (Middle) 2
ULower roof panel (Middle) 2
VUpper roof panel (Right) 4
WUpper roof panel (Lelf) 4
XLower roof panel (Right) 4
YLower roof panel (Lelf) 4
zAir vent panel 2
AB Air vent panel 2
AC Air vent corner connector 4
AD Middle connector 12 \
AE Corner connector 8
b
NO. Description QTY Drawing
AU Roof support tube 1
AV Mosquito net 1
AW Self tapping screw 16 CM, M5.15
Hardware Kit:
AA Bolt MO X 1Smm 187 ÐD
BB Bolt MO X 25mm 26 @
cc Bolt M6 X 42mm 34 Ð.-t-*-
DD Bolt M6 X 12mm 40 0*
EE Plastic cap 16 @
FF Plastic washer 7
GG Stainless washer 32 :
HH M6 Nut 2ê
Allen key 1
JJ Allen key 1
KK Spanner 1
I
Ax4
cx4 Bx4
A
A
I
I
I
l
I
I
tI\\
ÐD* i@\\II
I
I
I
I
I
I
I
AA AA
BII
C
tO \/
------{¡li -"'
c
Step 1.
lnsertbasecap(B)intothebottomofthepost(A),thenusingbolts(AA)securebaseflange(C)onthe
bottom of post ( A ). Repeat the step for all rest posts. Bolts can be tight completely.
9
D
E
H
x2
x2
x2 Jx2
These two holes must face the ground.
o
oo
I
1H
IE
D
J<-
,-+
Attention !!
Extra holes for short crossbars only.
1Y'
DE
I
Ti
IE\@...
II_f
AA
Step 2:
lnserttheconnectors(H&J)intoshortcrossbar(E)andshortcrossbar(D)andsecurewithbolts(AA).Do
not tight bolts completely yet.
Repeatthis stepforremaining connectors ( H & J ) and shortcrossbars (D & E ). This is impoÉantto aligntop
holes of connectors ( H ) with top holes of short crossbars. A special care must also be done to align
bottom holes of connectors ( J ) with bottom holes of short crossbars (D & E ). In both cases, this
important care refer to a further step.
10
F
G
x2
x2
x2J x2
These two holes mface the ground.
0000 0000
GIF
J
GF
\
qqPre
L_l
I,ø qeJ
il
AA
Step 3:
lnserttheconnectors(l&J)intothelongcrossbars(G)andlongcrossbar(F)andsecurewithbolts(AA).Do
not tight bolts completely yet.
Repeatthisstepforremainingconnectors(l&J)andlongcrossbars(G&F).Thisisimportanttoalignthe
bottom holes of connectors ( J ) with bottom holes of long crossbars ( F & G ).
1
11
\
F
ú) G
PA
¡ì
A\
I\\
I
Þ----- o
AA I
I
o
A
Step 4.
Securelongcrossbarsset(G&F)onthepost(A)byusingbolts(AA).Notefixingisdoneonbothsideof
crossbars. Do not tight bolts completely yet.
Repeat on the opposite side.
Note : For your security, you may need two people for this step.
12
0/
itr---
D&E
I\
II
Io-
o- AA I
I
\\t.. A
\\\
\
(t
F
GD
úEG(t \
F
i
\A
AA
A
Step 5.
Secureshortcrossbarsset(D&E)onposts(A)byusingbolts(AA).Notefixingisdoneonbothsideof
crossbars ( D A E ). Repeat for the opposite side.
Notes : Please check above fig. carefully and make sure all the parts are in right position. For your security, you
may need 4 people for this step.
Do not tight bolts completely yet.
13
Kx4
Lx4 EE @x 16
AI
I
I
I
ts
I\
I
B€
€e--
e-- ê-
eBBIK
A
K
'íi \(,Ð
F
G
\\(_Ð
G
OFK
LAO
rJ) \
(3-)
A\A
IL
II
I
A{e
\0-
Step 6.
Secureleftandrightcornersupport(K&L)toposts(A)byusingbolts(BB)asfig.l.Donottightboltsyet.Then
secure other end of corner support ( K & L ) to short and long assembly crossbars (DEGF) by using bolts (AA) as
fig.2. Tightening must be done only once all bolts are located. Tight all loose bolts but following this sequence :
external of corners, inside of corners, lower end of corner support then upper end. Prior tightening crossbars,
ensure assembly is fully aligned.
Then, install plastic caps ( EE ) as fig. 3. shown.
iìt
Q)
14
P
o
x2
x4
AD x12 MX6
O
AD O
(,Ð
€
M
\II
I
I
I
I
I
I
I
I
I
I
I
( z':
'Ì -'
I
I
I
II\\
QI
I
a\II
I
I
I
I
I
MAD
AAA
AA
\a'\/
Step 7.
Secure middle connector (AD )2 pcs on the middle roof tube (P )by using bolts (AA ) align the part in position
as fig.1 shown. Then insert bolt (AA ) through tip connector ( M ), secure with the end section of middle roof tube
( P ) as fig.2 shown.
Repeat for remaining middle roof tube ( P ) and rest of 4 middle roof tube ( a ). Do not tight bolts completely
yet.
I
I
15
NX1
-------- \t- --l
o
No\\
I
II
III
IoN
Q1
t___ J
'.J-) '.J-)
o
N
o
o
o
Step 8.
Securemiddlerooftube(Q)ontheroofconnector(N)byusingbolts(AA)asshown.Donottightbolts
completely yet.
16
t-
c,)
'=
o
ct)
g
s
=
¿
=
o
-c
.D
U)
:
<cL
(2 Elt
^at
õg
o)o
F¿
'Ø o¡
)F
att
!f
^g
Oo
e
rË
-9
ut=
qE
;o
íÁ ,Þ
9¡,
otr
6¡o
Ca
oo
o-
Eø
-o
ö€
U'Y
L9
(EO
o-o
-L
õe
-o rt
trtl
3E
U)¿
(úÈ
o
@-o
O-fl
(¡) f
. ;o
O, ;;Ë
r-ìsG
at dE
õ 8*
II
(,
ø
,-s)
o
ø
z
\\II
I
I
I
I
(,
oð
TL
{
r
\,
I
(
I
I
o
I
\
T'l
PP
++
LJ
4-r,l
P
I\
\I
I
I
I
NI
-Pnn
MI
I\I
å
DAA ,,
/
_E_
2\
2\
\NP
P¡) E
D
Step 10.
Secure assembled middle roof tube ( P )on the long crossbars (E & D ) by using bolts (AA ) asfig.l shown. Then
insertbolts(AA)throughroofconnectorset(N),attachedwithmiddlerooftube(P)asfig.2shown.Repeatfor
opposite side. Tight only bolts securing tip connector ( M ) to crossbars ( E & D ).
N
rJ)
M
18
o
R
x4M x4
X4 AE X8
AA
\i\
AA E
&\R\ì
I
I
II
III
I
I
\R
O// -
/
/¡)
\@nE
3\
o
3\
AE
2\
M\
o
Ç;
I
I
II\\
oIq
I
a\II
I
I
I
I
\AE I
M
AA
---------
Step 11.
Secure airventtube (R )on the corner roof tube (O ) by using bolts (M ) asfig.l shown. Do nottight bolts
completely yet. Then insert bolt ( AA ) through tip connector ( M ), secure with the end section of corner roof
tube(O)asfig.2shown.Donottightboltcompletelyyet.Finally,securecornerconnector(AE)2pcsonthe
corner roof tube ( O ) by using bolts ( AA ) align the parts ín position as fig.3 shown. Repeat for remaining roof
tubes ( O ). Do not tight bolts completely yet. I

This manual suits for next models

1

Other Corriveau Outdoor Furnishing manuals
Corriveau Hill Country B050860 User manual

Corriveau

Corriveau Hill Country B050860 User manual

Corriveau Nancy II User manual

Corriveau

Corriveau Nancy II User manual
Corriveau Ganyon B101205 Datasheet

Corriveau

Corriveau Ganyon B101205 Datasheet

Corriveau Melbourne B101237 Datasheet

Corriveau

Corriveau Melbourne B101237 Datasheet

Corriveau Austria ACP User manual

Corriveau

Corriveau Austria ACP User manual

Corriveau lndia 8101202 User manual

Corriveau

Corriveau lndia 8101202 User manual

Corriveau Morelia B101215 Datasheet

Corriveau

Corriveau Morelia B101215 Datasheet

Corriveau EG1001W User manual

Corriveau

Corriveau EG1001W User manual

Corriveau B101055 User manual

Corriveau

Corriveau B101055 User manual

Corriveau Austria ACP User manual

Corriveau

Corriveau Austria ACP User manual

Corriveau San Luis B101255 User manual

Corriveau

Corriveau San Luis B101255 User manual

Corriveau lndia B121202 Datasheet

Corriveau

Corriveau lndia B121202 Datasheet

Corriveau Trinidad B101213 Datasheet

Corriveau

Corriveau Trinidad B101213 Datasheet

Corriveau Napoli II User manual

Corriveau

Corriveau Napoli II User manual

Corriveau Modesto B101221 Datasheet

Corriveau

Corriveau Modesto B101221 Datasheet

Corriveau Austria ACP User manual

Corriveau

Corriveau Austria ACP User manual

Corriveau B101425 User manual

Corriveau

Corriveau B101425 User manual

Corriveau Maestrale 8101416 User manual

Corriveau

Corriveau Maestrale 8101416 User manual

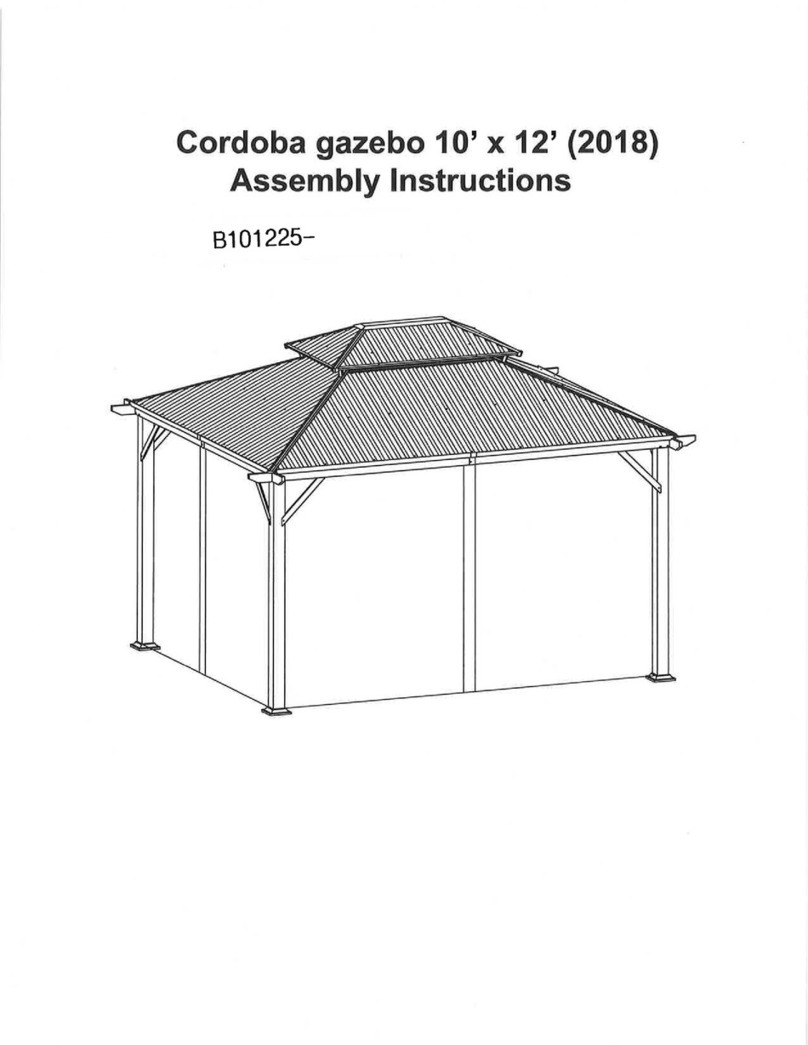
Corriveau Cordoba B101225 User manual

Corriveau

Corriveau Cordoba B101225 User manual

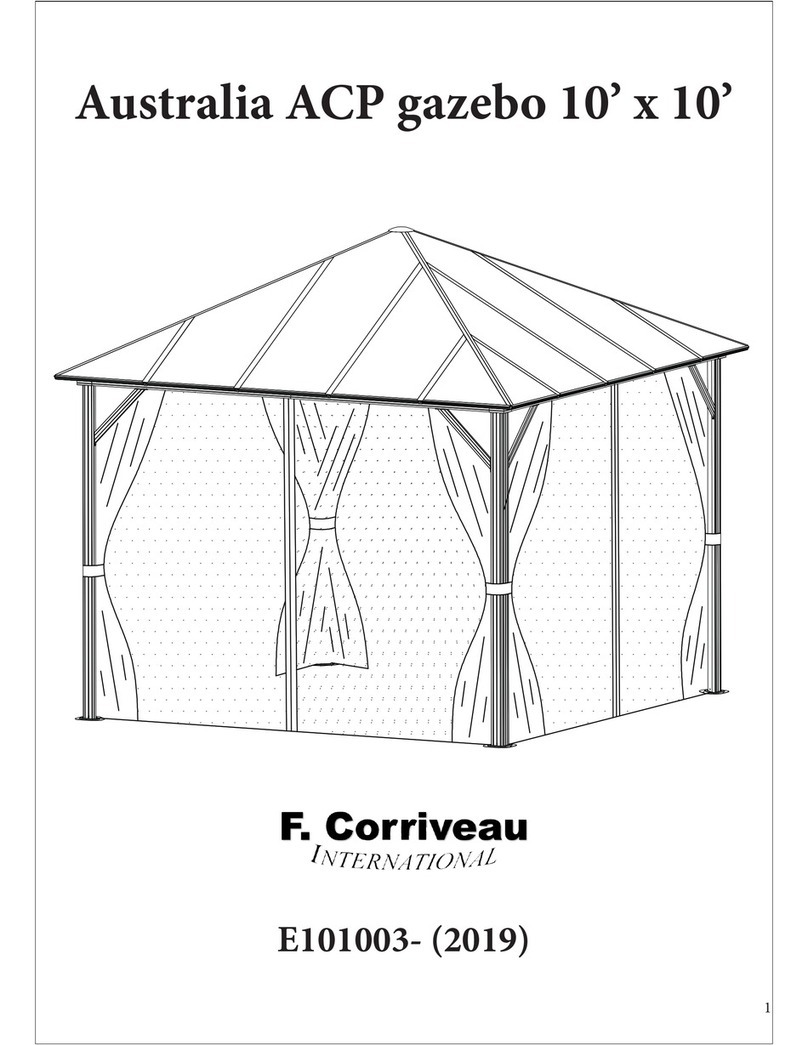
Corriveau Australia ACP User manual

Corriveau

Corriveau Australia ACP User manual

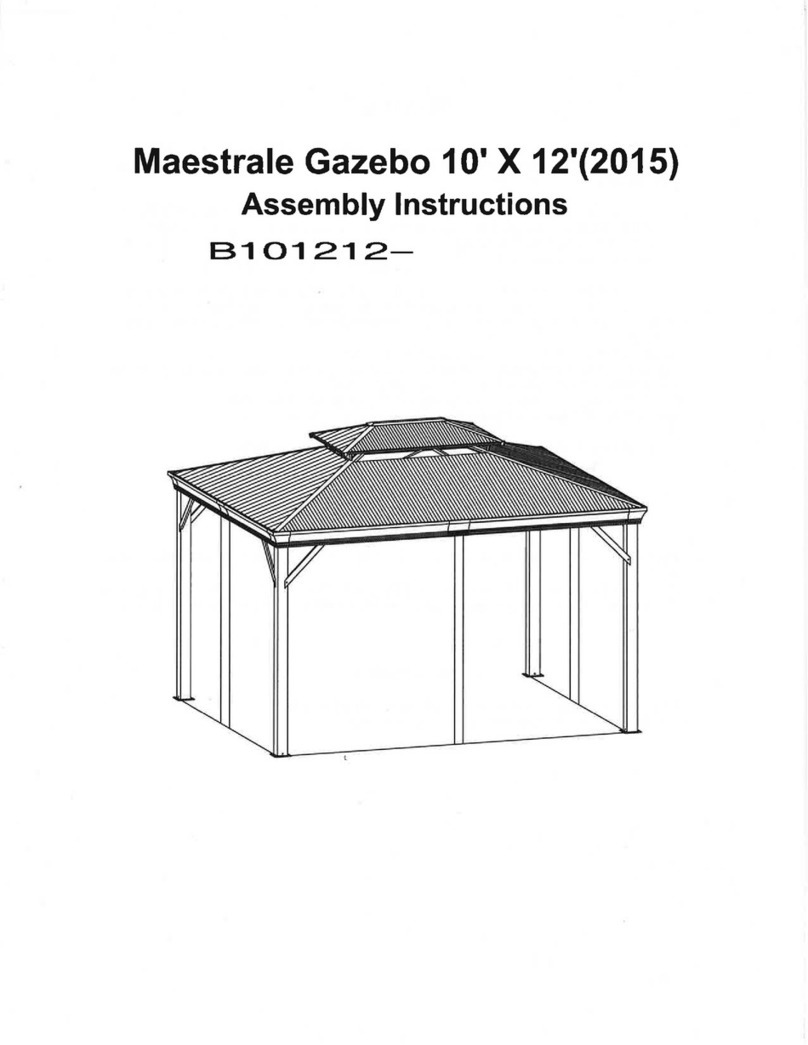
Corriveau Maestrale B101212 User manual
Corriveau

Corriveau Maestrale B101212 User manual

Popular Outdoor Furnishing manuals by other brands

Costway HW67841 user manual

Costway

Costway HW67841 user manual

Kozyard Outdoor Patio Steel Recliner chair Assembly manual

Kozyard

Kozyard Outdoor Patio Steel Recliner chair Assembly manual

Lifetime 60283 Assembly instructions

Lifetime

Lifetime 60283 Assembly instructions

SAMSGAZEBOS Japanese Myojin Style Torii Gate Assembly and installation guide

SAMSGAZEBOS

SAMSGAZEBOS Japanese Myojin Style Torii Gate Assembly and installation guide

OBI Cangas 235224 manual

OBI

OBI Cangas 235224 manual

Home Decorators Collection RIDGE FALLS S7-AAX02713K02 Use and care guide

Home Decorators Collection

Home Decorators Collection RIDGE FALLS S7-AAX02713K02 Use and care guide

NESLING Nesling Pergola stand-alone Assembly instructions

NESLING

NESLING Nesling Pergola stand-alone Assembly instructions

KNOBLOCH KNOBOX Mounting instructions

KNOBLOCH

KNOBLOCH KNOBOX Mounting instructions

Uberhaus TP-091031504 Assembly instructions

Uberhaus

Uberhaus TP-091031504 Assembly instructions

Abble 300200 quick start guide

Abble

Abble 300200 quick start guide

Courtyard Creations AUGUSTA KVS941C Assembly instructions

Courtyard Creations

Courtyard Creations AUGUSTA KVS941C Assembly instructions

Crivit 273307 instructions

Crivit

Crivit 273307 instructions

Hanover FTA01230Q Assembly instructions

Hanover

Hanover FTA01230Q Assembly instructions

Backyard Creations 212-1911 manual

Backyard Creations

Backyard Creations 212-1911 manual

LIVARNO 407440-2207 Operation and safety notes

LIVARNO

LIVARNO 407440-2207 Operation and safety notes

Dancover Santa Cruz 4x4m manual

Dancover

Dancover Santa Cruz 4x4m manual

DIRECT OUTDOOR LIVING LIVORNO care guide

DIRECT OUTDOOR LIVING

DIRECT OUTDOOR LIVING LIVORNO care guide

BGN Square CNC Aluminium Table 1300 Assembly instruction

BGN

BGN Square CNC Aluminium Table 1300 Assembly instruction

manuals.online logo
manuals.online logoBrands
  • About & Mission
  • Contact us
  • Privacy Policy
  • Terms and Conditions

Copyright 2025 Manuals.Online. All Rights Reserved.