manuals.online logo
Brands
  1. Home
  2. •
  3. Brands
  4. •
  5. Crestron
  6. •
  7. Controllers
  8. •
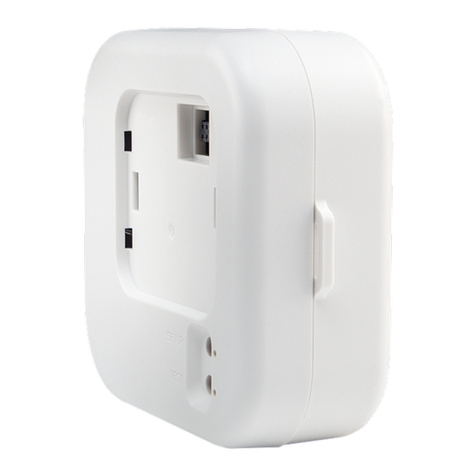
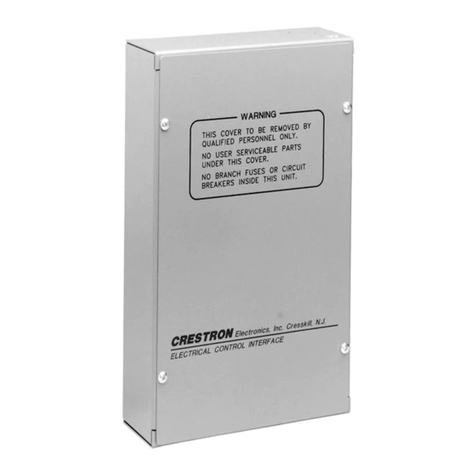
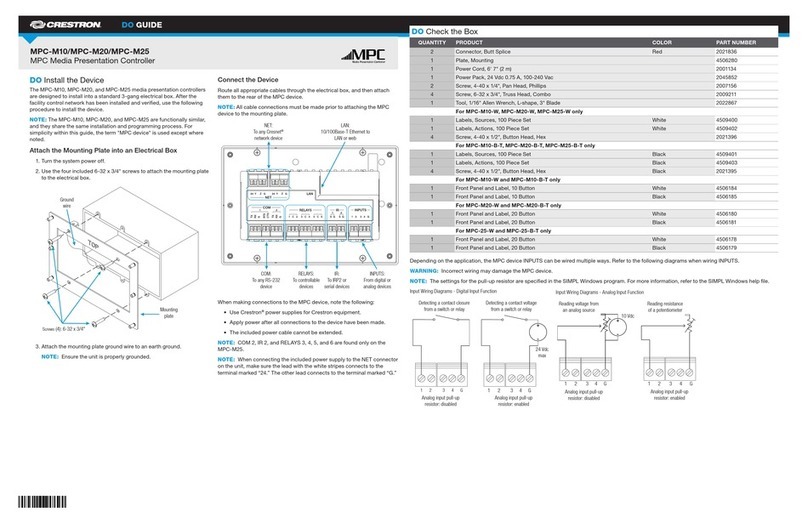
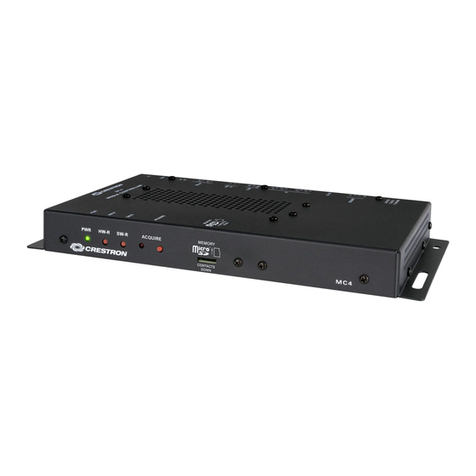
  9. Crestron 4K DigitalMedia 3-Series Dimensional drawing

Crestron 4K DigitalMedia 3-Series Dimensional drawing

DO GUIDE
MPC3-201
3-Series®Media Presentation Controller 201
DO Attach the Mounting Plate
The Crestron®MPC3-201 3-Series®media presentation controller is designed to install into a 1-gang
European electrical box. Use the two included 4B x 3/4" screws to attach the MPC3-201 mounting plate
to the electrical box.
DO Connect the Device
Route all necessary cables through the rear of the electrical box, and then make connections to the
MPC3-201 as shown in the following illustration.
NOTE: All cable connections must be made prior to attaching the MPC3-201 assembly to the electrical
box.
A single Ethernet cable provides power and data to the MPC3-201. A Crestron PoE (Power over Ethernet)
power supply, such as the PWE-4803RU, or a PoE-capable network switch is recommended (both sold
separately). Apply power to the MPC3-201 after all connections have been made.
NOTE: Use Crestron power supplies for Crestron equipment.
NOTE: Ensure that the MPC3-201 is properly grounded. Insert the 6-32 x 1/4" SEMS screw through the
terminal ring end of the included grounding cable, and then attach the screw to the hole in the rear of
the assembly. (Refer to the illustration above.) Then, attach the other end of the cable to an earth ground
(building steel).
DO Complete the Installation
1. Once all cable connections have been made, use four of the included 4-40 x 1/4" Phillips
screws to attach the assembly to the mounting plate.
2. Punch out the desired icon chips from the icon packaging sheet, and then insert the chips,
bottom side rst, into the appropriate label holders on the rear of the assembly.
NOTE: Optional custom-engraved icon chips for the MPC3-201 can be designed and ordered
separately by downloading the Crestron Engraver software from www.crestron.com/software.
NOTE: To remove an icon chip from a label holder, carefully pull the top of the chip away from
the assembly so that it can be grasped, and then pull the chip upward and out of the holder.
3. Hold the magnetic bezel over the assembly, and then attach the bezel to the assembly, top
side rst, until the bezel magnetically snaps into place against the assembly.
NOTE: If the bezel is removed and then reattached to the assembly, there is a 20-second
delay before the buttons are functional.
4. (Optional) For a secure installation, screw either the remaining 4-40 x 1/4” Phillips screw or the
Torx®security screw (both included) into the screw hole on the bottom of the bezel to secure
the bezel to the assembly.
NOTE: To remove the bezel from the assembly for accessing the icon chips and the reset
buttons, unscrew the security screw from the bottom of the bezel (if installed), and then gently
pull the bezel, bottom side rst, away from the assembly until the magnetic hold is broken.
DO Check the Box
QUANTITY PRODUCT COLOR PART NUMBER
1Bit, Tor x®, T8, Security 2025915
1Cable, Grounding 4509212
1 Icon Chips, 30 Piece Set Black 4526558
1 Screw, 4-40 x 1/4", Flat Head, Torx Black 2025311
5 Screw, 4-40 x 1/4", Undercut Head, Phillips Black 2007152
2 Screw, 4B x 3/4", Flat Head, Phillips 2019088
1 Screw, 6-32 x 1/4", Pan Head, SEMS 2007214
1-gang
European
electrical box
Mounting
plate
Screws (2):
4B x 3/4"
LAN PoE:
10BASE-T / 100BASE-TX
Ethernet to LAN
Assembly
Screws (4):
4-40 x 1/4"
Mounting
plate
Assembly
Bezel
Attach the top side
of the bezel to the
assembly rst
Bezel and
assembly
(bottom view)
Insert security
screw here
Attach
grounding
cable here
(with
6-32 x 1/4"
SEMS screw)
Icon chip
Assembly
(rear view)
Label
holders (6)
DO GUIDE DOC. 7876B (2047848) 01.18
Specications subject to change without notice.
DO Congure the Device
The MPC3-201 can be congured using the Crestron Toolbox™ software and the included web-based
conguration utility.
1. Use Crestron Toolbox to set the time zone. For more information, refer to the embedded
Crestron Toolbox help le.
2. Use a web browser to navigate to http://xxx.xx.xx.xxx/setup, where xxx.xx.xx.xxx is the IP
address of the MPC3-201. The 3-Series splash screen displays.
NOTE: If a security warning is displayed, select Install to continue.
3. Select Setup. The MPC3-201 Setup page displays.
The MPC3-201 Setup page displays the IP address, the hostname, and the MAC address of
the device, as well as a key that is used to register the MPC3-201 with the MyCrestron service.
The MPC3-201 Setup page also provides access to various setup and programming screens.
4. Select the following options from the MPC3-201 Setup page to congure the MPC3-201:
• Select Ethernet Setup to congure the MPC3-201’s Ethernet settings and to display the
DHCP, hostname, IP address, subnet mask, default router, domain, and MAC address
settings. The Ethernet Setup page also provides the following additional options:
○Select Advanced Settings to specify DNS servers, web server settings, and SSL
settings.
○Select MyCrestron Dynamic DNS to congure the MyCrestron.com Dynamic DNS
service.
○Select Fusion Cloud to view and edit the URL used to connect to
Crestron Fusion®software.
○Select Cloud Settings to enable or disable a cloud conguration service connection.
○Select Ethernet Diagnostics to test Ethernet communications.
○Select Reboot to reboot the MPC3-201.
• Select Audio Setup to enable or disable the key click volume mute.
• Select Display Setup to adjust the brightness and proximity settings for the LED buttons.
• Select Application Setup to select which programs are loaded on system startup and to
control which programs are running.
• Select Standby / Idle Timeout to adjust the idle and standby timeout durations.
• Select Diagnostics to display information about the connected devices, hardware
conguration, and error logs.
• Select Auto Update to adjust the automatic update settings and to manually check for
rmware updates.
• Select About to display device rmware information.
Click the back ( ) button on any page to return to the previous screen.
DO Program the Device
Use the Device Discovery tool in Crestron Toolbox to discover the MPC3-201 on the network, and
then perform any necessary programming for the MPC3-201 via TCP/IP over an Ethernet connection.
For more information on device discovery and programming, refer to the appropriate sections of the
embedded Crestron Toolbox help le.
NOTE: Any press-and-hold functionality for device buttons must be programmed to less than 20
seconds.
As of the date of manufacture, the product has been tested and found to comply with specications for CE marking.
Federal Communications Commission (FCC) Compliance Statement
This device complies with part 15 of the FCC Rules. Operation is subject to the following two conditions:
(1) This device may not cause harmful interference, and (2) this device must accept any interference received, including interference that may cause undesired operation.
CAUTION:Changes or modications not expressly approved by the manufacturer responsible for compliance could void the user’s authority to operate the equipment.
NOTE: This equipment has been tested and found to comply with the limits for a Class B digital device, pursuant to part 15 of the FCC Rules. These limits are designed to provide reasonable protection
against harmful interference in a residential installation. This equipment generates, uses and can radiate radio frequency energy and, if not installed and used in accordance with the instructions, may
cause harmful interference to radio communications. However, there is no guarantee that interference will not occur in a particular installation.
If this equipment does cause harmful interference to radio or television reception, which can be determined by turning the equipment off and on, the user is encouraged to try to correct the interference
by one or more of the following measures:
• Reorient or relocate the receiving antenna.
• Increase the separation between the equipment and receiver.
• Connect the equipment into an outlet on a circuit different from that to which the receiver is connected.
• Consult the dealer or an experienced radio/TV technician for help.
Industry Canada (IC) Compliance Statement
CAN ICES-3(B)/NMB-3(B)
The product is a class 1M laser product. It complies with safety regulations of IEC- 60825-1, FDA 21 CFR 1040.11 and FDA 21 CRF 1040.10.
WARNING: Invisible laser radiation may be emitted from disconnected bers or connectors. Do not stare into beams or view directly with optical instruments.
NOTE: Plug the included dust caps into the optical transceivers when the ber optic cable is unplugged.
The product is a class 1 laser product. It complies with safety regulations of IEC- 60825-1, FDA 21 CFR 1040.11 and FDA 21 CRF 1040.10.
WARNING: Visible and invisible laser radiation when open. Avoid direct exposure to beam.
NOTE: Plug the included dust cap into the optical transceiver when the ber optic cable is unplugged.
Electrical Connection:
“This product must be connected to an earthed mains socket-outlet.”
• Finland: “Laite on liitettävä suojamaadoituskoskettimilla varustettuun pistorasiaan.”
• Norway: “Apparatet må tilkoples jordet stikkontakt.”
• Sweden: “Apparaten skall anslutas till jordat uttag.”
Crestron product development software is licensed to Crestron dealers and Crestron Service Providers (CSPs) under a limited non-exclusive, non-transferable Software Development Tools License Agreement. Crestron product operating system software is licensed to Crestron dealers, CSPs, and
end-users under a separate End-User License Agreement. Both of these Agreements can be found on the Crestron website at www.crestron.com/legal/software_license_agreement.
The specic patents that cover Crestron products are listed at www.crestron.com/legal/patents.The product warranty can be found at www.crestron.com/warranty.
Certain Crestron products contain open source software. For specic information, please visit www.crestron.com/opensource.
Crestron, the Crestron logo, 3-Series, Crestron Fusion, Crestron Toolbox, and the MPC logo are either trademarks or registered trademarks of Crestron Electronics, Inc., in the United States and/or other countries. Torx is either a trademark or a registered trademark of Acument Intellectual
Properties, LLC, in the United States and/or other countries. UL and the UL logo are either trademarks or registered trademarks of Underwriters Laboratories, Inc., in the United States and/or other countries. Other trademarks, registered trademarks, and trade names may be used in this document
to refer to either the entities claiming the marks and names or their products. Crestron disclaims any proprietary interest in the marks and names of others. Crestron is not responsible for errors in typography or photography.
This document was written by the Technical Publications department at Crestron.
©2018 Crestron Electronics, Inc.
DO Learn More
Visit the website for additional information and the latest rmware updates. To learn
more about this product, use a QR reader application on your mobile device to scan
the QR image.
Crestron Electronics
15 Volvo Drive, Rockleigh, NJ 07647
888.CRESTRON | www.crestron.com

Other manuals for 4K DigitalMedia 3-Series

7

This manual suits for next models

1

Other Crestron Controllers manuals

Crestron ZUMMESH-JBOX Series User manual

Crestron

Crestron ZUMMESH-JBOX Series User manual

Crestron ZUMMESH-JBOX-20A-SW User manual

Crestron

Crestron ZUMMESH-JBOX-20A-SW User manual

Crestron CEN-TVAV User manual

Crestron

Crestron CEN-TVAV User manual

Crestron MPC-M10 Dimensional drawing

Crestron

Crestron MPC-M10 Dimensional drawing

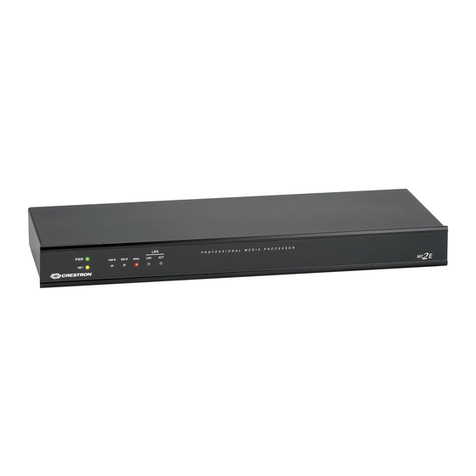
Crestron 4K DigitalMedia 3-Series User manual

Crestron

Crestron 4K DigitalMedia 3-Series User manual

Crestron CLS-EXP-DIMFLV User manual

Crestron

Crestron CLS-EXP-DIMFLV User manual

Crestron 4 Series User manual

Crestron

Crestron 4 Series User manual

Crestron DigitalMedia 8G+ DM-RMC-200-C Dimensional drawing

Crestron

Crestron DigitalMedia 8G+ DM-RMC-200-C Dimensional drawing

Crestron 4 Series User manual

Crestron

Crestron 4 Series User manual

Crestron DigitalMedia Room Controller DM-RMC-100 How to use

Crestron

Crestron DigitalMedia Room Controller DM-RMC-100 How to use

Crestron MPC-M10 How to use

Crestron

Crestron MPC-M10 How to use

Crestron infiNET EX CLC-FANDELVEX-W User manual

Crestron

Crestron infiNET EX CLC-FANDELVEX-W User manual

Crestron MPC-M5 Dimensional drawing

Crestron

Crestron MPC-M5 Dimensional drawing

Crestron 3 Series User manual

Crestron

Crestron 3 Series User manual

Crestron CNECI-4A User manual

Crestron

Crestron CNECI-4A User manual

Crestron Zum ZUMMESH-CCO User manual

Crestron

Crestron Zum ZUMMESH-CCO User manual

Crestron MPC-M10 Installation and operating instructions

Crestron

Crestron MPC-M10 Installation and operating instructions

Crestron SP-SC User manual

Crestron

Crestron SP-SC User manual

Crestron SP-RY User manual

Crestron

Crestron SP-RY User manual

Crestron PC-200 Owner's manual

Crestron

Crestron PC-200 Owner's manual

Crestron PC-350V-12 User manual

Crestron

Crestron PC-350V-12 User manual

Crestron C2N-SSC-2 How to use

Crestron

Crestron C2N-SSC-2 How to use

Crestron 302 User manual

Crestron

Crestron 302 User manual

Crestron 3 Series Dimensional drawing

Crestron

Crestron 3 Series Dimensional drawing

Popular Controllers manuals by other brands

Eaton A200 Instruction leaflet

Eaton

Eaton A200 Instruction leaflet

Lumotech L05021 MINIDIM manual

Lumotech

Lumotech L05021 MINIDIM manual

Newton Waterproofing Control Panel-Pro Operational manual

Newton Waterproofing

Newton Waterproofing Control Panel-Pro Operational manual

YASKAWA Varispeed f7 Technical manual

YASKAWA

YASKAWA Varispeed f7 Technical manual

Uniteck UNISOLAR 20.24 manual

Uniteck

Uniteck UNISOLAR 20.24 manual

DFE STEADYWEB 6 quick start guide

DFE

DFE STEADYWEB 6 quick start guide

aquanta AQ-CA-E100-ESL installation instructions

aquanta

aquanta AQ-CA-E100-ESL installation instructions

Traxxas Velineon 3350 owner's manual

Traxxas

Traxxas Velineon 3350 owner's manual

Tescom 74-3000 Series Instructions for use

Tescom

Tescom 74-3000 Series Instructions for use

Bose controlcenter CC-1 Installation and operation guide

Bose

Bose controlcenter CC-1 Installation and operation guide

Viewse vc-8x02 Operation manual

Viewse

Viewse vc-8x02 Operation manual

Fostex 4030 owner's manual

Fostex

Fostex 4030 owner's manual

Bray Series 70 Installation, operation and maintenance manual

Bray

Bray Series 70 Installation, operation and maintenance manual

AC STAG-4 QBOX BASIC user manual

AC

AC STAG-4 QBOX BASIC user manual

Nanomotion XCDX user manual

Nanomotion

Nanomotion XCDX user manual

Magnetic Autocontrol MGC-PRO Technical manual

Magnetic Autocontrol

Magnetic Autocontrol MGC-PRO Technical manual

Emerson Fisher 1301 Series manual

Emerson

Emerson Fisher 1301 Series manual

ETC Echoflex ELED3 installation guide

ETC

ETC Echoflex ELED3 installation guide

manuals.online logo
manuals.online logoBrands
  • About & Mission
  • Contact us
  • Privacy Policy
  • Terms and Conditions

Copyright 2025 Manuals.Online. All Rights Reserved.