manuals.online logo
Brands
  1. Home
  2. •
  3. Brands
  4. •
  5. Crux
  6. •
  7. Automobile Accessories
  8. •
  9. Crux RVCCH-75 User manual

Crux RVCCH-75 User manual

CHRYSLER
2011 –2014 200
2008 –2010 300/300C
2008 - 2010 Aspen
2007 –2011 Sebring
2008 –2017 Town & Country
DODGE
2007 –2015 Avenger
2010 –2012 Caliber
2008 –2017 Caravan
2009 –2014 Challenger
2008 –2010 Charger
2008 –2012 Dakota
2008 –2013 Durango
2009 –2010 Journey
2007 –2012 Nitro
2009 –2012 Ram
JEEP
2008 –2010 Commander
2009 –2015 Compass
2008 –2013 Grand Cherokee
2008 –2015 Liberty
2009 –2017 Patriot
2007 –2017 Wrangler
VOLKSWAGEN
2009 –2013 Routan
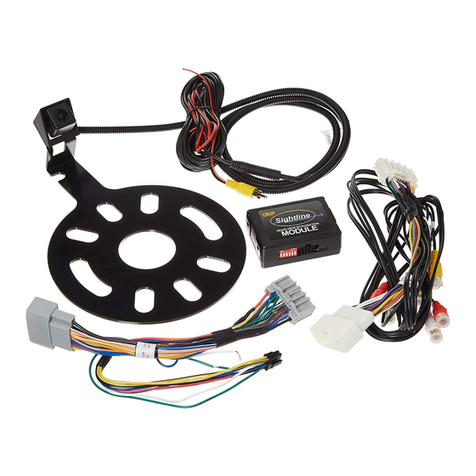
- Interface includes Audio / Video Input to connect an extra A/V source.
- Universal Lip mount reverse camera included.
- Activates MYGIG Screen for enabling Video features.
- Plug and Play Connections for ease of use.
- MyGig Navigation Radio
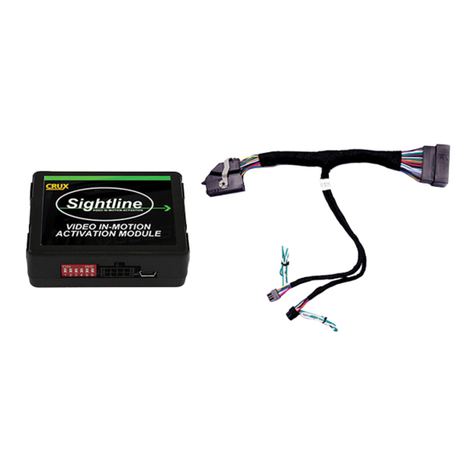
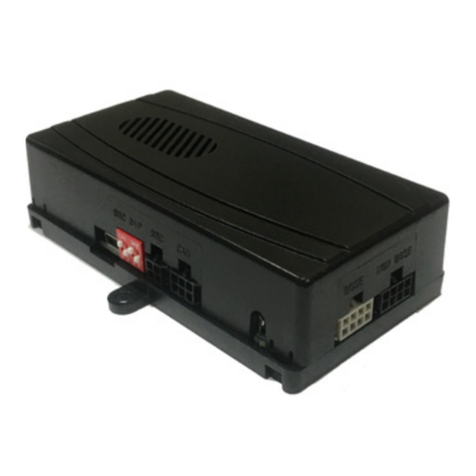
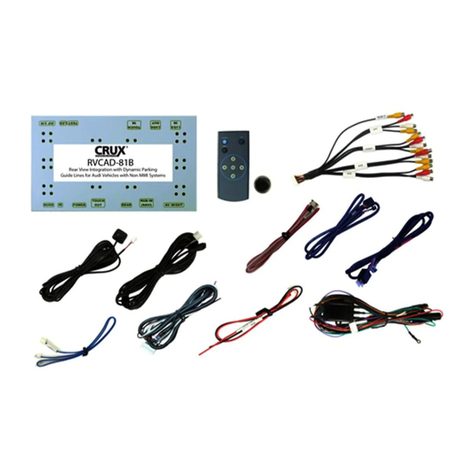
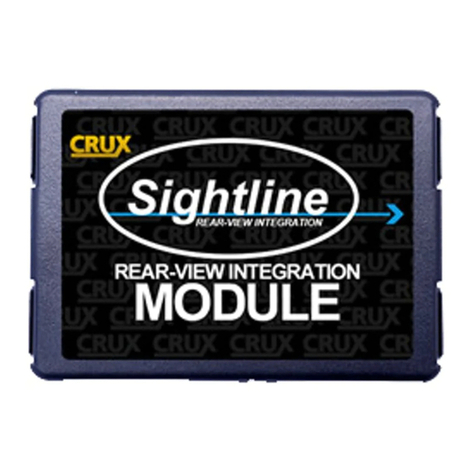
CH-75 MODULE
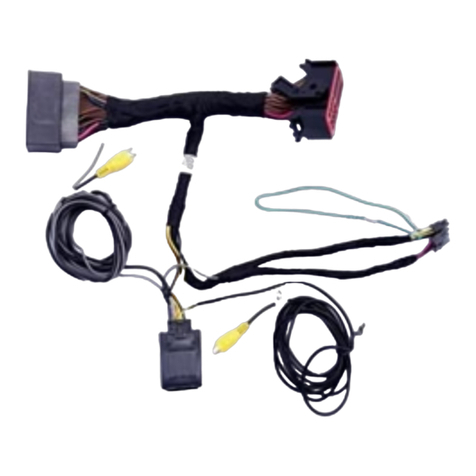
CH-75 HARNESS
CUL-03 CAMERA
Rev.032217
1 / 3
INSTALLING THE CAMERA AND INTERFACE
1. Remove the rear panel and drill a 5/8” hole to mount the CUL-03 camera.
2. Connect the video cable of the camera to the extension cord provided.
3. Cut the thin white wire on the camera cable to enable the parking guide lines. Connect to disable.
4. Fish the cable through the drilled hole and route it towards the radio.
5. Remove the factory radio to gain access to the factory connectors.
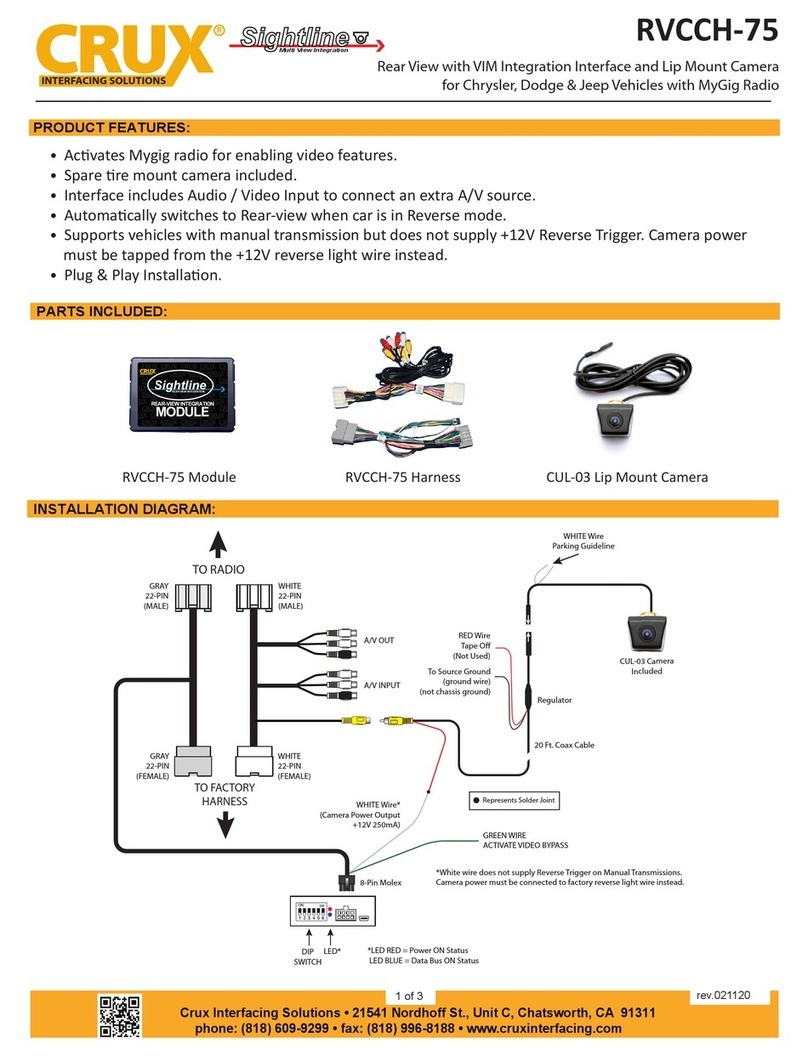
6. Plug in the T-harness with WHITE and GRAY connectors. (See Wiring Diagram above)
7. Connect the 8-pin Molex connector from the T-harness with GRAY connectors to the CAN Interface.
8. Use the WHITE 12V Reverse Output wire to power the camera. (See Wiring Diagram above) Please
note that the WHITE 12V Reverse Output wire does not supply power on vehicles with manual
transmission. Connect the camera power to the OE reverse light +12V wire instead.
9. Plug in the YELLOW MALE RCA from the camera cable to the YELLOW FEMALE RCA of the T-Harness
with WHITE connectors.
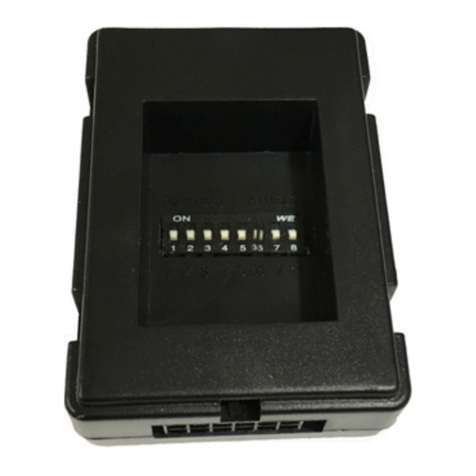
10. Set the proper DIP Switch settings on the CH-75 module. (See chart next page)
11. Test the camera before re-installing the radio.
Rev.032217
2 / 3
The RVCCH-75 has a feature that enables a permanent or a non-permanent VIM function. To set
VIM to permanent, set DIP#1 to ON. To set to non-permanent, set DIP#1 to OFF and connect the
GREEN wire to +12V using a toggle switch (not included). Set DIP#2 to ON to enable the rear-view
camera.
The CH-75 module has 2 LEDs on the side of the Molex connector that confirms its functionality as
follows:
RED LED = Confirms Power
BLUE LED: PULSING = No BUS, Pending Data
OFF = Complete Power Down
SOLID = BUS Recognized
The parking lines are there to assist you while reversing. To activate the parking lines simply
cut/disconnect the WHITE loop wire located near the 4 pin camera connector.
What the Lines mean:
Green Line: CLEAR
Yellow Line: GETTING CLOSE
Red Line: WARNING - VERY CLOSE
SWITCHING SOURCES
VES will be your source for the AV Input.
To access the VES button, press the RADIO/MEDIA button on the left side of the radio. The VES
button is only active after the interface is properly installed.
Rev.032217
3 / 3
GREEN
YELLOW
RED
DIP SWITCH SETTING
DIP 1
OFF
VIM Disable
DIP 2
ON
Rear-View Camera Enable
DIP 3
OFF
NOT Used
DIP 4
OFF
NOT Used
DIP 5
OFF
CAN Termination Radio Side
DIP 6
ON
CAN Termination Car Side

Other Crux Automobile Accessories manuals

Crux RVCTY-71L User manual

Crux

Crux RVCTY-71L User manual

Crux DKGM-51 User manual

Crux

Crux DKGM-51 User manual

Crux ACPGM-80N User manual

Crux

Crux ACPGM-80N User manual

Crux ACPBM-77X User manual

Crux

Crux ACPBM-77X User manual

Crux VIMBM-86B User manual

Crux

Crux VIMBM-86B User manual

Crux BEECR-35P User manual

Crux

Crux BEECR-35P User manual

Crux DKGM-49 User manual

Crux

Crux DKGM-49 User manual

Crux BEECR-35 User manual

Crux

Crux BEECR-35 User manual

Crux Sightline RVCVW-73 User manual

Crux

Crux Sightline RVCVW-73 User manual

Crux Sightline VIMFD-95F User manual

Crux

Crux Sightline VIMFD-95F User manual

Crux SWRVL-54 User manual

Crux

Crux SWRVL-54 User manual

Crux VIMMB-85S User manual

Crux

Crux VIMMB-85S User manual

Crux Sightline VIMGM-94 User manual

Crux

Crux Sightline VIMGM-94 User manual
Crux Sightline VIMFD-95 User manual

Crux

Crux Sightline VIMFD-95 User manual

Crux BTI-ISO User manual

Crux

Crux BTI-ISO User manual

Crux RVCAD-81T User manual

Crux

Crux RVCAD-81T User manual

Crux VIMGM-94M User manual

Crux

Crux VIMGM-94M User manual

Crux Sightline PCM-3 User manual

Crux

Crux Sightline PCM-3 User manual

Crux F Series User manual

Crux

Crux F Series User manual

Crux SOOGM-16V User manual

Crux

Crux SOOGM-16V User manual
Crux MG-3 User manual

Crux

Crux MG-3 User manual

Crux BEEBG-25 User manual

Crux

Crux BEEBG-25 User manual

Crux Sightline RVCHN-76D User manual

Crux

Crux Sightline RVCHN-76D User manual

Crux Sightline RVCCH-75E User manual

Crux

Crux Sightline RVCCH-75E User manual

Popular Automobile Accessories manuals by other brands

Tessera4x4 SOT-1308 ROLL installation manual

Tessera4x4

Tessera4x4 SOT-1308 ROLL installation manual

KSIX Safe Light BXFL01 user manual

KSIX

KSIX Safe Light BXFL01 user manual

JCM Technologies Free30r Applications manual

JCM Technologies

JCM Technologies Free30r Applications manual

Prorack K631 Fitting instructions

Prorack

Prorack K631 Fitting instructions

rough country 921707010 instructions

rough country

rough country 921707010 instructions

Volkswagen 5G9 071 151 installation instructions

Volkswagen

Volkswagen 5G9 071 151 installation instructions

Lippert RV ENTRY DOOR OEM INSTALLATION MANUAL

Lippert

Lippert RV ENTRY DOOR OEM INSTALLATION MANUAL

Dension Gateway Five user manual

Dension

Dension Gateway Five user manual

Directed Directechs DB3 installation guide

Directed

Directed Directechs DB3 installation guide

Oypla Leisure Bike Holder user manual

Oypla Leisure

Oypla Leisure Bike Holder user manual

Memphis CANAMX365FE quick start guide

Memphis

Memphis CANAMX365FE quick start guide

Winmate FM10A Product reference guide

Winmate

Winmate FM10A Product reference guide

BESAFE Stretch manual

BESAFE

BESAFE Stretch manual

Hamron 619-627 User instructions

Hamron

Hamron 619-627 User instructions

Lange Originals HOIST-A-TOP JL CRANK manual

Lange Originals

Lange Originals HOIST-A-TOP JL CRANK manual

Thule Vector 613200 instructions

Thule

Thule Vector 613200 instructions

Menabo PROFESSIONAL AIRDYN N Fitting instructions

Menabo

Menabo PROFESSIONAL AIRDYN N Fitting instructions

Whispbar K431W Fitting instructions

Whispbar

Whispbar K431W Fitting instructions

manuals.online logo
manuals.online logoBrands
  • About & Mission
  • Contact us
  • Privacy Policy
  • Terms and Conditions

Copyright 2025 Manuals.Online. All Rights Reserved.