manuals.online logo
Brands
  1. Home
  2. •
  3. Brands
  4. •
  5. Custom Dynamics
  6. •
  7. Motorcycle Accessories
  8. •
  9. Custom Dynamics CD-RG-V-AW2-B User manual

Custom Dynamics CD-RG-V-AW2-B User manual

Road Glide LED Vent Trim
Installation Instructions
Questions? Call us at: 1 (800) 382-1388 M-TH 8:30AM-5:30PM / FR 9:30AM-5:30PM EST
02/2022
We thank you for purchasing the Custom Dynamics® Road Glide
LED Vent Trim. Our products utilize the latest technology and
highest quality components to ensure you the most reliable ser-
vice. We offer one of the best warranty programs in the industry
and we back our products with excellent customer support, if you
have questions before or during installation of this product please
call Custom Dynamics® at 1(800) 382-1388.
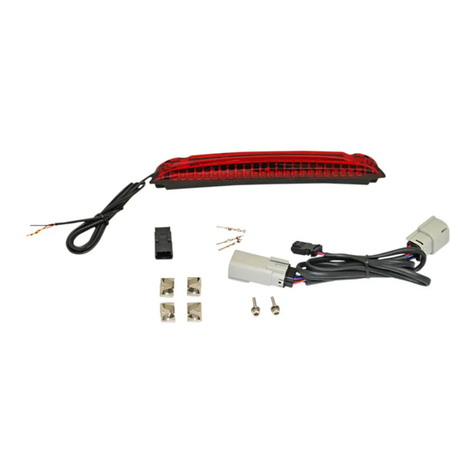
Package Contents:
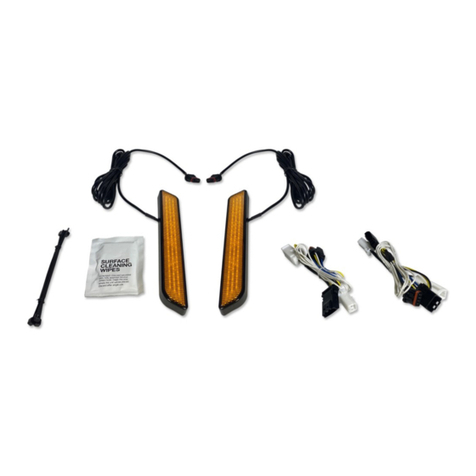
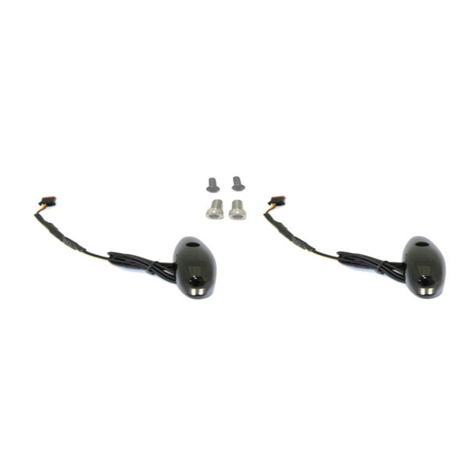
- LED Vent Trim Assemblies (pair)
- 4” Wire Tie (10)
- Instructions
Part Numbers:
CD-RG-V-AW2-B
CD-RG-V-AW2-BB
ATTENTION
Please read all Information below before Installation
CD-RG-V-AW2-C
Warning: Disconnect negative battery cable from battery; refer to owner’s
manual. Failure to do so may result in electrical shock, injury, or fire. Secure
negative battery cable away from positive side of battery and all other positive
voltage sources on vehicle.
Safety First: Make sure the bike is parked on a level surface and bike’s me-
chanical components are cool to the touch.
Notice: This product is designed and intended for use as auxiliary lighting on
motorcycles only. This product is NOT intended to replace any original equip-
ment lighting installed on the motorcycle and should not be used for that pur-
pose. This product must be wired in such a fashion that it does not interfere
with any original equipment lighting.
Note: You will have to remove the front fairing dash and windshield in order to
complete this installation. Please refer to your manufacturer’s service manual
if unsure of this procedure.
Cleaning: Take special care in cleaning the finish. Use only Alcohol or Iso-
Heet and a fine microfiber cloth to remove dirt or debris. Never use abrasive
polishes or cleaners as these can scratch the finish.
Note: Over-tightening the mounting hardware will cause the paint to chip
which is not covered under the warranty.
Fitment: 2015-2022 Harley-Davidson® Road Glide
(FLTRX), Road Glide Special (FLTRXS), Road Glide Lim-
ited (FLTRK) & Road Glide Ultra (FLTRU), Road Glide CVO
(FLTRXSE), Road Glide Ultra CVO (FLTRUSE), and 2022
Road Glide ST (FLTRXST).
Installation:
1. Remove the 4 windshield fasteners and trim. Lift the windshield up to
remove. Store the windshield in a safe place to prevent damage.
2. Remove the top vent. The top vent is secured to the fairing by clips.
Position yourself in the front of the motorcycle and lift straight up on the
top vent to release. (Picture 1) Store the top vent in a safe place to
prevent damage.
3. Locate and unplug the left and right side 4 pin turn signal harness con-
nectors. Refer to Photo #2.
1
2
7. Locate and remove the lower T-25 screw on each side of the inner
fairing. See Photo #5. Remove the outer fairing and set to side.
8. Remove the 2 T-25 torx screws on each side that secure the headlight
bezels to the headlight. See Photo #6. Remove the headlight bezels
and install the LED Vent Trim using the factory headlight bezel screws.
9. Route the wires from each LED Vent Trim to the OEM connectors un-
plugged in Step 3.
10. Connect the Male JAE connectors on the Vent Trim Harnesses to the
Female JAE connector of the OEM Front Turn Signal Harnesses in the
fairing.
11. Secure the LED Vent Trim wiring harnesses with the provided wire ties
to prevent them from becoming pinched.
12. Reinstall the outer fairing using the original factory hardware.
13. Connect the Female JAE connectors on the Vent Trim Harnesses to
the OEM Male Front Fairing Turn Signal Harnesses.
14. Reinstall speaker grilles by applying light pressure. They should snap
into place.
15. Reinstall factory vent, by snapping it into place, and Reinstall wind-
shield using original factory hardware.
16. Perform a BCM sync by turning key on, turn 4 way hazards on, turn key
off. Allow hazards to run for 3-4 minutes. Turn Key on, Turn Hazards
off, Turn Key off.
17. Test operation of all lighting in all modes.
Installation Instructions - Page 2
Questions? Call us at: 1 (800) 382-1388 M-TH 8:30AM-5:30PM / FR 9:30AM-5:30PM EST
05/2021
5
6
Installation (Continued):
4. Remove the 3/16” socket allen head bolts from the outside of
each turn signal housing. See Photo #3.
5. Remove both left and right speaker grilles on the inner fairing.
6. Once the speaker grilles are removed, Locate and remove the
T-27 torx bolts in each corner of the speaker housing. See
Photo #4.
3
4

This manual suits for next models

2

Other Custom Dynamics Motorcycle Accessories manuals
Custom Dynamics TruBEAM CDTB-45-AW-3B User manual

Custom Dynamics

Custom Dynamics TruBEAM CDTB-45-AW-3B User manual

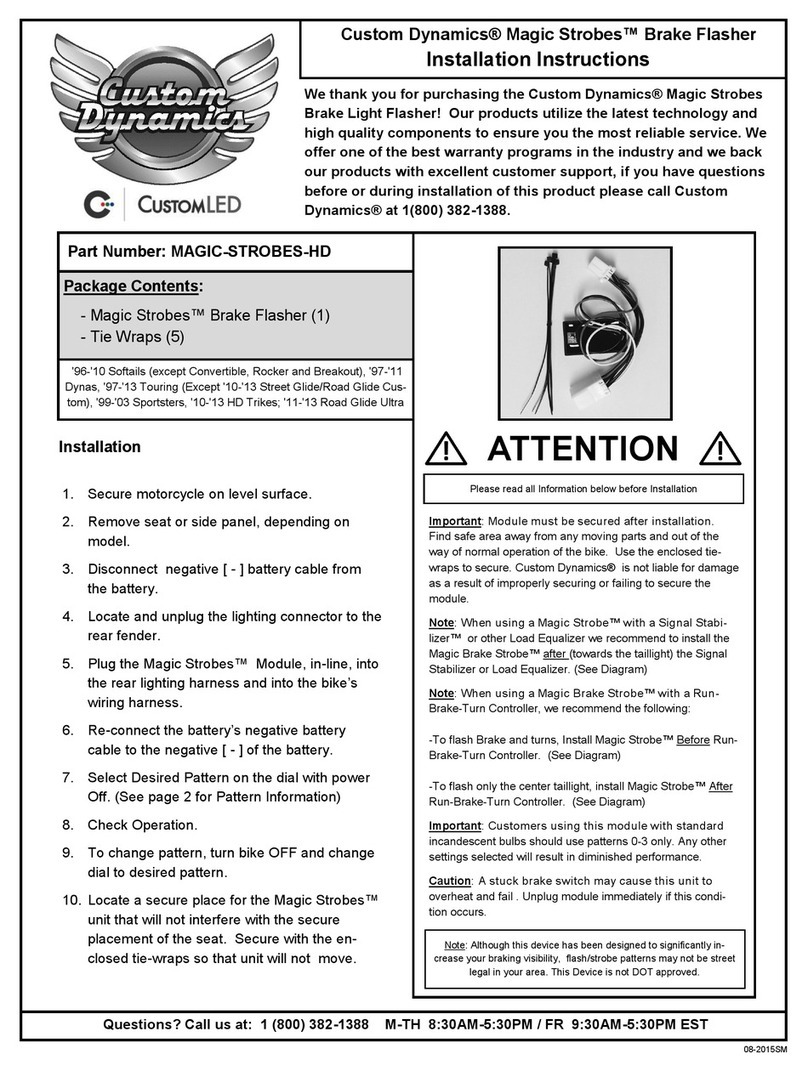
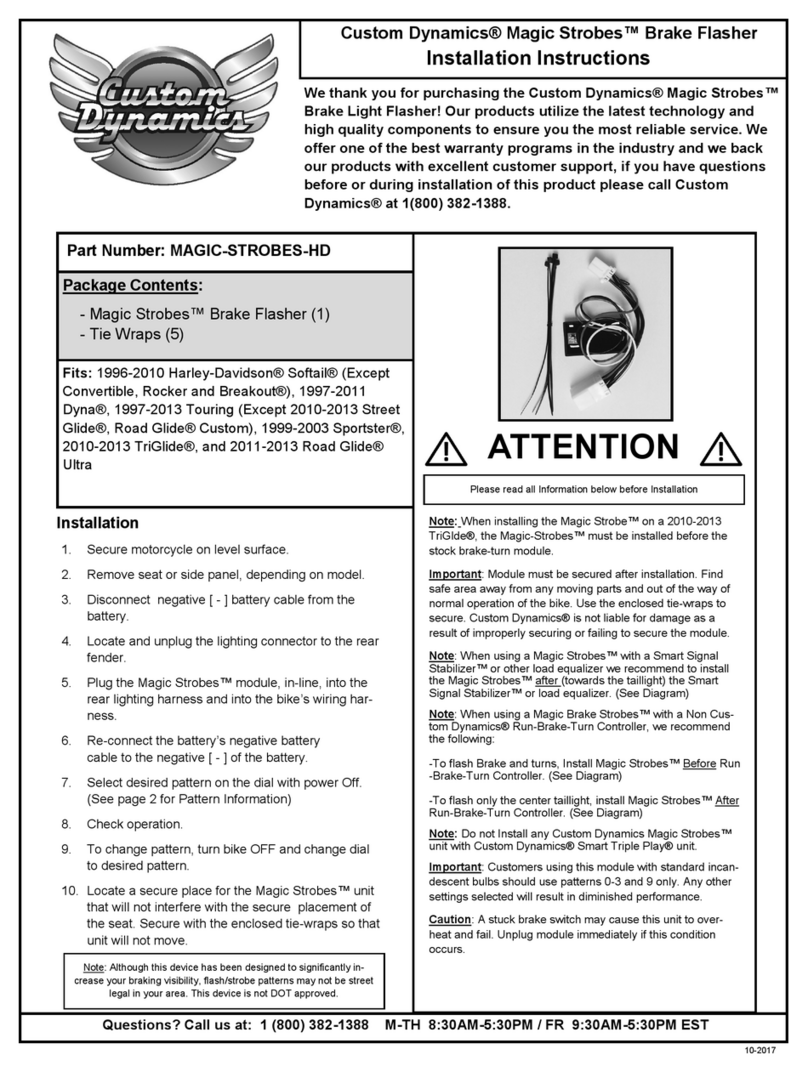
Custom Dynamics MAGIC-STROBES-HD User manual

Custom Dynamics

Custom Dynamics MAGIC-STROBES-HD User manual

Custom Dynamics MAGIC-STROBES-SS6 User manual

Custom Dynamics

Custom Dynamics MAGIC-STROBES-SS6 User manual

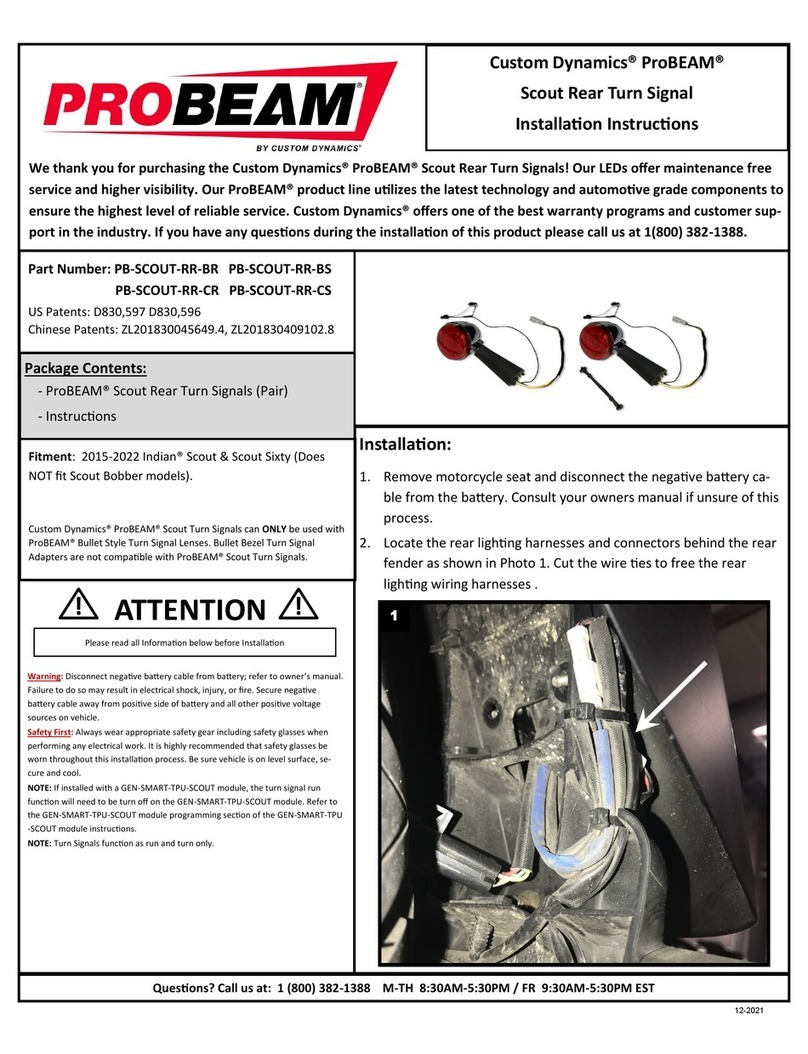
Custom Dynamics ProBEAM PB-SCOUT-RR-BR User manual

Custom Dynamics

Custom Dynamics ProBEAM PB-SCOUT-RR-BR User manual

Custom Dynamics GEN-SMART-TPU -IND User manual

Custom Dynamics

Custom Dynamics GEN-SMART-TPU -IND User manual

Custom Dynamics Smart Triple Play GEN-SMART-TPU-SS8 User manual

Custom Dynamics

Custom Dynamics Smart Triple Play GEN-SMART-TPU-SS8 User manual

Custom Dynamics ProBEAM PB-BCM-KIT1 User manual

Custom Dynamics

Custom Dynamics ProBEAM PB-BCM-KIT1 User manual

Custom Dynamics ProBEAM PB-BCM-KIT1 User manual

Custom Dynamics

Custom Dynamics ProBEAM PB-BCM-KIT1 User manual

Custom Dynamics CD-LR-04-R User manual
Custom Dynamics

Custom Dynamics CD-LR-04-R User manual

Custom Dynamics Magic Strobes User manual

Custom Dynamics

Custom Dynamics Magic Strobes User manual

Custom Dynamics MAGIC STROBES User manual

Custom Dynamics

Custom Dynamics MAGIC STROBES User manual

Custom Dynamics Street Magic Amber Brightsides Configuration guide

Custom Dynamics

Custom Dynamics Street Magic Amber Brightsides Configuration guide

Custom Dynamics MAGIC-STROBES-HD User manual

Custom Dynamics

Custom Dynamics MAGIC-STROBES-HD User manual

Custom Dynamics MagicFLEX2 Indian LED War Bonnet Light Kit Service manual

Custom Dynamics

Custom Dynamics MagicFLEX2 Indian LED War Bonnet Light Kit Service manual

Custom Dynamics Street Magic M109 User manual

Custom Dynamics

Custom Dynamics Street Magic M109 User manual

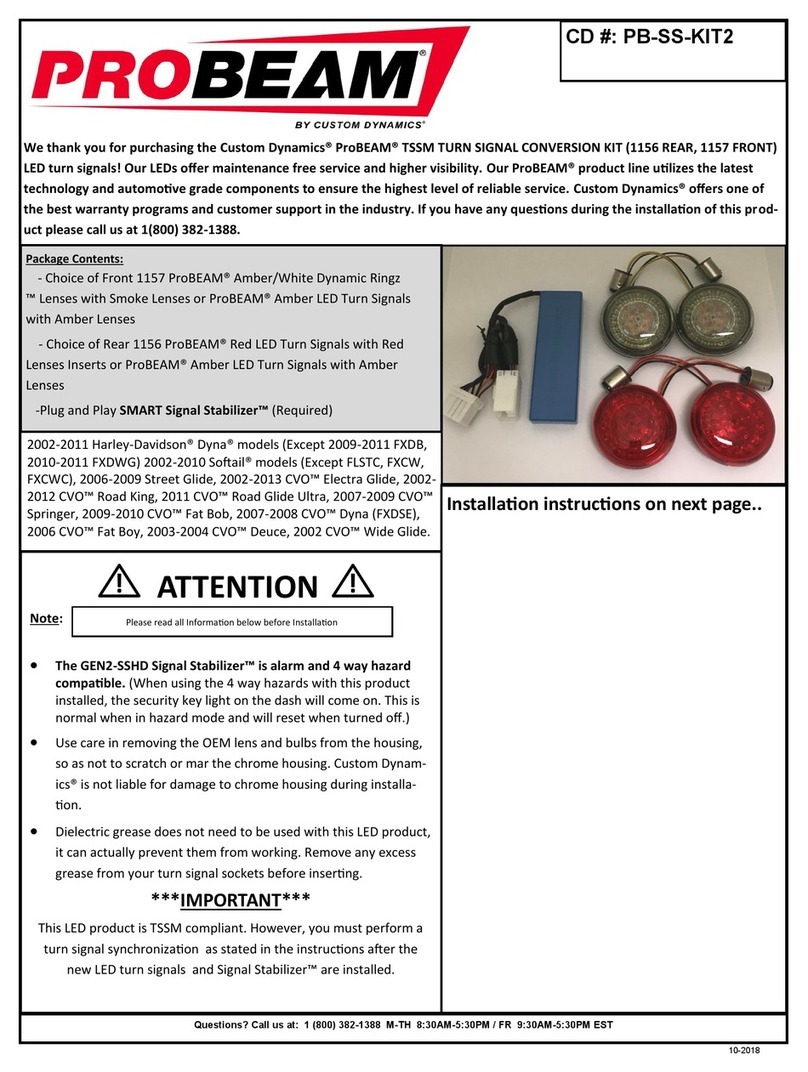
Custom Dynamics PROBEAM PB-SS-KIT2 User manual
Custom Dynamics

Custom Dynamics PROBEAM PB-SS-KIT2 User manual

Custom Dynamics TruWrapz User manual

Custom Dynamics

Custom Dynamics TruWrapz User manual

Custom Dynamics ProBEAM Dynamic Strips User manual

Custom Dynamics

Custom Dynamics ProBEAM Dynamic Strips User manual

Custom Dynamics Dynamic Strips CD-DS-ST-B User manual

Custom Dynamics

Custom Dynamics Dynamic Strips CD-DS-ST-B User manual

Custom Dynamics CD-FORK-BCM-AB User manual
Custom Dynamics

Custom Dynamics CD-FORK-BCM-AB User manual

Custom Dynamics Street Magic RT Scuff Guard Configuration guide

Custom Dynamics

Custom Dynamics Street Magic RT Scuff Guard Configuration guide

Custom Dynamics Road Glide CD-RG-TS-15-B User manual
Custom Dynamics

Custom Dynamics Road Glide CD-RG-TS-15-B User manual

Popular Motorcycle Accessories manuals by other brands

Scootworks RON-3861.1 Instructions for installation

Scootworks

Scootworks RON-3861.1 Instructions for installation

SW-Motech GPT.06.861.65000/B Mounting instructions

SW-Motech

SW-Motech GPT.06.861.65000/B Mounting instructions

Suzuki 990D0-19K00-060 installation instructions

Suzuki

Suzuki 990D0-19K00-060 installation instructions

R&G ECS0127BK Fitting instructions

R&G

R&G ECS0127BK Fitting instructions

Arai RX-7GP manual

Arai

Arai RX-7GP manual

Gazzini 10040761 Instructions for use

Gazzini

Gazzini 10040761 Instructions for use

BMW R 1200 CL user manual

BMW

BMW R 1200 CL user manual

Suzuki 99000-99074-A22 installation instructions

Suzuki

Suzuki 99000-99074-A22 installation instructions

DUCATI Performance 96681144AA manual

DUCATI Performance

DUCATI Performance 96681144AA manual

Petzl ELIOS-3 TECHNICAL NOTICE

Petzl

Petzl ELIOS-3 TECHNICAL NOTICE

Banner Bike Bull quick guide

Banner

Banner Bike Bull quick guide

Surewerx JACKSON 47103 Operation manual

Surewerx

Surewerx JACKSON 47103 Operation manual

Isotta SP8013 quick start guide

Isotta

Isotta SP8013 quick start guide

hepco & becker 6304541 00 02 chrom Assembling instructions

hepco & becker

hepco & becker 6304541 00 02 chrom Assembling instructions

Louis 10010180 Instructions for use

Louis

Louis 10010180 Instructions for use

Shark CITYCRUISER owner's manual

Shark

Shark CITYCRUISER owner's manual

hepco & becker Easyrack manual

hepco & becker

hepco & becker Easyrack manual

rizoma 4D user manual

rizoma

rizoma 4D user manual

manuals.online logo
manuals.online logoBrands
  • About & Mission
  • Contact us
  • Privacy Policy
  • Terms and Conditions

Copyright 2025 Manuals.Online. All Rights Reserved.