manuals.online logo
Brands
  1. Home
  2. •
  3. Brands
  4. •
  5. Custom Dynamics
  6. •
  7. Motorcycle Accessories
  8. •
  9. Custom Dynamics TruBEAM CDTB-45-AW-3B User manual

Custom Dynamics TruBEAM CDTB-45-AW-3B User manual

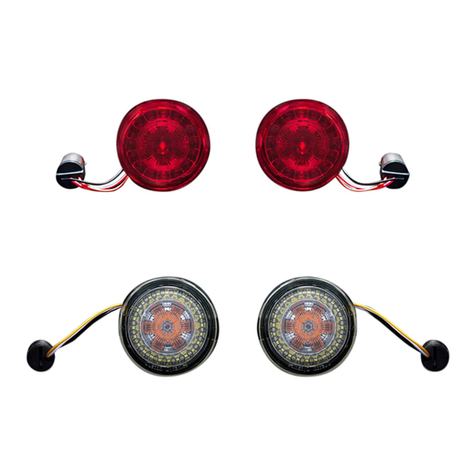
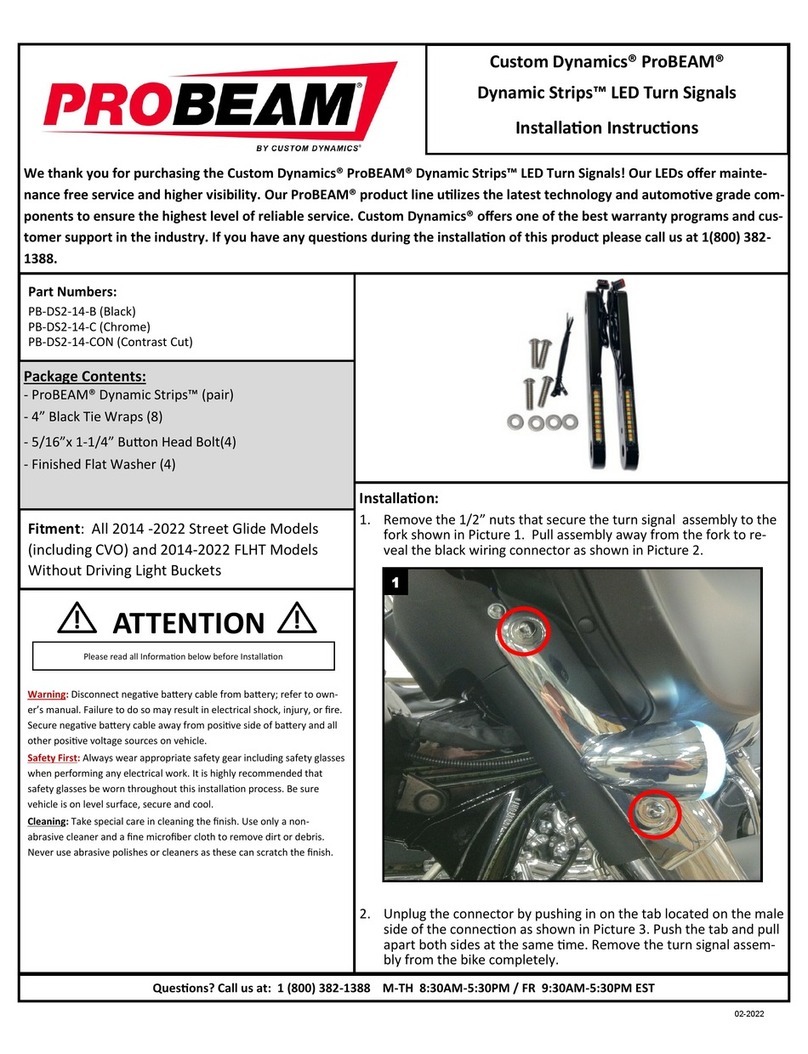
Custom Dynamics® TruBEAM® Amber/White
LED Halo Passing Lamp
Installation Instructions
Questions? Call us at: 1 (800) 382-1388 M-TH 8:30AM-5:30PM / FR 9:30AM-5:30PM EST
07-2019
Package Contents:
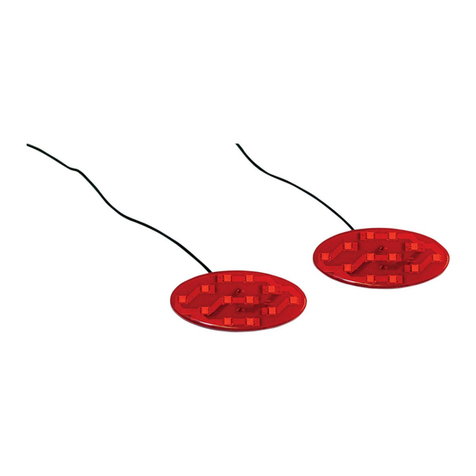
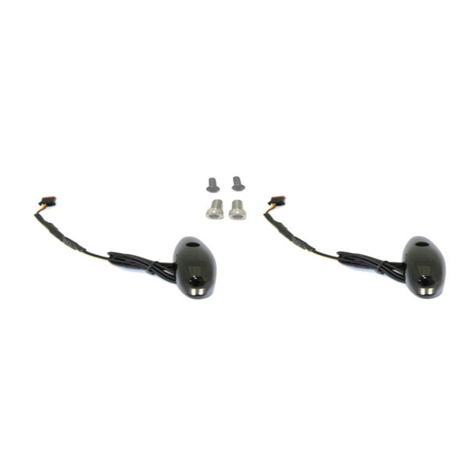
- LED Halo Passing Lamps(2)
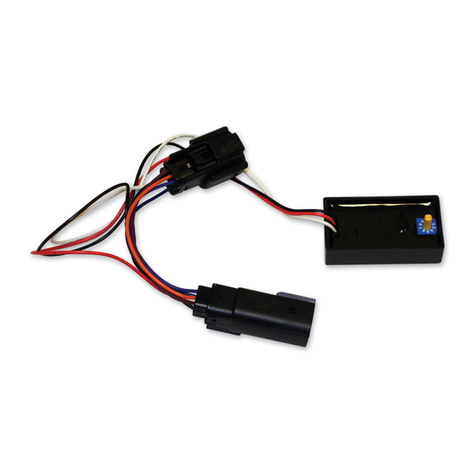
- AW Converter Harness (2)
- 8” Chrome Wire Tie (4)
Part Number:
CDTB-45-AW-3B, CDTB-45-AW-3C
Fitment:
1996-2005 Harley-Davidson® Ultra Classic (FLHTC/
U), Ultra Limited (FLHTK), Electra Glide CVO™
(FLHTCSE) & Tri Glide® (FLHTCUTG); 1993- 2017
Harley-Davidson® Soail® Deluxe (FLSTN), Deluxe
CVO™ (FLSTNSE) and Heritage Soail® (FLST/C)
We thank you for purchasing the Custom Dynamics® Amber/White
LED Halo Passing Lamps. Our products utilize the latest technology
and high quality components to ensure you the most reliable service.
We offer one of the best warranty programs in the industry and we
back our products with excellent customer support, if you have ques-
tions before or during installation of this product please call Custom
Dynamics® at 1(800) 382-1388.
Safety First: Make sure the bike is parked on a level sur-
face and bike ‘s mechanical components are cool to the
touch. To prevent electrical shock, disconnect the negative
battery terminal from the battery before beginning installa-
tion.
Note: You will have to remove the outer front fairing in
order to complete this installation. Please refer to your man-
ufacturer service manual if unsure of this procedure.
Notice: This product is designed and intended for use as
auxiliary lighting on motorcycles only. This product is NOT
intended to replace any original equipment lighting installed
on the motorcycle and should not be used for that pur-
pose. This product must be wired such that it does not
interfere with any original equipment lighting.
Please read all Information below before Installation
ATTENTION
Installation: 1996- 2005 Harley-Davidson® Ultra Classic (FLHTC/U), Ultra
Limited (FLHTK), Electra Glide CVO™ (FLHTCSE) & Tri Glide® (FLHTCUTG)
1. Carefully remove all components from the packaging. Un-ravel the wire
bundles on the passing lamps.
2. Remove both of the stock passing lamp trim rings and passing lamps from
the passing lamp housings.
3. Remove the 2 Turn Signal Housing mounng bolts and let the Turn signal
housing hang by the wire.
4. Thread the Yellow and White wire from the passing lamp through the pass-
ing lamp housing mounng stud as shown in Picture 1.
5. Install the new Amber/White LED Halo Passing Lamp on the passing lamp
housings.
6. Slide the provided heat shrink over the Yellow and White wire and install the
wire pins into the connector as shown in Picture 2.
1
2
Installation Instructions - Page 2
Questions? Call us at: 1 (800) 382-1388 M-TH 8:30AM-5:30PM / FR 9:30AM-5:30PM EST
07-2019
3
4
5
Installation:
7. Route the Passing Lamp harness through the notch in in the back
of the Turn Signal housing along with the factory harness, refer to
Picture 3. Reinstall the 2 Turn Signal Housing mounng screws.
Use cauon not to pinch the harnesses during this step.
8. Repeat Steps 3-7 for the opposite side.
9. Cover the passing lamps with a so cloth to protect them and the
fairing from being damaged during the fairing removal.
10. Remove the top 3 T27 Torx Bolts from the outer fairing as shown
in Picture 4. Remove the windshield and store it in a safe place for
reinstallaon later.
11. Reinstall the center T27 Torx Bolt only that was removed in Step
10. Lightly ghten the center bolt to secure the fairing while you
remove the remaining 4 inner fairing bolts. Remove the 4 inner
fairing bolts. The lower 2 inner fairing bolts are located on the
lower triple tree as shown in Picture 5. Refer to Picture 6 for the
upper 2 inner fairing bolts.
12. While standing in front of the bike and holding the fairing, remove
the center outer fairing T27 Torx bolt and pull the fairing slightly
away from the bike.
13. With the fairing slightly pulled away from the bike, disconnect the
connector from the headlamp as shown in Picture 7. Lay the fair-
ing on a protected at surface to prevent damage.
14. With the fairing removed, Locate the connectors on the inner fair-
ing that go to each of the front turn signals. The connectors are
located in the areas circled in Picture 8. Unplug the connectors
and connect the pass-through side of the AW Converter Harness
to the factory turn signal wiring harness.
15. With the AW Converter harness installed to the factory wiring
harness, connect the passing lamp harness to the AW Converter
harness. With the zip es provided, secure the passing lamp wire
to the turn signal and passing lamp factory wiring as shown in
Picture 9. Secure the harnesses to prevent the wires from being
damaged during the fairing installaon as shown.
16. Reinstall the fairing and windshield in the reverse order that it
was removed.
17. Check operaon of the Amber/White LED Halo Passing Lamps,
turn signals and passing lamps in all modes.
`
Installation Instructions - Page 3
Questions? Call us at: 1 (800) 382-1388 M-TH 8:30AM-5:30PM / FR 9:30AM-5:30PM EST
07-2019
9
7
6
10
8
Installaon:
1993- 2017 Harley-Davidson® Soail® Deluxe (FLSTN), Deluxe CVO™ (FLSTNSE) and Heritage Soail® (FLST/C)
1. Carefully remove all components from the packaging. Un-ravel the wire bundles on the passing lamps.
2. Remove both of the stock passing lamp trim rings and passing lamps from the passing lamp housings.
3. Remove the 2 Turn Signal Housing mounng bolts and let the Turn signal housing hang by the wire.
4. Thread the Yellow and White wire from the passing lamp through the passing lamp housing mounng stud as shown in Picture
1.
5. Install the new Amber/White LED Halo Passing Lamp on the passing lamp housings.
6. Slide the provided heat shrink over the Yellow and White wire and install the wire pins into the connector as shown in Picture
2. Route the Passing Lamp harness through the notch in in the back of the Turn Signal housing along with the factory harness,
refer to Picture 3. Reinstall the 2 Turn Signal Housing mounng screws. Use cauon not to pinch the harnesses during this
step.
7. Repeat Steps 3-7 for the opposite side.
Installation Instructions - Page 4
Questions? Call us at: 1 (800) 382-1388 M-TH 8:30AM-5:30PM / FR 9:30AM-5:30PM EST
07-2019
Installaon Connued:
8. Follow the manufacturers instrucons on removing the gas tank. For
this installaon, it is not necessary to remove the gas tank completely,
just remove all of the mounng hardware, then disconnect the main
supply & overow fuel lines. Note: Be aware that when removing the
main fuel supply line, a small amount of fuel may leak from the valve.
Clean up any leaked gas appropriately.
9. Now that the gas tank is free to move, slide the gas tank back along
the frame approximately 6” to expose rubber frame cover. Pull the
cover back to expose the 8 pin harness connector as shown in Picture
10. In the photo the connector is located on the right side of the
frame, depending on the year and model, it may be located on the le
side.
10. Plug the AW Converter Harness into the 8 pin factory harness con-
nector. The space is ght, you may need to ex the wires at an angle
in order to get leverage to plug the connector in. Make sure the con-
nector clicks.
11. With the AW Converter Harness installed route the wires from the
passing lamps and connect the passing lamp wires to the AW Convert-
er Harness. The connectors on the AW Converter Harness are labeled
(L) for the le side passing lamp and (R) for the right side passing lamp
as shown in Picture 11.
12. Grab both sets of wires from the passing lamps, and tuck them into
the back of the fork shroud as shown in Picture 12. Allow for 5-6 inch-
es of slack in the wires to allow the handlebars to turn freely. If you
desire, wire e wraps may be used to keep the wires in place.
13. Gather the AW Converter harness and connecons and neatly tuck
them in behind the gas tank liner. Make sure the wires will not get
pinched or frayed when the tank is moved back into it’s normal posi-
on as shown in Picture 13.
14. Move the gas tank back to its normal posion and reinstall the
mounng hardware, main fuel supply line and over ow line. Verify
that you have no fuel leaks and any fuel spills are cleaned up appro-
priately before starng the motorcycle.
15. Check operaon of the Amber/White LED Halo Passing Lamps, turn
signals and passing lamps in all modes.
Factory Harness Connector
10
Tuck the
ST-HARNESS and excess
wiring behind the tank
liner
Tank Liner
12
11
13

This manual suits for next models

1

Other Custom Dynamics Motorcycle Accessories manuals
Custom Dynamics GEN-SMART-TPU -IND User manual

Custom Dynamics

Custom Dynamics GEN-SMART-TPU -IND User manual

Custom Dynamics Magic Strobes User manual

Custom Dynamics

Custom Dynamics Magic Strobes User manual

Custom Dynamics Dynamic Strips CD-DS-ST-B User manual

Custom Dynamics

Custom Dynamics Dynamic Strips CD-DS-ST-B User manual

Custom Dynamics Street Magic M109 User manual

Custom Dynamics

Custom Dynamics Street Magic M109 User manual

Custom Dynamics CD-LR-04-R User manual

Custom Dynamics

Custom Dynamics CD-LR-04-R User manual

Custom Dynamics MagicFLEX2 Indian LED War Bonnet Light Kit Service manual

Custom Dynamics

Custom Dynamics MagicFLEX2 Indian LED War Bonnet Light Kit Service manual

Custom Dynamics Smart Triple Play GEN-SMART-TPU-SS8 User manual

Custom Dynamics

Custom Dynamics Smart Triple Play GEN-SMART-TPU-SS8 User manual

Custom Dynamics MAGIC STROBES User manual

Custom Dynamics

Custom Dynamics MAGIC STROBES User manual

Custom Dynamics ProBEAM PB-SCOUT-RR-BR User manual

Custom Dynamics

Custom Dynamics ProBEAM PB-SCOUT-RR-BR User manual

Custom Dynamics MAGIC-STROBES-SS6 User manual

Custom Dynamics

Custom Dynamics MAGIC-STROBES-SS6 User manual

Custom Dynamics CD-RG-V-AW2-B User manual

Custom Dynamics

Custom Dynamics CD-RG-V-AW2-B User manual

Custom Dynamics ProBEAM PB-BCM-KIT1 User manual

Custom Dynamics

Custom Dynamics ProBEAM PB-BCM-KIT1 User manual

Custom Dynamics TruWrapz User manual

Custom Dynamics

Custom Dynamics TruWrapz User manual

Custom Dynamics Road Glide CD-RG-TS-15-B User manual

Custom Dynamics

Custom Dynamics Road Glide CD-RG-TS-15-B User manual

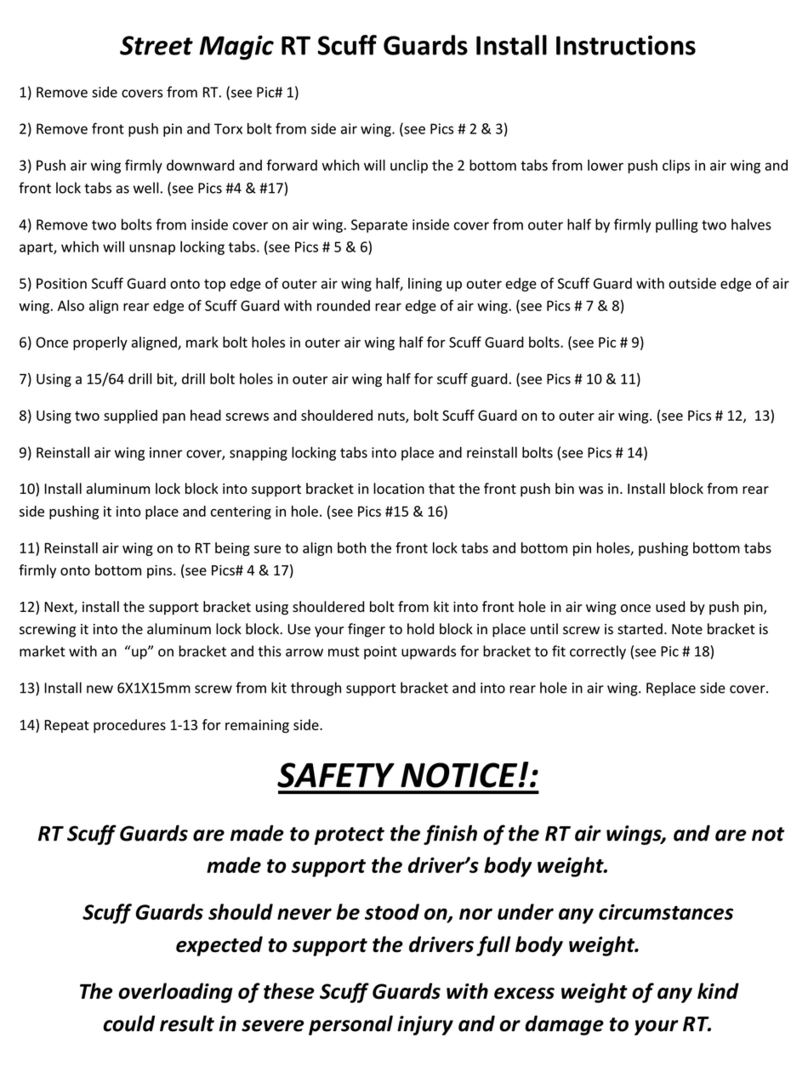
Custom Dynamics Street Magic RT Scuff Guard Configuration guide

Custom Dynamics

Custom Dynamics Street Magic RT Scuff Guard Configuration guide

Custom Dynamics CD-FORK-BCM-AB User manual
Custom Dynamics

Custom Dynamics CD-FORK-BCM-AB User manual

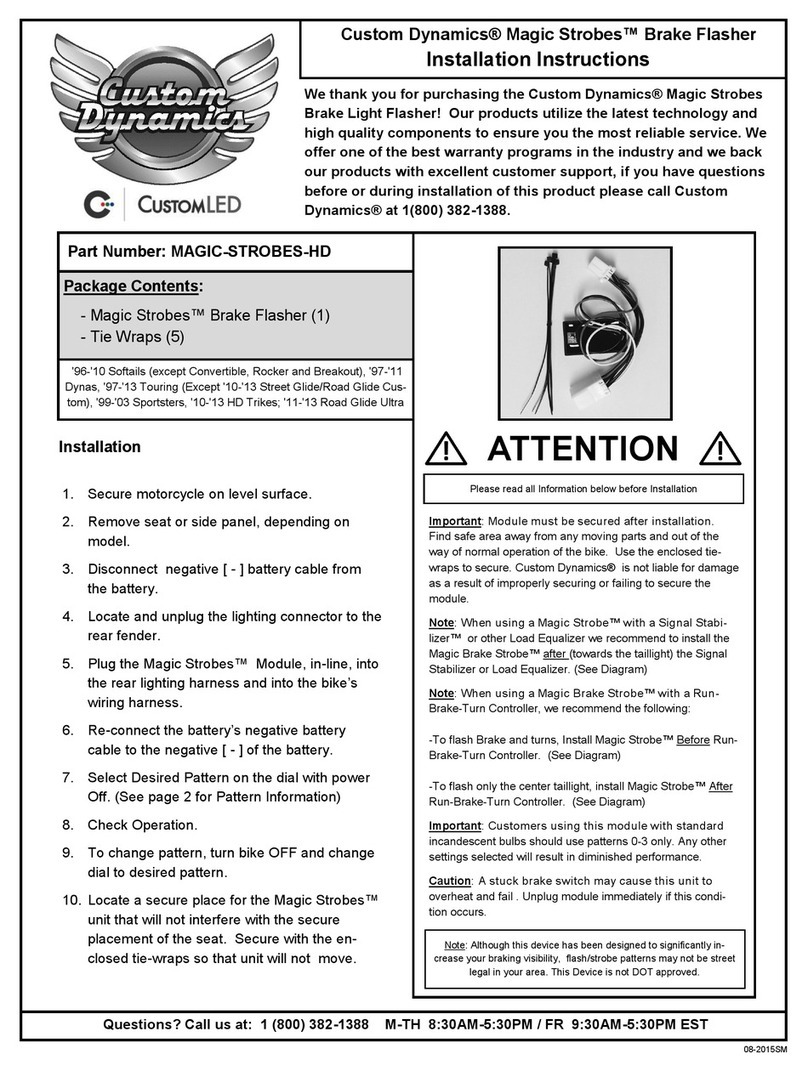
Custom Dynamics MAGIC-STROBES-HD User manual

Custom Dynamics

Custom Dynamics MAGIC-STROBES-HD User manual

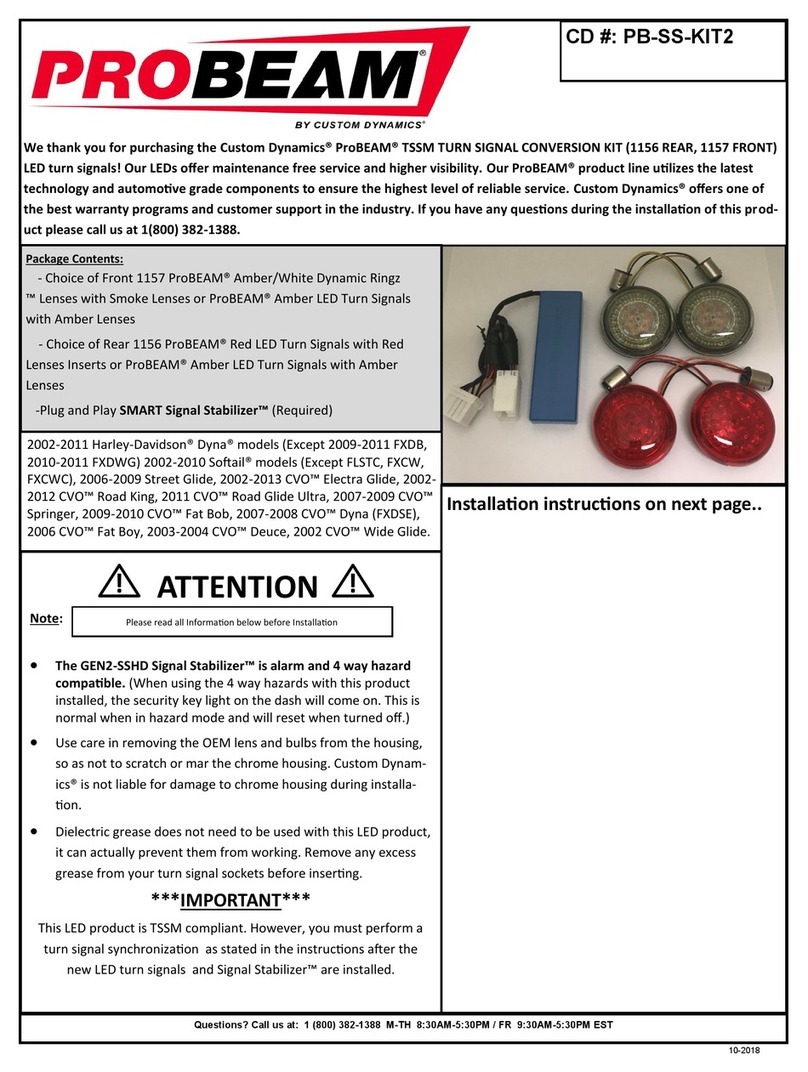
Custom Dynamics PROBEAM PB-SS-KIT2 User manual

Custom Dynamics

Custom Dynamics PROBEAM PB-SS-KIT2 User manual

Custom Dynamics ProBEAM PB-BCM-KIT1 User manual
Custom Dynamics

Custom Dynamics ProBEAM PB-BCM-KIT1 User manual
Custom Dynamics ProBEAM Dynamic Strips User manual

Custom Dynamics

Custom Dynamics ProBEAM Dynamic Strips User manual

Custom Dynamics MAGIC-STROBES-HD User manual
Custom Dynamics

Custom Dynamics MAGIC-STROBES-HD User manual

Custom Dynamics Street Magic Amber Brightsides Configuration guide
Custom Dynamics

Custom Dynamics Street Magic Amber Brightsides Configuration guide

Popular Motorcycle Accessories manuals by other brands

hepco & becker 501794 00 01 Notice

hepco & becker

hepco & becker 501794 00 01 Notice

XYZ ATOM user manual

XYZ

XYZ ATOM user manual

VVCAR MT55 user manual

VVCAR

VVCAR MT55 user manual

Rivco RBDL-V2 quick start guide

Rivco

Rivco RBDL-V2 quick start guide

hepco & becker 5039507 00 01 installation instructions

hepco & becker

hepco & becker 5039507 00 01 installation instructions

hepco & becker Minirack Mounting instructions

hepco & becker

hepco & becker Minirack Mounting instructions

PUIG 21047 Mounting instructions

PUIG

PUIG 21047 Mounting instructions

DimSport Rapid Bike quick start guide

DimSport

DimSport Rapid Bike quick start guide

NiteRider PRO 1800 MX user guide

NiteRider

NiteRider PRO 1800 MX user guide

Alpinestars Tech-Air 10 System manual

Alpinestars

Alpinestars Tech-Air 10 System manual

Sena STRAYKER quick start guide

Sena

Sena STRAYKER quick start guide

Holley Avenger EFI series installation manual

Holley

Holley Avenger EFI series installation manual

LSL 377-855SW manual

LSL

LSL 377-855SW manual

Two Brothers Racing 005-630406V installation instructions

Two Brothers Racing

Two Brothers Racing 005-630406V installation instructions

Sena SFR user guide

Sena

Sena SFR user guide

LSL 507T068A FITTING INSTRUCTION

LSL

LSL 507T068A FITTING INSTRUCTION

hepco & becker 500102 manual

hepco & becker

hepco & becker 500102 manual

SHOEI X-Spirit III Instructions for use

SHOEI

SHOEI X-Spirit III Instructions for use

manuals.online logo
manuals.online logoBrands
  • About & Mission
  • Contact us
  • Privacy Policy
  • Terms and Conditions

Copyright 2025 Manuals.Online. All Rights Reserved.