manuals.online logo
Brands
  1. Home
  2. •
  3. Brands
  4. •
  5. Dura Trel
  6. •
  7. Outdoor Furnishing
  8. •
  9. Dura Trel Courtyard Arbor 11111 User manual

Dura Trel Courtyard Arbor 11111 User manual

Model# 11111 Assembly Instructions
Part # Description Box#
1
4" sq. x 84" Left Post
1
24" sq. x 84" Right Post 1
31½ x 4 x 29½" Top/Bottom Cross Rail 2
41½ x 4 x 29½" Center Cross Rail 1
5⅝ x 61" Tube 1
61½ x 4 x 84" Arbor Top Rail 1
7
⅞ x 1½ x 84" Arbor Top Overhead Rail
1
82" sq. x 26¾ Arbor Top Cross Rail 2
94" sq. Gothic Cap 2
10 24" Steel Ground Anchor (U-shaped) 1
11 Hardware Bag (includes:) 2
4" End Cap
⅞ x 1½" End Cap
1¼" Painted Screw
PLEASE READ THROUGH BEFORE BEGINNING ASSEMBLY. #8 - 1" Painted Self Tapping Screw
IMPORTANT: Check boxes for Contents Listed Super Glue Tube
Check inside of parts as some parts are packaged
inside of others
In the event of missing, damaged or defective parts
please call our customer service dept. at 1-877-258-6020
When assembling components, place on a clean, flat
non-abrasive surface to avoid scratches
…
Battery or Electric Drill
with #2 phillips bit
…Tape Measure
…
Hammer or Rubber Mallet
(recommended)
…
Shovel or Post Hole Digger (recommended)
150 Birch Road
P.O. Box 122
Sheboygan Falls, WI 53085
www.dura-trel.com
[email protected]
Tools Required
1-877-258-6020
1
4
General Information
4
4
1
34
5
4
2
2
2
10
2
4
Qty
2
Courtyard Arbor
8
1
150 Birch Road
P.O. Box 122
Sheboygan Falls, WI 53085
1-877-258-6020
2
www.dura-trel.com
[email protected]
Please call manufacturer direct with questions concerning missing or defective parts at Toll Free:
877-258-6020.
Dura-trel, Inc. products are warranted to be free from manufacturing defects resulting in delaminating,
peeling, flaking, corroding, cracking, crazing, or extreme amounts of fading or bleaching causing the
PVC to change to its natural color for a period of 20 years from the date of purchase.
Normal weathering is defined as exposure to sunlight and extremes of weather and atmosphere which
will cause any colored surface to gradually fade.
CONDITIONS NOT COVERED BY THIS WARRANTY:
A. Physical abuse, misuse, neglect, or improper storage.
B. Improper installation or installation not in strict adherence to the instructions written by Dura-Trel,
Inc.
C. This warranty does not apply if materials are painted, varnished, or coated with any substance.
D. Dura-Trel, Inc. is not responsible for damages to product during shipping.
E. Damage attributable to atmospheric pollutants, hail, lightning, hurricane, tornado, wind borne
objects, earthquake, fire, mildew, casualty, act of God, building or ground settlement, or subjection to
stress or weight.
CLAIMS AND REMEDIES:
If a Dura-Trel, Inc. product is determined to have a manufacturing defect which is covered by this
warranty, Dura-Trel, Inc. will replace the material containing the defect (labor no included) F.O.B from
the point of manufacture. Dura-trel, Inc. will not be responsible for any cost incurred in the removal or
reinstallation of the product.
Important: An claims must be sent to the following address and should describe the defect claim.
Dura-Trel, Inc., P.O. Box 122, Sheboygan Falls, WI 53085
Dura-Trel, Inc. reserves the right to discontinue or change its design, and or color. If the original color
or style is not available, Dura-Trel, Inc. shall have the right to substitute a product designated by Dura-
Trel, Inc.
Dura-Trel, Inc. shall not be liable for any incidental, special, or consequential damages arising out of the
use of these products
Warranty Statement
20 Year Guarantee
3
Courtyard Arbor
Lay out one left post (part 1). Insert one top/bottom cross rail (part 3) into bottom hole of post. Insert one
center cross rail (part 4) into middle hole of post. Slide five 61" tubes (part 5) through holes of center cross
rail and into bottom cross rail. Insert one top/bottom cross rail (part 3) into top 1½ x 4" hole, inserting free
ends of tubes into top rail. Insert free ends of cross rails into corresponding holes of one right post (part 2).
Slide one 24" steel ground anchor (part 10) into bottom of each post so bottom cross rail slides into U-Shape.
Using two 1¼" screws per post, screw bottom of arbor panel together. DO NOT screw together center or top
cross rails.
Remove 24" steel ground anchor from bottom of post and set aside until ready for installation.
Repeat for second arbor panel.
Courtyard Arbor
4
Set both arbor panels on end with screw pilot holes facing outside of arbor. Insert ends of each 84" arbor top
rail (part 6) through top routed hole in each post. Make sure 2" sq. routed holes face one another. Gently
separate tops of each arbor panel few inches. With pilot holes facing top of arbor, insert five 26¾" arbor top
cross rails (part 8) into arbor tops. When inserting two outer most parts, insert into post and then into 84"
arbor top to lock arbor together. Using four 1¼" screws per post, screw together top and middles of each arbor
panel. Be sure all parts are full inserted before securing.
Place two 84" arbor top overhead rails (part 7) onto five arbor top cross rails with pilot holes lining up. Using
five 1¼" screws per part, fasten overhead rails to top cross rails.
Apply glue to inside edges of 4" sq. gothic caps (part 9) and place on top of each post. Apply glue to inside
edges of ⅞ x 1½" end caps and place on ends of overhead rails. Apply glue to inside of 4" end caps and press, do
not slide, onto ends of arbor top rails.
Ground Anchor
Installation Layout
Courtyard Arbor
5
ARBOR INSTALLATION
Option 1
Slide one 24” steel u-channel ground anchor
(part 10) into bottom of each post. Slide
ground anchor until it meets bottom cross
rail. Using 1” self-tapping white-head screw
fasten post to ground anchor.
Using ground anchor installation layout
drawing, dig holes approximately 16” deep.
Set arbor in holes and level. Back fill with soil
removed from holes. For permanent
installation fill with cement.
Option 2
Using ground anchor installation layout
drawing , pound ground anchors into ground
according to dimensions. When pounding
into ground, use block of wood to prevent
ground anchor from bending.
Slide arbor over ground anchors. Using 1”
self-tapping white-head screw fasten post to
ground anchor.
Option 3
Using ground anchor installation layout
drawing, dig holes 16” deep according to
dimensions. Fill with cement and place
ground anchors in wet cement. Be sure that
ground anchors are straight and in accordance
with dimension of ground anchor installation
layout drawing. Allow cement to dry. NOTE:
There is very little room for error with this
installation method.
Slide arbor over ground anchors. Using 1”
self-tapping white-head screw fasten post to
ground anchor.

Other Dura Trel Outdoor Furnishing manuals

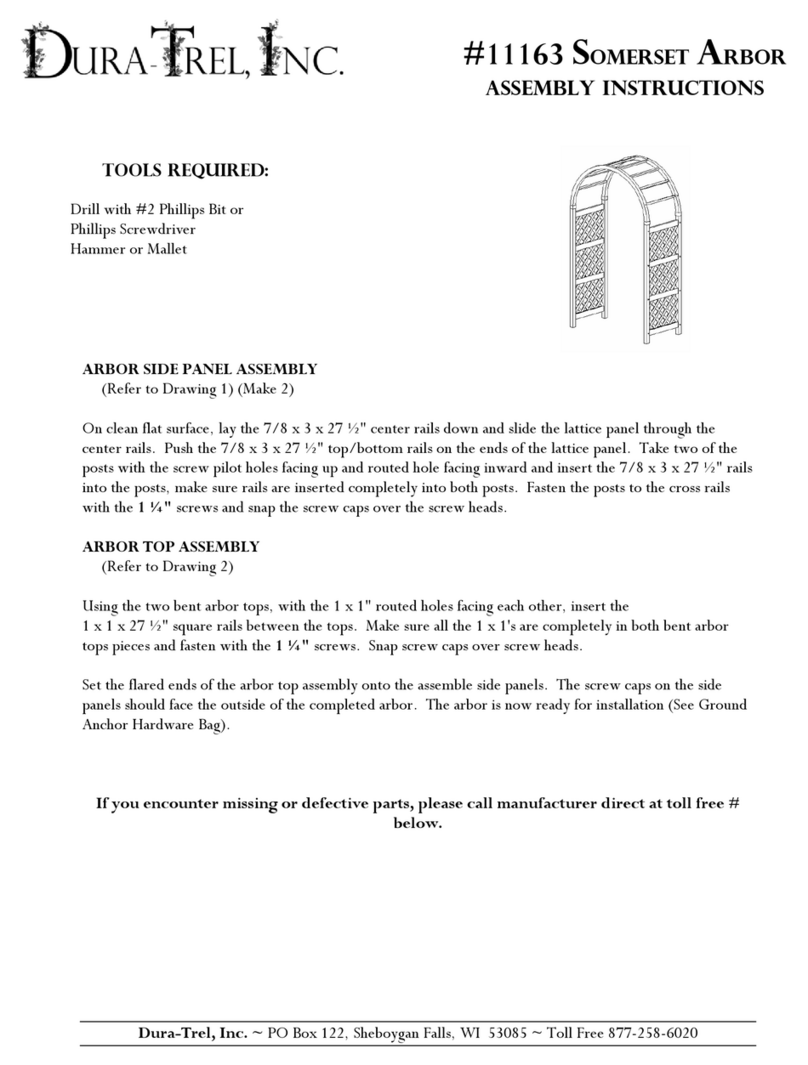
Dura Trel 11163 User manual

Dura Trel

Dura Trel 11163 User manual

Dura Trel Kingston 11300 Installation guide

Dura Trel

Dura Trel Kingston 11300 Installation guide

Dura Trel Lancaster Trellis 11192 Installation guide

Dura Trel

Dura Trel Lancaster Trellis 11192 Installation guide

Dura Trel 11120 VICTORIAN ARBOR User manual

Dura Trel

Dura Trel 11120 VICTORIAN ARBOR User manual

Dura Trel Elmwood Trellis 11190 User manual

Dura Trel

Dura Trel Elmwood Trellis 11190 User manual

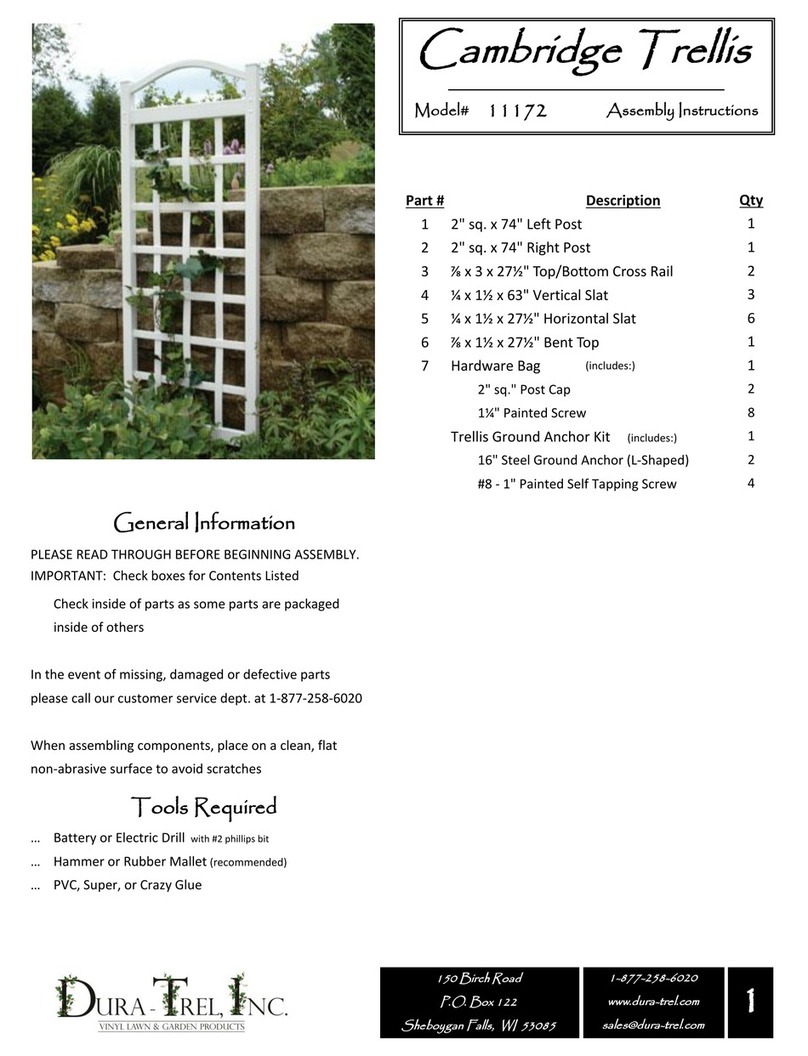
Dura Trel Cambridge Trellis 11172 User manual

Dura Trel

Dura Trel Cambridge Trellis 11172 User manual

Dura Trel Sunburst Trellis 11147/8 User manual

Dura Trel

Dura Trel Sunburst Trellis 11147/8 User manual

Dura Trel Greenfield 11203M User manual

Dura Trel

Dura Trel Greenfield 11203M User manual

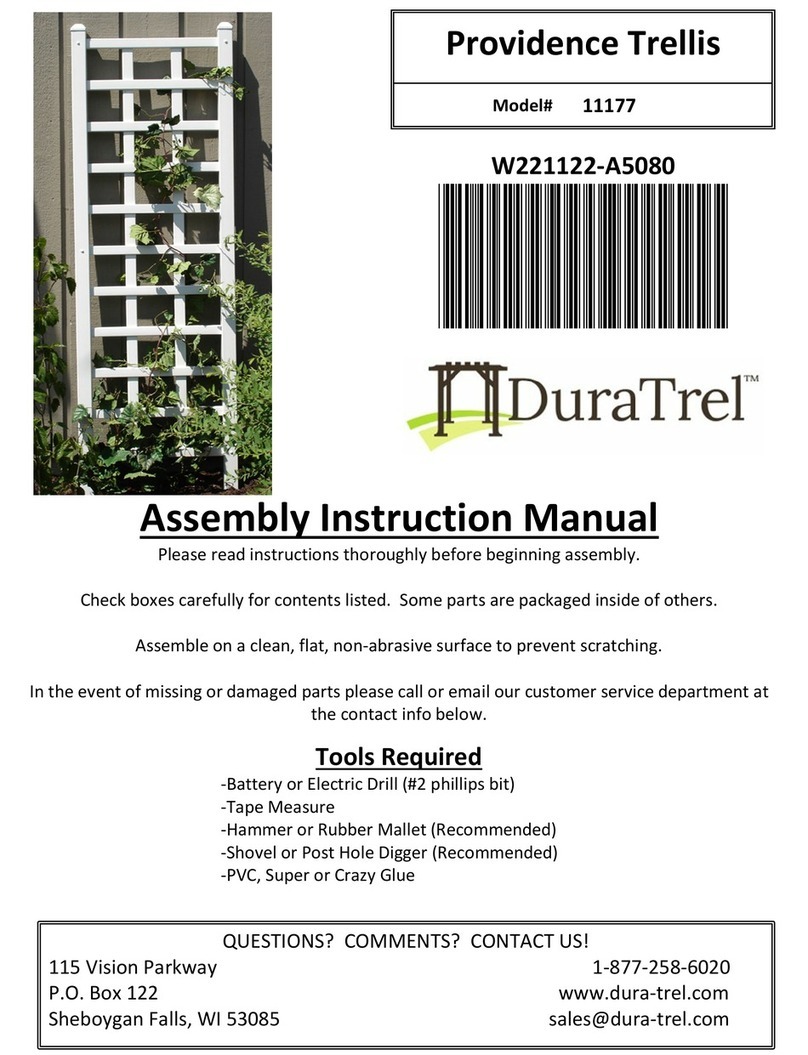
Dura Trel Providence Trellis 11177 Installation guide

Dura Trel

Dura Trel Providence Trellis 11177 Installation guide

Dura Trel WINDFORD GATE Programming manual

Dura Trel

Dura Trel WINDFORD GATE Programming manual

Dura Trel 11126 User manual

Dura Trel

Dura Trel 11126 User manual

Dura Trel Rosebud Arbor 11107/08 User manual

Dura Trel

Dura Trel Rosebud Arbor 11107/08 User manual

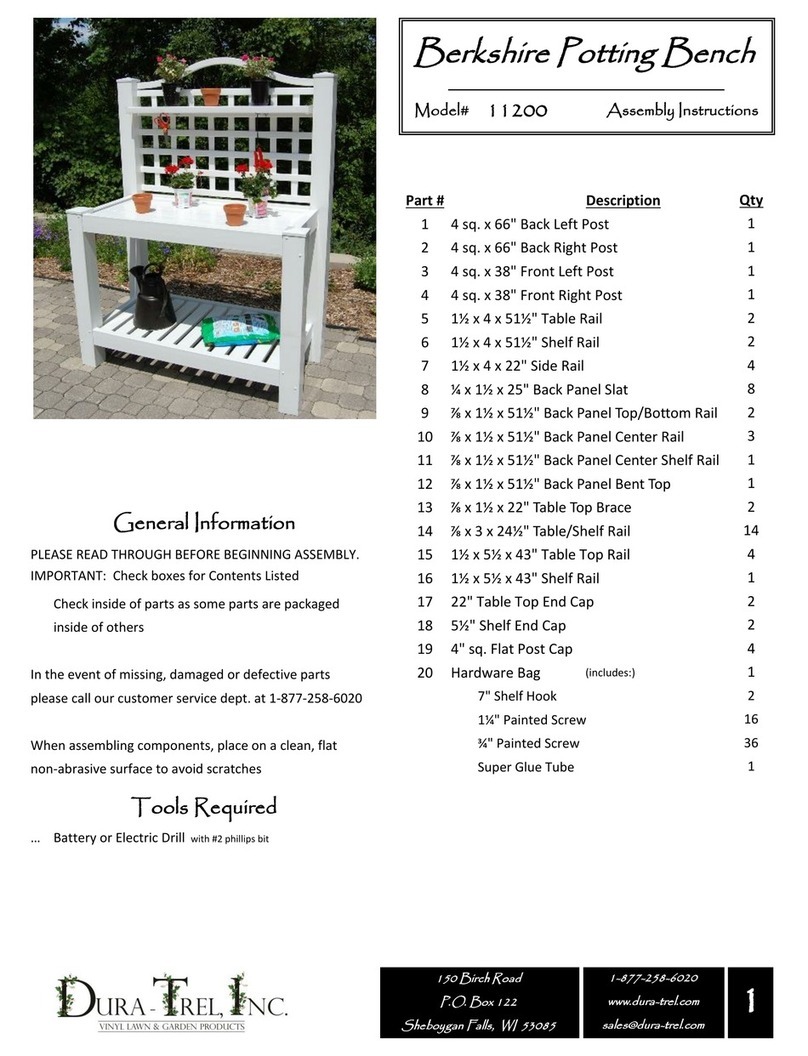
Dura Trel Berkshire 11200 User manual

Dura Trel

Dura Trel Berkshire 11200 User manual

Dura Trel 11137 User manual

Dura Trel

Dura Trel 11137 User manual

Dura Trel Melrose Trellis 11191 User manual

Dura Trel

Dura Trel Melrose Trellis 11191 User manual

Dura Trel 11127 User manual

Dura Trel

Dura Trel 11127 User manual

Dura Trel 11136 User manual

Dura Trel

Dura Trel 11136 User manual

Dura Trel 11114 User manual

Dura Trel

Dura Trel 11114 User manual

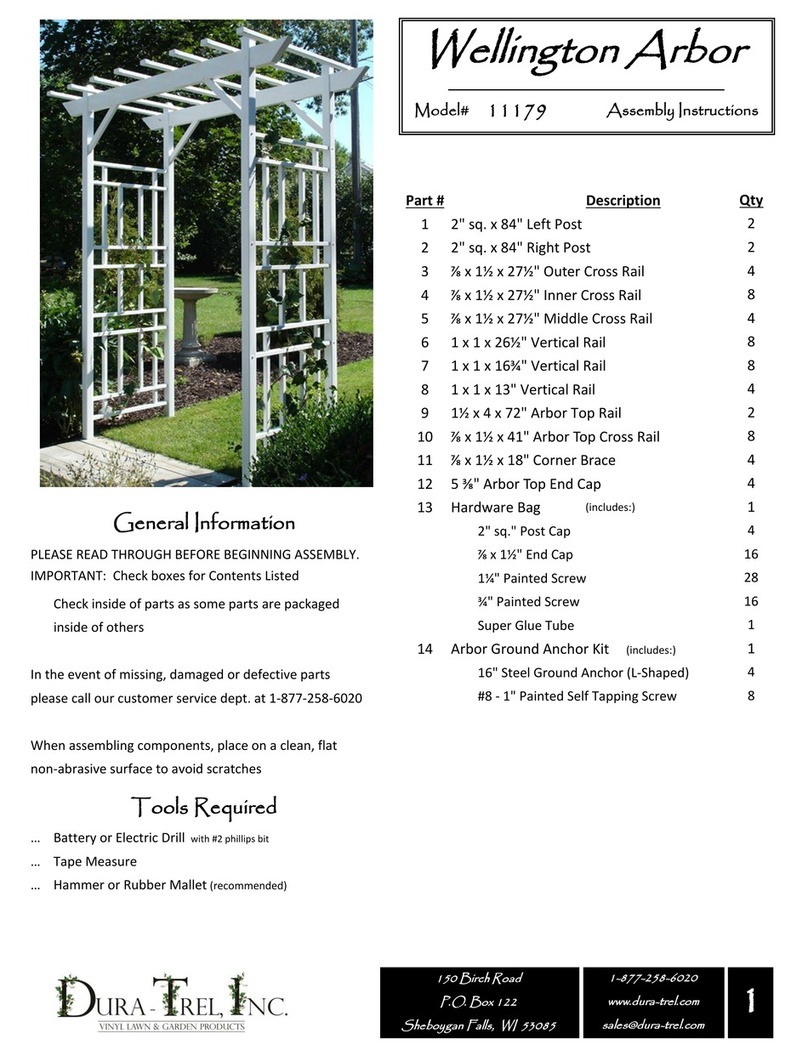
Dura Trel Wellington Arbor 11179 User manual

Dura Trel

Dura Trel Wellington Arbor 11179 User manual

Dura Trel Oxford Trellis 11175 User manual

Dura Trel

Dura Trel Oxford Trellis 11175 User manual

Dura Trel Greenfield 11203 User manual
Dura Trel

Dura Trel Greenfield 11203 User manual

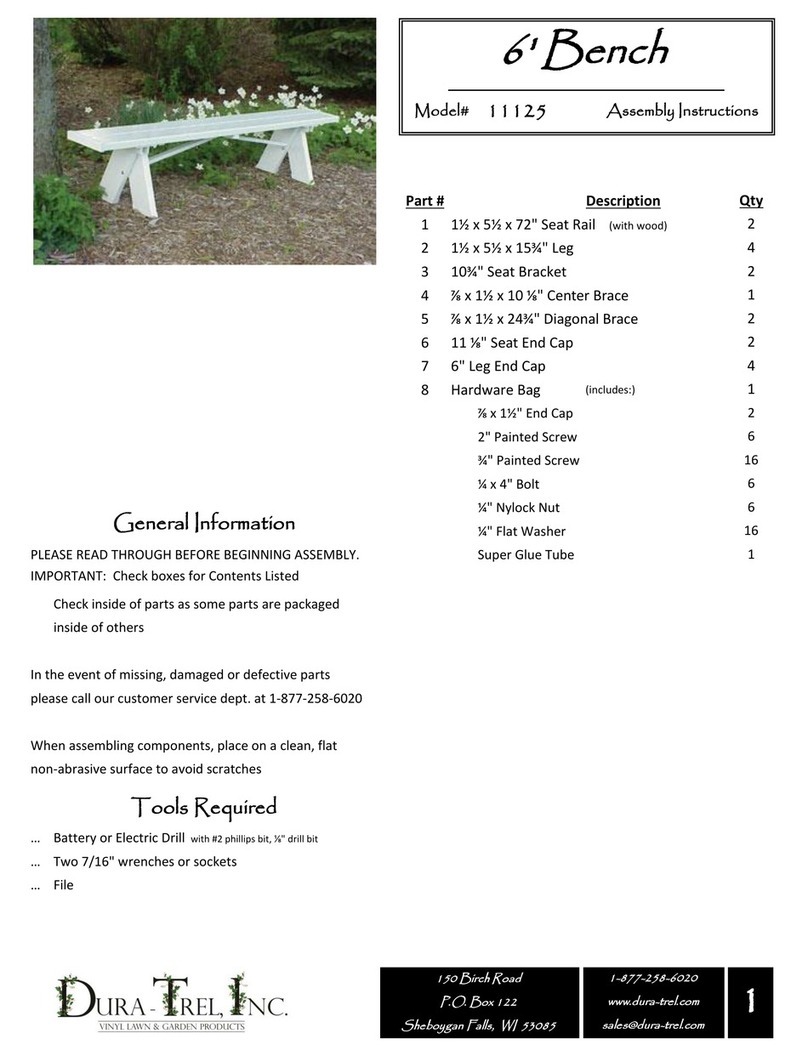
Dura Trel 11125 User manual

Dura Trel

Dura Trel 11125 User manual

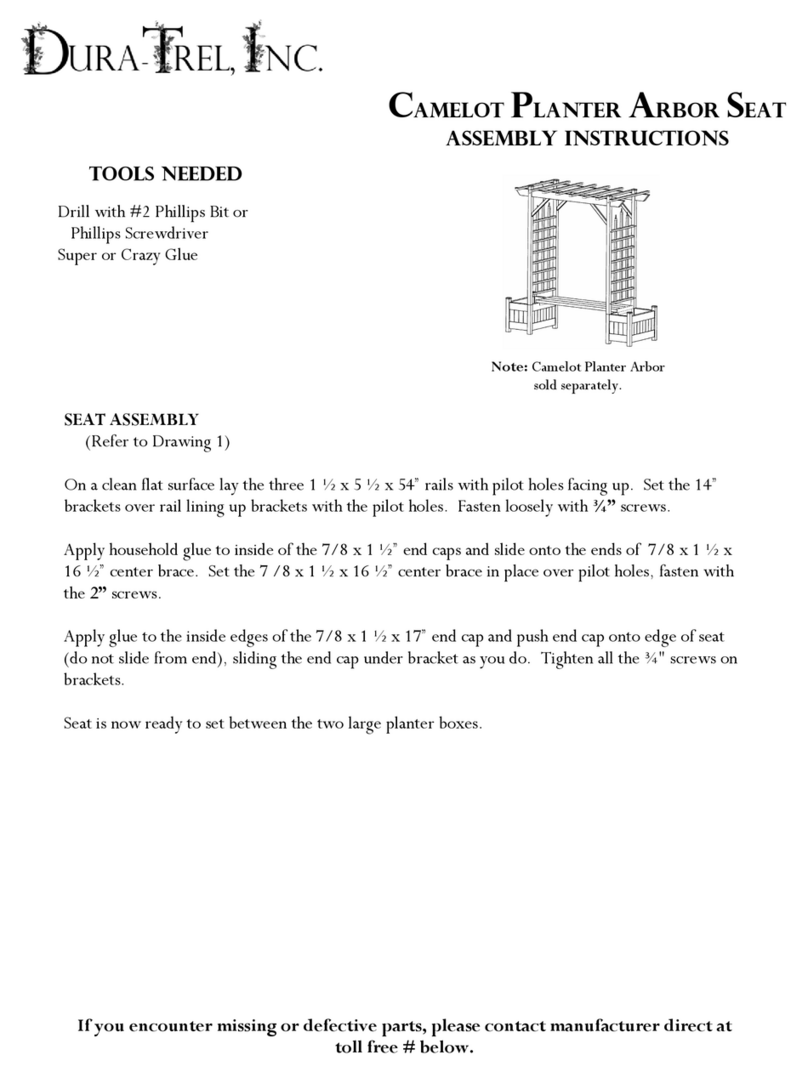
Dura Trel CAMELOT PLANTER ARBOR SEAT User manual

Dura Trel

Dura Trel CAMELOT PLANTER ARBOR SEAT User manual

Dura Trel 11130 User manual

Dura Trel

Dura Trel 11130 User manual
Popular Outdoor Furnishing manuals by other brands

FLORABEST 332795 1907 Assembly instructions

FLORABEST

FLORABEST 332795 1907 Assembly instructions

Zest 4 Leisure Trellis Arch Assembly instructions

Zest 4 Leisure

Zest 4 Leisure Trellis Arch Assembly instructions

Polywood ADU820 manual

Polywood

Polywood ADU820 manual

TREX TX4511CX Assembly instructions

TREX

TREX TX4511CX Assembly instructions

Home Styles Riviera 88 5800 02 quick start guide

Home Styles

Home Styles Riviera 88 5800 02 quick start guide

HAMPTON BAY L-PB136PST Use and care guide

HAMPTON BAY

HAMPTON BAY L-PB136PST Use and care guide

Polywood NB48 Assembly instructions

Polywood

Polywood NB48 Assembly instructions

Polywood Park PH53 Assembly instructions

Polywood

Polywood Park PH53 Assembly instructions

TREX TXNCT44 Assembly instructions

TREX

TREX TXNCT44 Assembly instructions

easymaxx 8069 instructions

easymaxx

easymaxx 8069 instructions

Polywood 4101SVX Assembly instructions

Polywood

Polywood 4101SVX Assembly instructions

Polywood Long Island PWECD24 Assembly instructions

Polywood

Polywood Long Island PWECD24 Assembly instructions

TREX DTXA53 Assembly instructions

TREX

TREX DTXA53 Assembly instructions

TREX TXD38 Assembly instructions

TREX

TREX TXD38 Assembly instructions

Polywood Traditional Garden TGG48 Assembly instructions

Polywood

Polywood Traditional Garden TGG48 Assembly instructions

FLORABEST HG00452 Assembly and Safety Advice

FLORABEST

FLORABEST HG00452 Assembly and Safety Advice

Polywood MNA110 Assembly instructions

Polywood

Polywood MNA110 Assembly instructions

TREX Yacht Club Garden Arm TXB24 Assembly instructions

TREX

TREX Yacht Club Garden Arm TXB24 Assembly instructions

manuals.online logo
manuals.online logoBrands
  • About & Mission
  • Contact us
  • Privacy Policy
  • Terms and Conditions

Copyright 2025 Manuals.Online. All Rights Reserved.