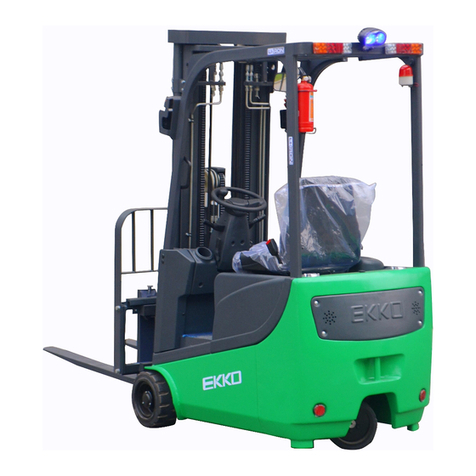
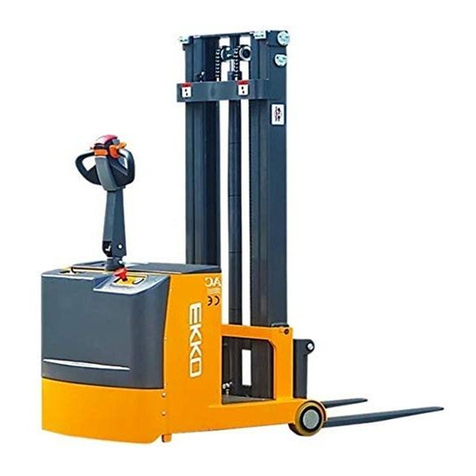
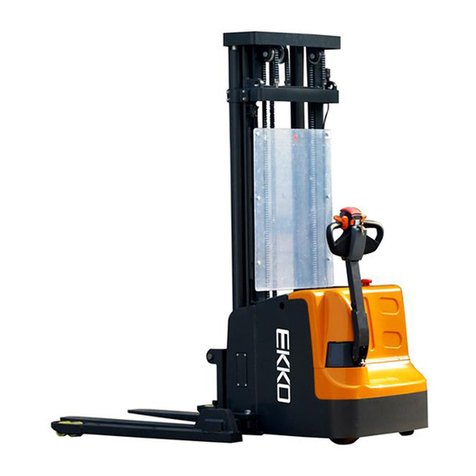
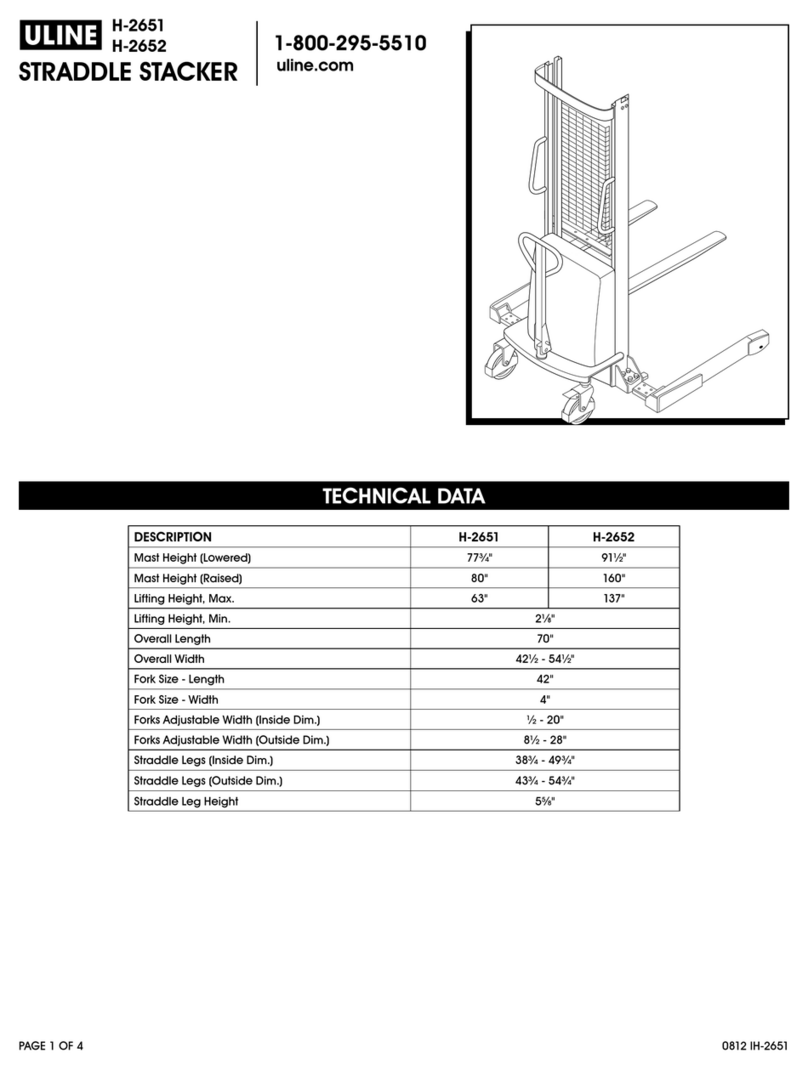
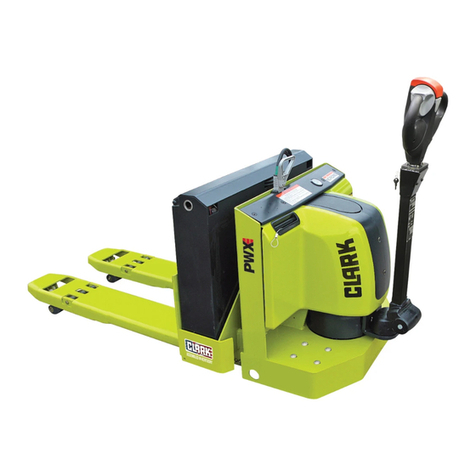
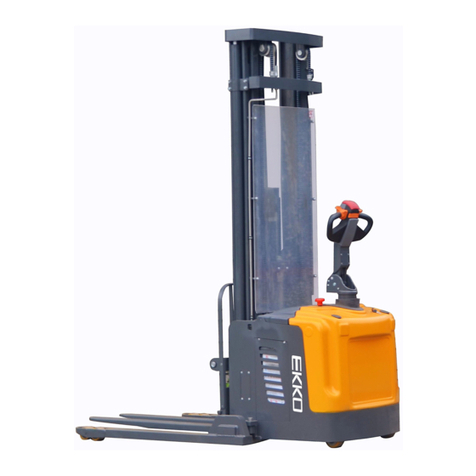
EKKO EK13 User manual

Specification
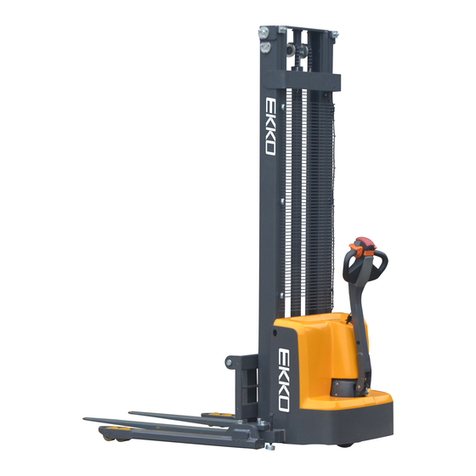
Counter Balanced Stacker
EK13/EK13-130
EK14/EK14-130
EK13S/EK14S
Note: Please read this manual before using product

-
1
-
Contents
1、Models........................................................................................................- 2 -
1.1 Summarize.......................................................................................... - 2 -
1.2 Model of parameters..........................................................................- 2 -
2、Basic structure and principle.................................................................. - 4 -
2.1 Basic structure....................................................................................- 4 -
2.2 Operating principle............................................................................ - 5 -
2. Electrical principle............................................................................. - 8 -
2.4 Hydraulic Principle.......................................................................... - 11 -
、Safety operation and matters needing attention................................ - 12 -
.1 General rule...................................................................................... - 12 -
.2 Storage and transportation.............................................................- 1 -
. Check before using...........................................................................- 1 -
.4 Operation specification................................................................... - 1 -
.5 Safe Operation Rules........................................................................- 15 -
4、Maintenance and Service Manual......................................................... - 17 -
4.1 Repair and maintenance of safety procedures............................. - 17 -
4.2 Routine Maintenance (Before every shift).................................... - 18 -
4. Professional Maintenance Manual................................................. - 18 -
4.4 Maintenance, Recharging and Replacement of the accumulator- 18 -
5、Repair Manual.........................................................................................- 22 -
5.1 Fault Diagnosis................................................................................. - 22 -
5.2 Preparation before repair............................................................... - 2 -
5. Check hydraulic oil level..................................................................- 24 -
5.4 Use Preparation after maintenance or repairing..........................- 24 -
-
2
-
1:Models
1.1 Summary
This specification includes the EK1 , EK1 -1 0,EK14 and EK14-1 0 series
of Fully Powered Counterbalance Walkie Stackers.
Models EK1 and EK1 -1 0 load capacity is 2,860 lbs.
Model EK1 max lifting height is 118”. Model EK1 -1 0 max lifting height is 1 0”
Model EK14 and EK14-1 0 Load capacity is 00lbs.Model EK14 max lifting
height is 118”. Model EK14-1 0 max lifting height is 1 0” (in accord with
JB/T8452-1996《Battery forklift truck model compilation method》,
1. Model of parameters

-
3
-
Model EK13-130 EK13 EK14-130 EK14
Load capacity Power Power Power Power
Operator type Walking Walking Walking Walking
Load capacity (lbs.) 2860 2860 00 00
Load center
distance (in) 24 24 24 24
Wheel base (in) 47 47 47 47
Lifting height (in) 1 0 118 1 0 118
Free lifting height (in) 4 4 4 4
Lowered mast
height (in) 84 78 84 78
Extended mast
height (in) 167 155 167 155
Mast/Fork
carriage tilt
forward/backwar
d
(°) 2/5 2/5 2/5 2/5
Overall length (in) 105 105 109 109
Overall width (in) 9 9 9 9
Fork size,
Thickness/Width/
Length
(in) 1.4/4/45. 1.4/4/45. 1.4/4/45. 1.4/4/45.
Fork adjust width (in) 8.6-28. 8.6-28. 8.6-28. 8.6-28.
Turning radius (in) 57 57 57 57

-
4
-
、Basic structure and principle
.1 Basic structure
With the battery as the power source, the stacker uses electrical and
hydraulic power to control driving, lifting, lowering and steering.
Basic structure:
Max. gradient
performance,
laden/unladen
(%) 6/10 6/10 6/10 6/10
Lift speed,
laden/unladen (in/s) 4/5.1 4/5.1 4/5.1 4/5.1
Lowering speed,
laden/unladen (in/s) 5. /4.7 5. /4.7 5. /4.7 5. /4.7
Charger 24V/ 0 24V/ 0 24V/ 0 24V/ 0
Driving Motor AC
24V/2.0kw
AC
24V/2.0kw
AC
24V/2.0kw
AC
24V/2.0kw
Lifting Motor 24V/2.5kw 24V/2.5kw 24V/2.5kw 24V/2.5kw
Steering Motor 24/0.2kw 24/0.2kw 24/0.2kw 24/0.2kw
Battery voltage 24V/210AH
(Side)
24V/210AH
(Side)
24V/210AH
(Side)
24V/210AH
(Side)
Service Weight (lbs.) 750 652 750 652

-
5
-
No. Description No. Description
1 Operating handle 5 Key switch
2Electricity meter 6 Main frame
Handle bar 7 Door frame assembly
4Cover
. Operating principle
. .1 Running system
The unit’s running system is powered by the battery. (The AC Motor gear
reduces high speed low torque into low speed high torque, in the end by
the driving wheel to perform efficiently. The speed of the driving is done by
variable frequency control of motor speed.)

-
6
-
The gear box has been supplied with enough gear lubricating oil at the
factory. Replace gear lubricating oil every 1000 hours under normal
circumstances and use.
During normal operations, if sounds are heard from the gear box,
immediately stop the unit and determine whether bearing damage or
other gear problems are evident.
. . Steering system
The movements of the Counter Balanced Stacker are controlled by the
steering wheel and operating commands located on the handle bar.
. .3 Operating system
1.Forward and hypokinesis switch
2.Lifting and lowering switch
.Fahrschalter
4.Belly switch
5.Horn button
1. Side shifter switch
2. Tilt backward &forward switch
. Horn
4. Lift up/ Lower down switch
5. Accelerator
6. Emergency revise switch
EK13/EK13-130/EK14/EK14-130 Operating handle
EK13S /EK14S With side shifter function Operating handle

-
-
. .4 Braking system
Braking performance depends on road conditions and vehicle load。
The brakes can be activated as follows:
1
Move the Fahrschalter ( ) to position ‘0’(middle position). The
vehicle will brake until it stops.
2
Move the Fahrschalter ( ) in the opposite direction. The vehicle
will brake until it begins to move in the opposite direction.
3
Vehicle braking, if the handle is upright or completely downright
the unit will not function.
4Pushing the belly safety switch (4) may prevent the operator
from being pinned from behind.
. .5 Operating system
The stacker’s main function is tray or cargo loading and unloading,
stacking and short-distance transport operations.
The pallet fork is maneuvered into the pallet. The carriage is moved up
and down inside the stacker door frame by driving chain (see 2.2. :
function 2: Lifting and lowering switch) to lift goods off of the ground or to

-
8
-
deposit them on shelves. The lifting chain and will move the whole inner
frame by lifting the oil cylinder telescopic to activate Stacking process is
implemented by the control operation of oil cylinder telescopic.
.3 Electrical principle
.3.1 Electrical principle
The unit’s electrical system provides the movement and function
operations. The stacker is equipped with the communication electronic
assembly CURTIS12 2E and CURTIS12 0E (Made in America). The
instrument includes the functions of battery indicator, working time
display and voltage protection. When the battery power is too low, the
electricity meter will cut off the oil pump motor and the start control
circuit. The Counter Balanced Stacker will only be able to walk and cannot
lift/lower the forks. If this occurs, charge the battery immediately.
The oil pump motor is not designed for continuous operation over a long
period of time. Lifting action should be limited rather than continuous,
otherwise the motor will overheat and could become damaged.
Note: When the Counter Balanced Stacker has been in use over a long
period of time, the oil pump motor may eventually fail. When this happens,
immediately stop the unit, disconnect the power supply (which will make
the oil pump motor stop running) and replace the starter.

-
9
-
Electrical Principle Chart (EK13/EK13-130/EK14/EK14-138)

-
10
-
Electrical Principle Chart with side shifter (EK13S/EK14S)

-
11
-
.4 Hydraulic Principle
Hydraulic power is provided by the oil pump motor. Two lifting
cylinders are used to raise the fork. The hydraulic system pressure is tested
before installation. The hydraulic system cannot be adjusted by EKKO
MHE.
.
Hydraulic Chart(EK13/EK13-130/EK14/EK14-138)

-
12
-
Hydraulic Chart with side shifter(EK13S/EK14S)
3、Safety operations and matters
requiring attention
3.1 General rule
3.1.1 The operator must have a forklift operation qualification provided by
the relevant departments of training before driving a forklift.
3.1. The operator must read the complete instructions before use. Only
after fully understanding the operating method may the operator use the

-
13
-
forklift.
3.1.3 Forklift trucks may not carry passengers.
3.1.4 Operators must pay special attention to people nearby as well as
fixed objects.
3.1.5 The user shall not modify, add or remove the forklift parts without
the manufacturer's approval as this may affect the performance of the
forklift.
3. Storage and transportation
3. .1 Use container or flatbed for transportation:
○
1Front and rear wheels should have a wedge at the wheel to prevent
sliding in the process of transportation;
○
2Using a tie down strap, on solid structure of the forklift truck;
○
When transporting the forklift should be in the truck's center of gravity
position
3. . When the forklift is not actively used, it should be parked in a dry
ventilated clean warehouse to prevent weathering.
○
1 Turn unit off. Unplug the power cord.
○
2 Block front and rear wheels to prevent movement.
○
If use is discontinued for a long period of time the battery should be
charged once every 15 days.
3.3 Check before using
3.3.1 New Unit: Do not use if any damage occurred in transit. Contact
supplier immediately.
3.3. New Unit: Equipped with battery. The battery is charged before
leaving the factory. If there is a significant time delay between charging
(shipment) and use of the unit, the battery power may be low. Check the
electricity meter before use. If the display shows the battery is low, charge
immediately. Open the battery blocks every day before using or charging.
Check the liquid level height. If the liquid level is too low add distilled
water.
3.4 Operation specification
Before operating the forklift, please be familiar with the dashboard
function of each switch/button.
3.4.1 Start, run and parking:

-
14
-
○
1Insert the key into the key switch. Turn the key to the right. Lift the red
emergency power button. The equipment is not operational.
○
2The fork rises from the ground about 4 in.
○
Disengage parking brake.
○
4Direct the forward or backward movement using the function keys on
the steering handle.
○
5Slowly and carefully depress accelerator pedal until reaching the
desired speed.
○
6In the event of an emergency, immediately press the red emergency
power switch. This will disconnect the power supply from the unit.
○
7Reduce speed when turning the unit.
○
8The unit’s carrying gradeability is 10%. Press the accelerator pedal
down as far as possible when climbing a grade.
○
9Reduce the accelerator throttle pressure when the unit is traveling
downhill.
3.4. The using of emergency power safety switch
If the operator loses control of the unit, or smoke or burning odor occur,
press the emergency switch on the dashboard to shut off the unit.
Determine and correct the problem if possible. Clear the fault by resetting
the emergency switch. Resetting method: turn the red button clockwise,
button will pop up. Do not press down or turn clockwise too hard of switch
may become damaged.
3.4.7 The operation of the hydraulic control rod
The hydraulic control rod is used for two functions and is controlled by the
joystick.
3.4.8 Battery capacity indicator
The dashboard display for the forklift battery capacity includes a capacity
display function. The operator can also use electricity time statistics
(cumulative hour).
3.4.9 Handling stacking operation
(1) How to transport pallets using this unit
Drive the equipment to the front of the pallet. Make the fork parallel to
the ground. Lifting the fork to the desired height, move the fork into the
pallet insert and move forward slowly. When the fork is completely
inserted into the pallet. Lift to a specific, move unit to where the pallet is

-
15
-
desired. Re-orient pallet to vertical position. Lower fork until pallet is on
floor (or shelf). Reverse unit to remove fork from pallet.
3.5 Safe Operation Rules
3.5.1 Requirements for drivers: The equipment must be operated by a
trained staff. They should demonstrate safe protocol and just as a driver of
a vehicle.
3.5. Drivers’ rights, obligations and responsibilities: Has been trained
and certified for the operation of the vehicle, the driver must be clear on
his rights and obligations; and he is familiar and comfortable with the
contents of the relevant operating instructions. It is advisable that the
driver wear safety boots.
3.5.3 Prohibit unauthorized personnel to operate: the driver is
responsible for the vehicle at work. He must prevent unauthorized persons
from driving or operating this vehicle. It is forbidden to use the vehicle to
transport or lift personnel.
3.5.4 Malfunctions and defects: If there is any malfunction or defect of
the vehicle, the operator must immediately inform management. If the
vehicle cannot be safely operated (e.g.: wheel wear or brake failure), then it
must not be used until it is fully repaired.
3.5.5 Safe operation and environmental protection: inspection and
maintenance must be performed in accordance with the time intervals on
the maintenance list.
Parts of the vehicle cannot be changed without permission, especially
safety devices. The operating speed of the vehicle is not allowed to be
changed.
All original spare parts have been verified by quality assurance
department. To ensure the safety and reliability of the operation of the
vehicle operators must use only the manufacturer's spare parts. The old
parts, such as oils and fuels must be handled in accordance with the
relevant environmental protection rules.
3.5.6 Hazardous area: Hazardous area usually refers to the following:
vehicle or its load lifting devices (e.g. fork or accessories) is dangerous for
personnel when running or lifting movements, or the ongoing regional
transport loads. Typically, this range extends to the load or vehicle
accessories landing area.
Unauthorized personnel must be asked to leave the danger zone. As long as
the situation might cause some kind of damage, the driver must give a
warning. If the driver asked the person to leave but they did not leave the
danger zone, the driver must immediately stop the vehicle.
3.5.7 Risk environment: When working in high-risk environment, you
must have a special design to be protected. The vehicle was not specially
designed for the high-risk environment.
3.5.8 Safety devices and warning signs: Safety devices, warning signs

-
16
-
and warning notes described in the previous operating instructions must
be used.
3.5.9 Driving in public places: the vehicle is forbidden to drive in public
places other than special areas.
3.5.10 distance between vehicles: Keep in mind that the vehicle in front
could suddenly stop at any time, so please keep an appropriate distance.
3.5.11 headroom: When the headroom is below the cargo or mast, this
unit must not be used.
3.5.1 the use in the elevator and loading platform maneuvering: if
there is sufficient loading capacity, does not affect the operation of the
vehicle, and is agreed to by the user of the vehicle, lift and loading
platforms can be used for vehicle transport. Before entering the elevator or
loading station, the driver must personally inspect the affected area. The
goods must be placed in front and occupy an appropriate place, when the
vehicle enters the elevator, so as not to contact with the walls of the
elevator. When personnel and vehicles take the elevator together,
personnel must enter after the vehicle has safely entered, and personnel
must leave before the vehicle moves.
3.5.13 With access and working area: The vehicle must be operated on
the specified channel, all non-related personnel must leave the work area,
and cargo should be stacked in designated places.
3.5.14 Operations Management: traveling speed must be adapted to
local conditions. When around corners, narrow passages, swinging doors
and closed places, the vehicle must slow down. Drivers must be able to
visually determine an adequate braking distance between the vehicle and
the vehicle in front, and he must remain in control of his vehicle at all times.
Sudden stops (unless urgent needs), rapid U-turns, chasing each other in
the channel is not allowed. It is forbidden to operate this unit while the
operator’s body is leaning outside the cabin.
3.5.15 Visibility: The driver must look in the direction of travel to ensure
that the front area is clearly visible. When the vehicle is backing up with
the carriage of goods blocking the line of sight, there must be a second
person walking in front of the vehicle to give appropriate guidance and
warnings.
3.5.16 Via the ramp: Only known (and tested) ramps are allowed to be
used. The ramp should be clean, non-slip, and free of articles. The goods on
the forks must face uphill. It is forbidden to turn back, move diagonally or
park on the ramp. The driver must slow down when driving on the ramp,
and prepare to brake at any time.
3.5.17 Ground load: Remember to check that the load pressure of the
body weight does not exceed the capacity of the unit.
3.5.18 Vehicle Change: any possible changes or modifications for rated
load, stability or safe operation of the vehicle, must obtain prior written
approval from the original manufacturers or its successor. After the vehicle

-
1
-
manufacturer checks and approves the changes, nameplates, labels and
markings of Operation and Maintenance Manuals must be modified as
well.
4、Maintenance and Service Manual
4.1 Repair and maintenance of safety procedures
Maintenance technician: The maintenance and service should only be
performed by special personnel trained by the manufacturer. After the
technician has been sent by the after-sales department of the
manufacturer and completed maintenance and servicing work, they should
sign on the service log.
Cleaning Operation: Flammable liquid cannot be used for cleaning the
stacker. Before cleaning, take safety precautions to prevent electric sparks
(e.g. sparks caused by short circuit). When operating the accumulator,
connectors on it must be disconnected. Use soft air suction or compressed
air, non-conductive and anti-static brushes to clean electric and electronic
components.
Operation of Electric System: Operation on the electric system should
only be performed by specially trained personnel. Before performing any
operation on the electric system, precautions must be made to prevent
electric shock. When operating the accumulator, connectors on it must be
disconnected.
Installation: When repairing or replacing hydraulic components, electric
and electronic components, make sure to install them back to their original
positions.
Wheels: Quality of the wheels has significant effect on stability and
driving performance of the stacker. Modification on wheels can be
performed only with the approval from the manufacturer. When replacing
wheels, ensure that the stacker is levelled as delivery state(wheels must be
replaced in pairs, i.e. replace right wheel together with left one).
Lifting chain and rollers: Chain and rollers will be worn quickly
without good lubrication. Perform periodic lubrication according to
maintenance table below. Shorten the lubrication period under adverse
operation conditions (such as in dusty and hot environment).
Hydraulic oil pipe: The oil pipe must be changed every 6 years. When

-
18
-
changing the hydraulic assembled parts, the oil pipe should be also
changed.
4. Routine Maintenance (Before every shift)
4. .1Check the liquid level of electrolyte in the accumulator.
The liquid level will be higher when being recharged.
4. . Check every pole, every cable and their covers.
4. .3 Check if the accumulator box is secured.
4. .4 Check the stacker for oil leakage.
4. .5 Check the chain, rollers, fork, oil pipes and horn.
4. .6 Check the brake.
4. .7 Check the wear and tear of drive wheels and loading wheels.
4.3 Professional Maintenance Manual
It is very important for safe operation of the stacker to perform overall
professional maintenance. Failure in performing maintenance according to
specified interval may cause malfunction of the stacker, and potential risk
to personnel and equipment.
Maintenance periods listed in this manual apply to single shift a day under
normal operation conditions. If using in dusty environment, the ambient
temperature varies remarkably or in multi-shift situation, the maintenance
period has to be shortened.
Maintain the stacker according to following maintenance list. Maintenance
periods are as follows:
W1 = Every 50 work hours, but at least once a week.
M = Every 500 work hours, but at least once every months
M6 = Every 1000 work hours, but at least once every 6 months
M12 = Every 2000 work hours, but at least once every 12 months
Additional operations should be performed in trial run period:
(In initial 50 – 100 working hours or after 2 months)
--- Check the nuts on the wheels and tighten them if necessary.
---Check the hydraulic components for leakage, and tighten them if
necessary.
---Replace the hydraulic filter.
List of maintenance
4.4 Maintenance, Recharging and Replacement of the
accumulator
The stacker must be parked in a safe location before any operation on the
accumulator.

-
19
-
4.4.1 Maintenance Technician
Only qualified technicians can perform operations on the accumulator such
as recharging, maintenance and replacing. Before operation carefully read
instruction, manuals including operation manual, replenishment
preparation and recharging requirements.
4.4. Fire Prevention Measures
Never smoke or use open fire when performing operations on the
accumulator. The accumulator should be away from flammable materials
(at least two meters) when storing or recharging. The location for
accumulator storage should be well ventilated and equipped with
firefighting devices.
4.4.3Maintenance of the Accumulator
1) Keep the nuts on every battery cell dry and clean. Tighten every
terminal and cable end and brush them with grease to prevent corrosion.
Naked cable ends, and terminal posts should be covered with a skid-proof
insulating cover.
2) Every two cells should be well-connected. Check the nuts on each pole, if
loose, tighten the nuts.
) Keep the surfaces of accumulator clean and dry. After the completion of
recharging, clean spilled acid with cotton yarns or brush. Clean with wet
towel if necessary.
4) Over charging and over discharging should be avoided. Fast charging
and insufficient recharging are also not recommended. Otherwise life span
of the accumulator may be affected.
5) Do not put conductive objects including metal tools on the accumulator
as short circuits or even explosions may occur.
6) Never spill any hazardous liquid or solid material on surfaces of the
accumulator. When using a densimeter or a thermometer, make sure the
surface is clean and clear.
7) Recharge the discharged accumulator on time. Delayed recharging may
damage the accumulator. Do not delay recharging more than 24 hours.
Recharging of the accumulator may not work outdoors in cold weather. In
this case, move it indoors to perform recharging.
8) If the accumulator will not be in use for a long time, it should be
recharged and discharged once every month and it should be fully
recharged every time.
Other manuals for EK13
1
This manual suits for next models
6
Table of contents
Other EKKO Forklift manuals