manuals.online logo
Brands
  1. Home
  2. •
  3. Brands
  4. •
  5. ETI
  6. •
  7. Thermometer
  8. •
  9. ETI Thermapen Blue with Bluetooth IE Wireless... User manual

ETI Thermapen Blue with Bluetooth IE Wireless... User manual

Other ETI Thermometer manuals

ETI THERMALITE User manual

ETI

ETI THERMALITE User manual

ETI 810-270 User manual

ETI

ETI 810-270 User manual

ETI DTR User manual

ETI

ETI DTR User manual

ETI 810-125 User manual

ETI

ETI 810-125 User manual

ETI THERMAPEN IR BLUE User manual

ETI

ETI THERMAPEN IR BLUE User manual

ETI MULTI-FUNCTION THERMOMETER User manual

ETI

ETI MULTI-FUNCTION THERMOMETER User manual

ETI 810-225 User manual

ETI

ETI 810-225 User manual

ETI Therma 22 Plus User manual

ETI

ETI Therma 22 Plus User manual

ETI 814-060 User manual

ETI

ETI 814-060 User manual

ETI 810-421 User manual

ETI

ETI 810-421 User manual

ETI Precision User manual

ETI

ETI Precision User manual

ETI RayTemp 3 User manual

ETI

ETI RayTemp 3 User manual

ETI THERMALITE 2 User manual

ETI

ETI THERMALITE 2 User manual

ETI RayTemp 3 User manual

ETI

ETI RayTemp 3 User manual

ETI HYGRO-THERMO 810-190 User manual

ETI

ETI HYGRO-THERMO 810-190 User manual

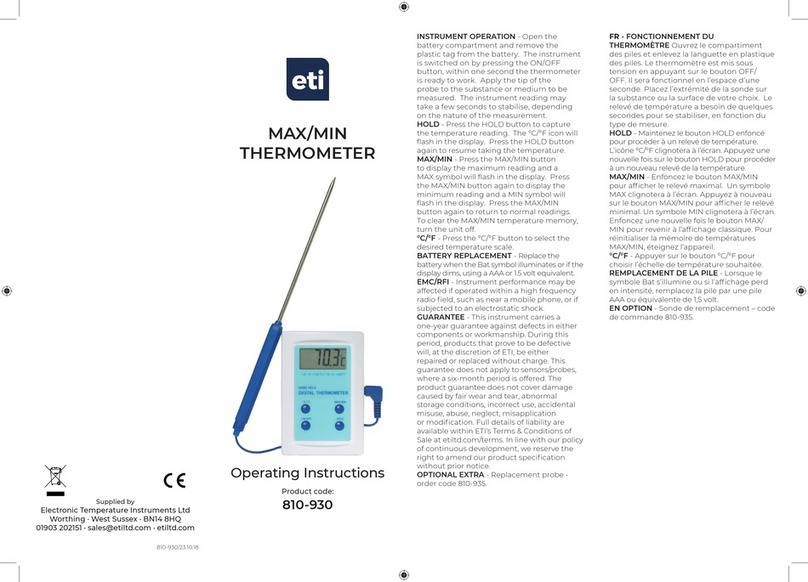
ETI 810-930 User manual

ETI

ETI 810-930 User manual

ETI THERMA WATERPROOF T User manual

ETI

ETI THERMA WATERPROOF T User manual

ETI THERMA 20 User manual

ETI

ETI THERMA 20 User manual

ETI 810-031 User manual

ETI

ETI 810-031 User manual

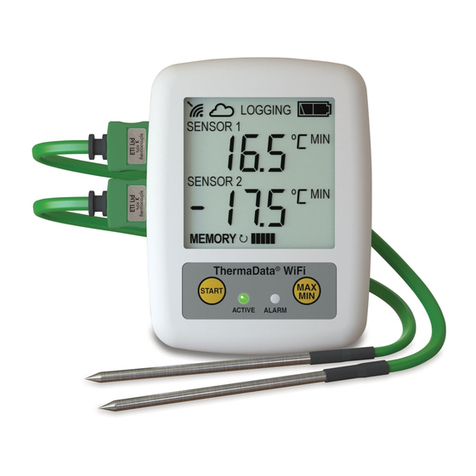
ETI THERMAQ WIFI User manual

ETI

ETI THERMAQ WIFI User manual

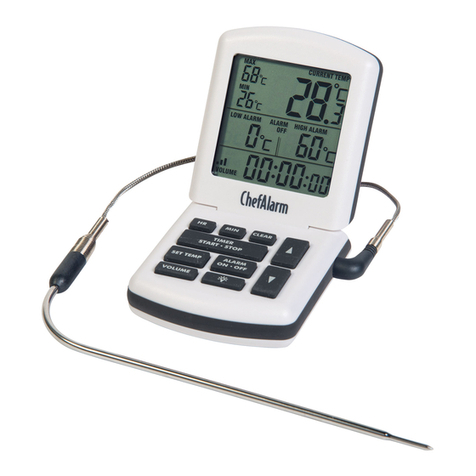
ETI ChefAlarm 6401 User manual

ETI

ETI ChefAlarm 6401 User manual

ETI CHEFALARM User manual

ETI

ETI CHEFALARM User manual

ETI 801-590 User manual

ETI

ETI 801-590 User manual

ETI 810-265 User manual

ETI

ETI 810-265 User manual

Popular Thermometer manuals by other brands

Benetech GM900 instruction manual

Benetech

Benetech GM900 instruction manual

Parton PTD-400 manual

Parton

Parton PTD-400 manual

GAME 15900 owner's manual

GAME

GAME 15900 owner's manual

scigiene FP-180 instruction manual

scigiene

scigiene FP-180 instruction manual

Ametek Land UNO U1 600/1600C-L user guide

Ametek Land

Ametek Land UNO U1 600/1600C-L user guide

Delton 981A instruction manual

Delton

Delton 981A instruction manual

Taylor 5286498 instruction manual

Taylor

Taylor 5286498 instruction manual

Baker MM2P instruction manual

Baker

Baker MM2P instruction manual

Chino IR-FA Series instructions

Chino

Chino IR-FA Series instructions

Vive DMD1010 user manual

Vive

Vive DMD1010 user manual

Tarmo 320281 manual

Tarmo

Tarmo 320281 manual

Citizen CTD 504 instruction manual

Citizen

Citizen CTD 504 instruction manual

TFA 14.1500 instruction manual

TFA

TFA 14.1500 instruction manual

Gotemp THB4002 user guide

Gotemp

Gotemp THB4002 user guide

GREISINGER G 1202 Quick reference guide

GREISINGER

GREISINGER G 1202 Quick reference guide

Amprobe TMD-53W user manual

Amprobe

Amprobe TMD-53W user manual

Trotec BP10 operating manual

Trotec

Trotec BP10 operating manual

Radiance instruments RT616 Series product manual

Radiance instruments

Radiance instruments RT616 Series product manual

manuals.online logo
manuals.online logoBrands
  • About & Mission
  • Contact us
  • Privacy Policy
  • Terms and Conditions

Copyright 2025 Manuals.Online. All Rights Reserved.

Thermapen®Blue
with Bluetooth®LE
wireless technology
Operating Instructions
545-600/08.01.18
manufactured by
Electronic Temperature Instruments Ltd
Worthing · West Sussex · BN14 8HQ
tel: 01903 202151 · email: [email protected]
www.etiltd.com
GUARANTEE - This instrument carries a two-year guarantee against defects in
either components or workmanship. During this period, products that prove
to be defective will, at the discretion of ETI, be either repaired or replaced
without charge. This guarantee does not apply to probes, where a six-month
period is offered. The product guarantee does not cover damage caused by
fair wear and tear, abnormal storage conditions, incorrect use, accidental
misuse, abuse, neglect, misapplication or modification. Full details of liability
are available within ETI’s Terms & Conditions of Sale at www.etiltd.com/
terms. In line with our policy of continuous development, we reserve the right
to amend our product specification without prior notice.
The Bluetooth®word mark and logos are registered trademarks owned by
the Bluetooth SIG, Inc. and any use of such marks by ETI is under license.
Google Play and the Google Play logo are trademarks of Google Inc.
Apple, the Apple logo, iPhone, and iPod touch are trademarks of Apple Inc.,
registered in the U.S. and other countries. App Store is a service mark of
Apple Inc., registered in the U.S. and other countries.
iOS is a trademark or registered trademark of Cisco in the U.S. and other
countries and is used under license.
Android is a trademark of Google Inc.
INSTRUMENT OPERATION - The instrument is
switched on by unfolding the probe and turned
off by folding the probe until fully located into the
rubber probe retainer. The probe should not be
rotated more than 180 degrees as damage will
occur. It is recommended to store the probe in the
closed position, when not in use. When opening the
probe, a short light flash, followed by a long flash
indicates the instrument is powered and ready to be
connected via Bluetooth.
Apply the tip of the probe to the substance, medium
or surface to be measured. The sensor is located at
the tip of the probe, therefore the minimum depth
insertion should be 3 mm.
The probe tip is very sharp and therefore
caution should be taken when using. Care
should also be taken when closing the probe
after taking hot temperatures as the probe
may remain hot.
CONNECTION - Use a Bluetooth®Low Energy 'Smart or Smart Ready' iOS or
AndroidTM host device with the ThermaQ App installed to make connections
to the instrument. The ThermaQ app can be downloaded free from the App
Store (Apple devices) or on Google PlayTM (Android devices). For full device
compatibility visit www.etiltd.com. Open the ThermaQ App and connect to the
device via the Devices screen, use the instrument’s serial number to select the
correct device from the list. When connecting/disconnecting, the intrument's
amber light flashes rapidly 5 times. Once connected the ThermaQ App will
begin receiving and storing measurement data.
TRANSFER BUTTON
MEASURE/TRANSFER - Press to measure and transfer result via
Bluetooth.
CLEAR BONDING - See Bonding
WAKE - See Auto-Off
STATUS/TRANSFER LED - When connected via Bluetooth an amber LED flashes
every 10 seconds or when the button is pressed
SETTINGS - Adjustable via the ThermaQ App include: °C or °F, Measurement
Interval, Auto-off Interval, Sensor Name and High/Low Alarm levels. All
settings are stored in the instrument and are downloaded to the ThermaQ
App on connection.
AUTO-OFF - If the instrument is not connected to Bluetooth within the set
Auto-off interval, it will shut down. This function can be switched off via the
ThermaQ App. To wake the instrument either press the transfer button or
open/close the probe.
FAULTY PROBE - If the probe has developed an 'open circuit' fault, the ThermaQ
app will display 'Sensor Error'.
BONDING - This instrument does not need to be paired/bonded to your host
device. Pairing/Bonding may cause connection issues within Apps. If you
encounter connection problems please clear bonding as described below.
Clear Bonding - start with the instrument switched off, press and hold down
the Transfer button whilst opening the probe. If successful, the amber LED
flashes 3 times.
INSTRUMENT CLEANING - Clean the instrument regularly with an anti-
bacterial probe wipe to avoid potential food-borne bacteria growth.
WARNING: IPA and other solvents may cause damage to the case of this
instrument
BATTERY STATUS – When opening the probe the instrument indicates its
battery status:
• Amber light flashes – battery OK
• Red light flashes – battery low
• No light flashes – battery flat
Also the battery status can be viewed using the ThermaQ App when connected
via Bluetooth.
BATTERY REPLACEMENT - To replace the battery (1 x AAA), remove the
battery cover with a pozi (PZ1) screwdriver. Remove the battery by pulling the
battery retaining clip back (do not over extend). Replace the battery, positive
end first before screwing the battery cover back down.
Please note: Do not use excessive force when refitting the battery cover
ensuring it is compressed against the seal. For further information on
changing the battery visit www.etiltd.com.
!