manuals.online logo
Brands
  1. Home
  2. •
  3. Brands
  4. •
  5. FLOS
  6. •
  7. Outdoor Light
  8. •
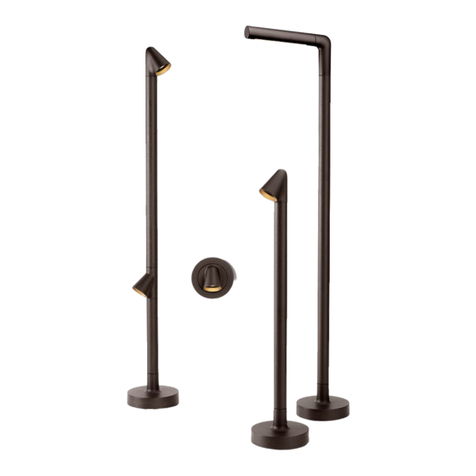
  9. FLOS COORDINATES F User manual

FLOS COORDINATES F User manual

REV. 0
DATE 09/02/2022
1
COORDINATES F
Designed by Michael Anastassiades, 2020
F1801033
©2021 Flos -All rights reserved -www.flos.com
Flos reserves the right to introduce any changes to its own models, without prior notice.
EN
2
©2021 Flos -All rights reserved -www.flos.com
Flos reserves the right to introduce any changes to its own models, without prior notice.
01. RF31068
–Fixing bridge assembly
02. RF1800033
–Body and block assembly
03. RF31826
–Base upper cover
04. RF27549
–Switch dimmer 48V PWM 500 Hz
05. RF3320400
–Black plug kit & Driver
06. RF29554
–Key and screws assembly
COORDINATES F
F1801033
REV. 0
DATE 09/02/2022
3
WARNING! When installing and whenever acting on the appliance, ensure that the power supply has been switched off.
For the installation of the spare-part, it is necessary to consult a qualified electrician.
©2021 Flos -All rights reserved -www.flos.com
Flos reserves the right to introduce any changes to its own models, without prior notice.
EN
RF31068
FIXING KIT ASSEMBLY
COORDINATES FF1801033
REV. 0
DATE 09/02/2022
4
WARNING! When installing and whenever acting on the appliance, ensure that the power supply has been switched off.
For the installation of the spare-part, it is necessary to consult a qualified electrician.
©2021 Flos -All rights reserved -www.flos.com
Flos reserves the right to introduce any changes to its own models, without prior notice.
EN
RF31068
FIXING KIT ASSEMBLY
REV. 0
DATE 09/02/2022
COORDINATES FF1801033
Fig.1
Remove the fixing kit assembly from the body.
Now assemble the new spare part.
5
WARNING! When installing and whenever acting on the appliance, ensure that the power supply has been switched off.
For the installation of the spare-part, it is necessary to consult a qualified electrician.
©2021 Flos -All rights reserved -www.flos.com
Flos reserves the right to introduce any changes to its own models, without prior notice.
EN
RF1800033
BODY AND BLOCK ASSEMBLY
COORDINATES FF1801033
REV. 0
DATE 09/02/2022
6
WARNING! When installing and whenever acting on the appliance, ensure that the power supply has been switched off.
For the installation of the spare-part, it is necessary to consult a qualified electrician.
©2021 Flos -All rights reserved -www.flos.com
Flos reserves the right to introduce any changes to its own models, without prior notice.
EN
REV. 0
DATE 09/02/2022
COORDINATES FF1801033
RF1800033
BODY AND BLOCK ASSEMBLY
Fig.1
Remove the fixing kit assembly from the body.
7
WARNING! When installing and whenever acting on the appliance, ensure that the power supply has been switched off.
For the installation of the spare-part, it is necessary to consult a qualified electrician.
©2021 Flos -All rights reserved -www.flos.com
Flos reserves the right to introduce any changes to its own models, without prior notice.
EN
REV. 0
DATE 09/02/2022
COORDINATES FF1801033
RF1800033
BODY AND BLOCK ASSEMBLY
Fig.2
Remove the base upper cover.
8
WARNING! When installing and whenever acting on the appliance, ensure that the power supply has been switched off.
For the installation of the spare-part, it is necessary to consult a qualified electrician.
©2021 Flos -All rights reserved -www.flos.com
Flos reserves the right to introduce any changes to its own models, without prior notice.
EN
REV. 0
DATE 09/02/2022
COORDINATES FF1801033
RF1800033
BODY AND BLOCK ASSEMBLY
Fig.3
Unfasten the n°4 screws.
9
WARNING! When installing and whenever acting on the appliance, ensure that the power supply has been switched off.
For the installation of the spare-part, it is necessary to consult a qualified electrician.
©2021 Flos -All rights reserved -www.flos.com
Flos reserves the right to introduce any changes to its own models, without prior notice.
EN
REV. 0
DATE 09/02/2022
COORDINATES FF1801033
RF1800033
BODY AND BLOCK ASSEMBLY
Fig.4
Disconnect the pins.
10
WARNING! When installing and whenever acting on the appliance, ensure that the power supply has been switched off.
For the installation of the spare-part, it is necessary to consult a qualified electrician.
©2021 Flos -All rights reserved -www.flos.com
Flos reserves the right to introduce any changes to its own models, without prior notice.
EN
REV. 0
DATE 09/02/2022
COORDINATES FF1801033
RF1800033
BODY AND BLOCK ASSEMBLY
Fig.5
Remove the damaged body and block assembly.
Assemble now the new spare parts.
Position the new body and block assembly (Fig.5).
Connect the pin (Fig.4 page.9)
Fast the n°4 screws (Fig.3 page 8)
Connect the base upper cover (Fig.2 page 7)
Put the fixing kit assembly on the body (Fig.1 page 6).
11
WARNING! When installing and whenever acting on the appliance, ensure that the power supply has been switched off.
For the installation of the spare-part, it is necessary to consult a qualified electrician.
©2021 Flos -All rights reserved -www.flos.com
Flos reserves the right to introduce any changes to its own models, without prior notice.
EN
RF31826
BASE UPPER COVER
REV. 0
DATE 09/02/2022
COORDINATES FF1801033
12
WARNING! When installing and whenever acting on the appliance, ensure that the power supply has been switched off.
For the installation of the spare-part, it is necessary to consult a qualified electrician.
©2021 Flos -All rights reserved -www.flos.com
Flos reserves the right to introduce any changes to its own models, without prior notice.
EN
REV. 0
DATE 09/02/2022
Fig.1
RF31826
BASE UPPER COVER
COORDINATES FF1801033
Remove the fixing kit assembly from the body.
13
WARNING! When installing and whenever acting on the appliance, ensure that the power supply has been switched off.
For the installation of the spare-part, it is necessary to consult a qualified electrician.
©2021 Flos -All rights reserved -www.flos.com
Flos reserves the right to introduce any changes to its own models, without prior notice.
EN
REV. 0
DATE 09/02/2022
Fig.2
RF31826
BASE UPPER COVER
COORDINATES FF1801033
Remove the base upper cover.
Now assemble the new spare part.
Connect the new base upper cover (Fig.2 page 13)
Put the fixing kit assembly on the body (Fig.1 page 12).
EN
14
RF27549
SWITCH DIMMER 48V PMW 500Hz
WARNING! When installing and whenever acting on the appliance, ensure that the power supply has been switched off.
For the installation of the spare-part, it is necessary to consult a qualified electrician.
©2021 Flos -All rights reserved -www.flos.com
Flos reserves the right to introduce any changes to its own models, without prior notice.
REV. 0
DATE 19/01/2021
Coordinates F
p.14
Noctambule F
All floor versions
COORDINATES FF1801033
15
WARNING! When installing and whenever acting on the appliance, ensure that the power supply has been switched off.
For the installation of the spare-part, it is necessary to consult a qualified electrician.
©2021 Flos -All rights reserved -www.flos.com
Flos reserves the right to introduce any changes to its own models, without prior notice.
EN
Connect the plug (C) to the power unit (B)
locking it in by rotating it 90°clockwise.
Fig.1
Fig.2
Connect the plug (P) to the push button
switch (Q) locking it by turning it 90º
clockwise.
RF27549
SWITCH DIMMER 48V PMW 500Hz
Q
P
C
B
REV. 0
DATE 19/01/2021
COORDINATES FF1801033
EN
16
RF3320400
BLACK PLUG & KIT DRIVER
WARNING! When installing and whenever acting on the appliance, ensure that the power supply has been switched off.
For the installation of the spare-part, it is necessary to consult a qualified electrician.
©2021 Flos -All rights reserved -www.flos.com
Flos reserves the right to introduce any changes to its own models, without prior notice.
REV. 1
DATE 19/01/2021
Noctambule
All Floor
Versions
p.15
Captain
Flint
p.05
Sawaru
p.03
Superloon
p.13
Taccia
Led
p.13
Arco Led
p.03
Bellhop
F
p.11
Coordinates F
p.14
COORDINATES FF1801033
EN
17
RF3320400
BLACK PLUG & KIT DRIVER
WARNING! When installing and whenever acting on the appliance, ensure that the power supply has been switched off.
For the installation of the spare-part, it is necessary to consult a qualified electrician.
©2021 Flos -All rights reserved -www.flos.com
Flos reserves the right to introduce any changes to its own models, without prior notice.
Fig.1
Insert the plug (E) into the power unit (B). By using the guides, snap the plug inside its apposite slot (use
the correct type of plug for the country in which the device must be installed).
B
E
REV. 0
DATE 19/01/2021
COORDINATES FF1801033
EN
18
RF29554
KEY AND SCREWS ASSEMBLY
REV. 0
DATE 19/01/2021
WARNING! When installing and whenever acting on the appliance, ensure that the power supply has been switched off.
For the installation of the spare-part, it is necessary to consult a qualified electrician.
©2021 Flos -All rights reserved -www.flos.com
Flos reserves the right to introduce any changes to its own models, without prior notice.
COORDINATES FF1801033

This manual suits for next models

1

Other FLOS Outdoor Light manuals

FLOS GAKU User manual

FLOS

FLOS GAKU User manual

FLOS SUPERLOON User manual

FLOS

FLOS SUPERLOON User manual

FLOS BELLHOP User manual

FLOS

FLOS BELLHOP User manual
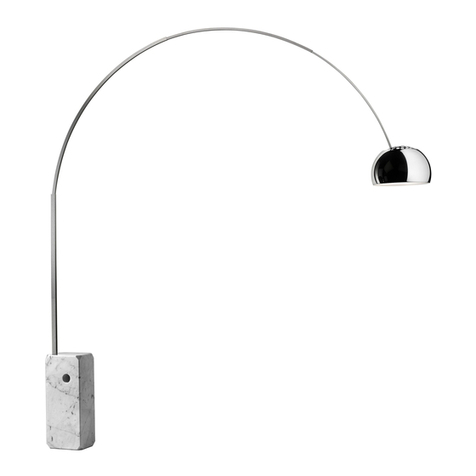
FLOS ARCO User manual

FLOS

FLOS ARCO User manual

FLOS IPNOS User manual

FLOS

FLOS IPNOS User manual

FLOS Landlord User manual

FLOS

FLOS Landlord User manual

FLOS BON JOUR VERSAILLES F1041015 User manual

FLOS

FLOS BON JOUR VERSAILLES F1041015 User manual

FLOS SUPERLOON F6630057 User manual

FLOS

FLOS SUPERLOON F6630057 User manual

FLOS ARIETTE 2 User manual

FLOS

FLOS ARIETTE 2 User manual
FLOS MILE WALL Series User manual

FLOS

FLOS MILE WALL Series User manual
FLOS CAPTAIN FLINT User manual

FLOS

FLOS CAPTAIN FLINT User manual

FLOS TILEE User manual

FLOS

FLOS TILEE User manual
FLOS NOCTAMBULE F User manual

FLOS

FLOS NOCTAMBULE F User manual

FLOS MILE BOLLARD 1 600 MONO User manual

FLOS

FLOS MILE BOLLARD 1 600 MONO User manual

FLOS Last Order User manual

FLOS

FLOS Last Order User manual
FLOS Tatou Table F7761009 User manual

FLOS

FLOS Tatou Table F7761009 User manual
FLOS Michael Anastassiades COPYCAT F1952030 User manual

FLOS

FLOS Michael Anastassiades COPYCAT F1952030 User manual

FLOS PATRICIA URQUIOLA TATOU T1 User manual

FLOS

FLOS PATRICIA URQUIOLA TATOU T1 User manual

FLOS SERENA F6582030 User manual

FLOS

FLOS SERENA F6582030 User manual

FLOS IC F Outdoor User manual

FLOS

FLOS IC F Outdoor User manual

FLOS Melrie User manual

FLOS

FLOS Melrie User manual

FLOS ARES Pan User manual

FLOS

FLOS ARES Pan User manual

FLOS CAPTAIN FLINT User manual

FLOS

FLOS CAPTAIN FLINT User manual

FLOS Walkstick Pipe 1 User manual

FLOS

FLOS Walkstick Pipe 1 User manual

Popular Outdoor Light manuals by other brands
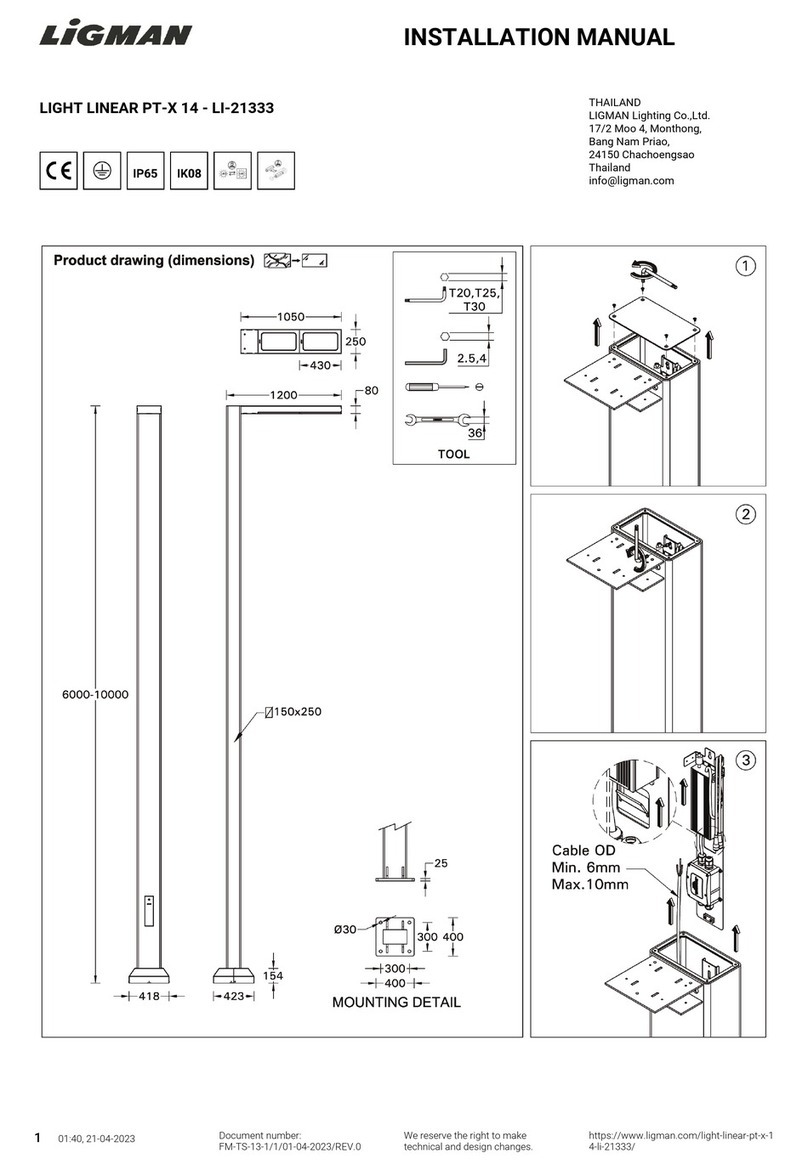
LIGMAN LIGHT LINEAR PT-X 14 installation manual
LIGMAN

LIGMAN LIGHT LINEAR PT-X 14 installation manual

Schrack Technik RUBINO LED Installation instruction
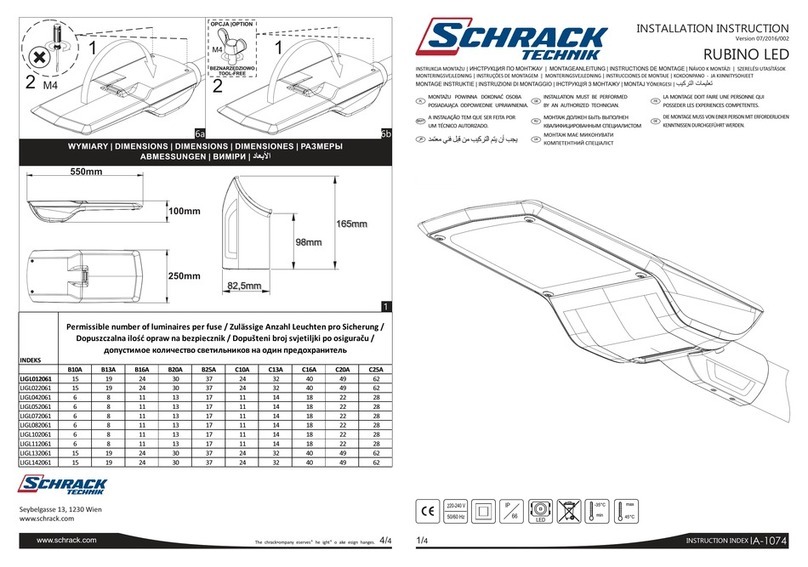
Schrack Technik

Schrack Technik RUBINO LED Installation instruction

Nature Power Solar Security Light 600 instruction manual

Nature Power

Nature Power Solar Security Light 600 instruction manual

Article HERON Assembly instructions

Article

Article HERON Assembly instructions
Maxim Lighting 55246CLBZ manual

Maxim Lighting

Maxim Lighting 55246CLBZ manual

Alecto Innocent Dog Start guide

Alecto

Alecto Innocent Dog Start guide

Sygonix 2336768 operating instructions

Sygonix

Sygonix 2336768 operating instructions

Kichler Lighting 15066AZT manual

Kichler Lighting

Kichler Lighting 15066AZT manual

Litelume Dusk to Dawn High Power installation instructions

Litelume

Litelume Dusk to Dawn High Power installation instructions

SLV DASAR EXACT GU10 operating manual

SLV

SLV DASAR EXACT GU10 operating manual

vita Sturbridge Assembly instructions

vita

vita Sturbridge Assembly instructions

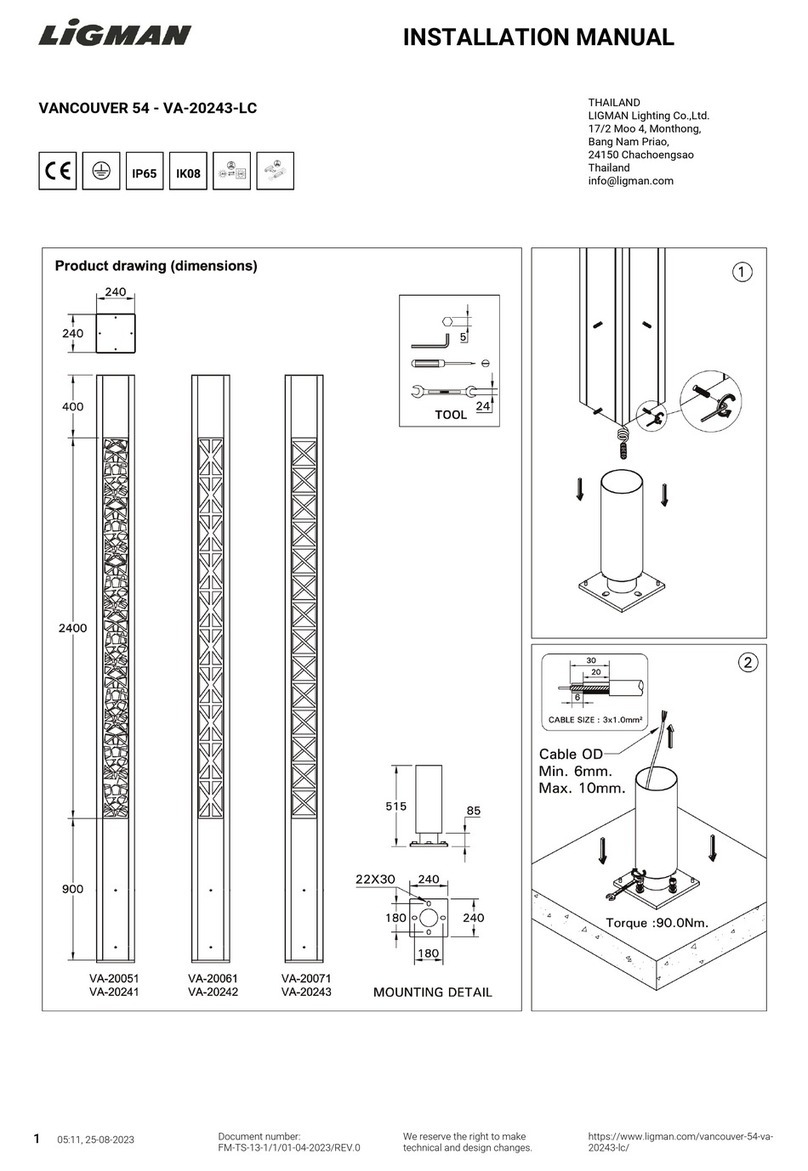
LIGMAN VANCOUVER 54 installation instructions

LIGMAN

LIGMAN VANCOUVER 54 installation instructions

V-TAC VT-969 instruction manual

V-TAC

V-TAC VT-969 instruction manual

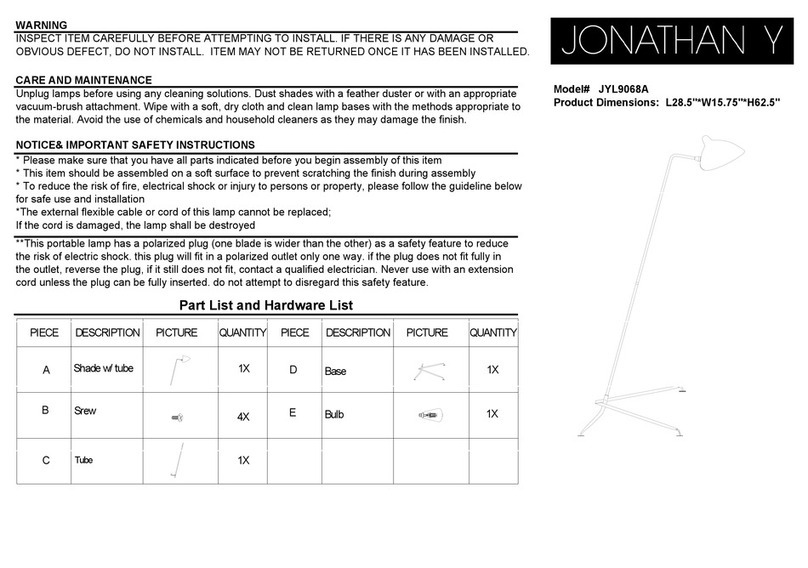
JONATHAN Y JYL9068A instructions

JONATHAN Y

JONATHAN Y JYL9068A instructions

LightPro Eros Hi 214P user manual

LightPro

LightPro Eros Hi 214P user manual

IKEA UPPLID manual

IKEA

IKEA UPPLID manual

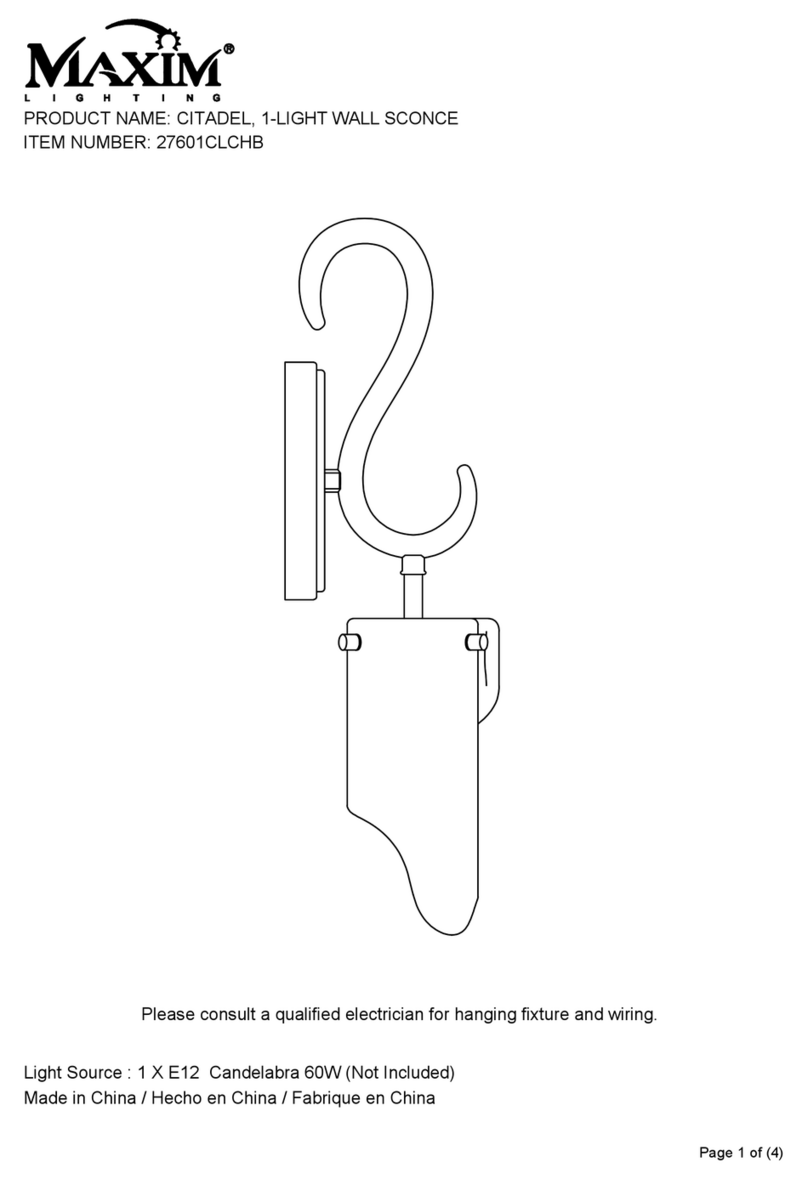
Maxim Lighting CITADEL 27601CLCHB installation instructions

Maxim Lighting

Maxim Lighting CITADEL 27601CLCHB installation instructions

Cooper Lighting MS180 instruction manual

Cooper Lighting

Cooper Lighting MS180 instruction manual

manuals.online logo
manuals.online logoBrands
  • About & Mission
  • Contact us
  • Privacy Policy
  • Terms and Conditions

Copyright 2025 Manuals.Online. All Rights Reserved.