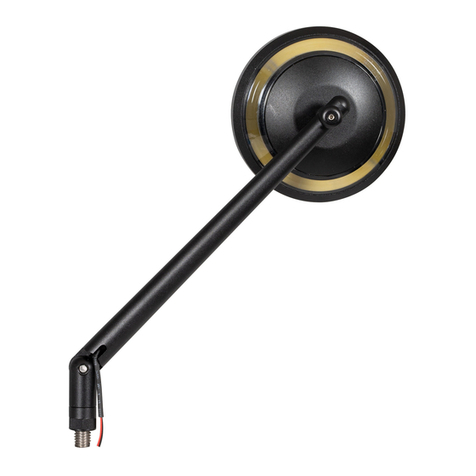
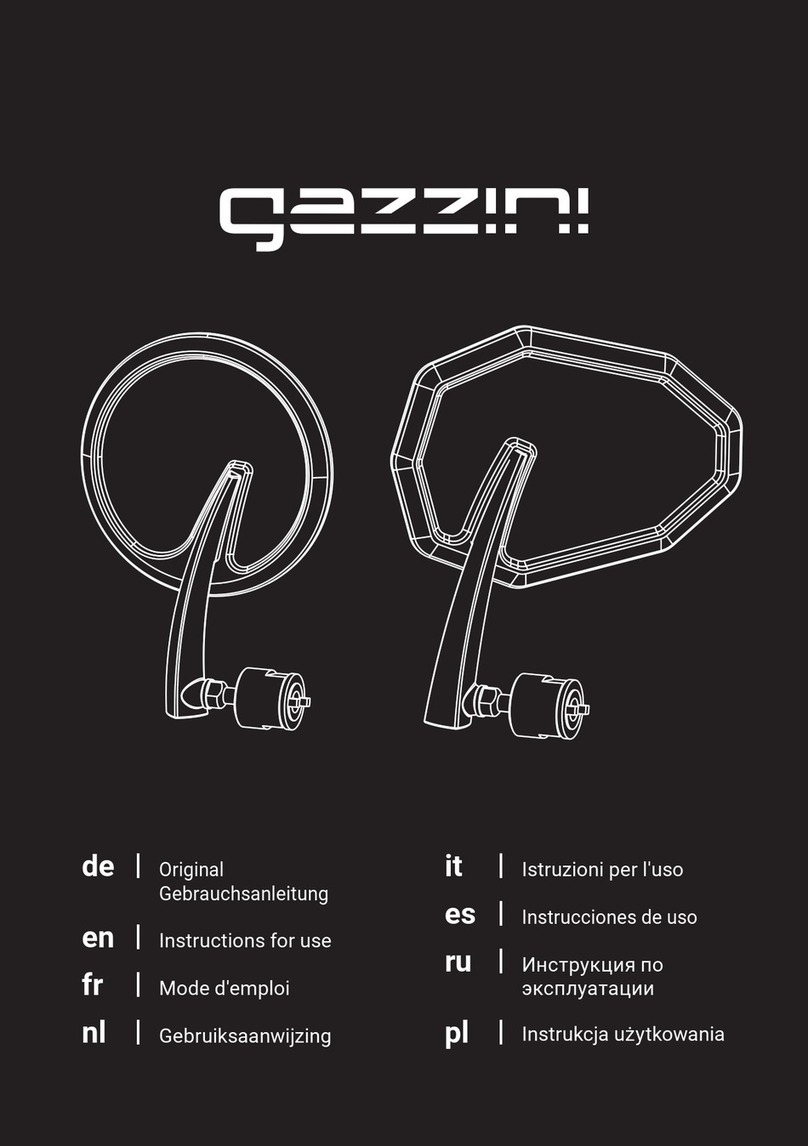
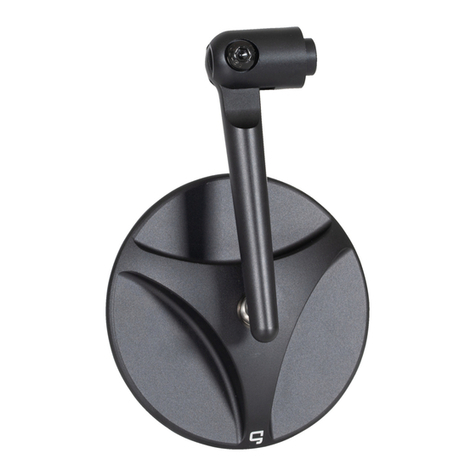
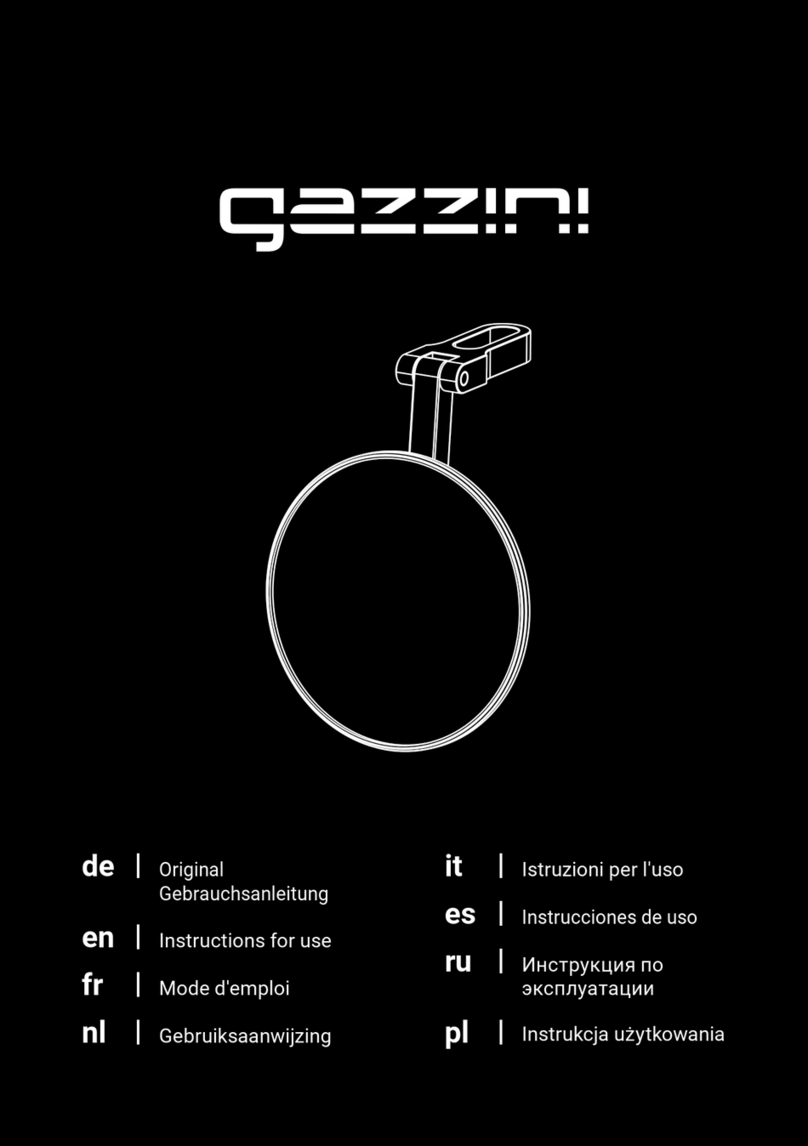
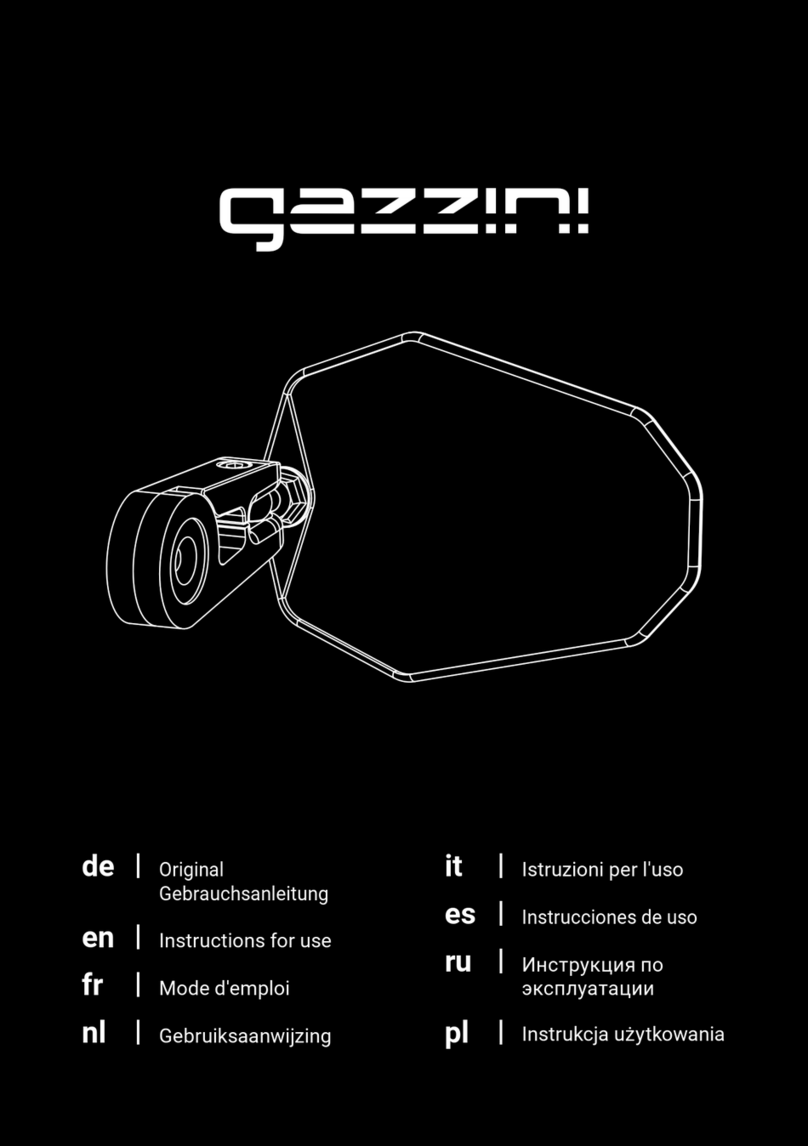
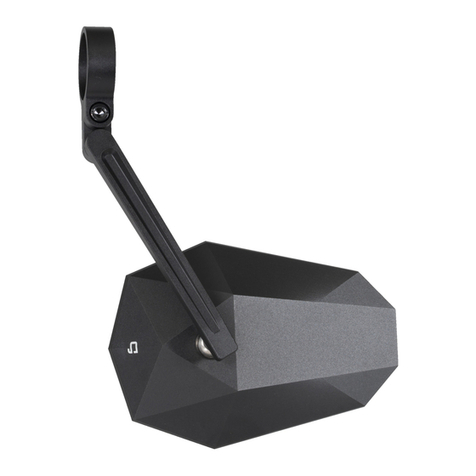
Gazzini 10039180 User manual

de |
Original Gebrauchsanleitung
en | Instructions for use
fr | Mode d'emploi
nl |
Gebruiksaanwijzing
it | Istruzioni per l'uso
es | Instrucciones de uso
ru |Инструкция по эксплуатации
pl | Instrukcja użytkowania
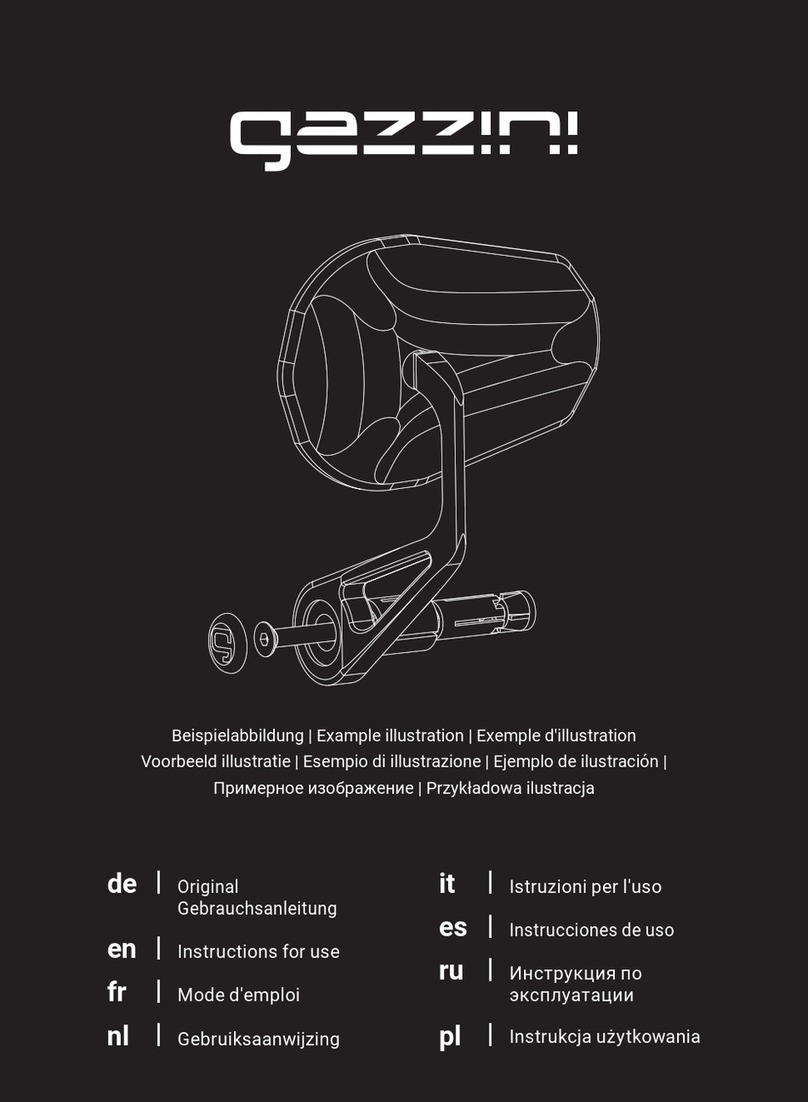
Beispielabbildung | Example illustration | Exemple d'illustration
Voorbeeld illustratie | Esempio di illustrazione
Figura de ejemplo | Примерное изображение | Przykładowy rysunek

2

3
Original Gebrauchsanleitung
Inhaltsverzeichnis
1 | Lieferumfang 4
2 | Allgemeines 5
2.1 | Gebrauchsanleitung lesen und aufbewahren 5
2.2 | Zeichenerklärung 6
3 | Sicherheit 6
3.1 | Bestimmungsgemäßer Gebrauch 6
3.2 | Sicherheitshinweise 6
4 | Montage 7
4.1 | Vorbereitung 7
4.2 | Anbau 8
5 | Lagerung 8
6 | Reinigung und Pflege 8
7 | Gewährleistung 8
8 | Entsorgung 9
9 | Kontakt 9

LENKERSPIEGEL
1 | Lieferumfang
10039180
10039182
10039181
10039183
3
3
3
3
4
4
4
4
5
5
5
5
2
2
2
1
1
1
1
4

2 | Allgemeines
2.1 | Gebrauchsanleitung lesen und aufbewahren
Diese Gebrauchsanleitung bezieht sich ausschließlich auf die genannten gazzini
Lenkerspiegel (kurz: Spiegel). Sie enthält wichtige Hinweise zu Anbau, Sicherheit und
Gewährleistung. Die Anleitung, insbesondere die Sicherheitshinweise, sorgfältig
durchlesen, bevor der Spiegel montiert wird. Die Nichtbeachtung kann zu Schäden am
Spiegel selbst oder am Fahrzeug führen bzw. die Verkehrssicherheit des Fahrzeugs
beeinträchtigen und zu Folgeschäden führen. Die Anleitung ist für die weitere Nutzung
aufzubewahren. Wenn der Spiegel an Dritte weitergeben wird, unbedingt diese Anlei-
tung mitgeben. Die Gebrauchsanleitung basiert auf den in der Europäischen Union
gültigen Normen und Regeln und spiegelt den aktuellen Stand der Technik wider. Im
Ausland sind ggf. auch landesspezische Richtlinien und Gesetze zu beachten.
10039184
34 5
1
11x Spiegelgehäuse inkl. Spiegelarm
21x Spiegelgelenk (je nach Ausführung)
31x Gewindeadapter M10 x 1,5
(Rechtsgewinde)
41x Gewindeadapter M10 x 1,25
(Rechtsgewinde)
51x Gewindeadapter M10 x 1,25
(Linksgewinde)
5

2.2 | Zeichenerklärung
Die folgenden Symbole und Signalwörter werden in dieser Anleitung verwendet.
3 | Sicherheit
3.1 | Bestimmungsgemäßer Gebrauch
Der gazzini Spiegel dient dem Ersatz des defekten originalen Spiegels oder zur
optischen Aufwertung des Motorrades. Der Spiegel ist durch die verschiedenen mitge-
lieferten Adapter für eine Vielzahl an Motorrädern geeignet. Der Spiegel ist E-geprüft
und in Ländern der europäischen Gemeinschaft und für am ECE-Verfahren
teilnehmenden Staaten legal im Straßenverkehr verwendbar. Damit die Bauteile
korrekt und sicher am Motorrad verwendet werden, unbedingt die Angaben der Fahr-
zeugbedienungsanleitung sowie die Vorgaben des Fahrzeugherstellers beachten.
Der gazzini Spiegel darf nur wie in dieser Anleitung beschrieben verwendet werden.
Jede andere Verwendung gilt als nicht bestimmungsgemäß und kann zu Sachschä-
den führen. Der Hersteller oder Händler übernimmt keine Haftung für Schäden, die
durch nicht bestimmungsgemäßen oder falschen Gebrauch entstanden sind.
3.2 | Sicherheitshinweise
WARNUNG!
Gefahren für Kinder und Personen mit verringerten physischen,
WARNUNG!
Dieses Signalsymbol/-wort bezeichnet eine Gefährdung
mit einem mittleren Risikograd, die, wenn sie nicht
vermieden wird, den Tod oder eine schwere Verletzung
zur Folge haben kann.
VORSICHT!
Dieses Signalsymbol/-wort bezeichnet eine Gefährdung
mit einem niedrigen Risikograd, die, wenn sie nicht ver-
mieden wird, eine geringfügige oder mäßige Verletzung
zur Folge haben kann.
HINWEIS! Dieses Signalwort warnt vor möglichen Sachschäden.
Dieses Symbol gibt nützliche Zusatzinformationen zum
Zusammenbau oder zum Betrieb.
Dieses Symbol kennzeichnet die Wiederverwertbarkeit
von Verpackungen und Produkt selbst.
6

sensorischen oder mentalen Fähigkeiten (beispielsweise teilwei-
se Behinderte, ältere Personen mit Einschränkung ihrer physi-
schen und mentalen Fähigkeiten) oder Mangel an Erfahrung und
Wissen (beispielsweise ältere Kinder)!
• Zum Lieferumfang gehören verschluckbare Kleinteile sowie
Verpackungsmaterial. Diese Teile von Kindern fernhalten, da
beim Verschlucken Erstickungsgefahr besteht.
VORSICHT!
Verletzungsgefahr!
• Bei Montagearbeiten auf einen sicheren Stand des Fahrzeugs
und einen gut beleuchteten Arbeitsplatz achten.
VORSICHT!
Unfallgefahr!
• Um die Fahrsicherheit zu gewährleisten, muss der Spiegel immer
so am Fahrzeug angebracht werden, dass für den Fahrer eine
ausreichende Sicht auf den rückwärtigen Verkehr gegeben ist.
• Der Spiegel muss fest montiert sein – ein herabfallender
Spiegel kann andere Verkehrsteilnehmer gefährden und Unfälle
verursachen.
HINWEIS!
Beschädigungsgefahr!
• Der Spiegel darf auch bei vollem Lenkeinschlag niemals sonstige
Teile des Fahrzeugs (Verkleidung, etc.) berühren oder den Fahrer
selbst behindern.
4 | Montage
4.1 | Vorbereitung
Zunächst wird das Fahrzeug an einem gut beleuchteten Ort standsicher aufgebockt
und die vorhandenen Spiegel demontiert. Dabei ist darauf zu achten, ob ggf. ein Spie-
gel Linksgewinde besitzt (z.B. bei Yamaha-Fahrzeugen auf der rechten Seite). Linksge-
winde sind in der Regel mit einer Kerbung am Sechskant der Mutter gekennzeichnet.
Nun wird durch Vergleichen des Gewindes mit dem Original-Spiegel ein passender
Gewindeadapter aus dem Lieferumfang des gazzini Spiegels ausgewählt und in den
7

Spiegelfuß/-gelenk eingeschraubt. Motorräder über 125 ccm anderer japanischer
Hersteller besitzen i.d.R. ein Gewinde mit 10 mm Durchmesser und einer Steigung von
1,25 (Schreibweise: M10x1,25). Neuere BMW's mit kurzem Gewinde besitzen zwar
einen Gewindedurchmesser von 10 mm, aber eine Steigung von 1,5 mm. Für diese
Varianten sind gazzini Gewindeadapter im Lieferumfang enthalten.
4.2 | Anbau
Mit Hilfe eines Innensechskantschlüssels (Größe 4) wird der Gewindeadapter im Spie-
gelfuß bzw. -gelenk gut festgezogen. Nun den Fuß des Spiegels mit dem Gewindead-
apter in die Armatur einschrauben, den Spiegel grob auf die Fahrerposition ausrichten
und den Spiegel mit Hilfe der Kontermutter (Maulschlüsselweite 16) an der Armatur
festziehen. Je nach Ausführung des Spiegelgelenks, kann der Spiegelarm ggf. in der
Höhe angepasst werden. Das Spiegelgehäuse am Kugelgelenk so einstellen, dass
sich für den auf dem Fahrzeug sitzenden Fahrer eine optimale Sicht auf den rückwärti-
gen Verkehr ergibt. Der Spiegelarm muss danach, je nach Ausführung, am Gelenk gut
festgezogen (Innensechskantschlüssel Größe 4) werden.
5 | Lagerung
Den noch nicht montierten gazzini Spiegel in einem vor Witterung und Feuchtigkeit
geschützten geschlossenen Raum in der Original-Verpackung aufbewahren.
6 | Reinigung und Pege
Zur Reinigung des gazzini Spiegels verwendet man eine warme Seifenlauge oder
Motorradreiniger und ein weiches Tuch. Keinesfalls Reiniger einsetzen, die Aluminium
oder Kunststoff angreifen könnten. Abschließend mit einem Polierwachs die Oberflä-
che, das Spiegelglas und die Kunststoffteile außen vorgelassen, gegen Witterungsein-
flüsse schützen und versiegeln.
7 | Gewährleistung
Für das vorliegende Produkt gilt die gesetzliche Gewährleistung von zwei Jahren. Der
Gewährleistungszeitraum beginnt ab dem Kaufdatum. Gebrauchsspuren, Zweckent-
fremdung, nicht bestimmungsgemäßer Gebrauch und Schäden, die aus einem Unfall,
einer Manipulation oder einem Reparaturversuch durch unautorisierte Kundendienste
oder Personen resultieren, sind von der Gewährleistung ausgeschlossen.
8

8 | Entsorgung
Verpackungsmaterial sowie das Produkt selbst, sind gemäß den
regionalen behördlichen Bestimmungen zu entsorgen.
9 | Kontakt
Bei Fragen zum Produkt und/ oder dieser Anleitung, bitte vor dem ersten Gebrauch
des Produktes unser Servicecenter unter der E-Mail: [email protected] kontaktieren.
Wir helfen schnell weiter. So gewährleisten wir gemeinsam, dass das Produkt korrekt
benutzt wird.
Hergestellt in Taiwan
9

10
Translation of original instructions for use
Contents
1 | Scope of delivery 11
2 | General information 12
2.1 | Reading and keeping the instructions for use 12
2.2 | Explanation of symbols 13
3 | Safety 13
3.1 | Intended use 13
3.2 | Safety instructions 14
4 | Installation 15
4.1 | Preparation 15
4.2 | Attaching the mirror 15
5 | Storage 15
6 | Cleaning and care 15
7 | Warranty 15
9 | Contact 16

11
HANDLEBAR MIRRORS
1 | Scope of delivery
10039180
10039182
10039181
10039183
3
3
3
3
4
4
4
4
5
5
5
5
2
2
2
1
1
1
1

12
2 | General information
2.1 | Reading and keeping the instructions for use
These instructions for use apply exclusively to the gazzini Handlebar Mirrors shown
here. They contain important information on installation, safety and the warranty.
Read these instructions carefully, in particular the safety instructions, before using
the mirror. Failure to follow the instructions can result in damage to the mirror itself
or to your motorcycle, make it less safe to ride on the road, and possibly cause
consequential damage. Keep these instructions for future reference. If you pass the
mirror on to a third party, you must also hand over these instructions. The instructions
for use are based on the standards and regulations applicable in the European Union
and reect current state-of-the-art technology. If abroad, you should also observe any
country-specic guidelines and laws.
10039184
34 5
1
11 Mirror housing, incl. stem
21 Mirror joint
(depending on mirror model)
31 Thread adapter M10 x 1.5
(right-hand thread)
41 Thread adapter M10 x 1.25
(right-hand thread)
51 Thread adapter M10 x 1.25
(left-hand thread)

13
2.2 | Explanation of symbols
The following symbols and signal words are used in these Instructions for use, on the
mirror itself or on the packaging.
3 | Safety
3.1 | Intended use
The gazzini Handlebar Mirror is intended as a replacement for a defective original
mirror or to enhance the look of your motorcycle. It comes with various adapters
for installing on many different motorcycles. The mirror is E-approved and street-
legal in the countries of the EU and the ECE member states. To ensure that you
use the components correctly and safely on your motorcycle, always adhere to
the specifications in your vehicle owner's manual and the directions of the vehicle
manufacturer.
The gazzini Mirror must only be used as described in these instructions. Any other
use is considered improper use and can result in material damage. The manufacturer
and supplier accept no liability for damage caused by improper or incorrect use.
WARNING! This symbol/signal word indicates a hazard with a
medium risk level which, if not avoided, may result in
death or serious injury.
CAUTION! This symbol/signal word indicates a hazard with a low
risk level which, if not avoided, may result in minor or
moderate injury.
IMPORTANT! This signal word warns of possible material damage.
This symbol indicates useful additional information
about assembly or usage.
This symbol indicates that the packaging and the
product itself can be recycled.

14
3.2 | Safety instructions
WARNING!
Danger for children and persons with reduced physical, sensory
or mental abilities (e.g. partially disabled persons, elderly persons
with reduced physical and mental abilities) or lack of experience
and knowledge (e.g. older children)!
• The product includes small parts and packaging which could be
swallowed. Keep these out of the reach of children, as there is a
risk of asphyxiation if they are swallowed.
CAUTION!
Risk of injury!
When installing the mirror, ensure that the vehicle cannot topple
over and that the workplace is well lit.
CAUTION!
Risk of accident!
• For your own safety when riding your motorcycle, the mirror must
be installed in such a way that it gives you an adequate view of
following trac.
• The mirror must be securely installed– If it were to fall off, it
could endanger other road users and cause an accident.
IMPORTANT!
Risk of damage!
• The mirror must never make contact with any other part of the
vehicle (fairing etc.) or impede the rider in any way, even when
the handlebar is turned to full lock.

15
4 | Installation
4.1 | Preparation
First of all, choose a well-lit place and use a suitable stand to make sure there is no
risk of your motorcycle toppling over. Then remove the existing mirrors. Remember
to check whether one of them has a left-hand thread (e.g. the right mirror on Yamaha
bikes). Left-hand threads are generally identied by a notch on the hexagon of the nut.
Now you need to check the thread of the old mirrors and choose the correct size of
thread adapter from those supplied with the gazzini Mirror. Screw the adapter into
the base of the mirror. Motorcycles over 125cc from other Japanese manufacturers
generally have a thread with a diameter of 10mm and a pitch of 1.25 (written:
M10x1.25). Newer BMWs with short threads tend to have a thread diameter of
10mm, but a pitch of 1.5mm. Suitable gazzini Mirror Adapters for these versions
are included.
4.2 | Attaching the mirror
Use a hexagon key (size 4) to securely tighten the thread adapter in the mirror. Then
screw the base of the mirror, with the attached thread adapter, into the mirror mount
on the brake/clutch lever. Roughly align the mirror to suit your riding position and
tighten it using the lock nut (size 16 wrench). Depending on the design of the mirror
joint, it may be possible to adjust the height of the mirror stem. Adjust the mirror head
at the ball joint so that you have an optimal view of the following trac when you're
sitting on your bike. You then need to fully tighten the mirror stem at the joint (size 4
hexagon key).
5 | Storage
Until it is installed, the gazzini Mirror should be kept in its original packaging and
stored in a place that is protected against weather and moisture.
6 | Cleaning and care
Use warm soapy water or motorcycle cleaner and a soft cloth to clean the gazzini
Mirror. Never use cleaners which may corrode aluminium. Finally, apply motorcycle
wax to seal the surface of the mirror and protect it against the weather. Take care not
to get any wax on the mirror lens or plastic parts.
7 | Warranty
This product comes with the statutory two-year warranty. The warranty period begins
on the date of purchase. It does not cover normal wear and tear, use for anything
other than the intended purpose, or damage caused by an accident, tampering or
attempted repairs by unauthorised persons or customer service departments.

16
8 | Disposal
Dispose of packaging material and the product itself in accordance
with applicable local regulations.
9 | Contact
If you have any questions about the product and/or these instructions, before using
the product for the rst time, please contact our Service Centre by e-mail at:
[email protected]. We will help you as quickly as possible. This is the best way to
ensure that the product is used correctly.
Made in Taiwan

17
Traduction du mode d'emploi original
Table des matières
1| Équipement fourni 18
2| Généralités 19
2.1| Lire et conserver le présent mode d'emploi 19
2.2| Légende 20
3| Sécurité 20
3.1| Utilisation conforme 20
3.2| Consignes de sécurité 21
4| Montage 22
4.1| Préparation 22
4.2| Montage 22
5| Stockage 22
6| Nettoyage et entretien 22
7| Garantie légale 23
8| Élimination 23
9| Contact 23

RÉTROVISEUR DE GUIDON
1| Équipement fourni
10039180
10039182
10039181
10039183
3
3
3
3
4
4
4
4
5
5
5
5
2
2
2
1
1
1
1
18

2| Généralités
2.1| Lire et conserver le présent mode d'emploi
Ce mode d'emploi correspond uniquement au rétroviseur de guidon gazzini mentionné
(en abrégé: rétroviseur). Il contient des remarques importantes concernant le
montage, la sécurité et la garantie. Lisez attentivement les instructions, en particulier
les consignes de sécurité, dans leur intégralité avant de monter le rétroviseur. Le
non-respect de ce mode d'emploi peut entraîner des dommages sur le rétroviseur
lui-même ou sur le véhicule, nuire à la sécurité routière du véhicule et entraîner
des dommages consécutifs. Conservez le présent mode d'emploi pour l'utilisation
ultérieure. Si vous cédez le rétroviseur à un tiers, veuillez impérativement transmettre
le présent mode d'emploi à la personne correspondante. Le mode d'emploi se base
sur les normes et réglementations en vigueur dans l'Union européenne et reète l'état
actuel de la technique. Le cas échéant, respectez à l'étranger également les directives
et les lois locales.
10039184
34 5
1
11 boîtier de rétroviseur avec bras
21 articulation pour rétroviseur
(en fonction du modèle)
31 adaptateur fileté M10x 1,5
(filetage à droite)
41 adaptateur fileté M10x 1,25
(filetage à droite)
51 adaptateur fileté M10x 1,25
(filetage à gauche)
19

2.2| Légende
Les symboles et mentions d'avertissement suivants sont utilisés dans le présent
mode d'emploi.
3| Sécurité
3.1| Utilisation conforme
Le rétroviseur gazzini sert à remplacer le rétroviseur d'origine défectueux ou à
embellir la moto. Livré avec différents adaptateurs, ce rétroviseur convient à un
grand nombre de motos. Il dispose de l'homologationE et peut être utilisé en toute
légalité dans la circulation routière dans les pays de l'Union européenne et dans les
états participant aux procédures d'homologation ECE. Pour utiliser correctement
et en toute sécurité ces composants sur la moto, veuillez impérativement observer
les informations contenues dans le mode d'emploi du véhicule ainsi que les
spécifications du constructeur du véhicule.
Le rétroviseur gazzini ne doit être utilisé que comme décrit dans le présent mode
d'emploi. Toute autre utilisation est considérée comme non conforme et peut
entraîner des dommages matériels. Le fabricant et le revendeur déclinent toute
responsabilité pour tout dommage dû à une utilisation non conforme ou incorrecte.
AVERTISSEMENT!
Ce symbole/cette mention d'avertissement
désigne un danger avec un degré de risque
moyen qui, lorsqu'il n'est pas évité, peut entraîner
la mort ou des blessures graves.
ATTENTION!
Ce symbole/cette mention d'avertissement
désigne un danger avec un degré de risque faible
qui, lorsqu'il n'est pas évité, peut entraîner des
blessures légères ou moyennes.
REMARQUE! Cette mention d'avertissement prévient des
dommages matériels éventuels.
Ce symbole donne des informations
supplémentaires utiles pour le montage ou le
fonctionnement.
Ce symbole indique la possibilité de recycler les
emballages et le produit.
20
Table of contents
Languages:
Other Gazzini Motorcycle Accessories manuals
Gazzini
Gazzini 10040749 User manual
Gazzini
Gazzini 10039625 User manual
Gazzini
Gazzini 10030234 User manual

Gazzini
Gazzini 10028732 Operating and installation instructions
Gazzini
Gazzini 10028739 Operation manual
Gazzini
Gazzini 10035349 User manual
Gazzini
Gazzini 10020889 Guide
Gazzini
Gazzini 10039294 User manual
Gazzini
Gazzini 10030302 User manual
Gazzini
Gazzini 10039290 User manual
