manuals.online logo
Brands
  1. Home
  2. •
  3. Brands
  4. •
  5. Grandview
  6. •
  7. Projection Screen
  8. •
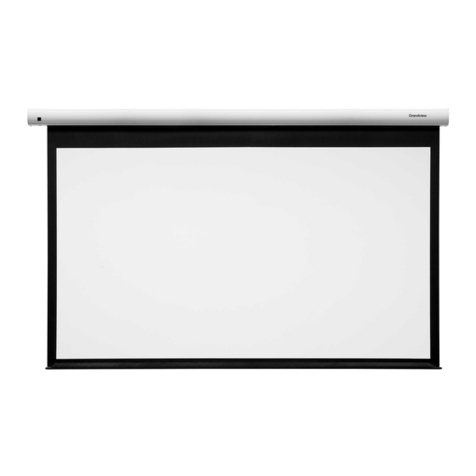
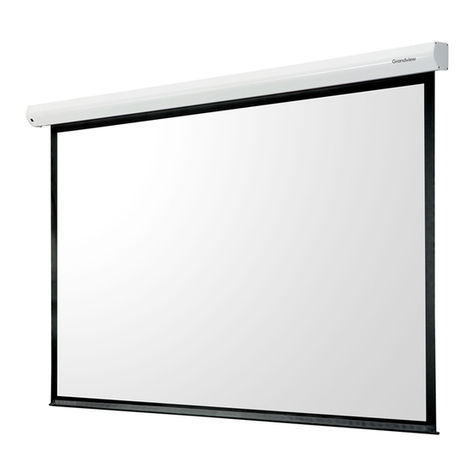
  9. Grandview CB-UMxx Series User manual

Grandview CB-UMxx Series User manual

GRANDVIEW REPRODUCING GENUINE COLORS
Grandview Crystal ScreenCanada Ltd.
#11- 3751North Fraser Way,
Marine Way BusinessCentre,
Burnaby, BC,Canada V5J 5G4
Tel:1-604-412-9777 Fax: 1-604-412-9796
Website: www.grandviewscreen.ca
Guangzhou Grandview CrystalScreen Co., Ltd.
P.O.511400 FederalInd. Zone No.363, YushanWest Road,
Shiqiao, Panyu District,Guangzhou, Guangdong, China
Tel:+8620-8489-9499 Fax: +8620-8480-3343
Website: www.grandviewscreen.com
www.grandviewscreen.com.cn
ISO9001:2000
International Certification
Thank you forpurchasing a Grandview projection screen.
Before use, pleaseread instructions carefully. After installation, keep instructions for future reference.
Model: CB-UMxx
Installation Guide for
Cyber Series Motorized Portable Screen
1
Description
Accessories
5mm Allen Key (1 )pc Installation Manual (1 )pc
Externnal IR Receicier (1 )pcInfrared controller (1pc)Power cable (1pc)
Joint
Down hold bar
Base
Holding foot
Push button
Multifunctional box
Multifunctional box cap
Infrared receiving window
Top cap
Uphold bar
Screen fabric
Steel wire
Handle
Infrared jack
Switch control button
Power plug
230V/120V/100V 50Hz/60Hz 85W/85W
Voltage Frequency Watts Application
Applies to allCyber portable
motorized screens
Cyber Motorized Portable Screen Power Specifications
2
5
3. Connect the power line togetherwith the screen out case by the plug of back side. (Figure 5-6)
(Please take notice the voltage andmake sure it will be safety)
First, open the package and take out all the parts from the box, make sureall the parts are
available in the box and operate it according the manual.to
Instruction
1. Put the screen on theflat ground or on the flat table. ( Figure 1)
2. Push forward the button whichlies on left side of the case slightly to open the multifunction box,take
out the power line and pushthe remote control slightly and let it come out of the case automatic.
( Figure 2-4)
Figure 1
Figure 2 Figure 3 Figure 4
Figure 5 Figure 6
1. To ensure safety, don't approach or touch the multifunctionbox on the right side of screen outer case
after you connect the screen with the power.
2. Don't put your finger insideof the case when you retract the screen fabric back to the case.
3. Don't hang anything or putany goods on the top of the screen case when your screen is ready to work.
4. Dusty or scratch on thescreen will damage the image of projection, Please pay much attention for the
following points:
a. do not touch the screen surface by hand.
b. do not drawing on the screen surface.
c. do not scrape or scratch the screen, doing so with hard materials can cause damage.
d. Never use chemicals to wash the screen surface.
5. Make sure there isn't anygnat or things before you retract the screen back to the case.
6. The motor will stop working after 4 minutes using according to the self-protect purpose, When it happen,
you had to wait for 2 minute after the temperature of the motor come down.
7. There is no need for you to add the lube to the motor.And the motor is already in the right position in the
production. Do not adjust the motor by yourself. Please call the specialty to help you on this.
Notice
Motor adjusting slot
34
1. Built-in IR control Figure 7
2. IR receiver with cable control Figure 8
3. Switch control Figure 9
Control method Instructions
The motorized screen can be controlled by built-in IR, IR receiver with cable & switch control.
When the built-in IR receiver works without anything
blocking, you can control the screen up, down, or stop.
You can also connect the IR receiver with cable and
extend the receiver once for special condition.
If you cannot control the screen by IR or for any external
reasons, you can press the switch control button to
control the screen instead.
Figure 7
Figure 8
Figure 9
Infrared receiving window
Infrared jack
Switch control button
How to install thebattery:
1.Turn thecontroller around, pushto open thecover as
guide arrow.
2.Put thebattery in according the guide of cathode and
anode.
3.Close the cover.
UP
DOWN
STOP
LED remote controller
Controller button instruction
1.To raise screen press "UP .
2.To hold screen at desired position press STOP .
3.To lower screen press DOWN .
Manual Control Instructions
If you don't use the Infrared controller , the screen canbe controlled directly
through the button on the receiver.
Motor Direction-Conversion Switch (SW1) Instruction
When using controller or manual control to control the screen , if the screen
can't work properly (i .e. Press UP but screen goes down. While press DOWN
screen goes up.), you need to press SW1(figure 2) to make it work normally .
1.
2 will
3 will if
4
5
6
7
8.
9.
"
""
""
"" " "
Caution:
The shortest distance between receiver and controller is 0.5 meter.
.Controller work within 30 degree away horizontally from the c enter of r eceiver
point within 8 meters from the screen .
.The controller not work the signal was coveredby something.
.Keep the controller far away from high temperature and humid situation.
.Please change the battery when the signal is weak.
.Please take the battery out if the controller was not being used for long time.
.Please choose the same type battery as original supplied.
If the receiver won't be used in a long time, please cut
off the electricity or take off the plug.
When pressing the button to control , you will hear da-da from the
receiver, which means it isworking normally.
4. To raise the screen little at your desired position press MICRO-UP
5. To lower the screen little at your desired position press MICRO-DOWN
Electricity will be cut off from the receiever 3 minutes after use , but it will
remain on stand-by.
1GD IRAn
MICRO-UP MICRO-DOWN
Other Grandview Projection Screen manuals

Grandview SkyShow Series User manual

Grandview

Grandview SkyShow Series User manual

Grandview Dynamique R3 User manual

Grandview

Grandview Dynamique R3 User manual

Grandview GRUC040V User manual

Grandview

Grandview GRUC040V User manual

Grandview FC-FHMF Series User manual

Grandview

Grandview FC-FHMF Series User manual

Grandview Large-flat Series User manual

Grandview

Grandview Large-flat Series User manual

Grandview Skyshow Series User manual

Grandview

Grandview Skyshow Series User manual

Grandview FC-M User manual

Grandview

Grandview FC-M User manual

Grandview Fast Fold User manual

Grandview

Grandview Fast Fold User manual

Grandview LEGACY Series User manual

Grandview

Grandview LEGACY Series User manual

Grandview CB-UY92 User manual

Grandview

Grandview CB-UY92 User manual

Grandview Tripod User manual

Grandview

Grandview Tripod User manual

Grandview Cyber Series CB-MIxx User manual

Grandview

Grandview Cyber Series CB-MIxx User manual

Grandview Motorised Rising Screen User manual

Grandview

Grandview Motorised Rising Screen User manual

Grandview Ultimate PP-G Series User manual

Grandview

Grandview Ultimate PP-G Series User manual

Grandview Liberty Flash Series User manual

Grandview

Grandview Liberty Flash Series User manual

Grandview SkyShow Series User manual

Grandview

Grandview SkyShow Series User manual

Grandview LF-PU Series User manual

Grandview

Grandview LF-PU Series User manual

Grandview EL-Pxx User manual

Grandview

Grandview EL-Pxx User manual

Grandview LF-HMF-xxx User manual

Grandview

Grandview LF-HMF-xxx User manual

Grandview CB-Sxx User manual

Grandview

Grandview CB-Sxx User manual

Grandview Large Stage MBII User manual

Grandview

Grandview Large Stage MBII User manual

Grandview CN Series User manual

Grandview

Grandview CN Series User manual

Grandview Smart Screen User manual

Grandview

Grandview Smart Screen User manual

Grandview Legacy Series User manual

Grandview

Grandview Legacy Series User manual

Popular Projection Screen manuals by other brands

Draper Premier INSTRUCTIONS INSTALLATION & OPERATION

Draper

Draper Premier INSTRUCTIONS INSTALLATION & OPERATION

Screen Innovations Solo 3 Indoor 575 External installation instructions

Screen Innovations

Screen Innovations Solo 3 Indoor 575 External installation instructions

TMI Products Save-T SCREEN-PRO installation instructions

TMI Products

TMI Products Save-T SCREEN-PRO installation instructions

VITRA Soft Work Side screen Assembly instructions

VITRA

VITRA Soft Work Side screen Assembly instructions

Monoprice Portable Pull-up Screen instruction manual

Monoprice

Monoprice Portable Pull-up Screen instruction manual

Panoview DS-9092PM installation guide

Panoview

Panoview DS-9092PM installation guide

SCREENLINE COPERNICO MULTIFORMAT manual

SCREENLINE

SCREENLINE COPERNICO MULTIFORMAT manual

SNAP Dragonfly DFM-NTT installation manual

SNAP

SNAP Dragonfly DFM-NTT installation manual

Akia Screens EDGE FREE Series user guide

Akia Screens

Akia Screens EDGE FREE Series user guide

Optoma Panoview GrayWolf II DP-GWII9092A Setup guide

Optoma

Optoma Panoview GrayWolf II DP-GWII9092A Setup guide

Elite Screens ezFrame R180WH1 user guide

Elite Screens

Elite Screens ezFrame R180WH1 user guide

Xebec TRI-SCREEN user guide

Xebec

Xebec TRI-SCREEN user guide

Stewart Audio LuminEsse owner's manual

Stewart Audio

Stewart Audio LuminEsse owner's manual

Kimex 041-3 Series installation manual

Kimex

Kimex 041-3 Series installation manual

Elite Screens VMAX113XWS brochure

Elite Screens

Elite Screens VMAX113XWS brochure

Elite Screens Spectrum Series user guide

Elite Screens

Elite Screens Spectrum Series user guide

Da-Lite Tensioned Advantage Deluxe Electrol specification

Da-Lite

Da-Lite Tensioned Advantage Deluxe Electrol specification

Sony HT-M2 Service manual

Sony

Sony HT-M2 Service manual

manuals.online logo
manuals.online logoBrands
  • About & Mission
  • Contact us
  • Privacy Policy
  • Terms and Conditions

Copyright 2025 Manuals.Online. All Rights Reserved.