manuals.online logo
Brands
  1. Home
  2. •
  3. Brands
  4. •
  5. Grandview
  6. •
  7. Projection Screen
  8. •
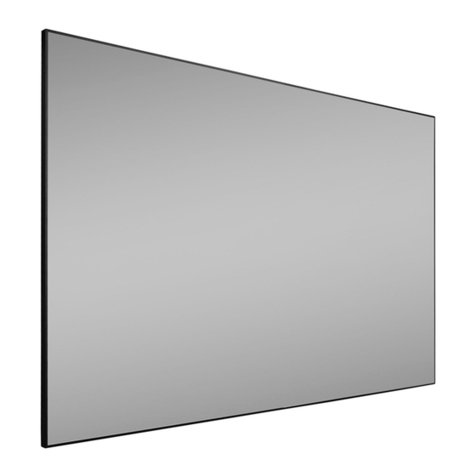
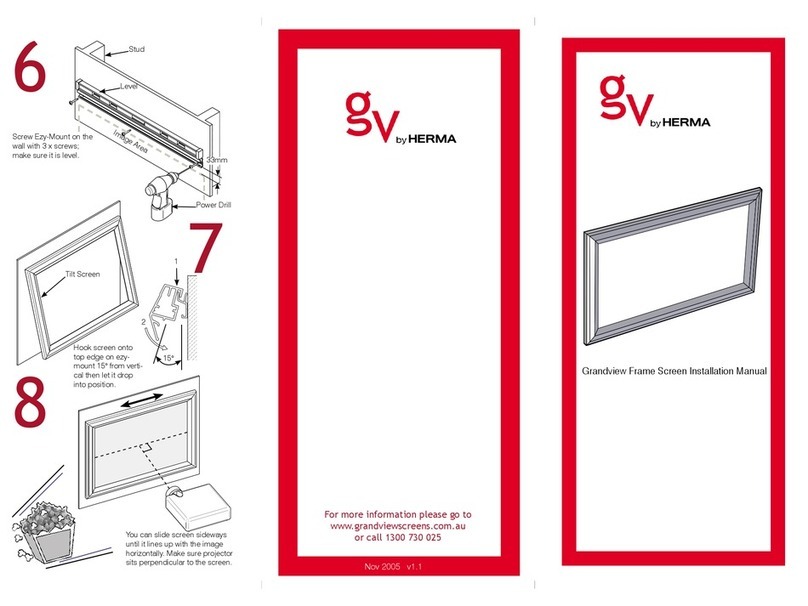
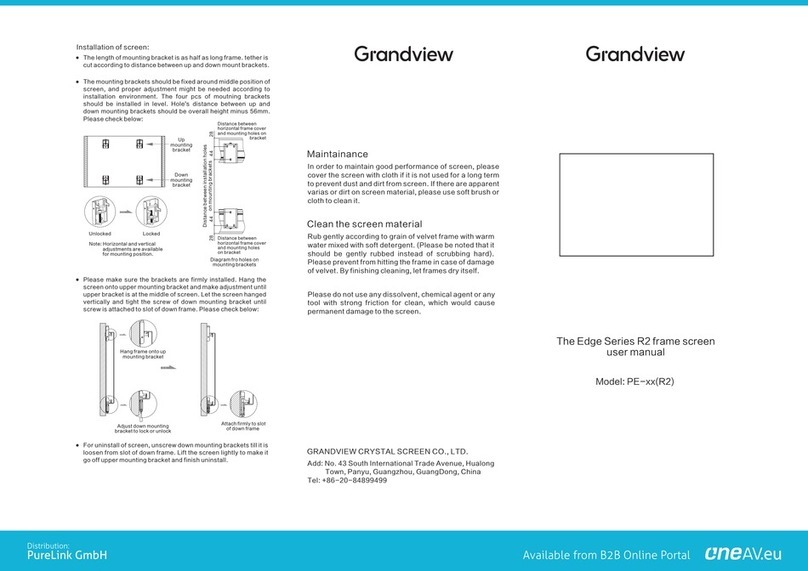
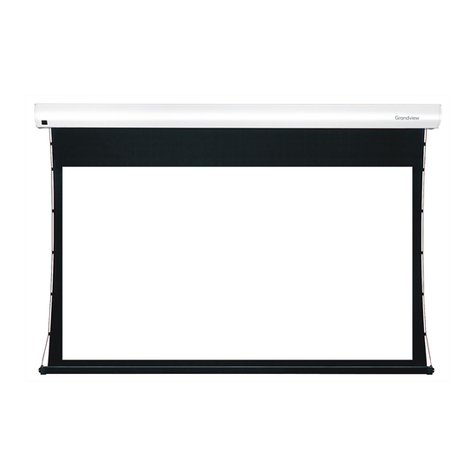
  9. Grandview Fantasy Series FA-Mxx User manual

Grandview Fantasy Series FA-Mxx User manual

Model FA-Mxx
GRANDVIEW REPRODUCING GENUINE COLORS
Thank you for purchasing a Grandview projection screen.
Before use, please read instructions carefully. After installation, store instructions for future reference.
Instruction Manual for
Fantasy Series Motorized Screen
ISO9001:2000
International Certification
Grandview Crystal Screen Canada Ltd.
#11- 3751 North Fraser Way,
Marine Way Business Centre,
Burnaby, BC, Canada V5J 5G4
Tel: 1-604-412-9777 Fax: 1-604-412-9796
Website: www.grandviewscreen.ca
Guangzhou Grandview Crystal Screen Co., Ltd.
P.O. 511400 Federal Ind. Zone No. 363, Yushan West Road,
Shiqiao, Panyu District, Guangzhou, Guangdong, China
Tel: +8620-8489-9499 Fax: +8620-8480-3343
Website: www.grandviewscreen.com
16
Alluninium casing
Screen fabric
Bottom rod
Description
Ignoring the safety warnings may
lead to injuries and/or damaging
the product.
Refrain from hanging anything on t he
screen as it may cause the scree n to
fall.
Do not connect any electrical
attachments or remote controls.
Fixtures should be installed in a secure
place to avoid accidents or the screen
falling.
Roll up the screen after every use.
Leaving it hanging for a long period
of time may cause the fabric to loosen.
Please contact your local dealer for
repair s or maintenance. Please contact
ourcompany if you have any further
questions. Avoid taking apart the
fixtures yourself. Loose parts may
cause the screen to fall.
Warnings
Do not take apart and replace with unknown parts. If there are any problems, please contact your local dealer.
Product specifications are subject to change.
The ceiling or wall used for fixture installation must be secure to prevent the screens from falling.
Make sure the Fixing screw be fastened when using the wall bracket, to avoid any damage.
While installing electrical motors, please hire professionals or your local dealer to ensure safety. Amisconnection
may lead to fire or leaks.
Keep all infrared wireless products away from fluorescent lighting as it may cause malfunctions.
Please read the following as any damage to the screen surface will affect the quality of the picture:
1.Avoid contact or touching the screen surface as it may cause scratches or tears.
2.Do not write or draw on the surface
3.Clean the screen with a soft cloth and lukewarm water. Do not use any detergent or cleaning products.
Roll up the screen after every use. Ensure that the screen is level when installing; do not pull on the sides or fold
the screen.
To prevent unnecessary damage, the operating and maintenance of the screen should be done by adults.
Motorized Screen Power Specifications
50Hz/60Hz230V/120V/100V
Voltage Frequency Watts Application
Applies up to 120" motorized screens
90W/80W
Fixing screw
Floating wall bracket
Accessaries
Allen key (1pc)
Floating wall bracket(2pcs)
5 40mm Tapping screw & cap (8sets)
M5x10 Screw (6pcs)
Instruction manual (1pc)
Ceiling hanger (2pcs)
Toppanel
Up buckle
Baffle
Down buckle
2
5
Take out all the parts from the packaging and follow the accessagires guideline to ensure you have all parts.
There are three installation measures for this product, namely wall mounting, ceiling mounting and ceiling hang. The
installed distance can be changeable up to your needs via adjusting the slipper block, while the ideal position is the
mounting bracket is at its nearest point to the endcap, which can reduce unnecessary vibration or noise.
Installation
1. Choose screws for mounting according to wall material. ( Tips: Wood screws for wood wall, and Tapping screws
for concrete wall.)
2. Mount the brackets onto the wall, assuring they are at the horizontal level. (Tips: draw an erasable level line when
mounting the brackets) (Figure 1) Here below are the details:
Figure 1
Installation Steps
a) Wood wall and ceil ing installati on: Drill in the 5 x 40 screws through the appropriate holes in the bracket
( Figure 2-3 ).
b) Drywall and ceiling and installation:Install the anchors and drill inthe 5 x 40
( Figure 4-5).
screws into the appropriate
bracket holes.
Wood wall installation Wood ceiling installation Concrete wall installation Concrete ceiling installation
Figure 2 Figure 3 Figure 4 Figure 5
Floating wall bracket nstallationi
Instructions
To avoid overheating the motor, do not continually retract and lower the screen for over 4 minutes at a time. If the
motor overheats, it will need a cool down time of 2 minutes. The motor does not need any lubricants. The drop and
retract limit of the screen is factory preset to an optimal configuration. Please ask your local dealer or professional
to adjust settings to avoid damaging the motor.
Motor adjusting slot
Picture 1 Picture 2 Picture 3
2. Automatic remote control (Please see section on Remote Control)
Grandview projection screens are controlled by a manual switch or an automatic remote control.
1. Manual switch control
a.T
b.Connect to a power source (Please make sure it is the right voltage)
c. ; it will come down slowly. When it is all the way down, it will stop
automatically.
d.Turn the switch to 1 to the screen; it will go up into the metal casing. When it is allthe way up, it will
stop automatically.
e.To stop any time while the screen is in motion, turn the switch to 0.
ear off the glue cloth fixed on the bottom rod,ensure the bottom rod is not stuck by the casing.
Turn the switch to position 2 to lower the screen
position lower
34
Up groove
Down groove
Figure 8 Figure 9
4. When mounting the screen onto Floating wall brackets, make sure the Up groove and the Down groove on the
housing match with the Up and the Down on the bracket seperately. ( Figure 8-9 ).buckle buckle

5. Fasten the Fixing screw onthe bracket, to fix housing tightlyonto the brackets.( Figure 10-11 )
Figure 10 Figure 11
3. Loose theFixing screw tolower down the all the way. ( Figure6-7 )Baffle
Figure 6 Figure 7
Baffle
Fixing screw
A
12
Ceiling hang installation
To choose the tapping screws with hanger or other screws with hanger (unprovided) according to ceiling material.
(Tips: Wood screws 5 x 40 for wook ceiling and tapping screws for concrete wall.)
1. To drill two same holes with an electric drill horizontally with wall, then fasten hangers(unprovided) onto the
ceiling. ( Figure 12 )
Figure 12
2. Use M5 x 10 screws in the accessory package to fix the ceiling hanger into wall bracket, make sure the
tightening screws on wall bracket are fixed tightly. ( Figure 13-14)
3. After fix the ceiling hanger, make sure the up groove and the down groove on the housing match with Up
button and Down button on the bracket separately and fasten the fixing screw on the bracket, to fix housing
tightly onto the brackets.( Figure 15-16)
4. After finished step 2 and step 3, check whether wall bracket fix on the housing of screen tightly then you can
hang the screen according to the figure 17.
Figure 13 Figure 14
Figure 15 Figure 16
Figure 17

This manual suits for next models

1

Other Grandview Projection Screen manuals

Grandview GRUC040V User manual

Grandview

Grandview GRUC040V User manual

Grandview CB-Sxx User manual

Grandview

Grandview CB-Sxx User manual

Grandview CR-Pxx User manual

Grandview

Grandview CR-Pxx User manual

Grandview Dynamique R3 User manual

Grandview

Grandview Dynamique R3 User manual

Grandview LEGACY Series User manual

Grandview

Grandview LEGACY Series User manual

Grandview Legacy Series User manual

Grandview

Grandview Legacy Series User manual

Grandview LF-PHxx(DY) User manual

Grandview

Grandview LF-PHxx(DY) User manual

Grandview Portable X-Press Series User manual

Grandview

Grandview Portable X-Press Series User manual

Grandview CB-Mxx User manual

Grandview

Grandview CB-Mxx User manual

Grandview Large-flat Series User manual

Grandview

Grandview Large-flat Series User manual

Grandview CB-UMxx Series User manual

Grandview

Grandview CB-UMxx Series User manual

Grandview Large Sky-Show User manual

Grandview

Grandview Large Sky-Show User manual

Grandview Edge R7 User manual

Grandview

Grandview Edge R7 User manual

Grandview Fantasy FC-FHMI Series User manual

Grandview

Grandview Fantasy FC-FHMI Series User manual

Grandview EL-Pxx User manual

Grandview

Grandview EL-Pxx User manual

Grandview LF-PU Series User manual

Grandview

Grandview LF-PU Series User manual

Grandview PT-L Series User manual

Grandview

Grandview PT-L Series User manual

Grandview Cyber CB-MI Series User manual

Grandview

Grandview Cyber CB-MI Series User manual

Grandview Sky-Show User manual

Grandview

Grandview Sky-Show User manual

Grandview CB-MIRC User manual

Grandview

Grandview CB-MIRC User manual

Grandview Elegant EL-M Series User manual

Grandview

Grandview Elegant EL-M Series User manual

Grandview Edge R1 Series User manual

Grandview

Grandview Edge R1 Series User manual

Grandview Fast Fold User manual

Grandview

Grandview Fast Fold User manual

Grandview LF-VMF-77 User manual

Grandview

Grandview LF-VMF-77 User manual

Popular Projection Screen manuals by other brands

SUNBOUNCE.COM SUNBOUNCER MINI operating instructions

SUNBOUNCE.COM

SUNBOUNCE.COM SUNBOUNCER MINI operating instructions

HI-ND Dual totem 55 installation manual

HI-ND

HI-ND Dual totem 55 installation manual

Rapidline A1515 Assembly instructions

Rapidline

Rapidline A1515 Assembly instructions

Reflecta Motor Silverline Series user manual

Reflecta

Reflecta Motor Silverline Series user manual

Dragonfly 92-145 installation manual

Dragonfly

Dragonfly 92-145 installation manual

Kimex 047-15 Series user manual

Kimex

Kimex 047-15 Series user manual

Elite Screens C user guide

Elite Screens

Elite Screens C user guide

Da-Lite Deluxe Insta-Theater Instruction book

Da-Lite

Da-Lite Deluxe Insta-Theater Instruction book

FART PRODUKT SCREEN Standard Installation instruction

FART PRODUKT

FART PRODUKT SCREEN Standard Installation instruction

Celexon Manual Economy operating instructions

Celexon

Celexon Manual Economy operating instructions

Elite Screens Kestrel Stage B NTC Series user guide

Elite Screens

Elite Screens Kestrel Stage B NTC Series user guide

Draper Access Fit Series Instruction

Draper

Draper Access Fit Series Instruction

Enwork XTB4 installation guide

Enwork

Enwork XTB4 installation guide

Epson ES1000 Quick setup guide

Epson

Epson ES1000 Quick setup guide

Stewart Audio Luxus Communicator owner's manual

Stewart Audio

Stewart Audio Luxus Communicator owner's manual

Elite Screens Aeon CineGrey 3D AT Series user guide

Elite Screens

Elite Screens Aeon CineGrey 3D AT Series user guide

Elite Screens Kestrel Tab-Tension Series user guide

Elite Screens

Elite Screens Kestrel Tab-Tension Series user guide

VASTEX C-1000 Assembly, operating, and maintenance  instructions

VASTEX

VASTEX C-1000 Assembly, operating, and maintenance instructions

manuals.online logo
manuals.online logoBrands
  • About & Mission
  • Contact us
  • Privacy Policy
  • Terms and Conditions

Copyright 2025 Manuals.Online. All Rights Reserved.