manuals.online logo
Brands
  1. Home
  2. •
  3. Brands
  4. •
  5. Grandview
  6. •
  7. Projection Screen
  8. •
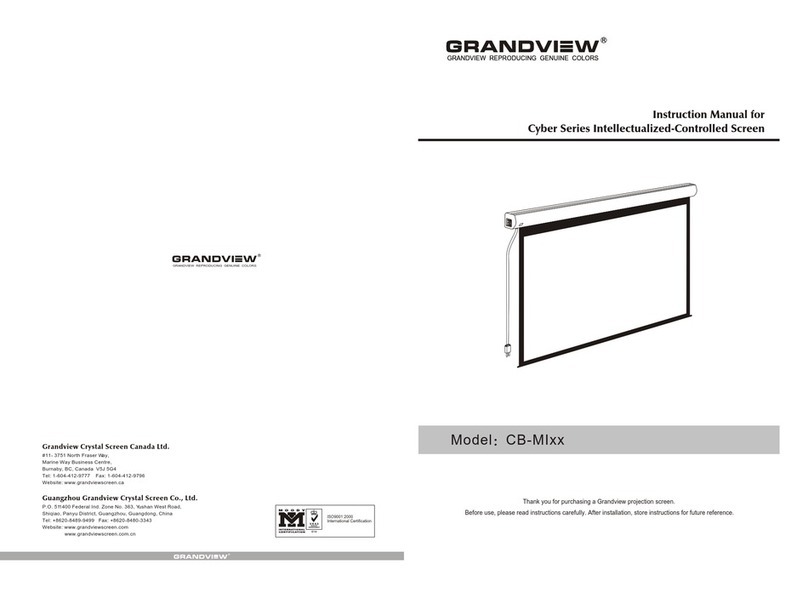
  9. Grandview Large-flat Series User manual

Grandview Large-flat Series User manual

Model:LF-PUxx
GRANDVIEW REPRODUCING GENUINE COLORS
ISO9001:2000
International Certification
Thank you for purchasing a Grandview projection screen.
Before use, please read instructions carefully. After installation, store instructions for future reference.
Grandview Crystal Screen Canada Ltd.
#11- 3751 North Fraser Way,
Marine Way Business Centre,
Burnaby, BC, Canada V5J 5G4
Tel: 1-604-412-9777 Fax: 1-604-412-9796
Website: www.grandviewscreen.ca
Guangzhou Grandview Crystal Screen Co., Ltd.
P.O. 511400 Federal Ind. Zone No. 363, Yushan West Road,
Shiqiao, Panyu District, Guangzhou, Guangdong, China
Tel: +8620-8489-9499 Fax: +8620-8480-3343
Website: www.grandviewscreen.com
www.grandviewscreen.com.cn
Installation Guide for
Large-flat Series Prestige Permanent Cinema Screen
16
List 2 on AA distance between Top bracket and Bottom bracket (Ref. Figure 18)
Size(inch)
4:3
16:9
Dist.(mm)
Dist.(mm)
60" 72" 77" 80" 84" 92" 100" 106" 112" 135"
120" 150"
1025 1208 1284 1330 1391 1513 1726 1818 1940 2168 2397 1635
858 1007 1069 1107 1156 1256 1356 1430 1505 1605 1791 1978
4:3
16:9
60" 72" 77" 80" 84" 92" 100" 106" 112" 135"
120" 150"
20 20 24 24 24 26 28 30 30 32 34 38
18 22 22 22 24 24 28 28 30 30 34 38
Description
Accessories
Side frame
Horizontal frame
Screen fabric
Remark:Two extra Fixing lugs for each screen
Format Size(inch)
Qty(pcs)
Fixing lug
Top bracket
Bottom bracket
Horizontal frame (2pcs)
Side frame (2 )pcs
Horizontal tensioning bar (2 )pcs
Side tensioning bar (2 )pcs
Fixing lug (Ref. list 1)
Corner bracket (4 )pcs
5x10mm Corner screw (16 )pcs
Instruction manual 1( pc)
Top bracket(1pc)
Bottom bracket (1pc)
Fixing lug list 1
Qty(pcs)
Format
Ignoring the safety warnings may
lead to injuries and/or damaging
the product.
Fixtures should be installed in a secure
place to avoid accidents or the screen
falling.
Please contact your local dealer for
repairs or maintenance. Please contact
our company if you have any further
questions. Avoid taking apart the
fixtures yourself. Loose parts may
cause the screen to fall.
Warnings
Do not take apart and replace with unknown parts. If there are any problems, please contact your local dealer.
Product specifications are subject to change.
When installing, make sure it is facing forward. The back of the screen will be labeled with a sticker.
Please read the following as any damage to the screen surface will affect the quality of the picture:
1.The frame is made with lightweight aluminum. Please handle with care.
2.Avoid contact or touching the screen surface as it may cause scratches or tears.
3.Do not write or draw on the surface.
4.Clean the screen with a soft cloth and lukewarm water. Do not use any detergent or cleaning products.
5.Use a cotton cloth to carefully wipe off the dust on the frame to prevent any damages
6.If it is not in use for a long period of time, cover the screen to shut out dust and dirt.
To prevent unnecessary damage, the operating and maintenance of the screen should be done by adults.
Opening the case, the frame has indentations on surface because of packaging in a dry case for a long
time. This is a normal phenomenon and the screen can be used normally. Please stay the screen in a
normal condition that the indentations can be naturally removed. Recovery time will be changed in 1-15
days because of the air humidity, If you want to remove these indentations quickly, please use half-wet
solution.
Methods: Sprinkle water on the surface that can remove the indentations.
5x40 mm Tapping screw
with anchor (8 pcs)
2
5
1. Locate Horizontal frames and Side frames on tidy flat surface. (Figure 1)
2. Slide Fixing lugs into grooves on reverse side of frames and align with arrows. (Figure 2-3)
Figure 1
3. Connect Horizontal frame and Side frame with Corner bracket, adjust the Corner bracket to match screw
holes on frame and Corner backet, then fix with the Corner bracket screws. Same way to other 3 Corner
brackets installtion. (Figure 4-7)
Cor ner
9. To tear down the screen, please press the Secure buttons towards wall to release bottom frame from
groove B, then uplift the screen little to release it totally from up groove & bottom groove of the brackets.
(Figure 23-24)
8. Uplift the assembled screen to make sure Up groove meet with Top bracket, and Down groove meet with
Bottom bracket, the Secure button would lock into Groove B because of spring tension when frames are
matched on brackets ideally. (Figure 21-22)
Up groove
Bottom groove
B
B
Take out all the parts from the packaging and follow the accessories guideline to ensure you have all parts,
then install the screen as below.
Installation
Side frame
Horizontal frame
Figure 2 Figure 3
Fixing lug
Side frame
Horizontal frame
Figure 4 Figure 5
Figure 6 Figure 7
Figure 21 Figure 22
Figure 23 Figure 24
34
5. Double align Fixing lugs with arrows. Using the Tensioning bar, pull fabric eyelets over Fixing lugs by your
hands clockwise (Tips: arrange Horizontal tensioning bars first then Side tensioning bars). (Figure 11-15)
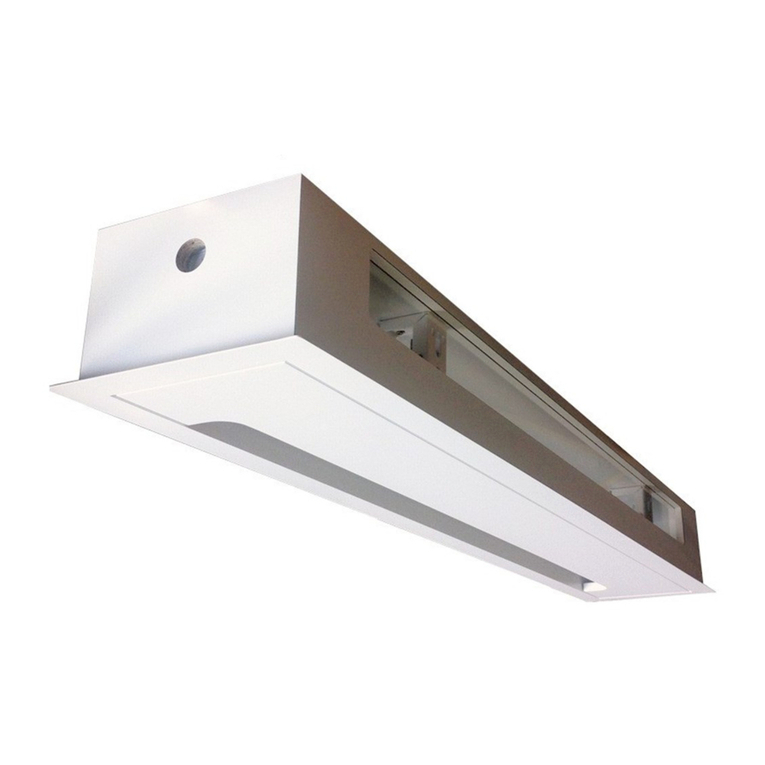
6. There is locking system on the Bottom bracket but no on the Top backet, brackets' length are at half of
Horizontal frames'. And there is 5 groups of holes on each brackets with 10cm distance, each group has
3 holes at 5 8 & 6 from left to right. Brackets are suggested to mount at the middle point of frame with
only 30% fluctuation if needed. (Figure 16)
Up bracket
Bottom bracket
Secure button
10CM
10CM
7. According to AA distance list on first page, mount two brackets onto the wall separately, assure they are at
horizontal level. (Figure 17-18)
Up bracket
Bottom bracket
AA
4. Unfold screen fabric and insert 4 Tensioning bars seperately into 4 different fabric grooves, be careful not
to poke the fabric. (Figure 8-10)
Figure 8
Figure 10
Figure 9
5mm Tensioning
bar
Figure 11
Figure 12
Figure 13
Figure 14
Figure 15
Figure 16
Figure 17 Figure 18
Here below are the mounting details:
a) Wood wall mounting: to fix the brackets onto the wall using 4 provided Wooden screws 5 x 40, two screws
for each brakcet. (Figure 19)
b) Concrete wall mounting: to use an electric drill to drill 4 holes ( 2 holes for each bracket), and hammer the
provided tapping anchors into each hole, then fix the brackets onto the wall by fastening the tapping screws
to the tapping anchors. (Figure 20)
Figure 19 Figure 20

Other Grandview Projection Screen manuals

Grandview LF-PHxx(DY) User manual

Grandview

Grandview LF-PHxx(DY) User manual

Grandview GVFA100V User manual

Grandview

Grandview GVFA100V User manual

Grandview FC-FHP-MF Series User manual

Grandview

Grandview FC-FHP-MF Series User manual

Grandview Elegant EL-M Series User manual

Grandview

Grandview Elegant EL-M Series User manual

Grandview CB-MIRC User manual

Grandview

Grandview CB-MIRC User manual

Grandview Edge R1 Series User manual

Grandview

Grandview Edge R1 Series User manual

Grandview LF-PU Series User manual

Grandview

Grandview LF-PU Series User manual

Grandview Ultimate PP-G Series User manual

Grandview

Grandview Ultimate PP-G Series User manual

Grandview Dynamique R3 User manual

Grandview

Grandview Dynamique R3 User manual

Grandview Pull Up User manual

Grandview

Grandview Pull Up User manual

Grandview Fantasy Series FA-Mxx User manual

Grandview

Grandview Fantasy Series FA-Mxx User manual

Grandview Portable X-Press Series User manual

Grandview

Grandview Portable X-Press Series User manual

Grandview GRUC040V User manual

Grandview

Grandview GRUC040V User manual

Grandview CB-Pxx User manual

Grandview

Grandview CB-Pxx User manual

Grandview Liberty Flash Series User manual

Grandview

Grandview Liberty Flash Series User manual

Grandview CN Series User manual

Grandview

Grandview CN Series User manual

Grandview EDGE R3 PE-L Series Instruction Manual

Grandview

Grandview EDGE R3 PE-L Series Instruction Manual

Grandview Sky-Show User manual

Grandview

Grandview Sky-Show User manual

Grandview FC-FHP-MI Series User manual

Grandview

Grandview FC-FHP-MI Series User manual

Grandview LF-VMF-77 User manual

Grandview

Grandview LF-VMF-77 User manual

Grandview Deluxe Pull Down User manual

Grandview

Grandview Deluxe Pull Down User manual

Grandview Legacy Series User manual

Grandview

Grandview Legacy Series User manual

Grandview Fantasy FC-FHMI Series User manual

Grandview

Grandview Fantasy FC-FHMI Series User manual

Grandview Sky-Show User manual

Grandview

Grandview Sky-Show User manual

Popular Projection Screen manuals by other brands

Changhong Electric S-CK Series user guide

Changhong Electric

Changhong Electric S-CK Series user guide

SCREENLINE Vertikal manual

SCREENLINE

SCREENLINE Vertikal manual

Banner EZ-SCREEN LS System Operation, Diagnostics and Troubleshooting

Banner

Banner EZ-SCREEN LS System Operation, Diagnostics and Troubleshooting

Draper Access MultiView Series Installation & operating instructions

Draper

Draper Access MultiView Series Installation & operating instructions

Elite Screens Starling Tab-Tension 2 Series Replacement instructions

Elite Screens

Elite Screens Starling Tab-Tension 2 Series Replacement instructions

Elite Screens CineTension B Series Adjustment instructions

Elite Screens

Elite Screens CineTension B Series Adjustment instructions

Winco 3170 CUSTOMER INSTRUCTIONS

Winco

Winco 3170 CUSTOMER INSTRUCTIONS

Elite Screens TE100HC2 Comparison chart

Elite Screens

Elite Screens TE100HC2 Comparison chart

LEGRAND Da-Lite Advantage Electrol Instruction book

LEGRAND

LEGRAND Da-Lite Advantage Electrol Instruction book

ADEO SCREEN TENSIO PSCHP0301 user manual

ADEO SCREEN

ADEO SCREEN TENSIO PSCHP0301 user manual

Draper Signature E Series Installation & operating instructions

Draper

Draper Signature E Series Installation & operating instructions

Elite Screens M170XWS1 user guide

Elite Screens

Elite Screens M170XWS1 user guide

Philips HTS2200 quick start

Philips

Philips HTS2200 quick start

Da-Lite Parallax Instruction book

Da-Lite

Da-Lite Parallax Instruction book

Draper Baronet HW Installation & operating instructions

Draper

Draper Baronet HW Installation & operating instructions

Optoma Panoview DS-3072PM datasheet

Optoma

Optoma Panoview DS-3072PM datasheet

Da-Lite DesIgner Contour Manual Instruction book

Da-Lite

Da-Lite DesIgner Contour Manual Instruction book

VITRA Soft Work Assembly instructions

VITRA

VITRA Soft Work Assembly instructions

manuals.online logo
manuals.online logoBrands
  • About & Mission
  • Contact us
  • Privacy Policy
  • Terms and Conditions

Copyright 2025 Manuals.Online. All Rights Reserved.